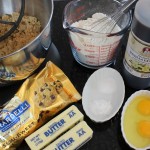
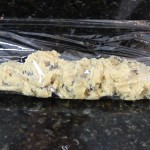
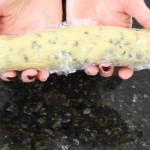
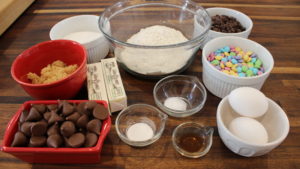
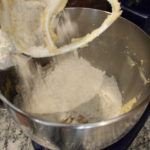
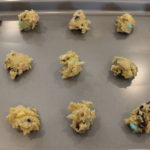
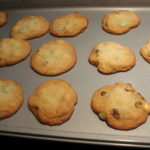
Eileen’s Famous Chocolate Chip Cookie will undoubtedly become one of your favorite cookie recipes after first bite! This scrumptious cookie has 3 kinds of chocolate, stands tall and is slightly chewy in the middle. The recipe makes 30 plus cookies and believe me, you’ll be lucky to have any left over if you’re making these for a party.
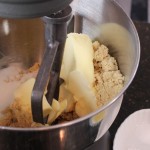
My kids and I have been devouring Eileen’s cookies for years and getting you this recipe was on my bucket list! Eileen herself, receives cookie requests throughout the year for parties, benefits, fundraisers and backyard BBQ’s. This is an easy and uncomplicated recipe as you saw in the “how to” video above where Eileen’s daughter, Molly, has mastered the recipe!
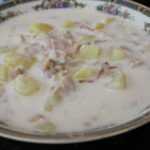
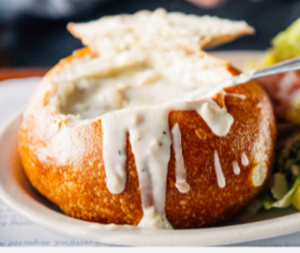
This Creamy New England Clam Chowder is bursting with clam broth flavor, tender clams, melt in your mouth potatoes and a hint of smokey from the bacon and best of all, I can make it 12 months of the year! My secret ingredients in this homemade New England Clam Chowder push it right over the top! My mother was whipping up creamy New England clam chowder when I was little so making homemade soups just comes naturally to me. My New England clam chowder recipe reminds me of my no-nonsense crab cake recipe, no extra fillers! Topped with a little dollop of butter, a few dashes of tabasco and some oyster crackers brings me to chowda heaven!
My first secret ingredient in this New England Clam Chowder is dry cream sherry. De-glazing and simmering with dry sherry brings it to a whole new level. It really gives the chowder that extra something special everyone will be trying to figure out! If you have the time you really ought to pick up the Savory & James Medium Dry Sherry-Blend of Amontillado for only $11 a bottle. It will last a while in your cupboard and help you to create amazing dishes. I would never not think of putting a big splash of dry sherry into my chowder! You will understand why once you try it this way …you’ll never go back to sherry-less chowder!
My second secret ingredient is Wondra Quick-Mixing Flour, it’s a godsend. You don’t have to bother with a roux and worrying about lumps in your soup, sauce or gravy ever. It will change the way you cook! You can add the Wondra at any time during the creation of your dish and it magically dissolves. Sometimes we need a roux, like for making a gumbo when you want to develop that nutty flavor working it into a dark golden color but we don’t need that in New England Clam Chowder!
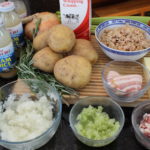
How wonderful if it’s the right time of the year and you’ve set aside time to find and buy fresh whole clams for your chowder but my recipe can be made at the snap of your fingers, 12 months of the year. It tastes like restaurant quality chowder and it’s easy to do. I always stock my cabinets with snows clams and broth for chowder or linguine and clam sauce!
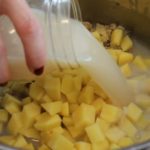
5 Bottles “Snows Clam Broth = 6 cups broth (5 cups bottle + 1 cup comes from the cans after you drain the clams)
2 cups heavy cream
1 cup half and half
3/4 cup good dry cream sherry -(the pink one) Savory & James Medium Dry Sherry -“Amontillado” is one of my favorites (1/4 cup to de-glaze onion/celery and 1/2 cup to simmer with broth base)
2 slices minced bacon (smokey flavor ONLY not maple)
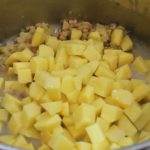
3 extra lg potatoes or 4 small diced to 1/2″ size
2 celery stalk finely diced
1 whole sweet onion finely diced
1 bunch rosemary tied with string … just a flavor bundle – to be removed
1 large bay leaf
1 tsp salt
1/2 tsp finely ground pepper
3 sprinkles of “Wondra-Quick Dissolving Flour”
Directions:
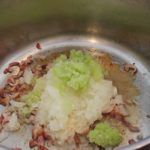
Finely chop 1 whole onion
Finely chop 2 celery stalks
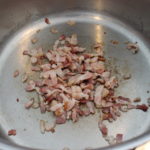
Slice 3 slice of smoked bacon, then dice that
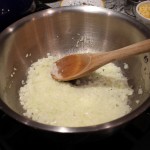
Add diced bacon to large pot and begin to sauté on low, just want the bacon to become slightly crispy
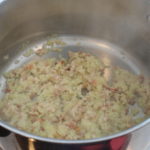
Add in chopped onion and celery and sauté until lightly golden
De-glaze with 1/4 cup dry cream sherry
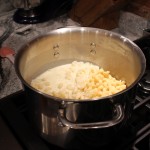
In 1 minute add in diced Yukon potatoes and all the clam broth from cans and bottles and 2 bay leaves and 1 tsp salt
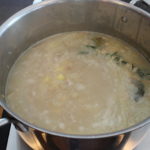
Bring to a simmer and cook for 12-15 minutes until the potatoes are tender but FIRM because the potatoes will continue to cook even after you take them off the heat
Tie off a bundle of fresh rosemary with cotton string
At the 5 minute mark of simmering the potatoes ADD in the rosemary bundle and 1/2 cup of dry cream sherry and bring back to a low simmer
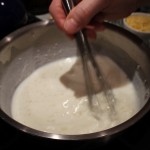
At the last 2 minutes of simmering the potatoes ADD in 3 cups of heavy cream, 1/4 tsp finely ground blk pepper and possibly 1 tsp more of salt (you need to taste here to see if your chowder needs this addition of salt) and bring back to a low simmer
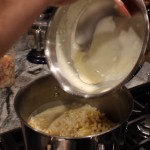
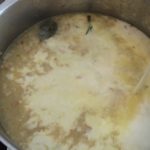
Take the New England Clam Chowder base off the heat and gently stir in all the clams
Remove the the rosemary bundle and the bay leaves and serve with Tabasco and oyster crackers
If this is for the following day cool chowder completely at room temp allowing space with the cover for the soup to evaporate, place in frig
When re-heat the soup watch carefully not to bring to a boil…just heat thru…mmm! Enjoy!
Shop Ingredients HERE!
Cutiset 20 Ounces ceramic bowls set with handles for chowder, set of 4
San Francisco Boudin Bakery Sourdough Rounds 16 oz (2 Bread Rounds)
Baking Serving Ceramic Red 16 Oz Soup Bowls with Handles – Set of Four – Stoneware Chowder Bisque Pot Pie Crocks
SNOW’S BY BUMBLE BEE Chopped Clams, 6.5 Ounce Can (Case of 12), Canned Clams, Gluten Free, High Protein, Keto Food, Keto Snacks, Paleo Diet Food, Canned Food
SNOW’S BY BUMBLE BEE All Natural Clam Juice, 8 Ounce Bottle (Pack of 12), Pure Bottled Clam Juice
Double Smoked Bacon Slab by Schaller & Weber (11 ounce)
Rosemary, Locally Grown, 2 Bunches
2-Ounce Premium Whole Bay Leaves
Tabasco Original Flavor Pepper Sauce 2 oz (Pack of 4)
Wondra All Purpose Quick-Mixing Sauce ‘N Gravy Flour (Pack of 2) 13.5 oz Size by Gold Medal
New England Original Westminster Bakeries Oyster & Soup Crackers (3 Pack)
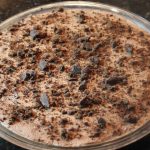
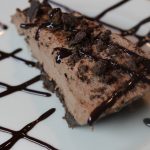
This Girl Scouts thin mint chocolate mousse pie is absolutely delicious! The oh so chocolaty mousse is light and lucious and melts in your mouth. The texture’s of the pie are undenialbly one of my favorite aspects of the pie. It goes from the cool, silky mousse to the crunchy cookie crumble in the crust with subtle hints of mint.
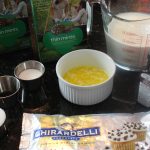
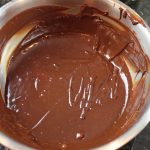
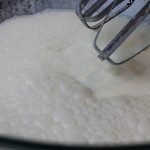
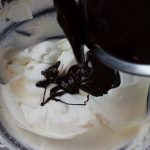
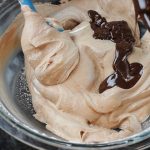
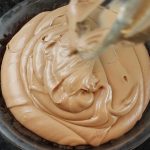
Although you do bake the thin mint crust for a mere 8 minutes, this is a no-bake, no fuss, chocolate mousse filling. The crunchie crust is made with puréed Girl Scout Cookies, butter and sugar. In the same food processor that the thin mint cookies were just puréed, the chocolate mousse starts off with mini semi-sweet chocolate chips, vanilla, and a pinch of salt. Then boiling heavy cream is streamed into the opening at the top to melt the chips as they spin into a smooth and creamy chocolate delight. This chocolate is cooled to room temperature and folded into whipped heavy cream for the finale. It’s one of those special dessert’s that’s so uncomplicated you’ll find yourself making it more than just once.
Having my daughter’s Girl Scout troop in my kitchen making this thin mint chocolate mousse pie was so much fun! We are very fortunate for our wonderful leader, Jen Swenson, who is generous with her efforts and time with the troop. It’s one of those precious things in life that the girls will treasure always.
Those of you who love the good ole mint-chocolate flavors will go crazy for this dessert. Those of you who aren’t partial to that flavor combo might be surprised how suble and sweet the thin mint crust is …tamed by the butter maybe! And like I told Maisy in the show, you can always just eat the chocolate mousse middle!
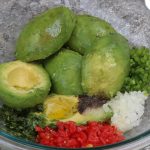
If you are looking for some appetizer’s to start off this Girl Scouts Thin Mint Chocolate Mousse Pie extravaganza you should try my Salsa 101 or Best Guacamole Ever! Maybe you are more in the mood for Zucchini Torta or a main dish like one of my all time favorite’sStuffed PeppersorChicken Piccata…both dishes you’ll add to your week day meals once you have your first bite! Enjoy! 🙂
Ingredients for Girl Scouts Thin Mint Crust Pre-Heat oven to 350º :
28 Thin Mint Girl Scout cookies – 1 3/4 sleeve …(a few left over for nibbling on)
5 tbsp butter
2 tbsp sugar
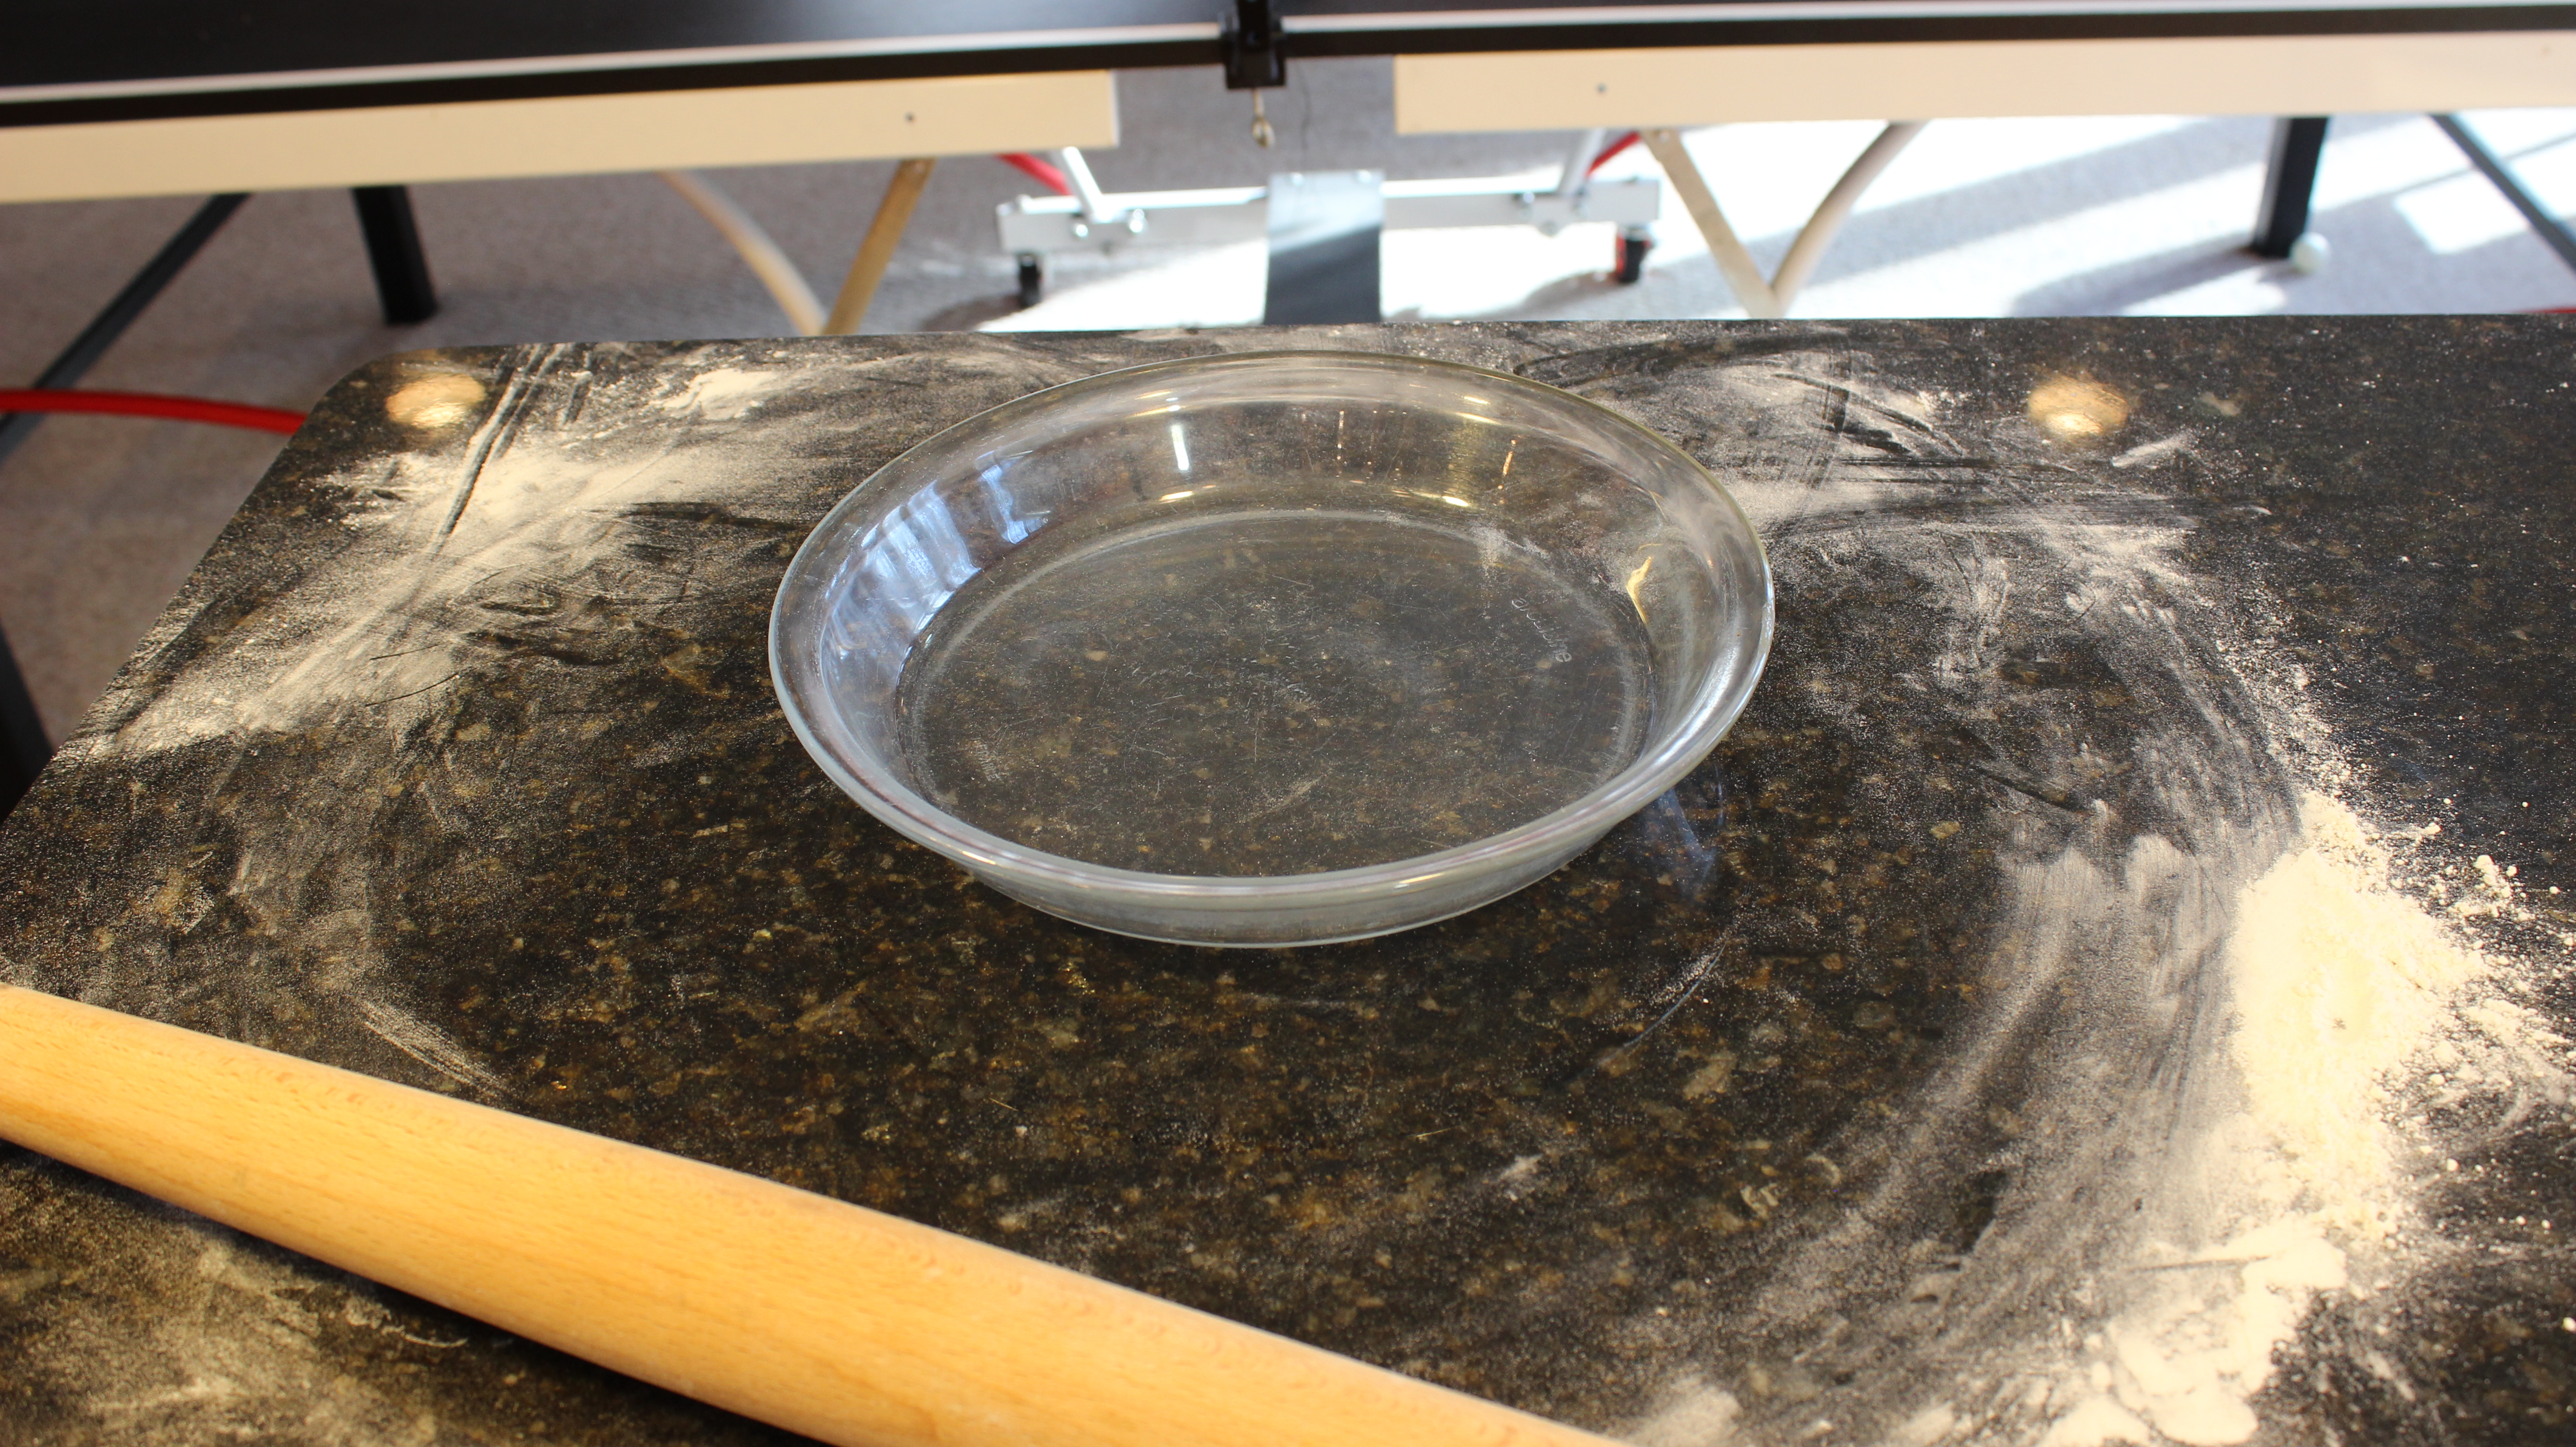
10″ pie plate, or 9″ spring form pan, OR 9″ pie plate & cups for the extra chocolate mousse you will have
Directions for the Girl Scouts Thin Mint Crust:
Melt 5 tbsp butter, set aside
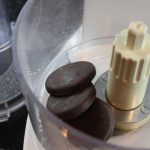
Add 28 cookies to the food processor and pulse 3-4 times until they are a fine crumb
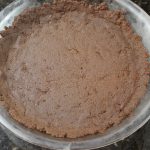
Pour in melted butter and 2 tbsp sugar and pulse 10 seconds to combine
Turn out crumb mixture into a 10″ pie plate, or 9″ spring form pan
NOTE: If you only have a 9″ pie plate NO WORRIES just add the excess chocolate mousse to cups or glasses, topping with cookies crumble and set the same in the frig for 4-6 hours or even freeze for a later date!
Press cookie crumb mixture all along the bottom and up the edges of the pie dish forming the crust
Put the pie crust into a 350º oven for 8 minutes
Take out and completely cool
Ingredients for Chocolate Mousse:
3 cups heavy cream – 2 cups for whipping the heavy cream/ 1 cup for melting the chocolate chips in the food processor
1 tbsp vanilla
pinch of sea salt
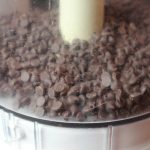
1 bag mini semi-sweet chocolate chips
Directions for the Chocolate Mousse:
Wipe thin mint cookie crumbs out of food processor and add mini chocolate chips
Add vanilla and pinch of salt
Add 1 cup heavy cream to small sauce pan and bring to a boil
Place cover on food processor, turn on and slowly add hot cream thru opening at top
Keep it running for about 20-30 seconds until chips are melted and creamy
Empty out into a bowl to cool, only cool to room temperature NOT COLD because the chocolate will solidify and it will be difficult to fold into the whipped cream
When chocolate is close to room temp add 2 cups heavy cream to a large glass bowl with 1/4 cup sugar and begin to whisk with electric beater
Whisk the cream until stiff peaks, 3-5 minutes
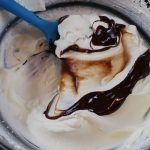
Fold 1/2 cup at a time of the room temp chocolate into the whipped cream until there’s none left
Pour out chocolate mousse into the COMPLETELY cooled baked pie crust and smooth out top with a offset spatula
Sprinkle thin mint cookie crumble over the top and place into the frig for 4-6 hours
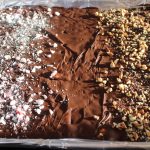
This Saltine Christmas Bark is the perfect holiday treat made in mere minutes. You get the best of both world’s, sweet and salty plus a crunch from the Saltine cracker base! It starts with crushed peppermint candy (my favorite), or pecans, then a layer of creamy chocolate leading into the slightly chewy toffee which all sets up on a crunchy saltine cracker! Oh my goodness, bring it on!
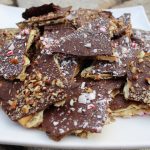
The fun part about making this Saltine Christmas Bark is breaking up this giant slab of goodness into randon size pieces. You kind of feel like an artist deciding how big and even the shape of the final outcome! Plate them up and voilà your masterpiece. These also make great holiday gift’s that you can fancy up in decorative celophane candy bags with ribbon.
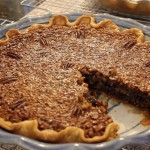
Let your holiday Saltine Christmas Bark making be extra special with my Bolognese Sauce, a scrumptious recipe I developed thru inspiration from a favorite pasta dish where I went to college in Urbino, Italy. If you’re now thinking Italian you should try my chicken Piccata, a savory white wine, capers and mushroom sauce that’s delectable. Maybe Lobster Mac N’ Cheese is more your style! Or you could be looking for a “Steak-House” Creamed Spinach that pairs up nicely with steak or fish! Since we are so close to the holidays what better time to make the most amazing chocolate pecan pie ever!
Ingredients:
2 pkgs saltine
1 cup butter – 2 sticks
1 cup light brown sugar
2 cups “mini” semi-sweet chocolate chips (if you can’t get “mini” the regular size is fine)
5 pepermint candies – finely crush peppermnt candy in a Ziplock with a rolling pin – My Favorite!
1 cup finely chopped pecans, walnuts, m&m’s, or …what ever you want to sprinkle onto the melted chocolate chips
Non-stick aluminum foil – regular foil works too!
12 x 17 Cookie tray
Directions:
Pre-heat oven to 400º
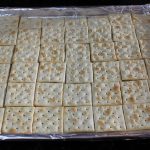
Cover cookie tray with aluminum foil
Arrange 48 crackers on your cookie tray, you may have to break or cut some in 1/2 to get to the edges
Chop up pecans, walnuts or macadamia nuts and set aside
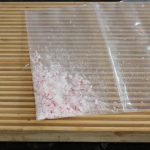
Put candy canes in a ZipLock baggie, cover with a dish towel and give a few hits from your rolling pin to crush the candy to small and powder-like pieces, set aside
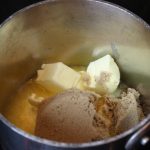
Over medium – Med/high heat add 1 cup light brown sugar and 1 cup butter to a deep sauce pan
Stir in the beginning ONLY to combine then leave it alone
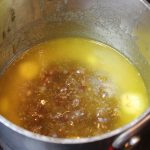
Bring to a boil and TURN DOWN to medium and let boil 3 MINUTES
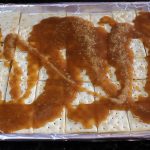
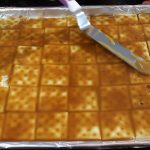
Immediately pour over laid out saltine crackers and spread the toffee with an offset spatula so it covers every saltine
Then pop into oven for 5 minutes
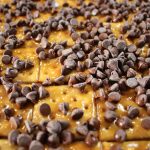
Take out and the toffee will be bubbly, IMMEDIATELY pour “mini” semi-sweet chocolate chips all over the top (if you can’t get “mini” the regular works just as well)
Let the chips sit for about 5 minutes to soften up
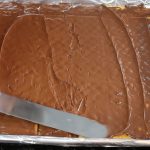
Using your offset spatula spread the softened chocolate chips covering all the toffee
Immeduiately after spreading chocolate take your crushed candy cane and nuts and begin to sprinkle over the wet chocolate
NOTE: You want to sprinkle toppings BEFORE the chocolate sets so it STICKS to the top
Pop the whole cookie tray into the fridge for 45 minutes – 1 hour to set OR freezer for 20-25 minutes if you are in a rush
Take out of fridge, remove foil and begin to break up the saltine Christmas bark into what ever size you like…mangia mangia!
MasterChef open casting calls and chewy chocolate chip cookies are the highlights of my blogging today. With exhausting life events that have taken place over the last three weeks I was some how able to produce my chewy chocolate chip cookie show for you and show up to my second pre-registered casting call for MasterChef.
Three weeks ago we received horrific news that my brother-in-law, George, passed away at the age of 57 from a heart attack. It was both devastating and unexpected. He was taken from us much too young and will be deeply missed by many. George lead an incredible life having the opportunities to accomplish many wonderful things that so many people wouldn’t have even had the chance to experience.
Bella and Reilly visiting with Brody
While dealing with the loss of Uncle George our King Charles, Brody, was hit by a car on Wednesday. I had just finished shooting my chewy chocolate chip cookie show when we got news of the accident. My kids and I were running between two vets for six hours for the later part of the day.
Brody didn’t have any broken bones, but a deep open gash on his upper right leg and bruising across his chest causing a profuse amount of swelling. They don’t stitch wounds like this so he got four staples and spent the next few nights at the vets for care and observation. Brody was heavily sedated on Thursday so I began to edit my chewy chocolate chip cookie show and was then able publish it to my YouTube Channel.
A second task now out of the way. My first task, was accomplished earlier in the week on Tuesday making a test run of my “Cold Cucumber-Fennel Soup” for the MasterChef three minute plating part of the casting call. I wanted to make sure the flavors were exactly how I wanted them with the new addition of the fennel to the soup. I was then off to pick up the King Crab legs from Altlantic Seafood in Old Saybrook. This crab will be set up on top of the cucumber-fennel soup in the center with a eatable garnish of fresh dill. The cold soup will also have a drizzle of Sicilian extra virgin olive oil, and fine dice, a brunoise, of avocado, tomato and cucumber scantly decorating the top of the soup around the king crab.
Friday morning was upon us and I was now making the a final batch of my Cold Cucumber-Fennel Soup for the MasterChef open call. Just as I was finishing, Brody’s vet called and wanted me to come for a visit with Brody. I put the soup into the refrigerator and headed right out. I felt that the hour I spent there with him helped so much I brought Reilly and Bella back at six o’clock that night right after picking up the rental car for New York City. I decided on driving this time to MasterChef because the five plus hours of train rides the last time was too draining.
The Veterinary hospital was forty-five minutes away so the kids and I were home by 8:45 Friday night after the visit with Brody. I then finished organizing the ice, the cooler, and chopped up the eatable garnish for the soup. Then I worked on finishing the eight page application to the MasterChef open casting call. Finally, I went to sleep at midnight and that 4:30 am alarm came way too fast.
MasterChef on Camera Shooting in Times Square
On Saturday morning, the MasterChef crew wanted contestants there at 8:00 for morning filming, so that’s what I did. They filmed us in groups in Times Square chanting “MasterChef”. They then did individual on-camera pieces with every single contestant stating what we did for a living, where we were from and a finish on a “I’m your next MasterChef”, with much enthusiasm! Myself and a few others were then asked sign release forms.
After two hours at Times Square we all went back to the hotel to wait our turn to enter into the “plate-up” room. We met the tasting chefs and the first set of interviewers walking around with clip boards discussing your life and what kind of person you are. Well, I’m ecstatic to say the judges loved my Cold Cucumber-Fennel Soup! My number was announced first once again, as it was in the first open casting call that I attended back in October of 2015. Our group of 9 was on to the next interview part of the casting call and the remaining contestants from our group were dismissed.
At this point it was noon and my energy level was deteriorating fast even after having a coffee at 4:30 am, a mini can of coca cola at 8:00 am and a 1/2 of a coffee at 10:30. But once again, I am there ready to forge on. Worries of Brody are also going through my mind. The anticipation and excitement of picking him up after I leave NYC which also included dropping off Bella to her Tennis match, the rental car, picking up Reilly and then heading to Piper Veterinary to get our boy home!
Oh yes, we are back at the MasterChef interview room facing the last judge with his seductive English accent, a kind of 007 look to him, is now asking me to tell him about myself. What! Really? OK, everything I was hoping to express to him just went out the window and I’m thinking “just try and be your funny self Michel” and all will be okay, but that is not how it worked out. Although I was hopeful that I may still have a chance to get to thru this “personality” phase to my dismay I was not. I know more of me was expected in that last phase then I was capable of giving this time.
Well, I did make a kick ass dish once again and actually enjoyed this round of MasterChef open casting call much more then the first time. You can’t always plan your life events! Life happens as they say and you have to roll with the punches and enjoy every minute. Definite kudos go out to that MasterChef casting call team who were there working their tails off for a good twelve hours. There’s always another chance at the next casting call later this year when MasterChef comes back to NYC!
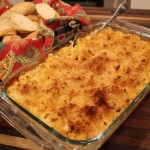
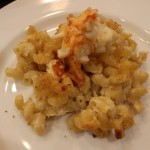
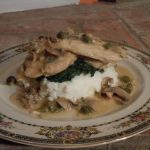
With this homemade gourmet lobster mac & cheese at David & Eileen’s you get the best of both worlds! Two of my very favorite things to eat all in the same dish! What more could you ask for? What, did someone say “smoked Gouda, please”? The Lobster goes with out saying and for those of you who appreciate that slightly salty, yet sweet and rich in every meaty bite know what I’m talking about. Then to add this succulent lobster to pasta that’s covered in a delicate, smokey, cheesy sauce put’s it right over the top!
When my dear friends David and Eileen suggested making lobster mac & cheese for my cooking show it was like bells went off. I thought it was a great idea. David had discussed the idea with our other foodie friend, Marco, who offered up his recipe to David. Marco and his wife, Sheryl, own an Inn near by called Lathrop Manorwhere Marco cooks up a five course gourmet breakfast if you’re a guest there. Marco was also the chef in my“Salmon BLT Sliders at Marco’s Show”from this past summer. Needless to say, our group here loves to cook, eat and have fun. Even frequenting the Farm and Vine Dinner’s at The Ocean Housetogether.
Sharing family recipes, like Dave and Laurie did with their yummy “Caruso Salad” and the amazing lobster mac & cheese recipe between Marco and David is what brings friends together. Cooking, eating, laughing and enjoying each other’s company is the foundation of life in all cultures around the world . I am grateful to have such wonderful family and friends to do this with.
I hope you enjoy this homemade “Lobster Mac & Cheese at David & Eileen’s” show as much as we did making it! Have fun with this recipe. You may also want to check out myCaesar Salad for a side dish or someArancini Reuben Balls,stuffed mushrooms ,or baked asparagus wrapped in Prosciuttofor an appetizer. Although , we don’t have David’s incredible chocolate meringue pie recipeyet,you could check out achocolate pecan pierecipe that’s to die for.
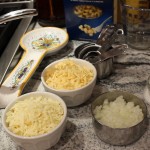
Ingredients for Lobster Mac & Cheese at David and Eileen’s:
2 tsp lobster base OR Lobster SHELLS- OPTIONAL it gives a wonderful flavor to the dish… we did forget to add the base in the show and the lobster mac & cheese was still delicioso!
2 bay leaves
1 1/2 cups smoked Gouda
1 1/2 cups white Cabot cheddar
1 cup mozzarella (I added in the mozzarella)
1/4 cup grated Parmesan
1 lb. cellentani pasta or elbow
s&p
2 tbsp rm temp butter for coating the baking dish
Topping Ingredients:
1/4 cup panko breadcrumbs
1/2 cup grated Parmesan
1/4 tsp garlic granules
1/4 tsp onion granules
1 tbsp olive oil
1 tbsp melted butter
4 pieces cooked and chopped bacon – Bacon OPTIONAL (DO NOT use Maple Flavored Bacon)
Directions for Lobster Mac & Cheese at David and Eileen’s:
Per-Heat oven to 350º on CONVECTION (convection helps to toast the bread crumbs without overbaking and curdling the cheese sauce)
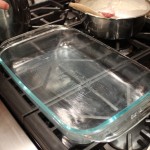
Coat the baking dish with 2 tbsp rm temp butter and set aside
Cook Pasta til firm in salted water, al-dente, 5 minutes
Drain and rinse to cool pasta and set back in the same pan
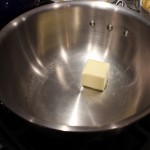
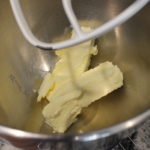
Melt butter in sauté pan
Sauté the chopped onion until soft and translucent
Add a s&p
Add flour to onions to make a roux
Continue on stove stirring mixture for 1 minute to cook out raw flour flavor
Slowly add milk & cream to roux while continuing to whisk so as not to get lumps
Add in bay leaves
Cook over medium heat while stirring until sauce thickens
Taste here to see if you need more salt and pepper
Add in 1/4 cup Dry Sherry
OPTIONAL: Add in lobster base OR LOBSTER SHELLS and simmer for 10 minutes
Remove the shells if you added them and discard
Turn heat to low and add in smoked Gouda, cheddar & mozzarella while whisking for 30 seconds ONLY, then remove from heat immediately and continue to whisk until all the cheese is melted
Sauce should have consistency of heavy cream
Stir lobster meat into the sauce to infuse flavors
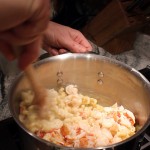
Then pour lobster sauce over al-dente pasta and mix until combined
Transfer to an oven safe baking dish
Sprinkle in 1/4 cup Parmesan and mix gently
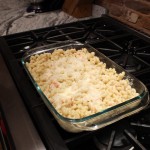
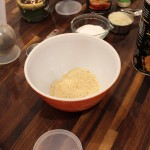
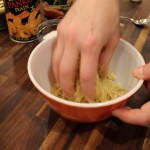
Make the breadcrumbs by combining breadcrumbs, parmesan, onion and garlic granules, olive oil & butter and bacon
Mix with your hands or a spoon and sprinkle evenly over the lobster mac & cheese
Bake in a 350º oven for 25-30 minutes until slightly bubbly on the edges
NOTE: DO NOT OVER BAKED OR CHEESE SAUCE WILL CURDLE!!!!
NOTE: The pasta will absorb a lot of liquid in the beginning when you first mix it, AND then when you bake it, AND as it sits, AND then as it cools, so it’s a good thing to have a little extra sauce in the beginning …it will keep absorbing -you don’t want a dry lobster mac and cheese sauce 🙂
When you bite into the buttery, flaky pastry layers with the creamy sheep’s milk feta and ricotta-spinach filling you’ll agree that Spanakopita, a classic Greek dish, is so worth the effort. We neatly fold this delicate pastry dough, with a tablespoon of this amazing spinach mixture, into triangles for the perfect little appetizer shape that just melts in your mouth. The #4 fillo pastry dough becomes this delicate shell making for an elegant nibble.
This recipe came from my good friend, Dana, who happens to be a wonderful chef. In fact, Dana and her husband are opening up a restaurant in early spring at The Goodwin Golf Course called Birdie Cafe. Dana is half Greek and half Italian so this was family tradition for her growing up making these with her mother. My great grandmother was born in Crete making me one eighth Greek. So with a hint of Greek lineage in my blood I’m thinking that’s what drives my palate towards these Mediterranean flavors that I adore so much.
Spending the day in Dana’s kitchen with our other college friend, Lynn, making these spanakopita was ideal considering we were having so much fun it didn’t seem like work at all. We didn’t even realize how much we were accomplishing. Lynn, who manage’s Sam The Clam Pub & Grub in Southington, CT introduced us to a Greek Mojito with Metaxa, a Greek liquer, that was very delicious.
The fact that you can easily make these spanakopita triangles ahead of time which freeze so nicely for future dates is ideal for parties. So start making this spanakopita now for your Super Bowl get together! Invite over a few friends to make the spanakopita and the task goes really quickly and it’s a lot of fun. Add in our Greek Metaxa Mojito’s and I think you have yourself a pre-party to the party just like the one at Dana’s.
To cut down on the time and effort and not forgo making this delectable dish you could make one big tray of the spanakopita. In a 9 x 13 x 3 (or similar size) baking dish lay down 9 full sheets of phyllo pastry dough brushing in between each layer with butter of course. Next, lay in the entire bowl of spinach filling, then 9 more buttered layers of phyllo with a finishing buttered coating right on the top. If you are baking this one tray be sure to refrigerate the the spanakopita for twenty minutes before baking it. This will firm up the pastry dough so you can run a knife through the top layers of dough cutting in only about 1/4″ to give you pre-cut lines in the serving sizes you’ll want. It makes cutting the spanakopita much easier after it comes out of the oven. Of course, a tray this size will need to bake for about 55-60 on 350º instead of the 20 minutes the triangles take. The phyllo pastry dough is very forgiving. If your sheets are larger then the pan giving you extra dough on the sides when lining the baking dish just fold them over. You won’t notice that the sides may be folded over after it’s baked because it will be all flaky and puffed anyways and still taste incredible.
INGREDIENTS FOR Spanakopita – will make approx. 30 spankopita triangles :
1 pkg. #4 Phyllo Pastry dough or Fillo pastry dough put into frig over night if frozen
1 cup (1 pkg) thawed and fully drained (squeezed) frozen chopped spinach
2 cup whole milk ricotta
1 cup sheep’s milk feta cheese
1 lb. melted butter
3 scallions finely chopped white and green parts OR 2 tbsp finely chopped shallots
2 tbsp each chopped parsley and fresh chopped dill
1/4 tsp each nutmeg and black pepper
DIRECTIONS FOR Spanakopita:
Pre-heat oven to 350º
Take Phyllo dough out of the frig to bring to room temperature but still in the box
Drain and squeeze ALL the water from chopped thawed spinach
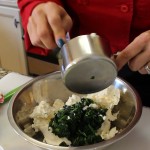
In a large bowl add 2 cup ricotta, 1 cup drained spinach, 1 cup sheep’s feta, scallions or shallots, parsley, dill, nutmeg and pepper – stir gently to mix and set aside
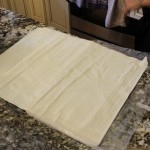
Unroll Phyllo on counter top
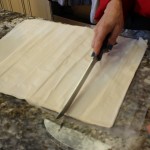
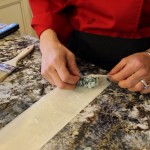
Cut the 15″ long pastry dough with a sharp knife into 3 3/4″ pieces getting 4 across
Start to lay out the strips 4 across a work surface – always keep a layer of saran wrap and a damp dish towel on top of the layers you’re not using
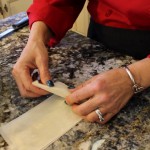
Brush thin coat of butter in between each layer til you have 3 layers down in each of the 4 rows
Put 1 tbsp of ricotta-spinach mixture in the right bottom corner of the phyllo sheet – you can use a sm. cookie dough scoop to help keep the tbsp all the same size – this will help you to move along quicker
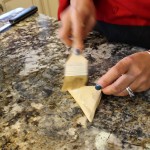
Fold right corner over so the bottom edge lines up with the left side, like you are folding a flag
Continue on up until you are at the top and used up all the pastry dough – brush a little butter on the last fold to seal it
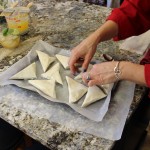
Put filled phyllo triangles onto a baking tray about 9 per tray
Bake each tray of spanakopita triangles for 20 minutes on 350º until golden
Be sure to let the spsankopita cool a little – the filling will be hot 🙂
You may have 1/2-3/4 cup of filling leftovers so freeze it, roll up in pounded-out chicken breasts, stuff bone-in chicken breasts under the skin with the filling and bake or just buy extra phyllo…enjoy 🙂
INGREDIENTS for the METAXA MOJITO’S:
1 cup Metaxa Greek Liquer
1 1/2 cups soda water
1 fresh lime cut into wedges
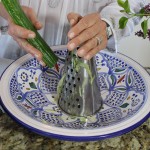
1 fresh lemon juiced = 1/4 cup lemon juice
2 tbsp light brown sugar
4 mint leaves or basil leaves
DIRECTIONS for making the Metaxa Mojito’s:
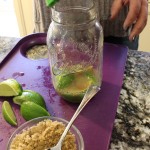
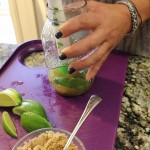
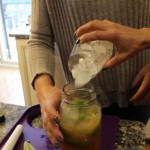
Mint leaves muddled with fresh lime wedges and light brown sugar in a glass cocktail mixer
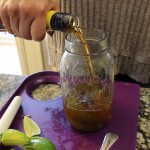
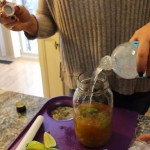
Add fresh lemon juice, Metaxa, soda water and ice, shake and serve with mint or basil garnish…enjoy 🙂
This amazing German pancake is an awesome dish to make for your holiday guests! It’s festive and quite spectacular when your guests see how your pancake has puffed to enormous heights when you take it out of the oven. Not only does it make for a wonderful presentation but it’s made with little effort and can be served for breakfast or as a dessert!
A German pancake is really a giant popover. “Dutch baby” is another name for this pancake and rumor has it that the reason behind this name came about when a chef’s young child couldn’t pronounce the German word for German, “Deutsche”. Supposedly, this mis-pronunciation lead German Pancakes to the alternative name “Dutch Babies”. A couple other names that this German pancake has been called are “Dutch puff” and “Bismark”.
My kids get very excited for that moment when this amazing German pancake comes out of the oven! It has a bit of a custard like texture inside yet very light. We love eating these pancakes and have come to the conclusion that they taste like something in between a pancake, french toast and a crêpe!
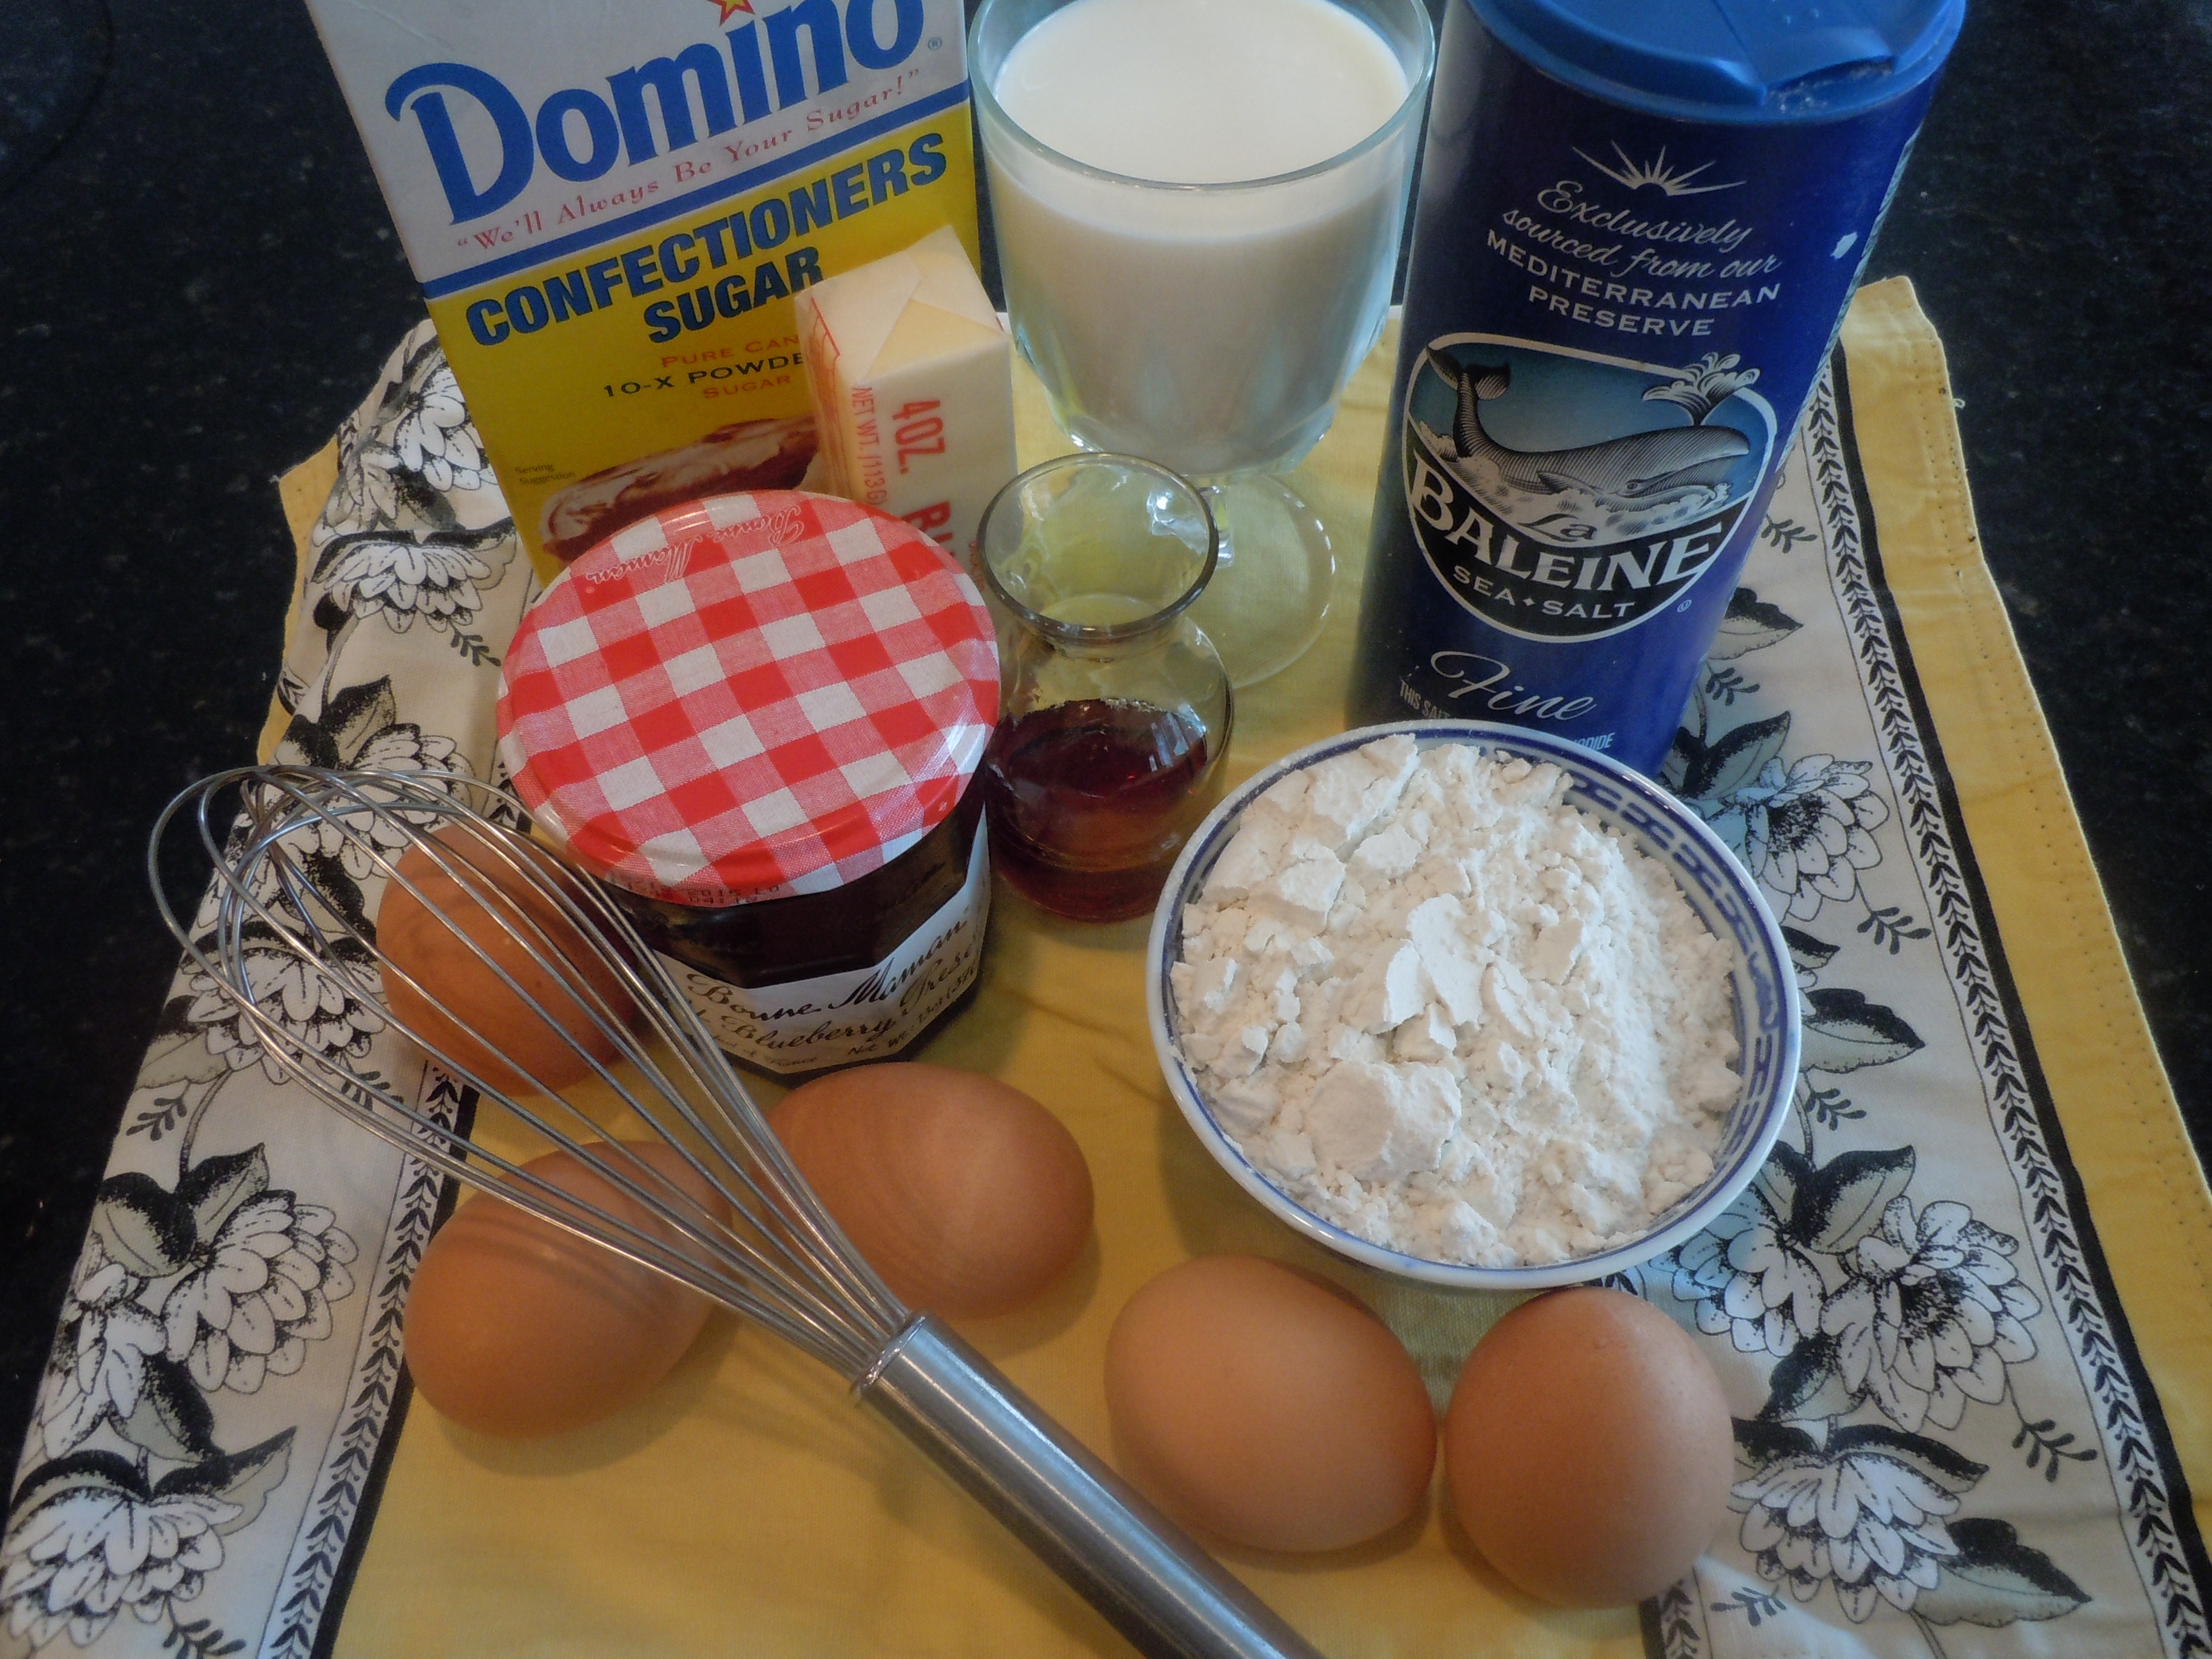
My Vermont friends turned me on to this recipe years ago and I have been making them ever since. It’s fun for me to play around with recipes and see what works best so to this recipe I have added another egg, some vanilla and a little cinnamon. You can add grated nutmeg instead if you prefer. Originally, these homemade pancakes were served with lemon and confectioners sugar. I like to served them with confectioners sugar, real maple syrup, fresh blue berries and a dollop of my favorite “Wild Blueberry Preserves” by Bonne Maman, a product of France (sold right in our local market at Stop and Shop). German pancakes are so easy to make, taking on the same amount of time as making ordinary pancakes. The wonderful thing here is you are not glued to the stove pouring batter every few minutes.
Usingcast iron is the way to go here because it holds in the heat evenly distributing it throughout the pan but I have made them in other oven proof pans and it comes out great. Some recipes have you pre-heating the pan in the oven, pulling out the rack, pouring in the batter, then pushing the rack back into the oven and in my opinion, this is a disaster waiting to happen since the batter can easily swoosh over the sides causing the oven to smoke ! The easiest way to start these homemade German pancakes is on the stove top and then into the oven for the duration. The finished product will make you will feel like a french pastry chef all day. This could also make for a great dessert to an impressive dinner with entrees liketurkey stuffed peppers,pulled beef tacos & mango salsaoryogurt-chicken kabobs & tzatziki. Enjoy!
Ingredients for Traditional German Pancake:
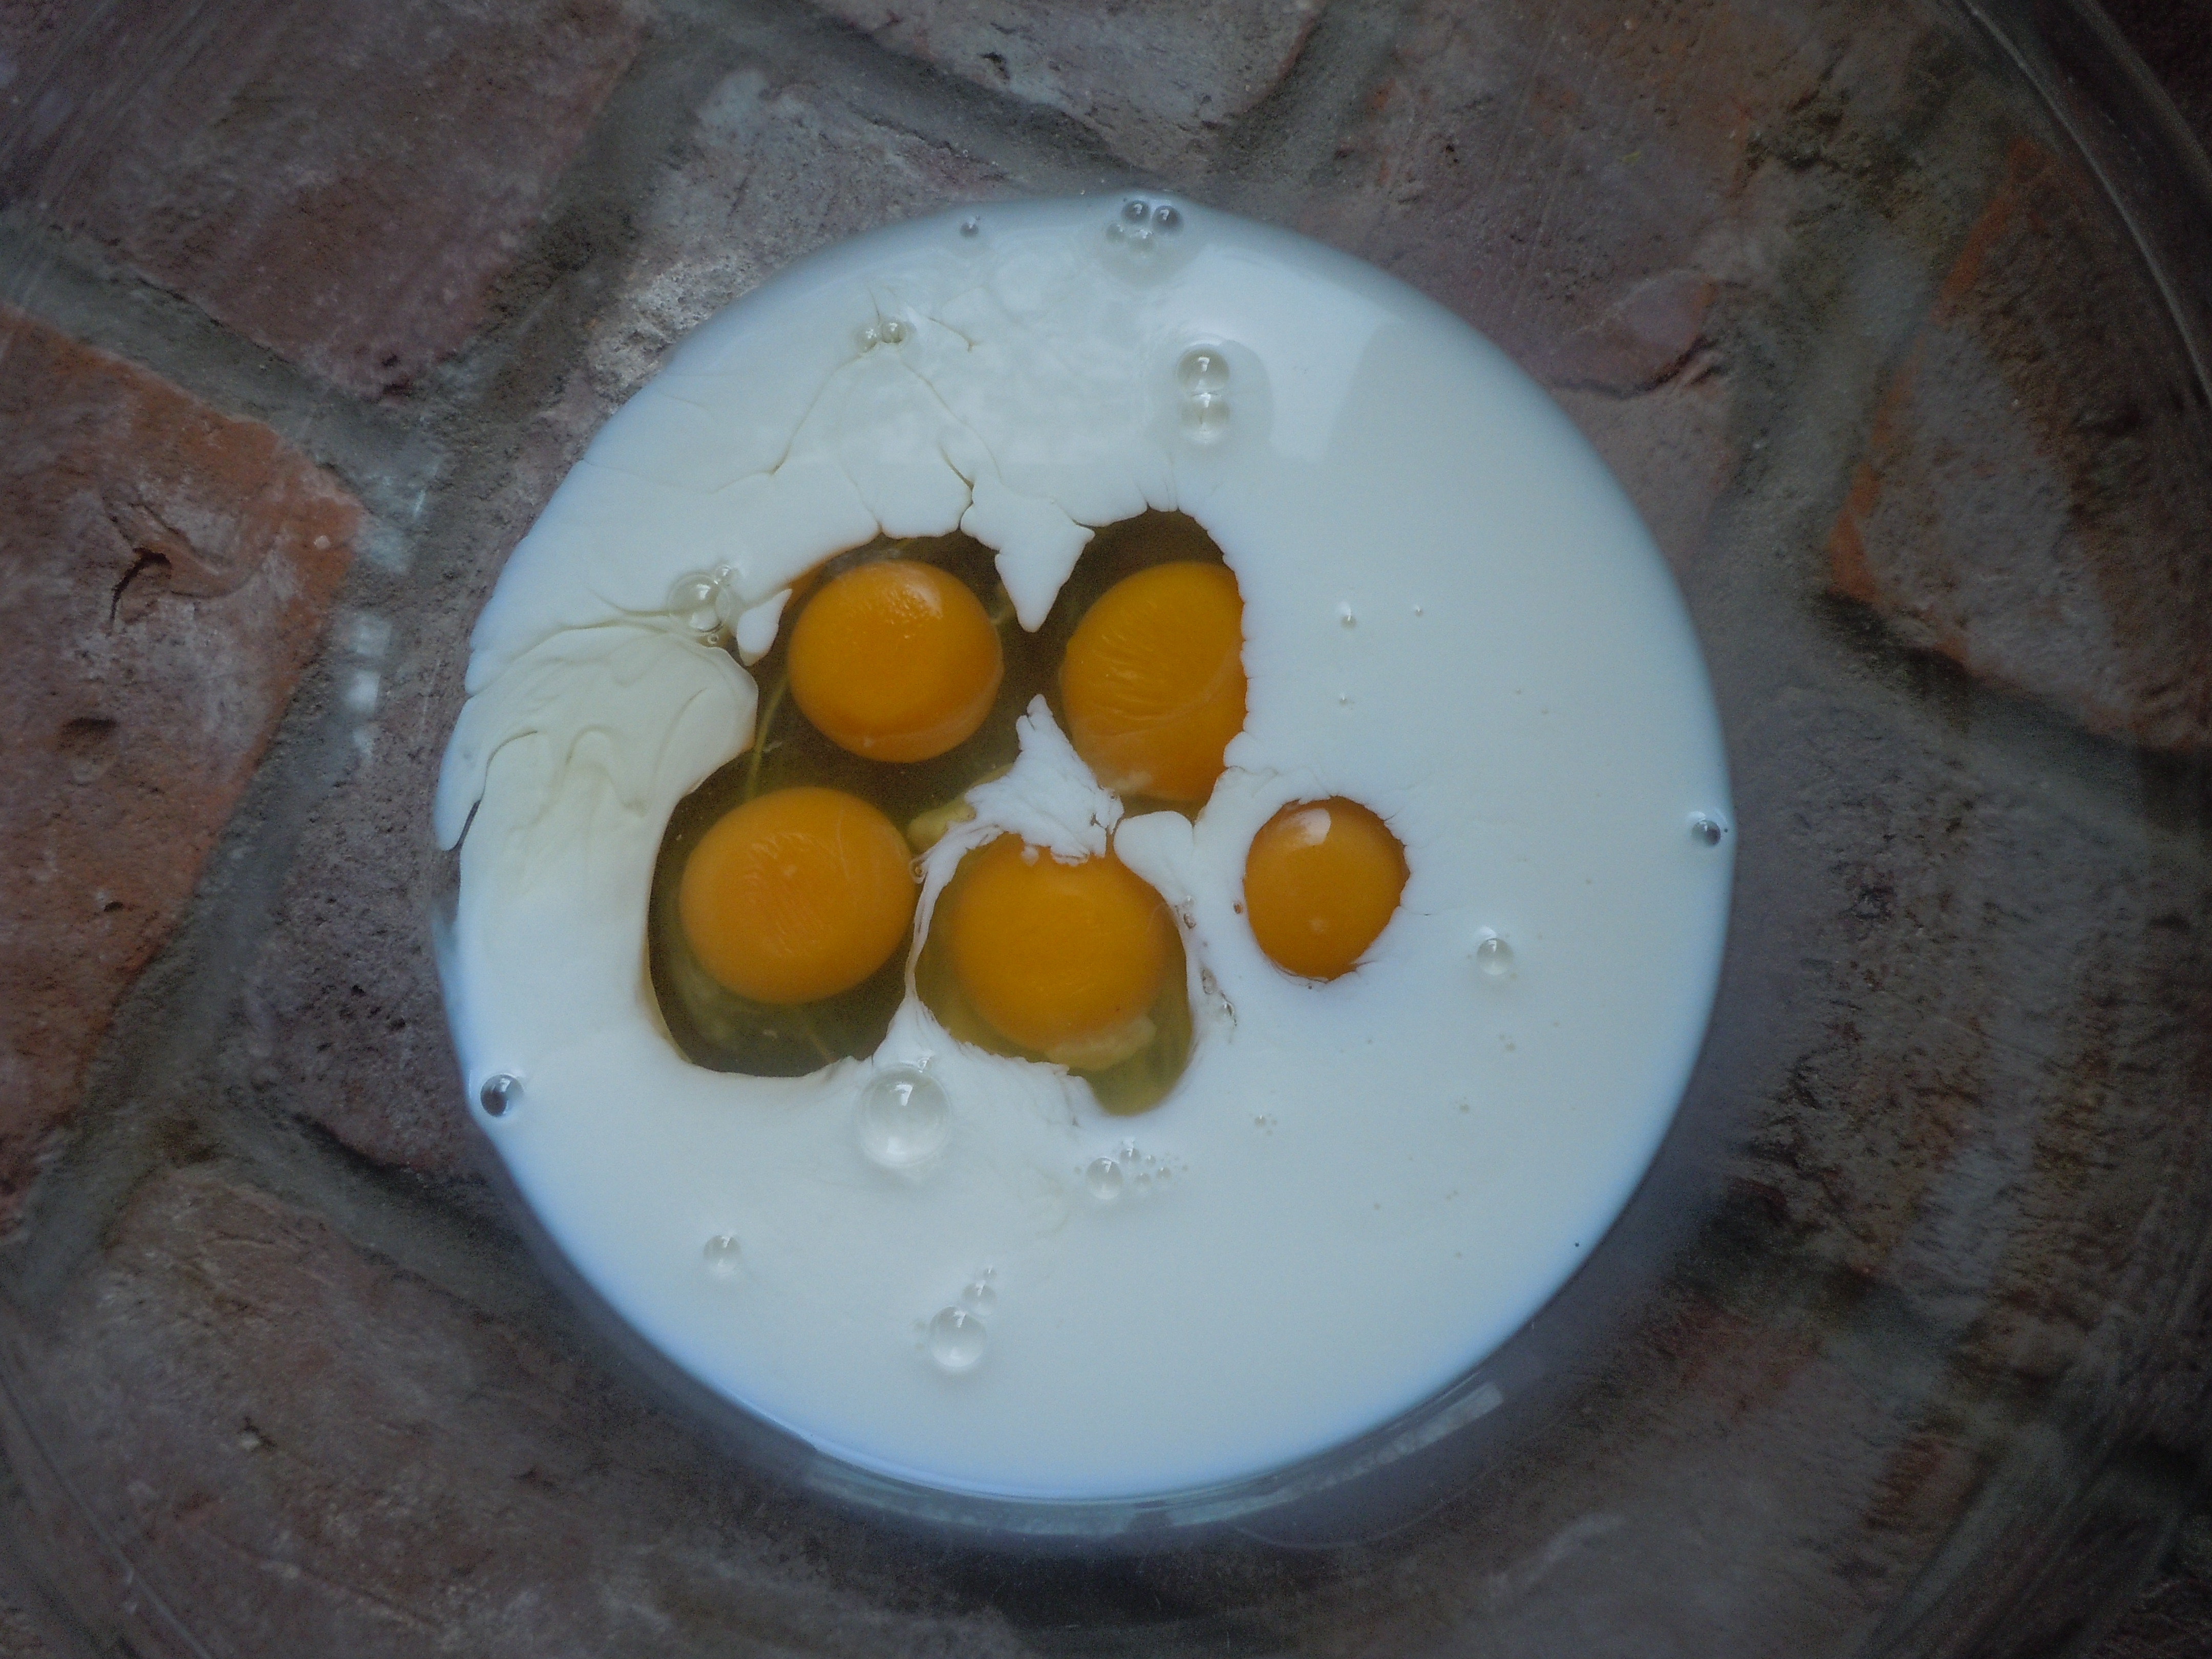
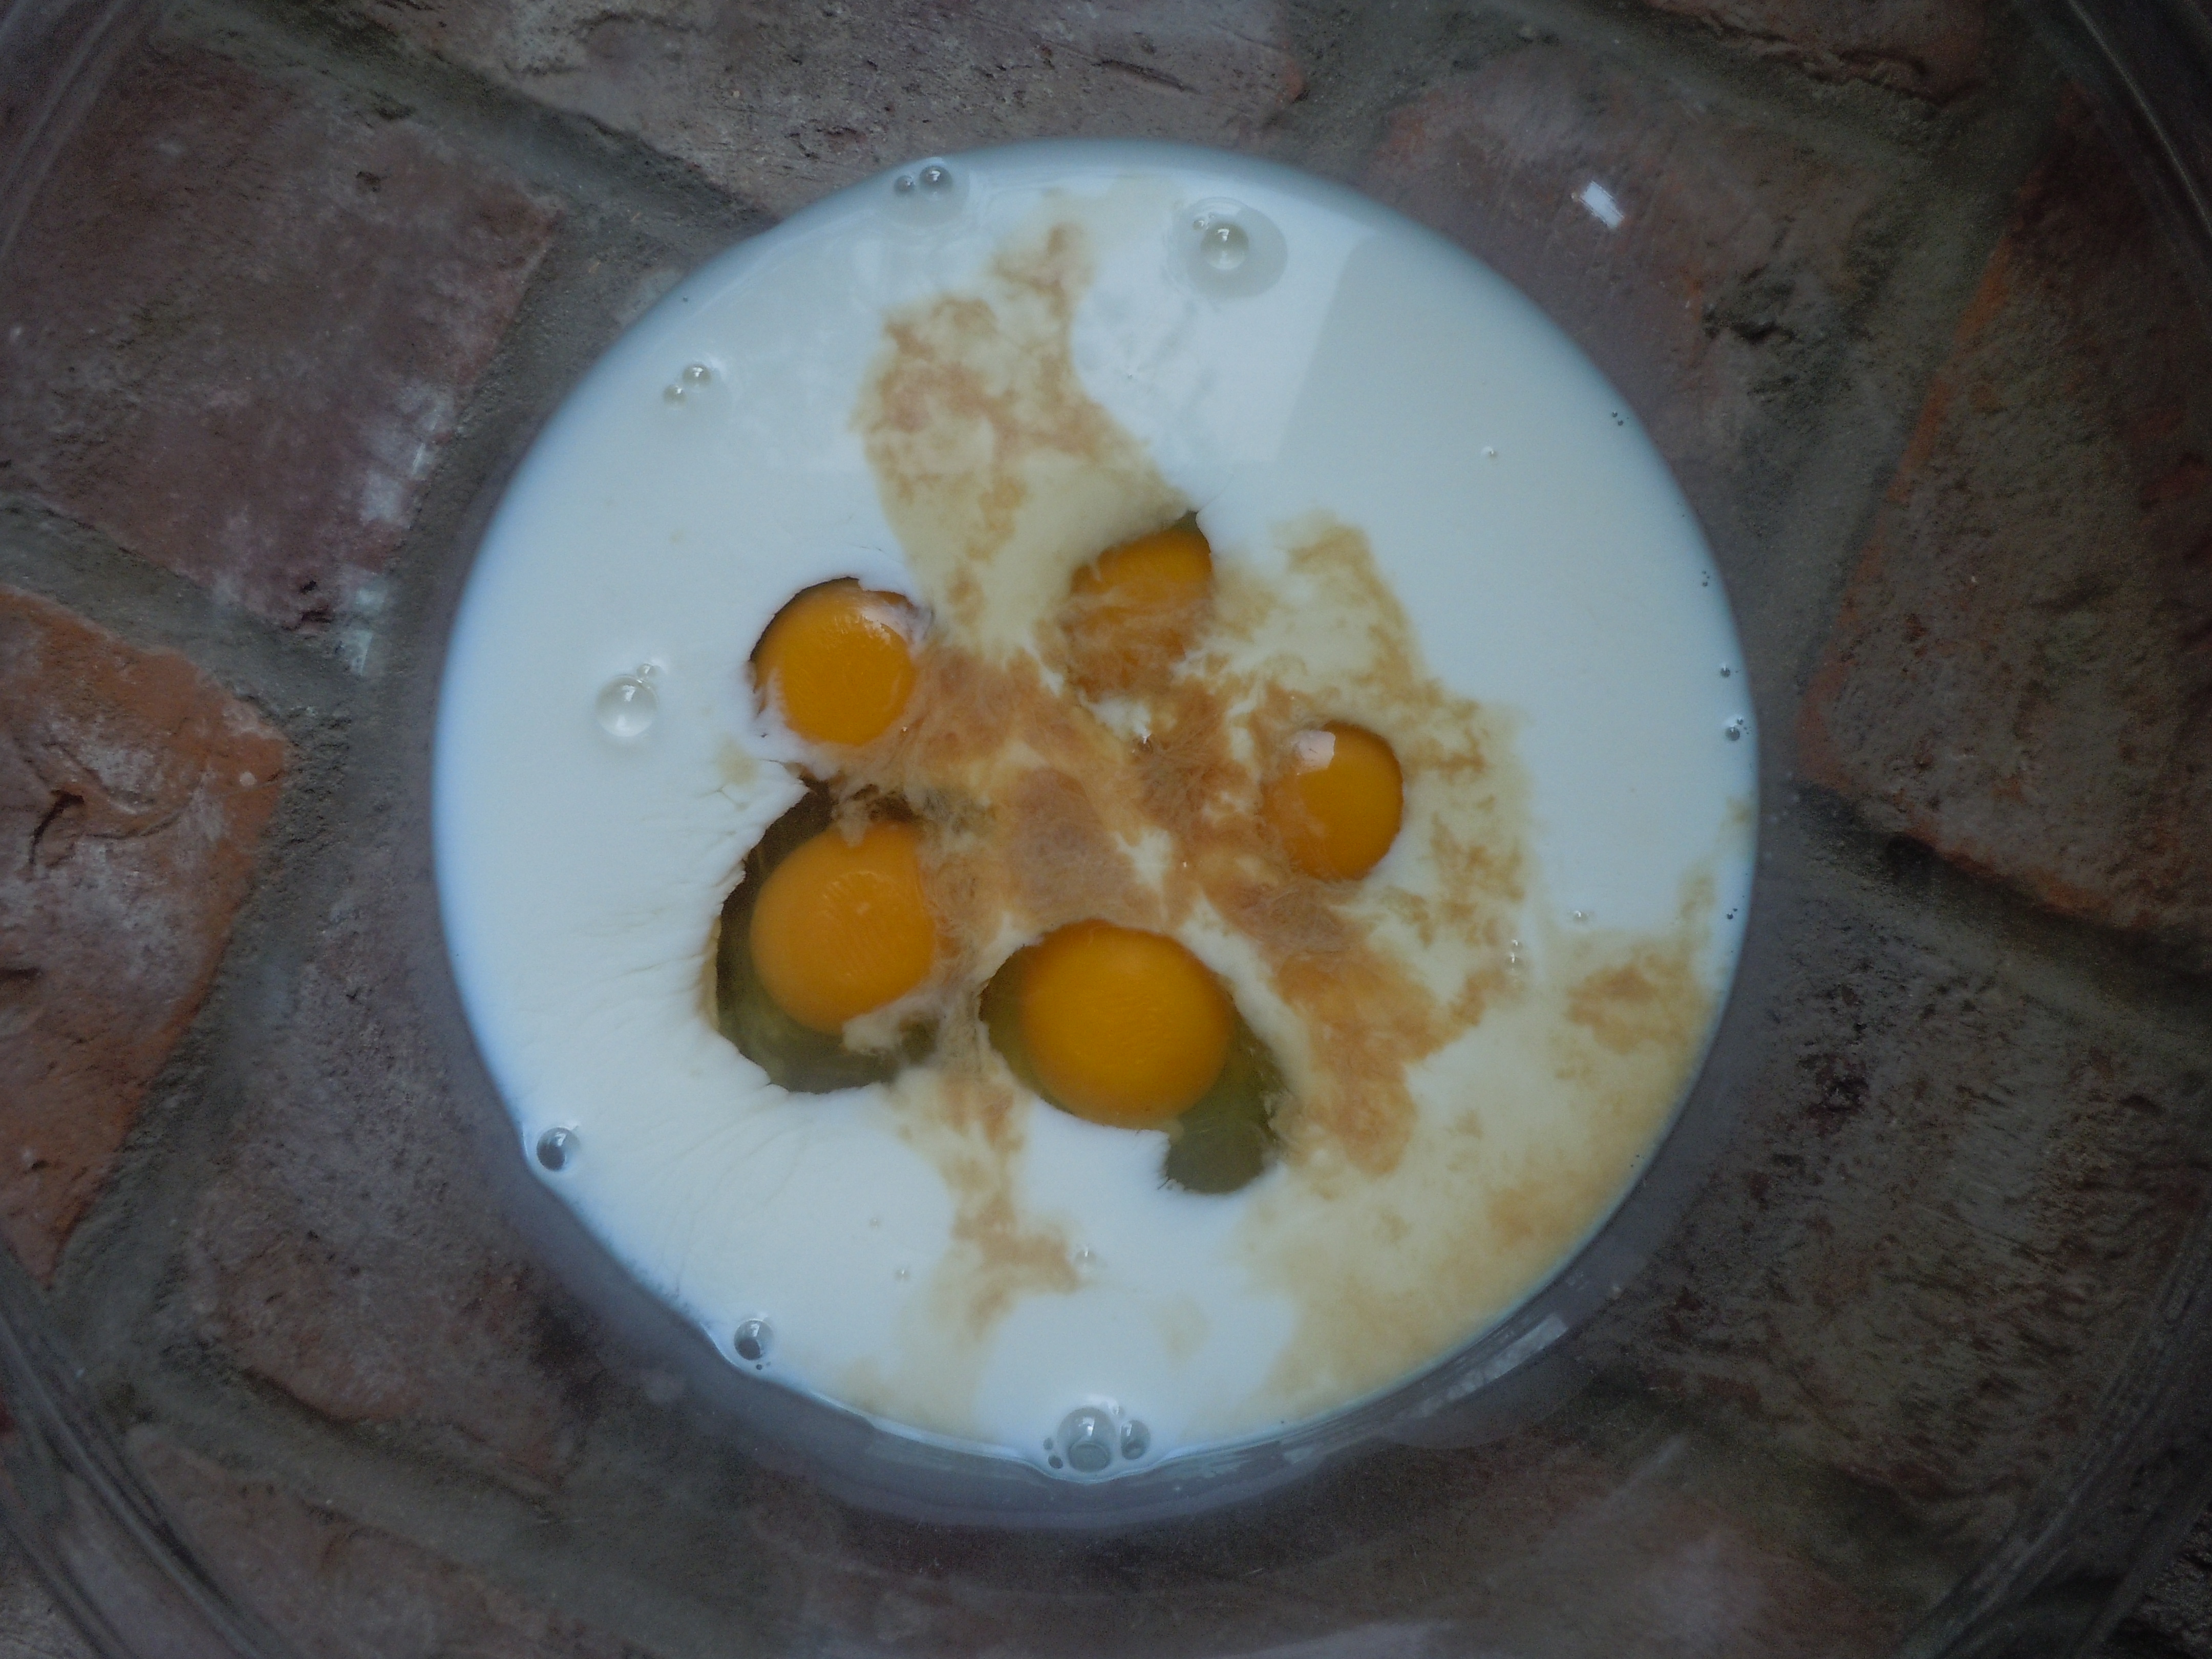
5 extra LG eggs (or 6 large)
1 cup Milk – cold
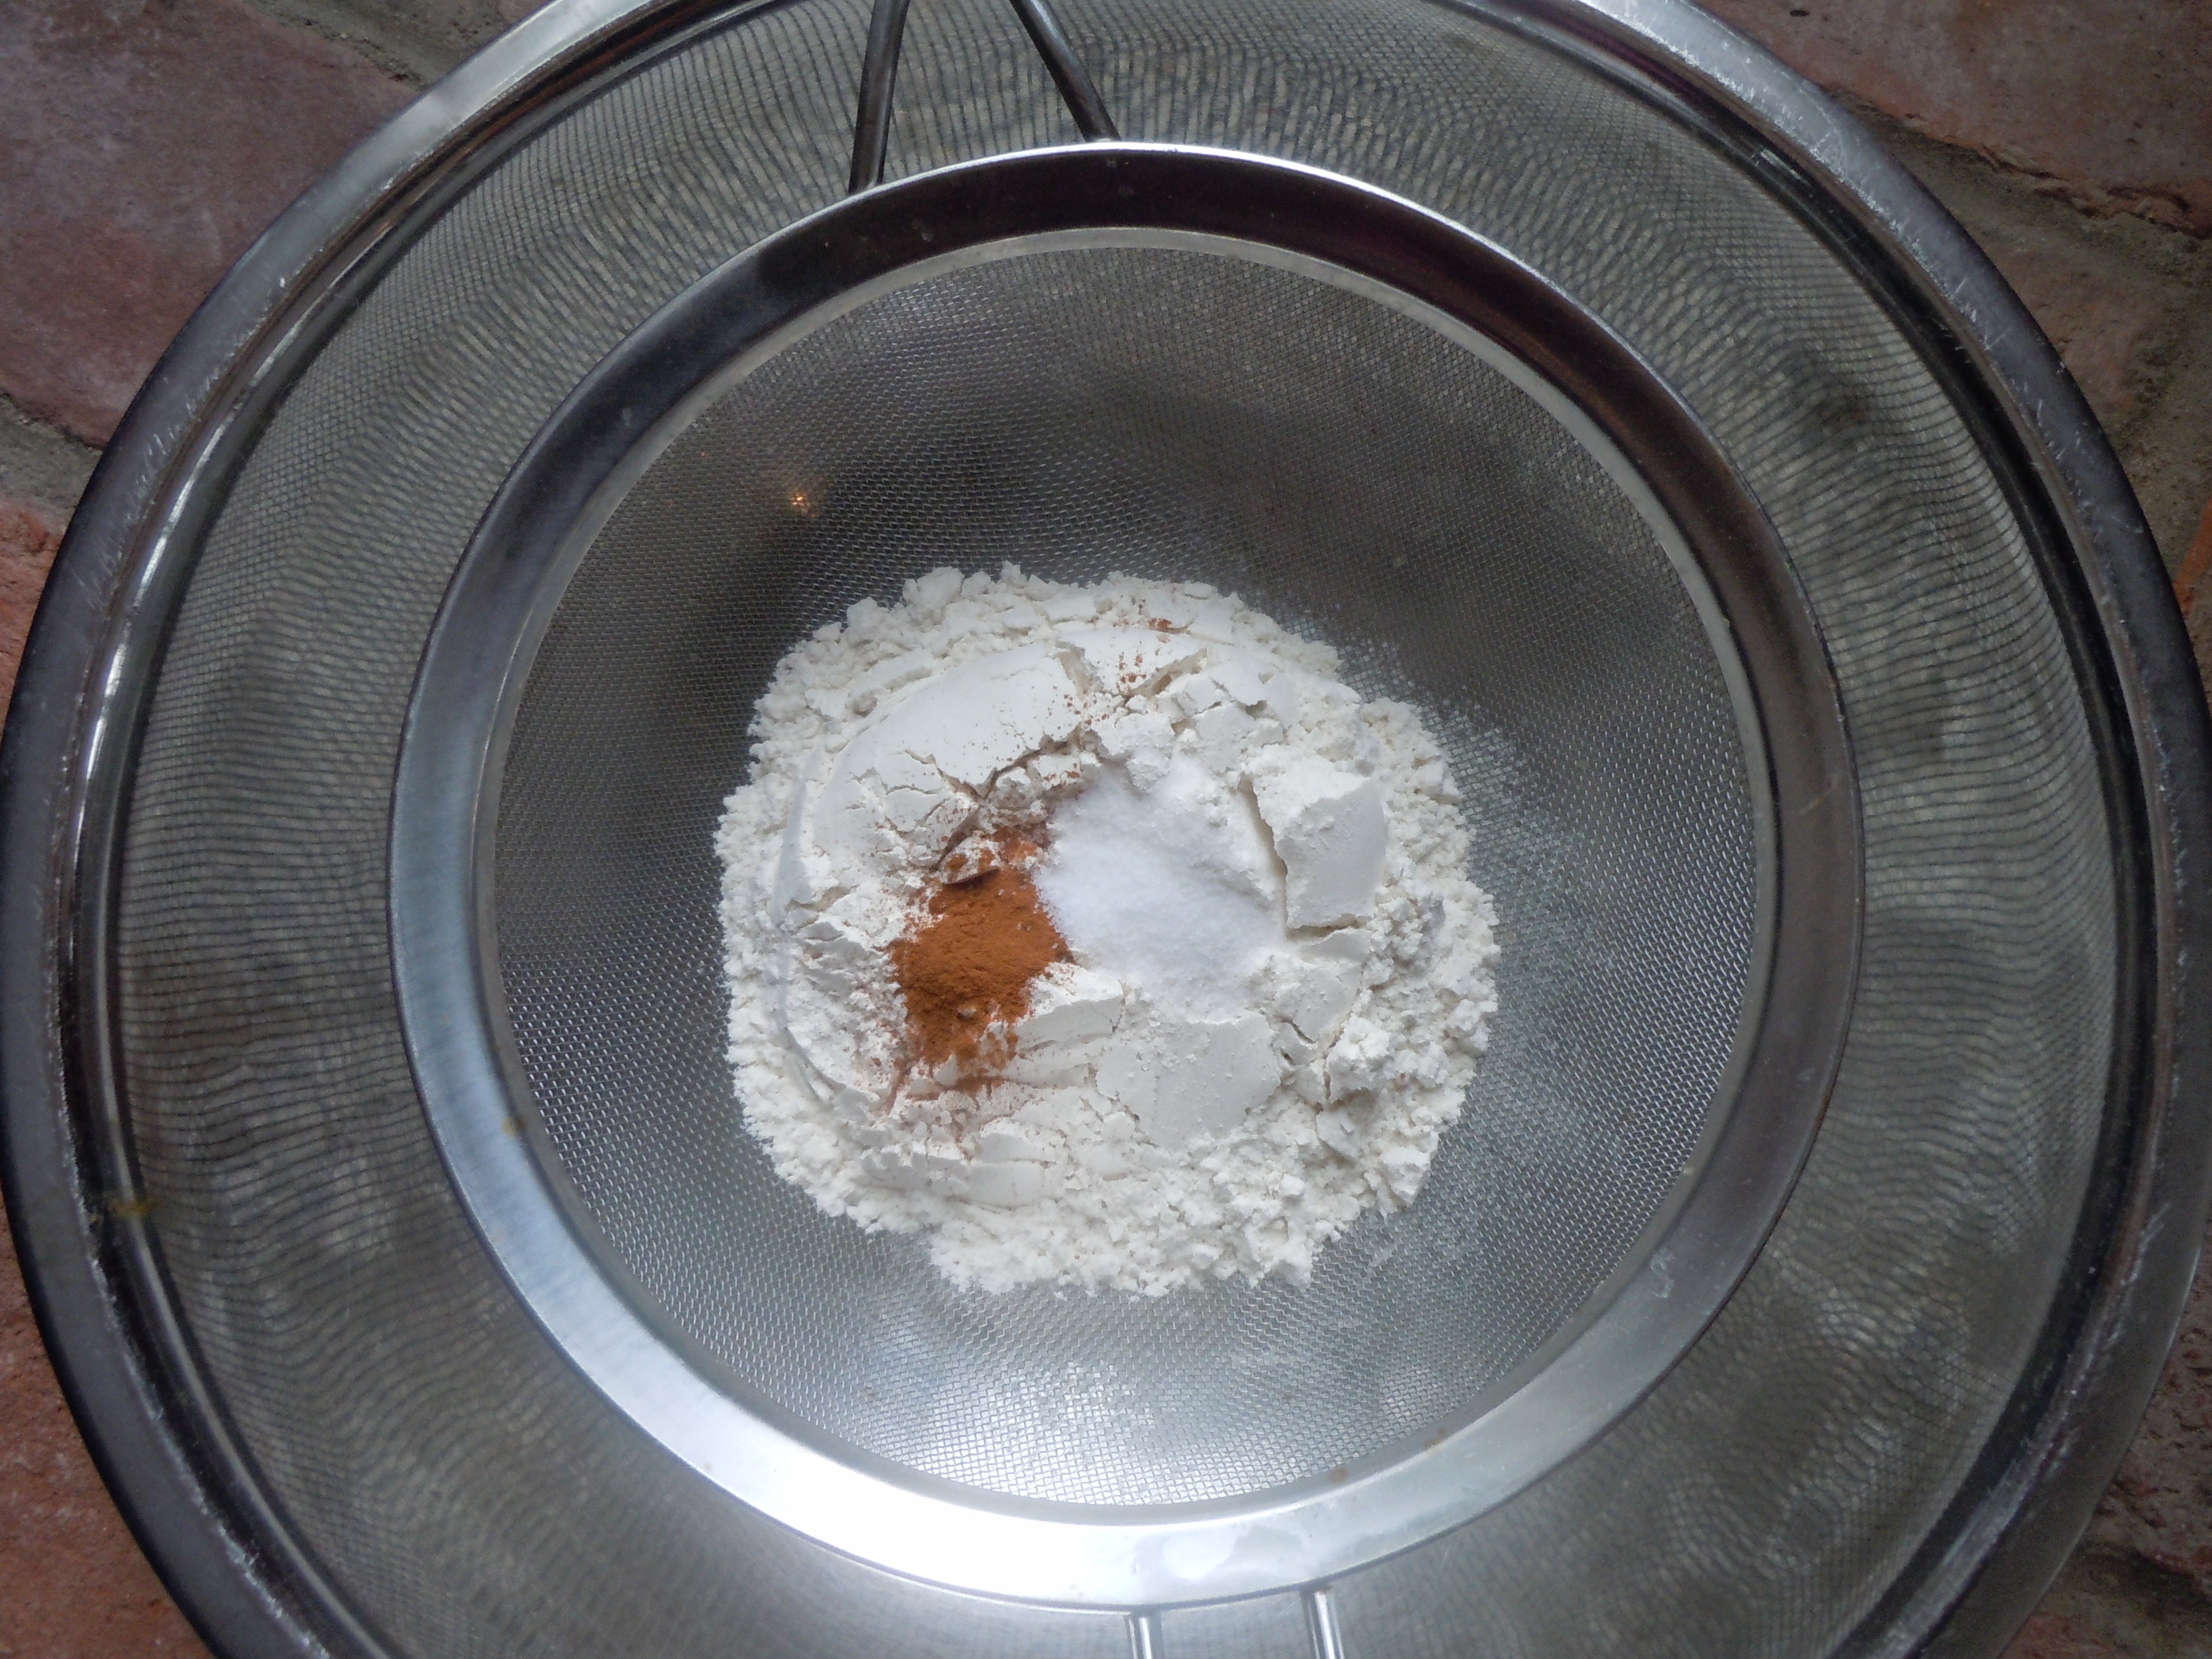
1 cup all purpose flour
1/2 Tsp. salt
1/4 Tsp cinnamon
1 Tsp. vanilla
4 Tbsp butter -cut up into 4 Tbsp (1/2 stick) COLD
Ingredients for savory German Pancake:
5 extra LG eggs (or 6 large)
1 cup Milk – cold
1 cup all purpose flour
1/2 Tsp. salt
1/2 cup swiss cheese OR cheddar
1/2 cup thin diced ham OR sauteed mushrooms
1/3 cup green onion OR sauteed sweet onion
NOTE: If you are going the cheddar, sauteed mushroom & onion route add 1 cup fresh baby spinach too!
4 Tbsp butter -cut up into 4 Tbsp (1/2 stick) COLD
Directions:
Pre-heat oven to 425º
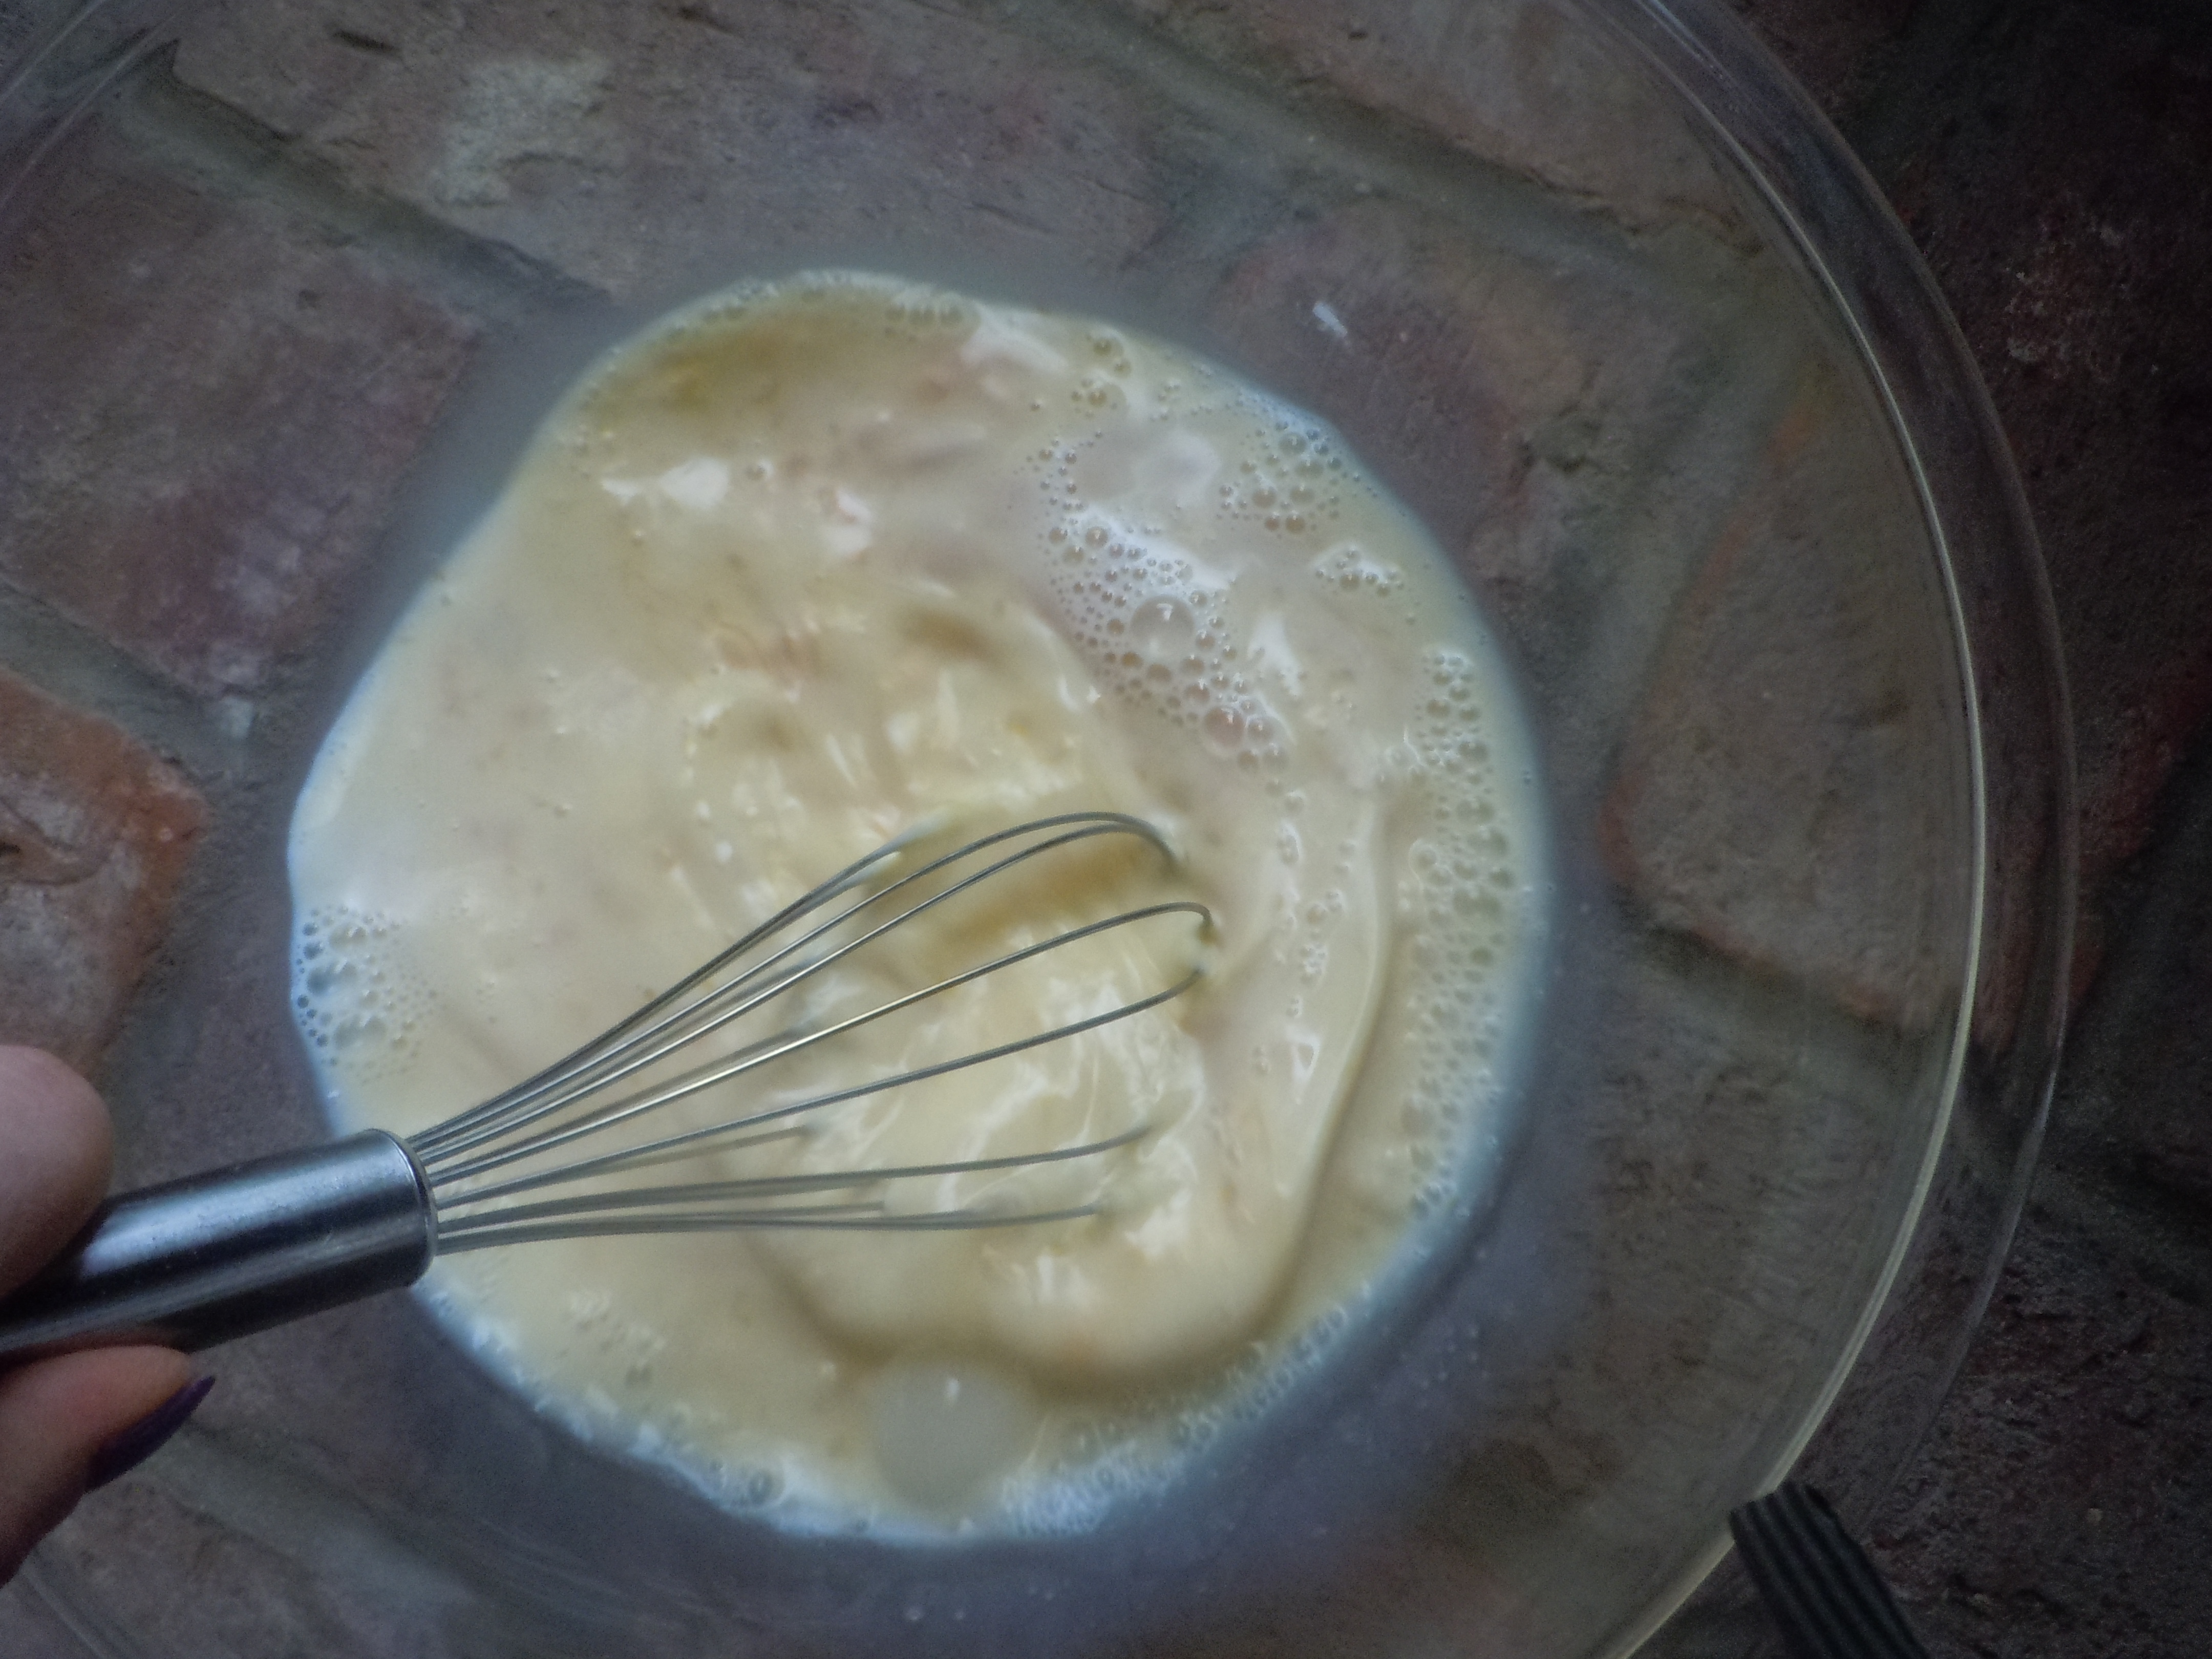
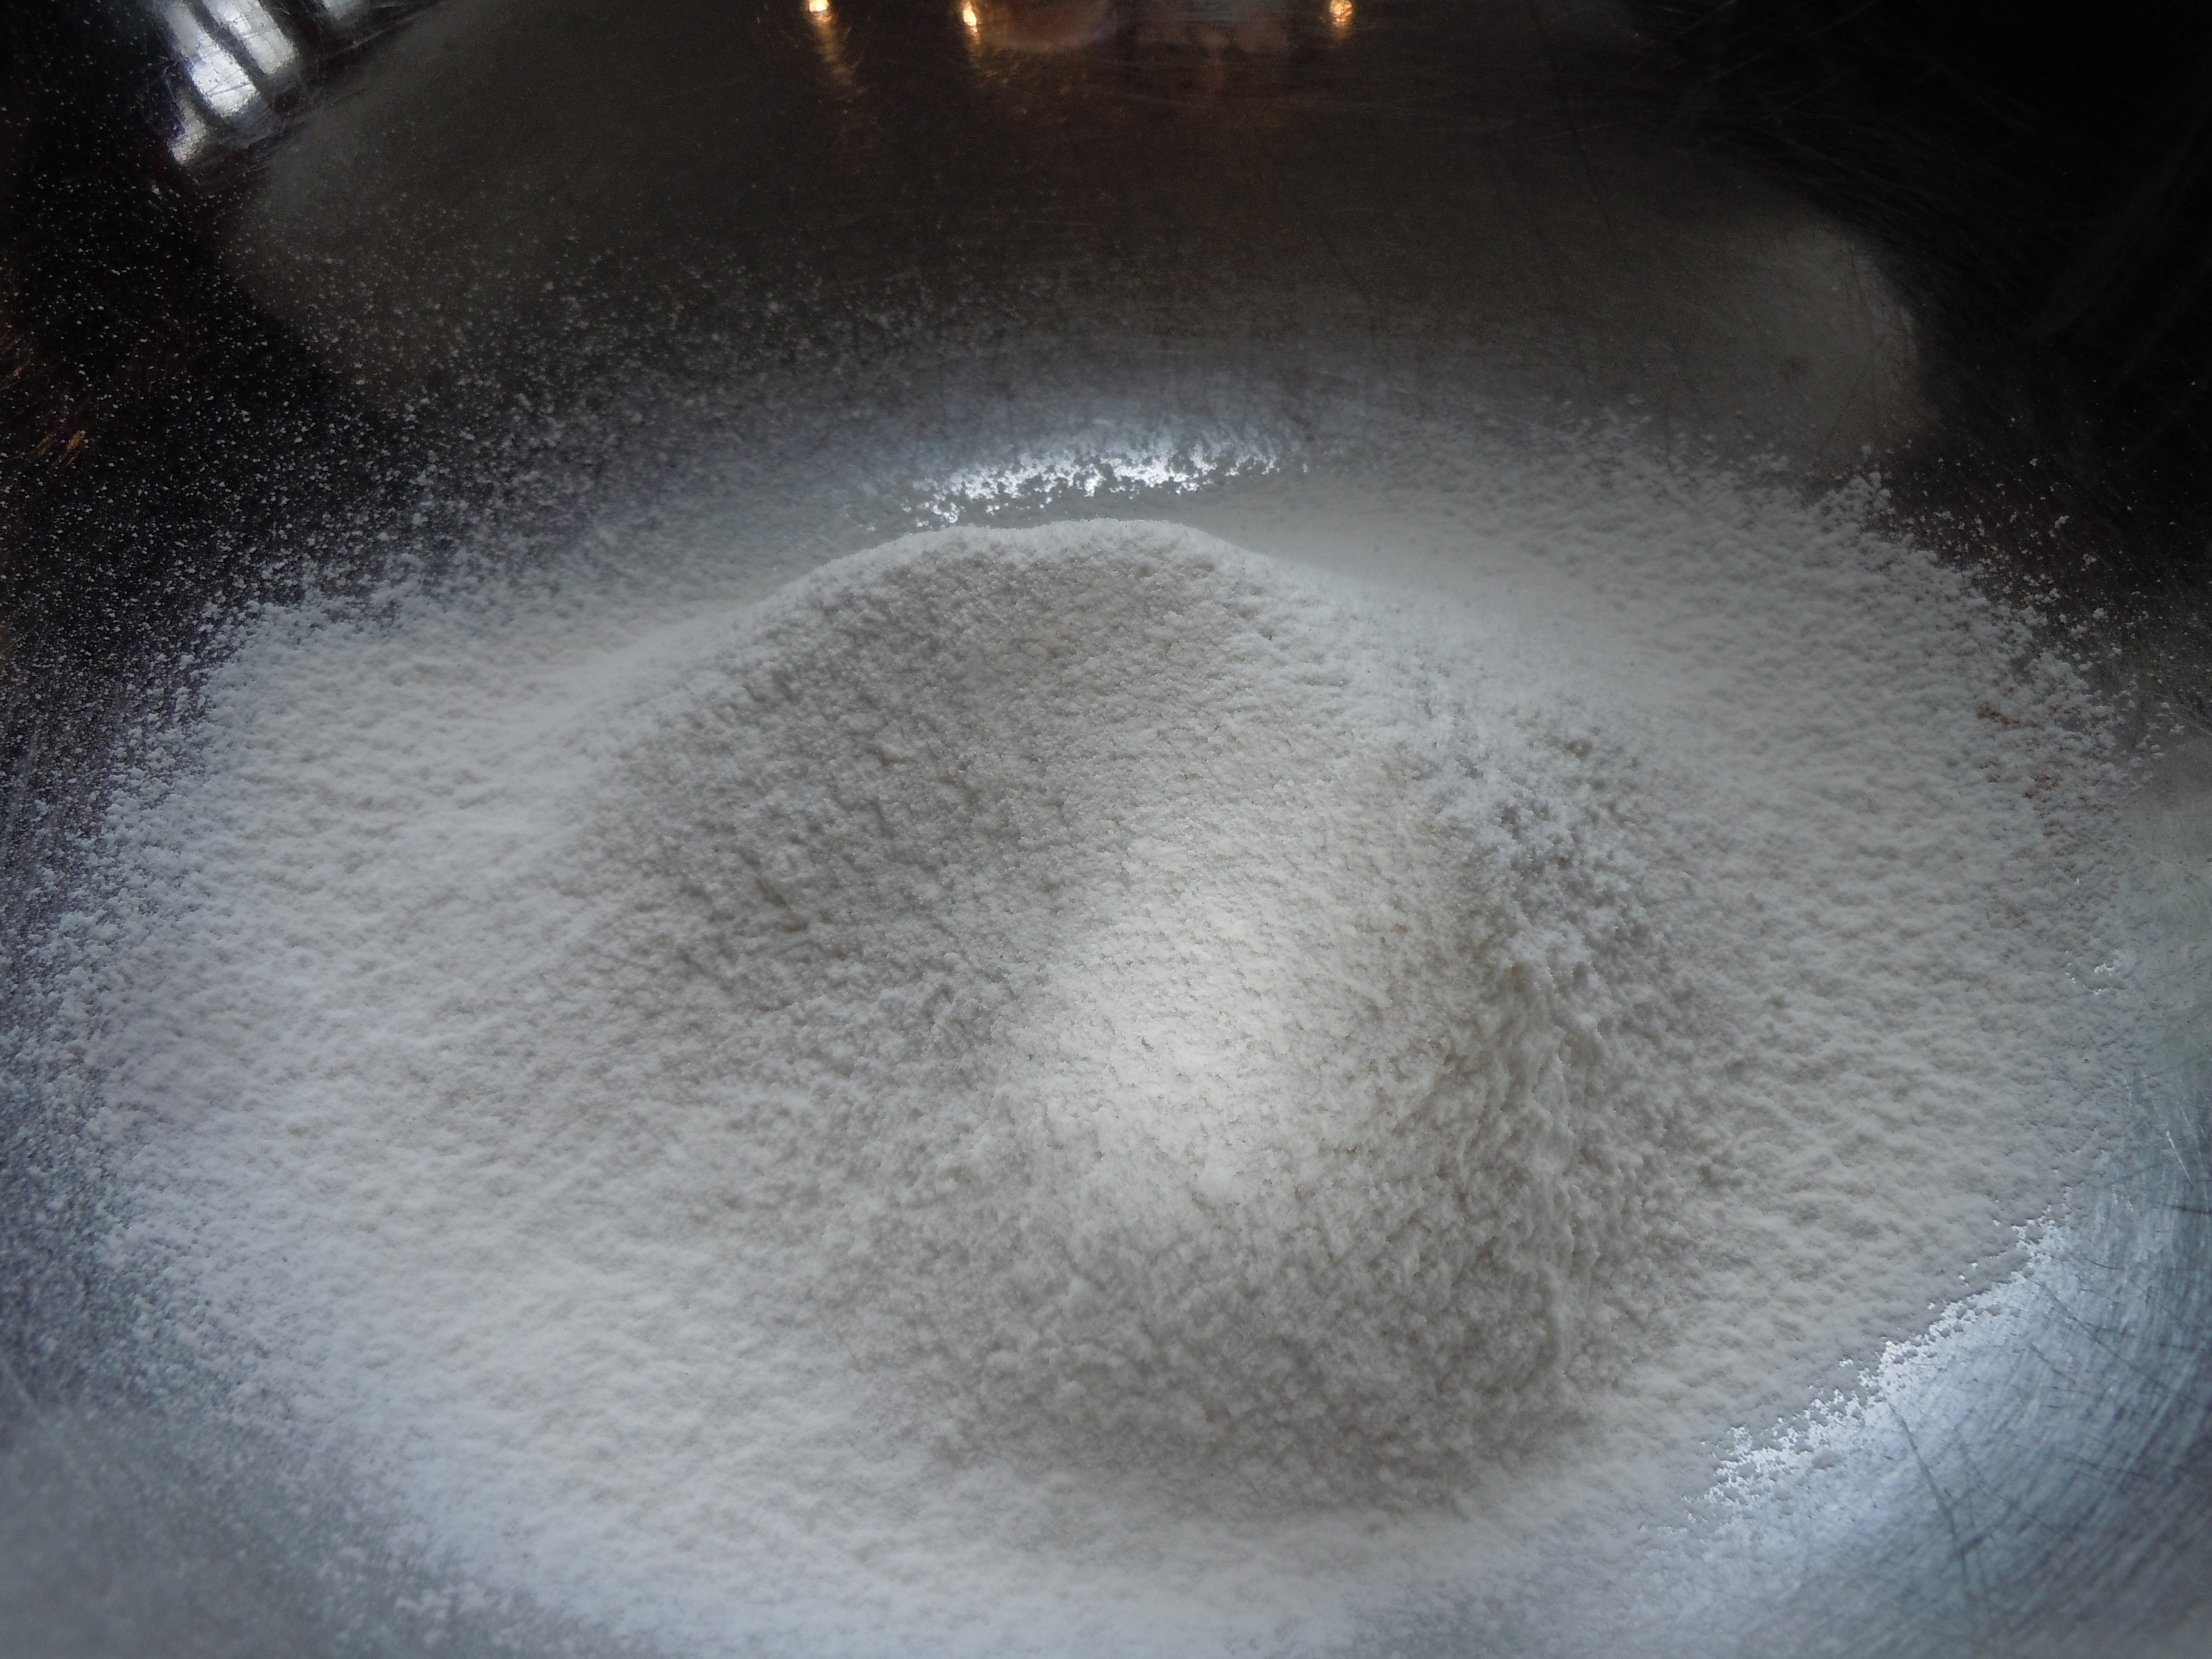
In a medium bowl whisk dry ingredients together
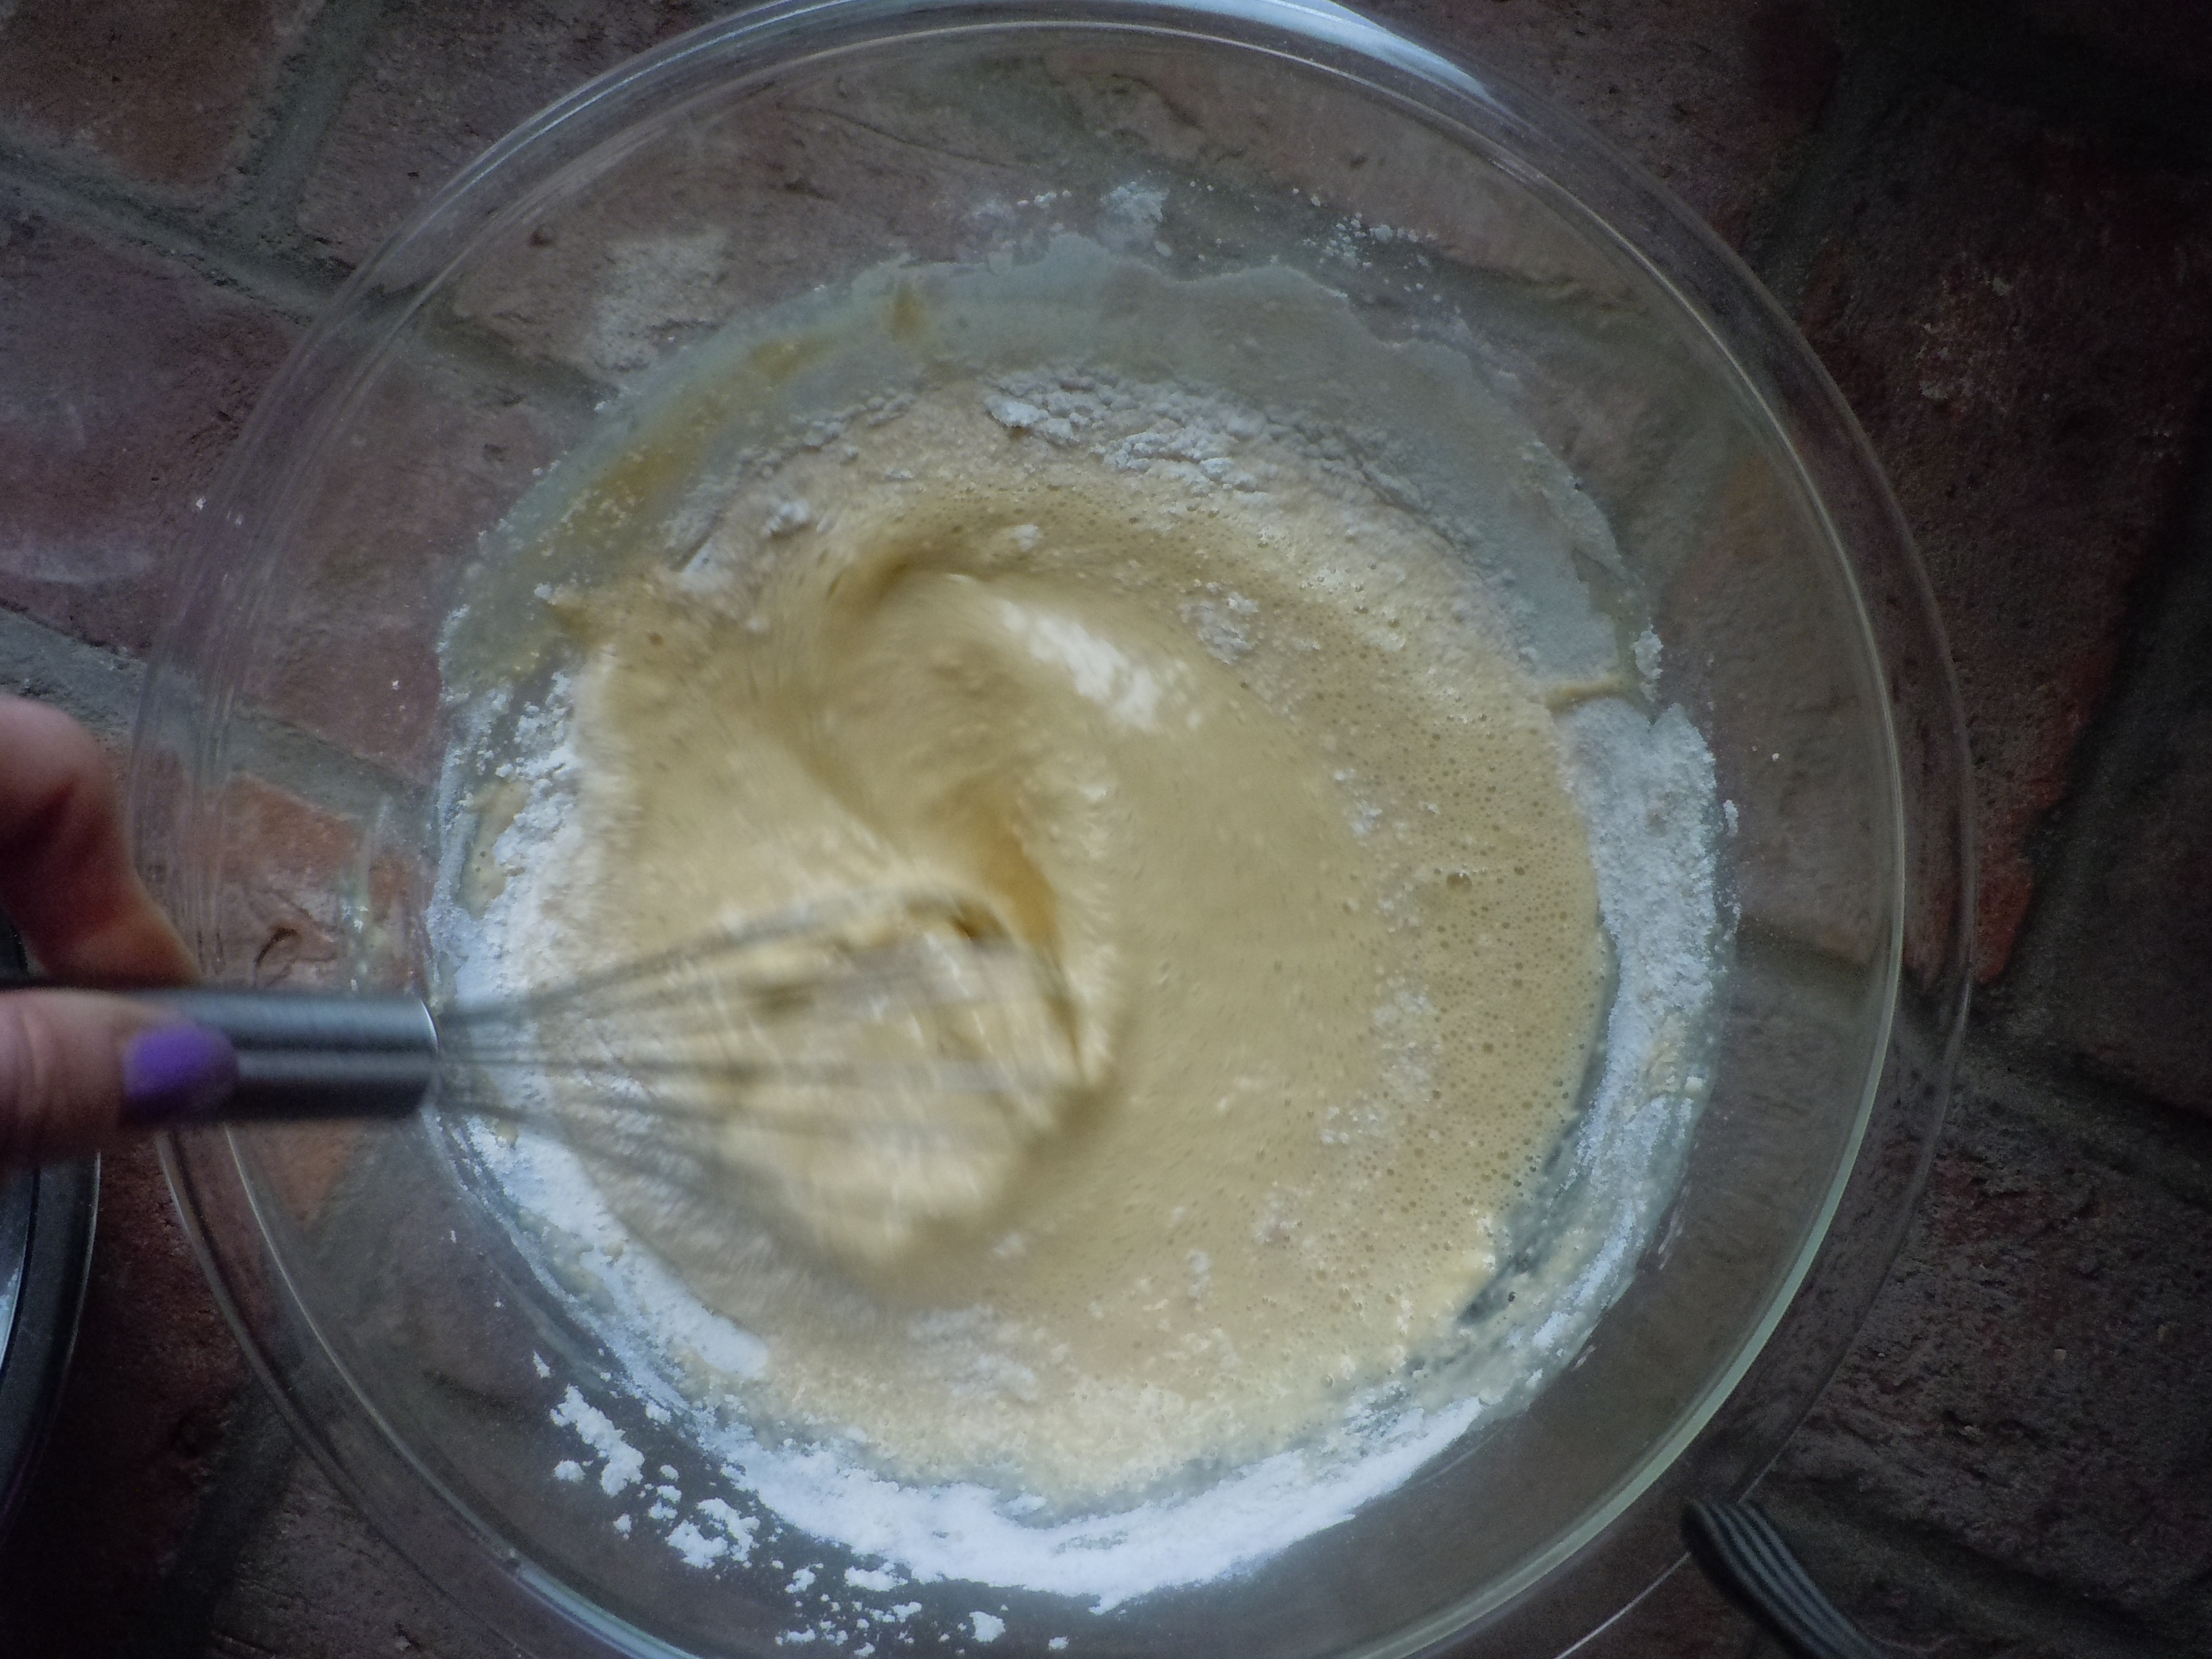
Begin to whisk in milk, vanilla and eggs into dry ingredients just until combined …Note : it puffs more if your milk and eggs are cold!
Put 10″-12″ cast iron pan on stove top on low heat for 1 minute –THIS WILL WORK IN ANY 10″-12″ OVEN PROOF PAN –
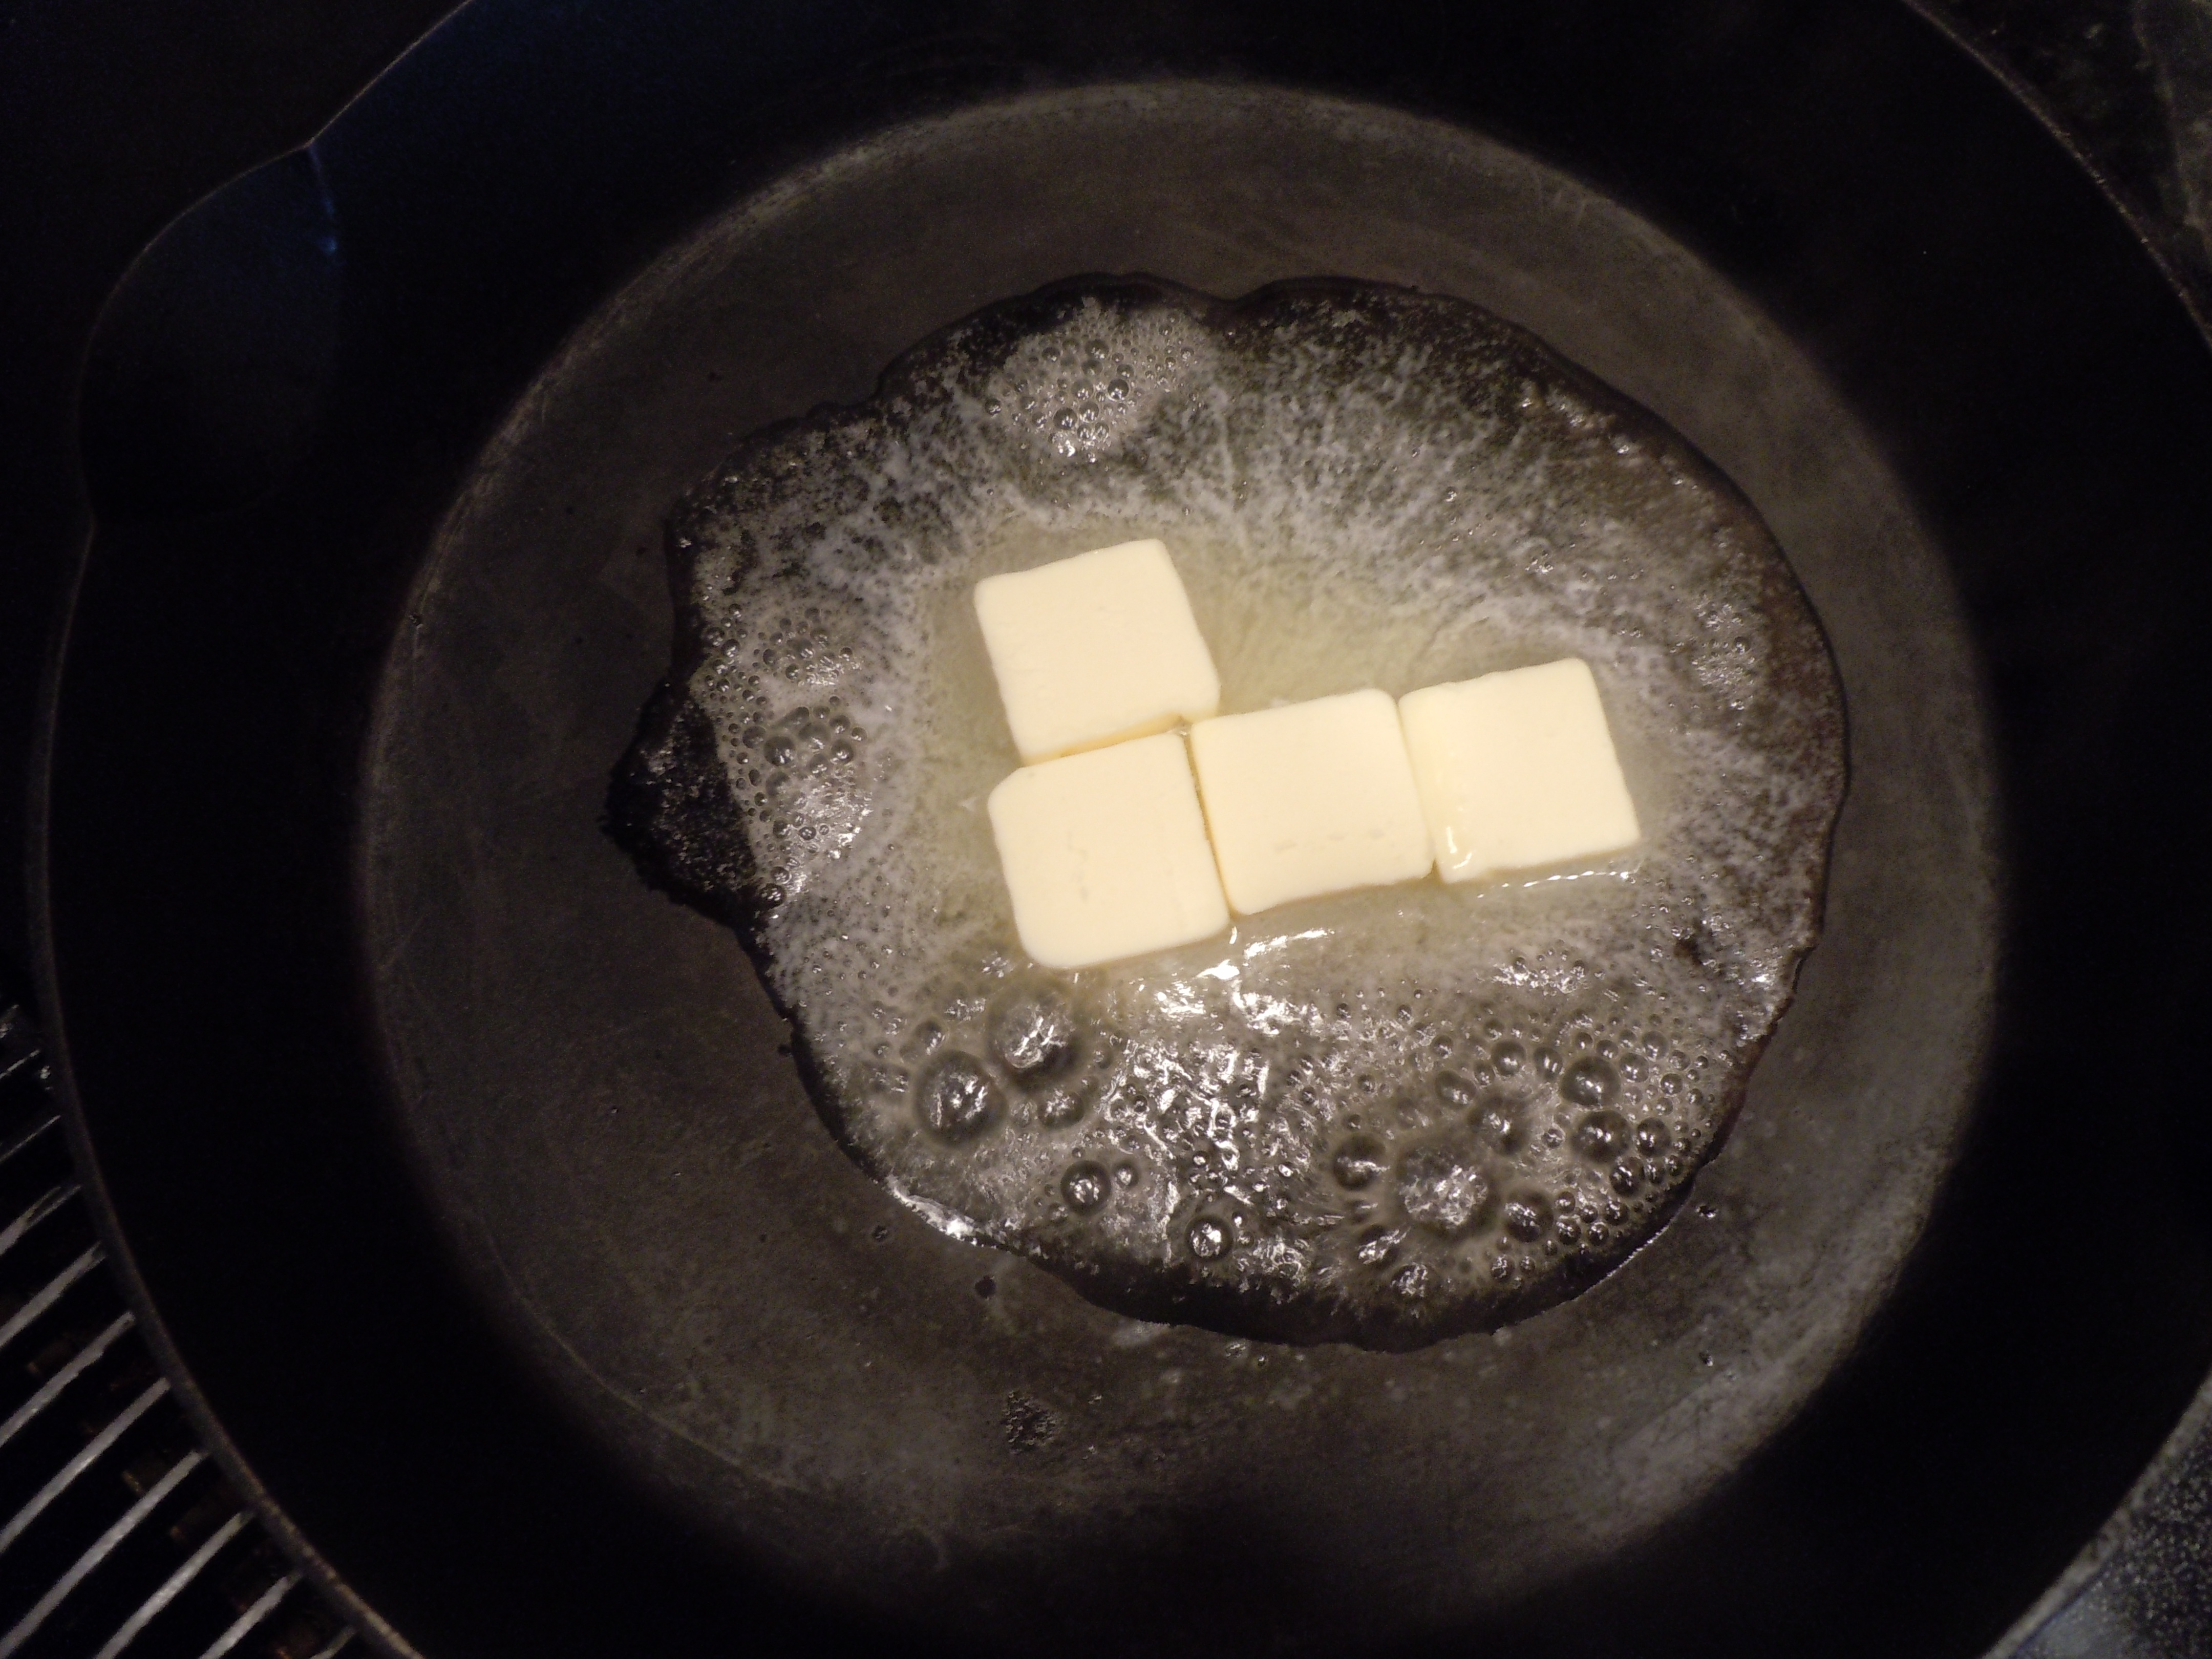
Turn heat up to high on cast iron pan, wait 1 minute til pan is hot but not smoking, then add 4 Tbsp of cut up cold butter
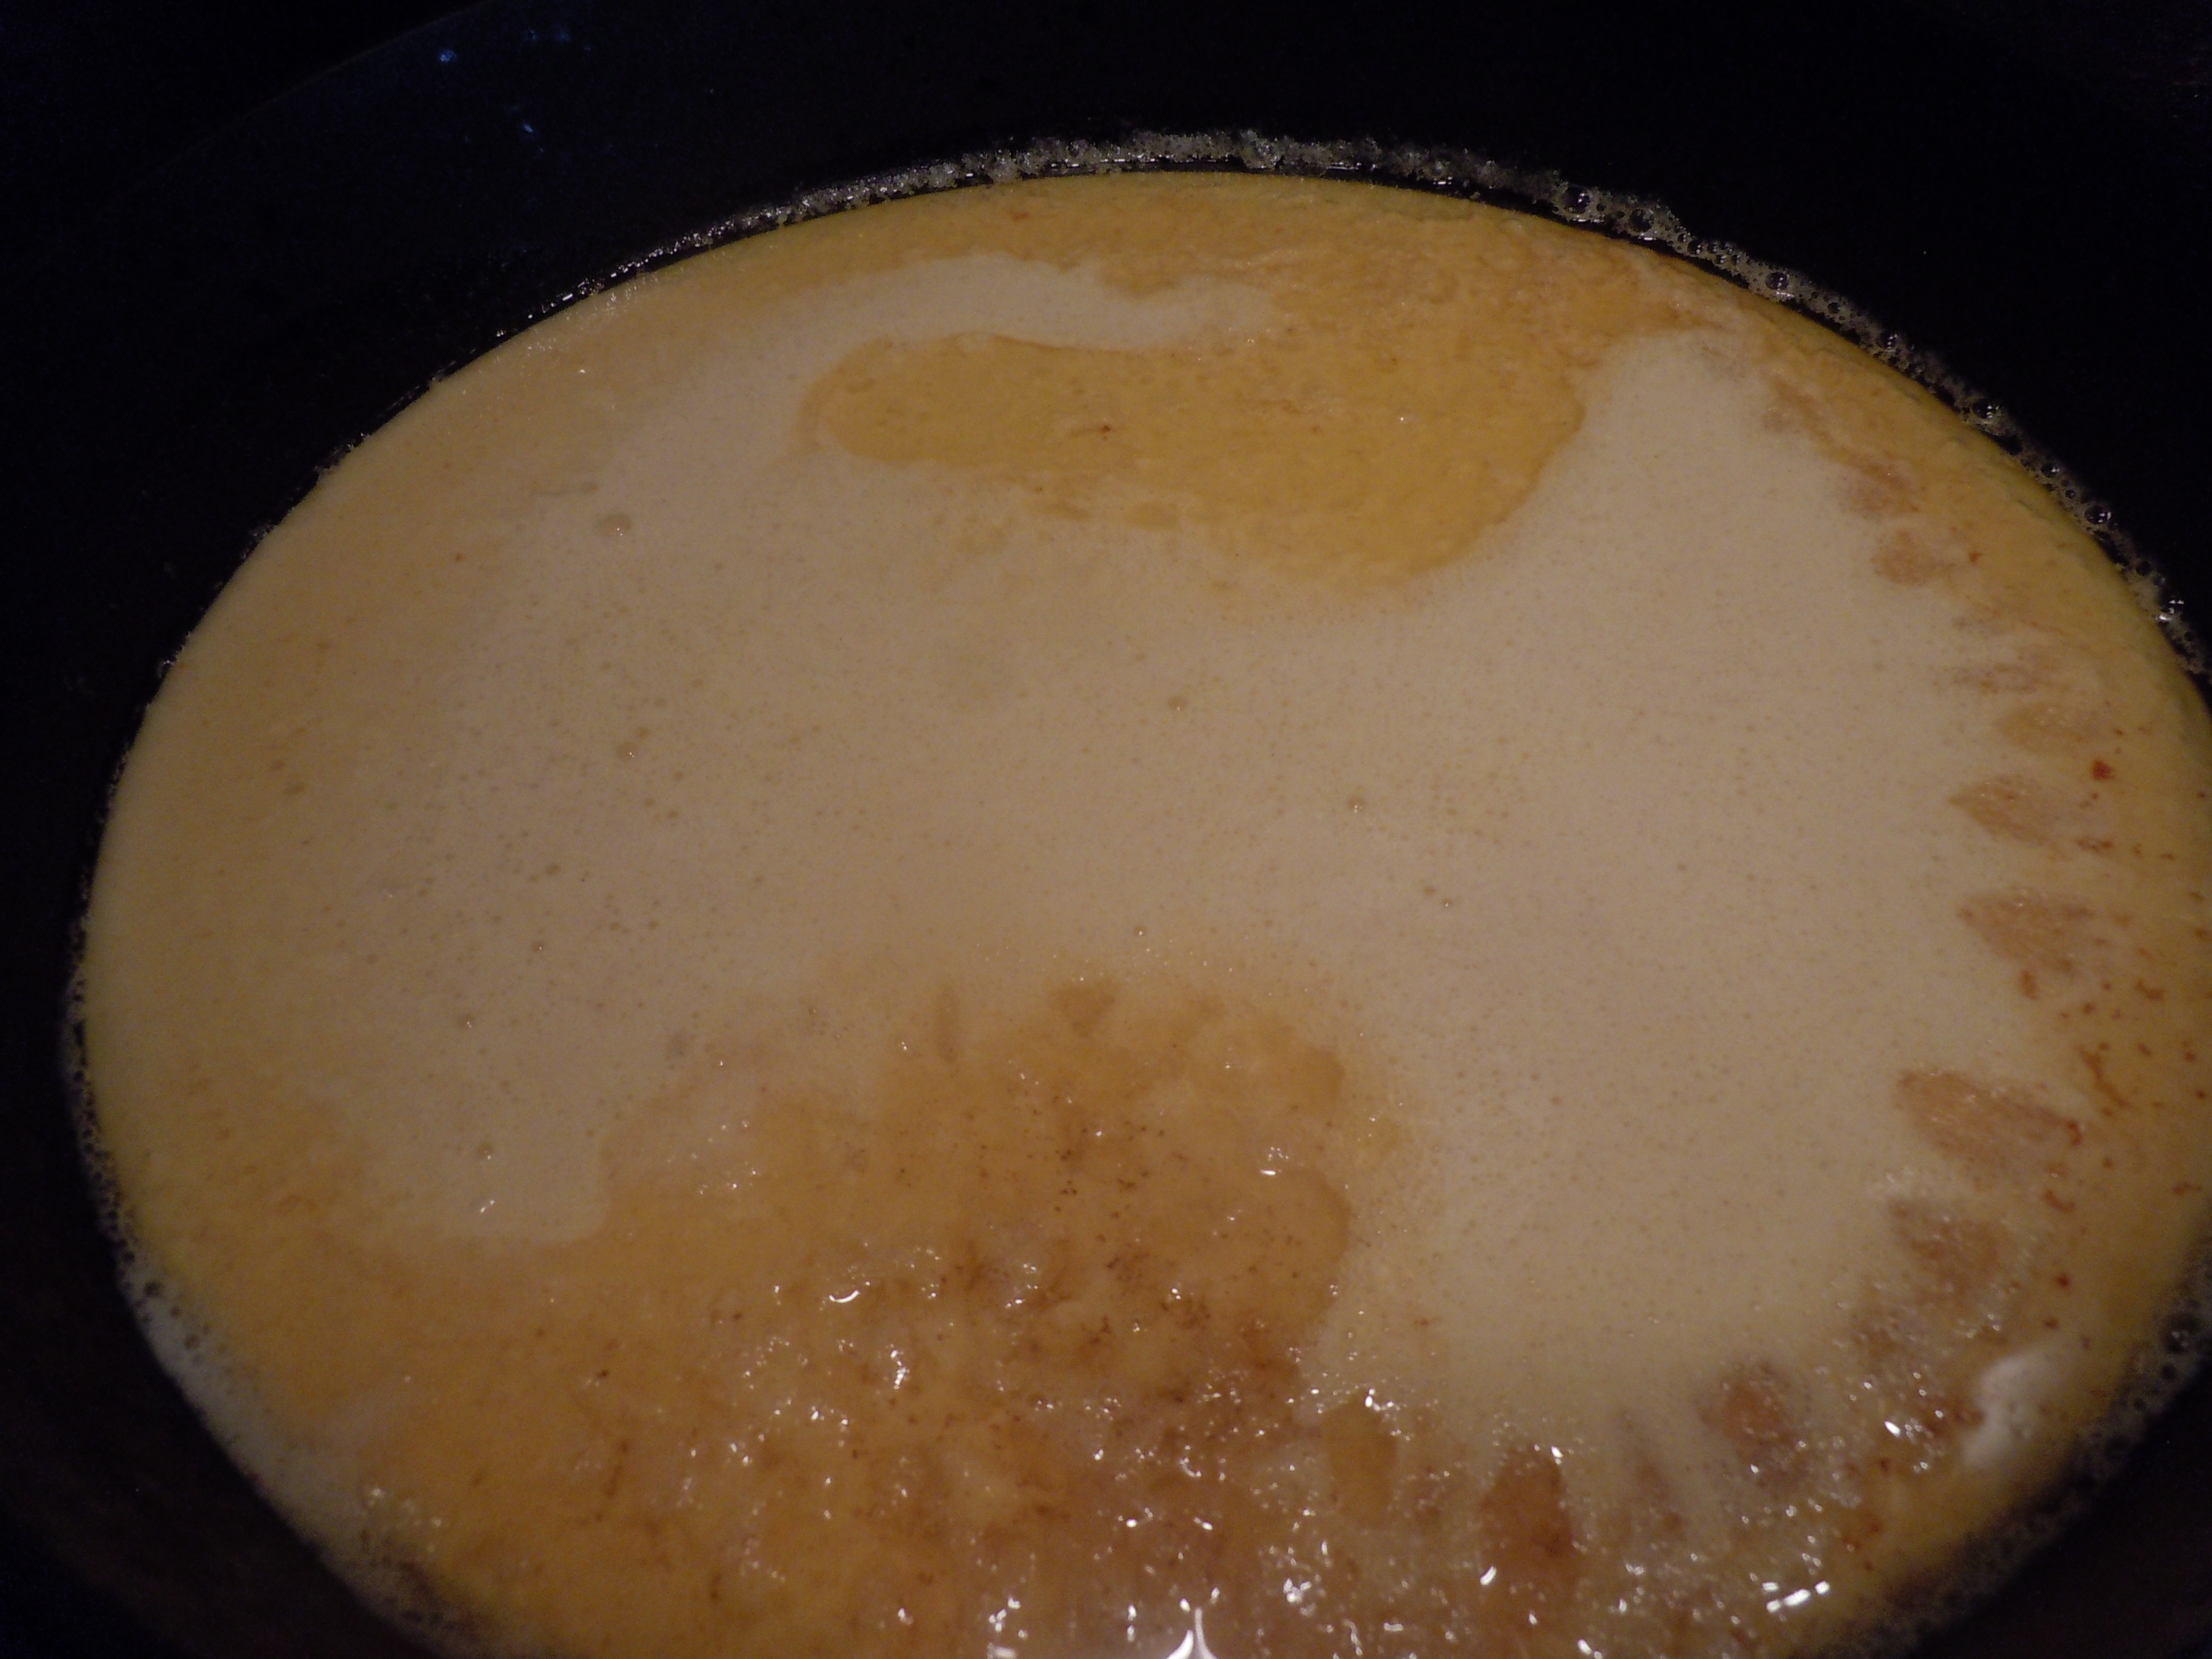
When the butter gets frothy add the batter, do not stir
Immediately take off heat and put into oven for 22 minutes until golden and puffy
NOTE: if you are doing “SAVORY German Pancake” …after you remove from heat top with your extra ingredients, do not stir, and place into oven for the 22 minutes
When you take it out of the oven transfer to a plate with a spatula and sprinkle with confectioners sugar.
Slice into wedges and serve with maple syrup, warm fresh strawberry jam/sauce (Recipe BELOW) and whipped cream! …mmm!
Ingrediesnts and Directions for EASY STRAWBERRY JAM/SAUCE:
1 lb. hulled and chopped fresh stawberries
1 cup white sugar
1/4 cup fresh sqeezed lemon juice
Finely dice strawberries and add to a wide 8″ sauce pan with 1 cup sugar and lemon juice
Over med/high heat bring to a rolling simmer
Keep an eye on the mixture, keep simmering for 15 min. – make sure it doesn’t boil over
Skim off white foam that accumulates around the edges while simmering as this will make the jam cloudy (its just air bubbles that form in the jamming process)
Remove from heat and serve warm with German pancake
Jar the remaining strawberry sauce and refrigerate as it will thicken into a jam as it cools! It will stay good for 2 weeks in the frig.
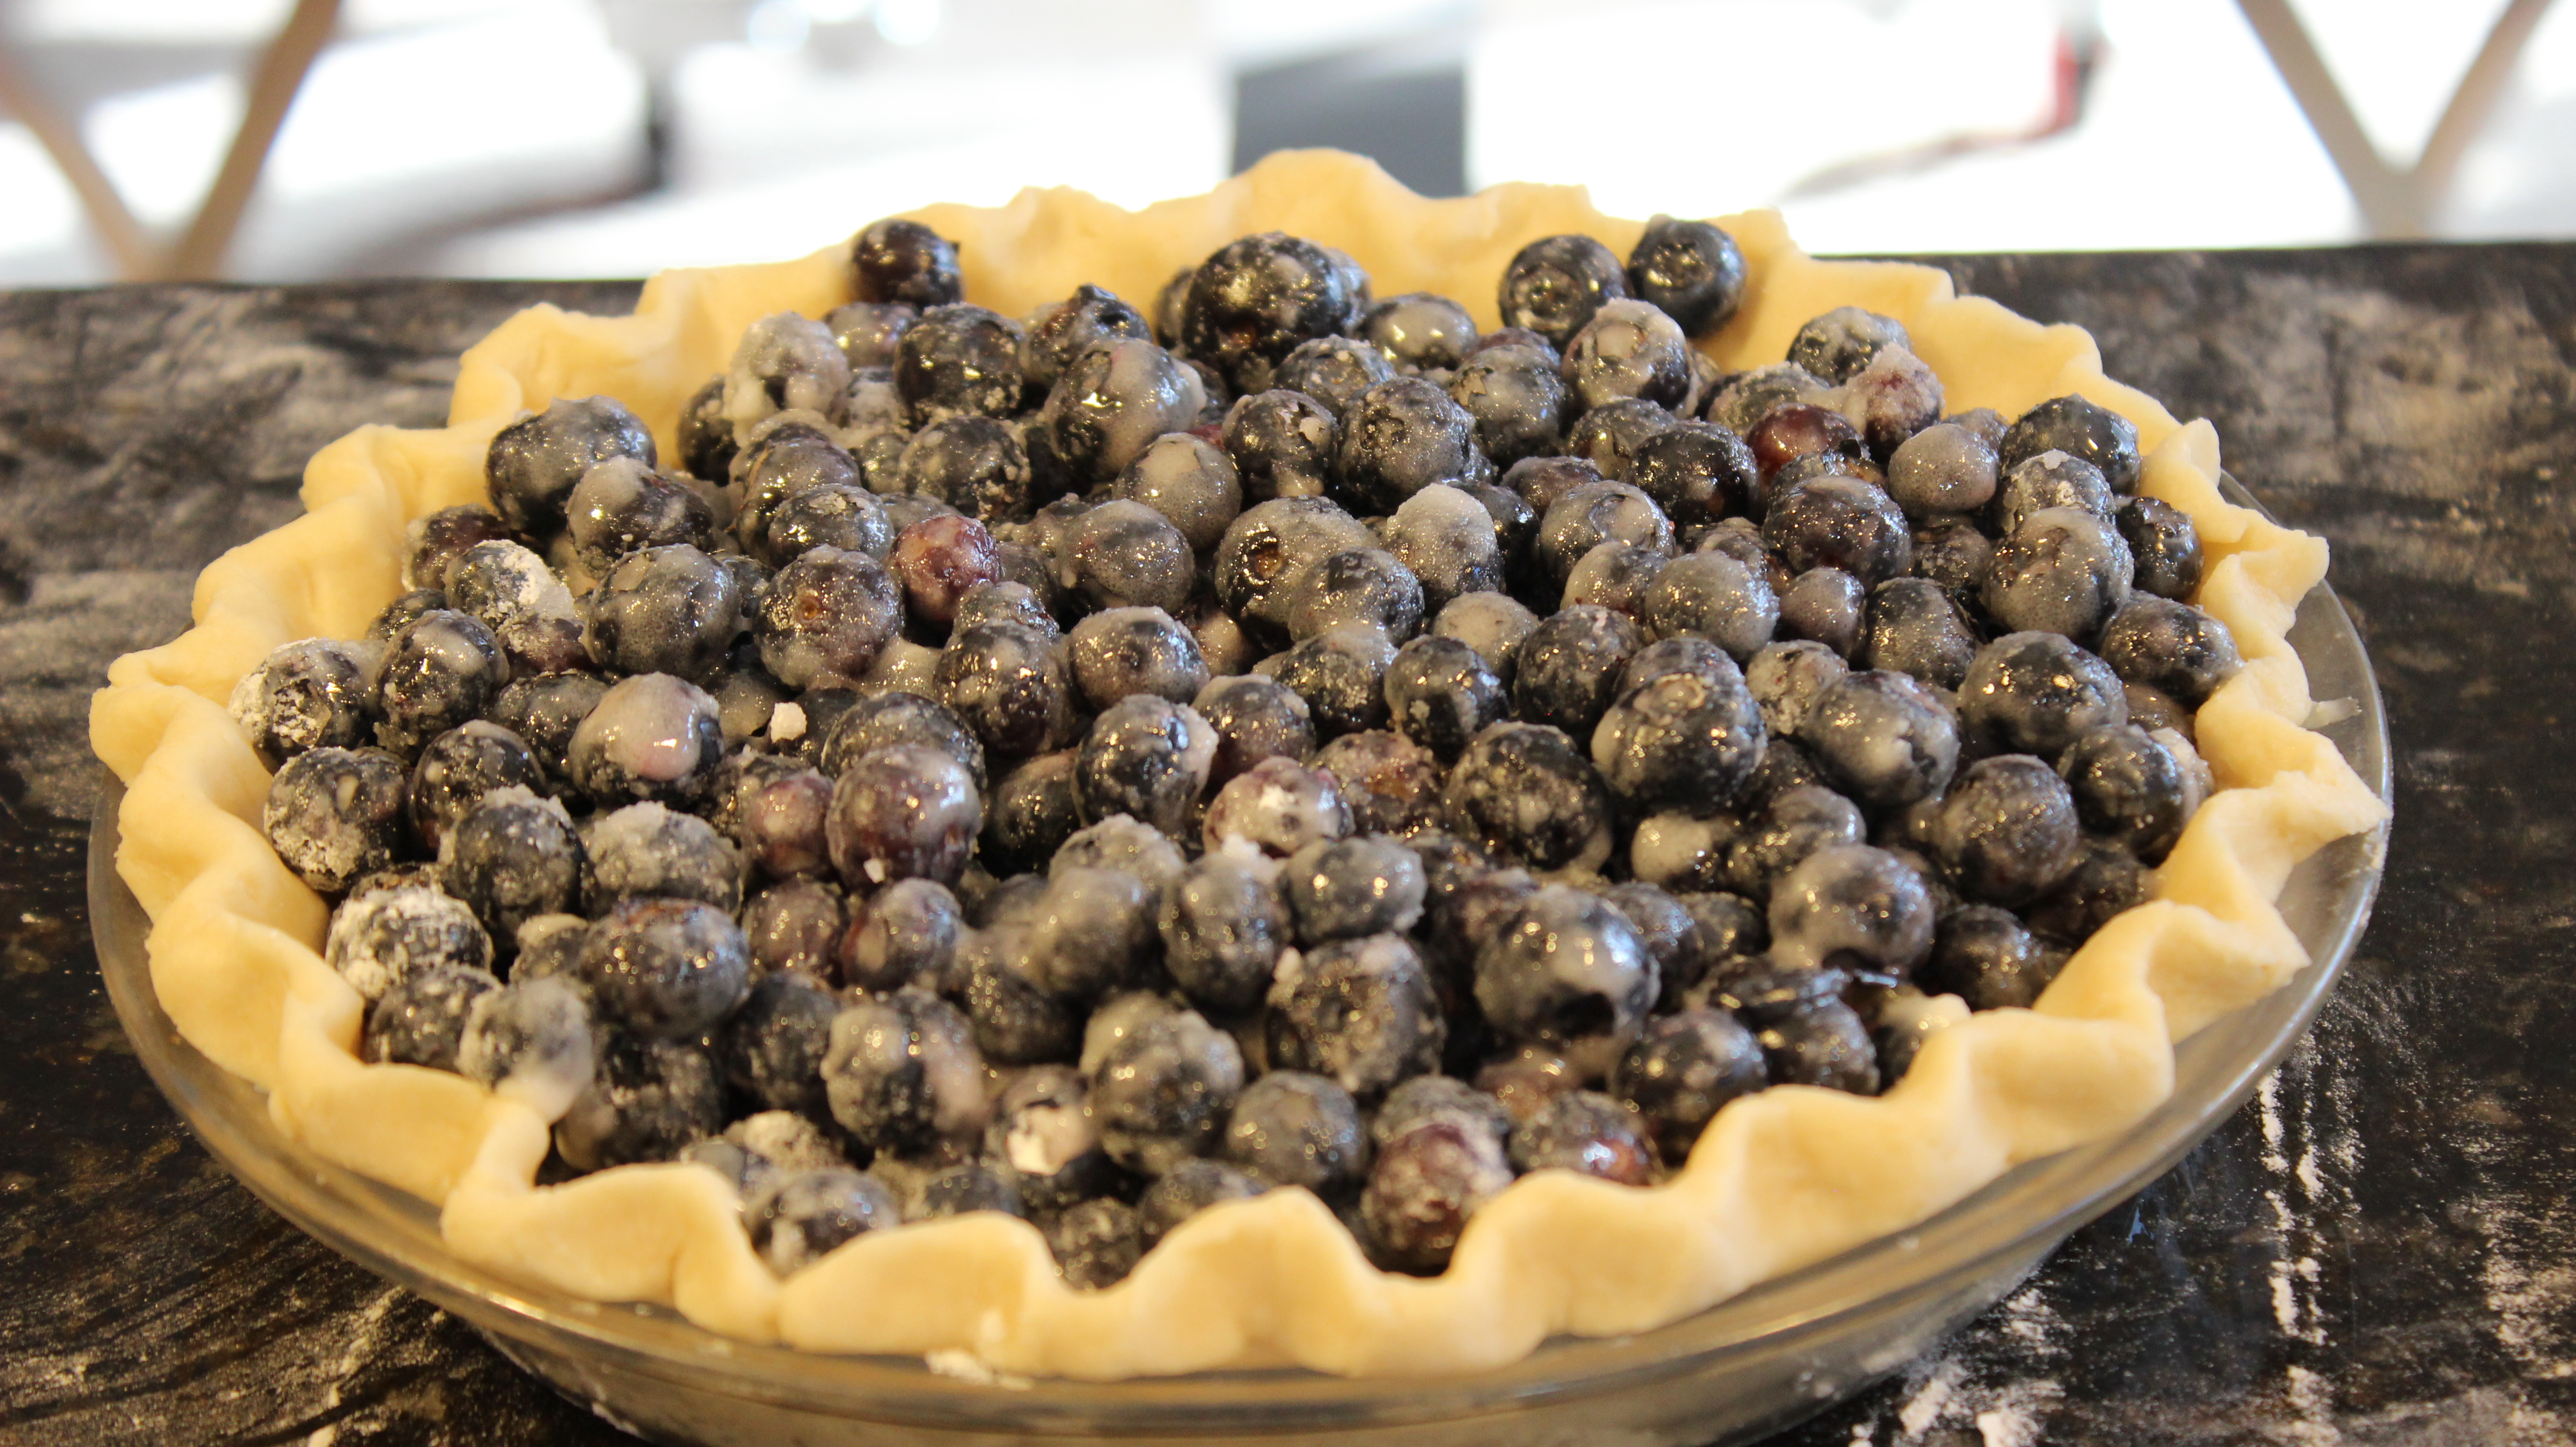
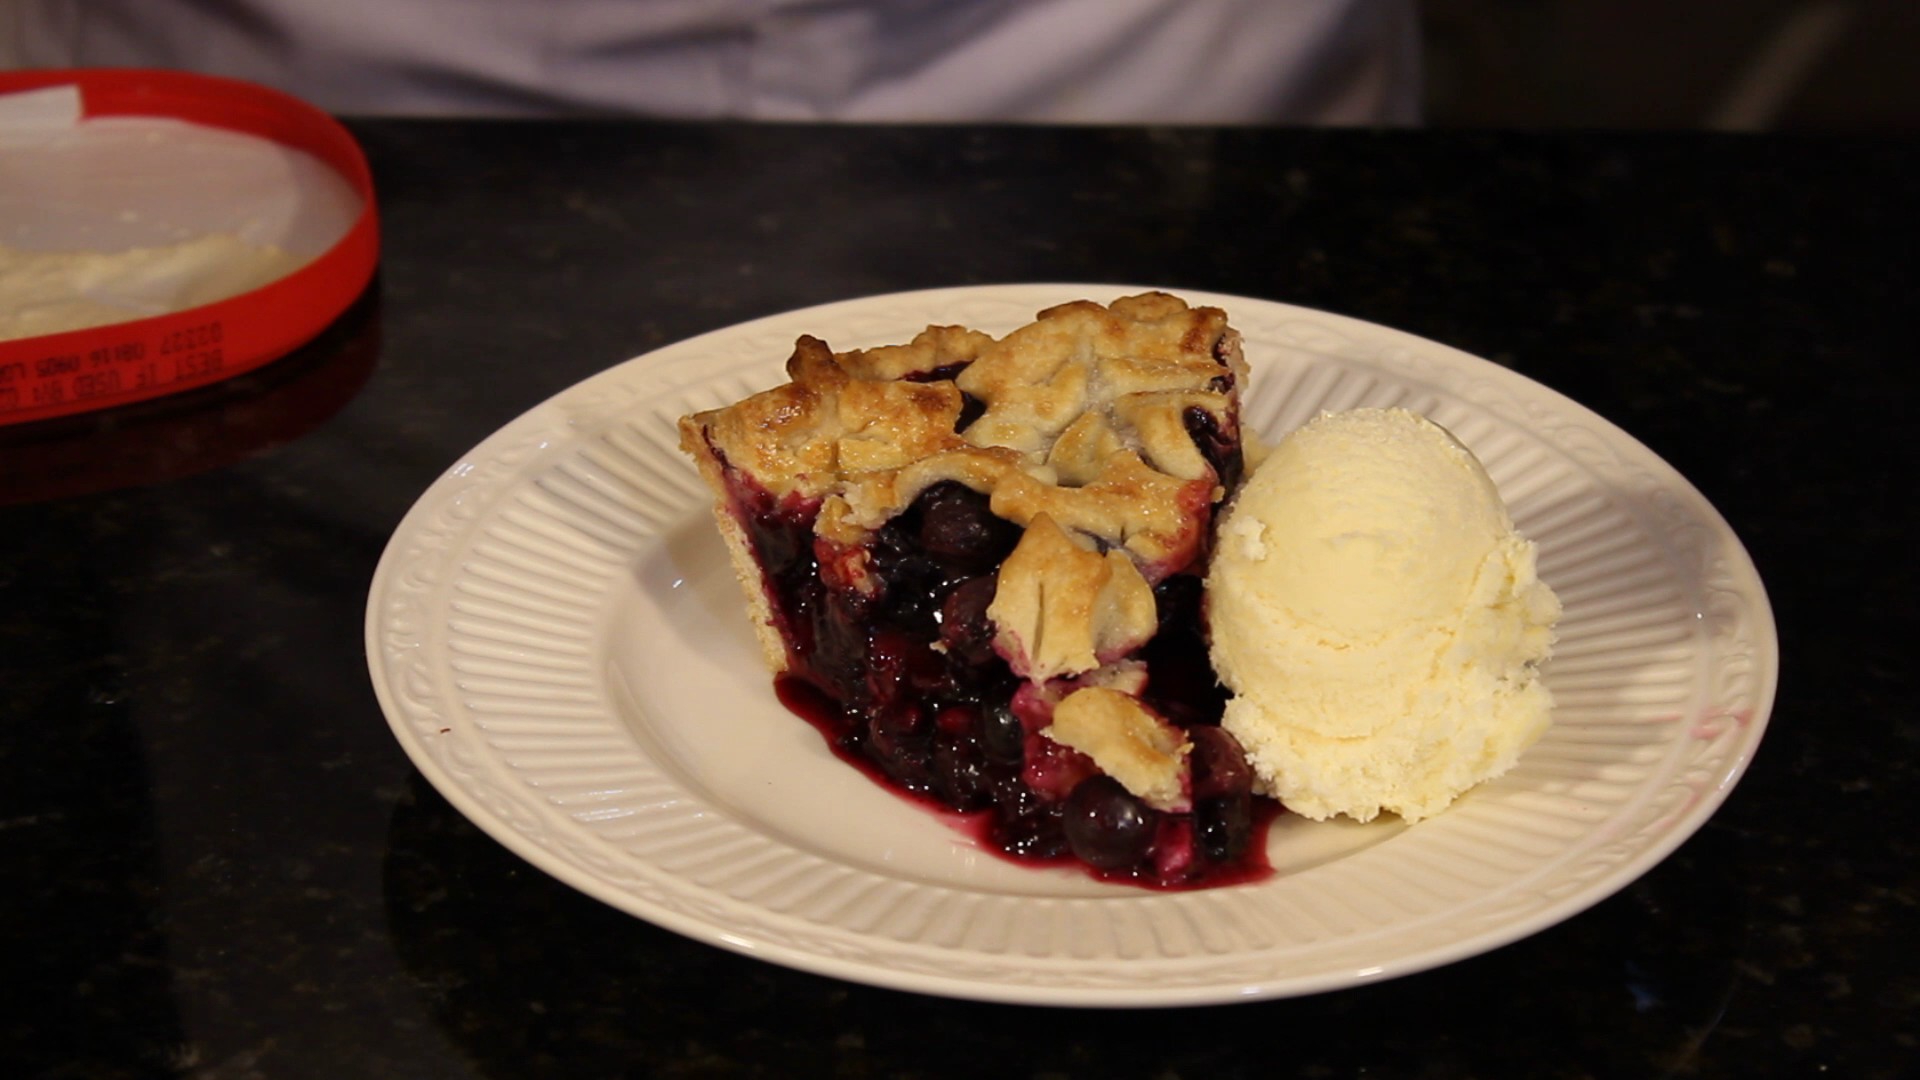
There’s nothing like fresh blueberries simmering in a buttery, flaky pie crust with aromatic fruit juices getting bubbly and syrupy. It’s tough to let this mouth watering concoction cool for three hours when all you really want to do is scoop some vanilla ice cream over a slice letting the cream melt onto the crispy crust and gooey berries submerging oneself into pie heaven! This might just be the perfect dessert bite!
There are recipes out there that have you use flour as a thickener in some fruit pies but with this best blueberry pie recipe I think it’s important to use cornstarch. Blueberries release so much juice the best one for the job is cornstarch. You can add orange zest or lemon zest to brighten up the flavors and then there’s always cinnamon or nutmeg. Blueberries happen to be one of my favorite fruits and I feel that they are already flavorful enough so I only add one tablespoon of fresh lemon juice to balance everything out. Blueberries are also considered to be one of the healthiest fruits out there offering up one of the highest levels of antioxidants of all fruits and vegetables so I think it’s a win-win here!
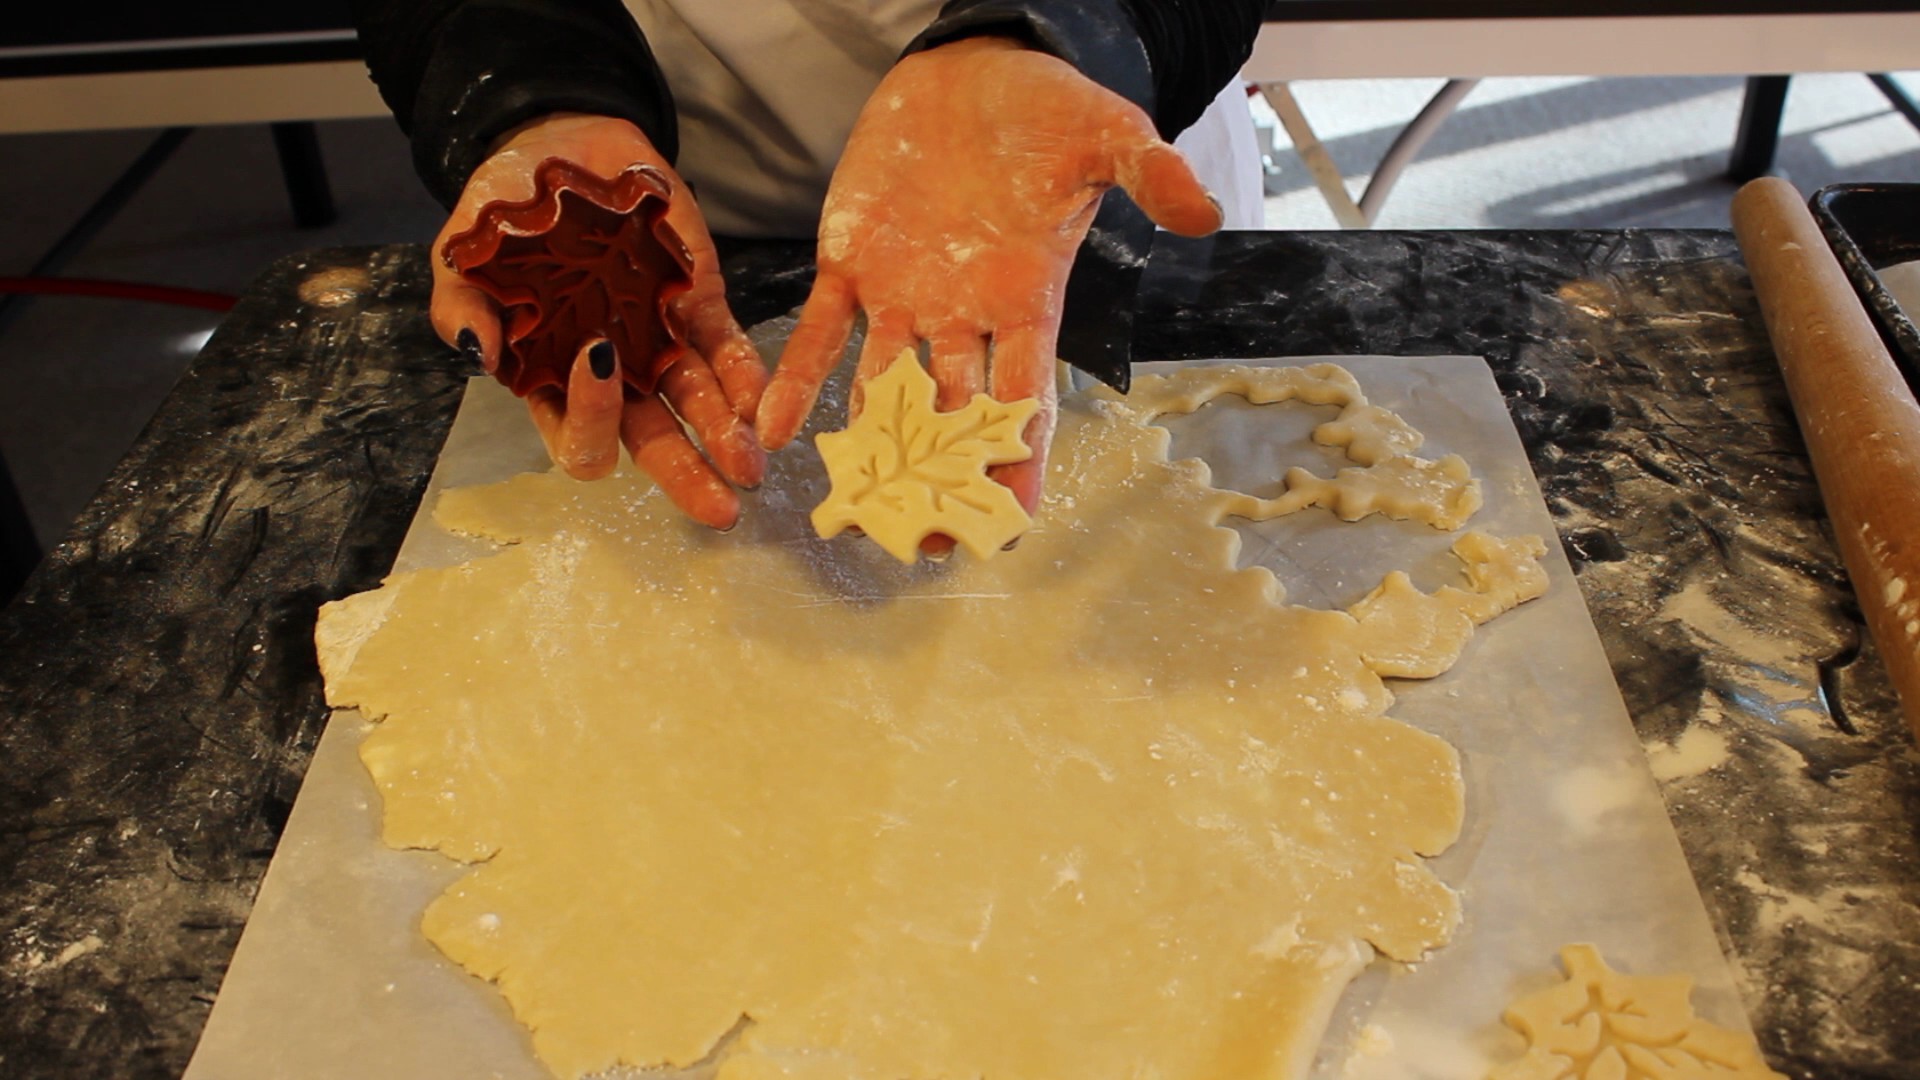
Cutting out decorative leaf shapes (or what ever shape you like) from the top sheet of pie crust is a no brainer for me because it’s so gosh darn easy to do, it looks like you spent all day on it and it’s very forgiving. When it bakes in the oven getting golden, crispy and slightly shiny from brushing on the egg wash it’s going to look and taste amazing no matter what!
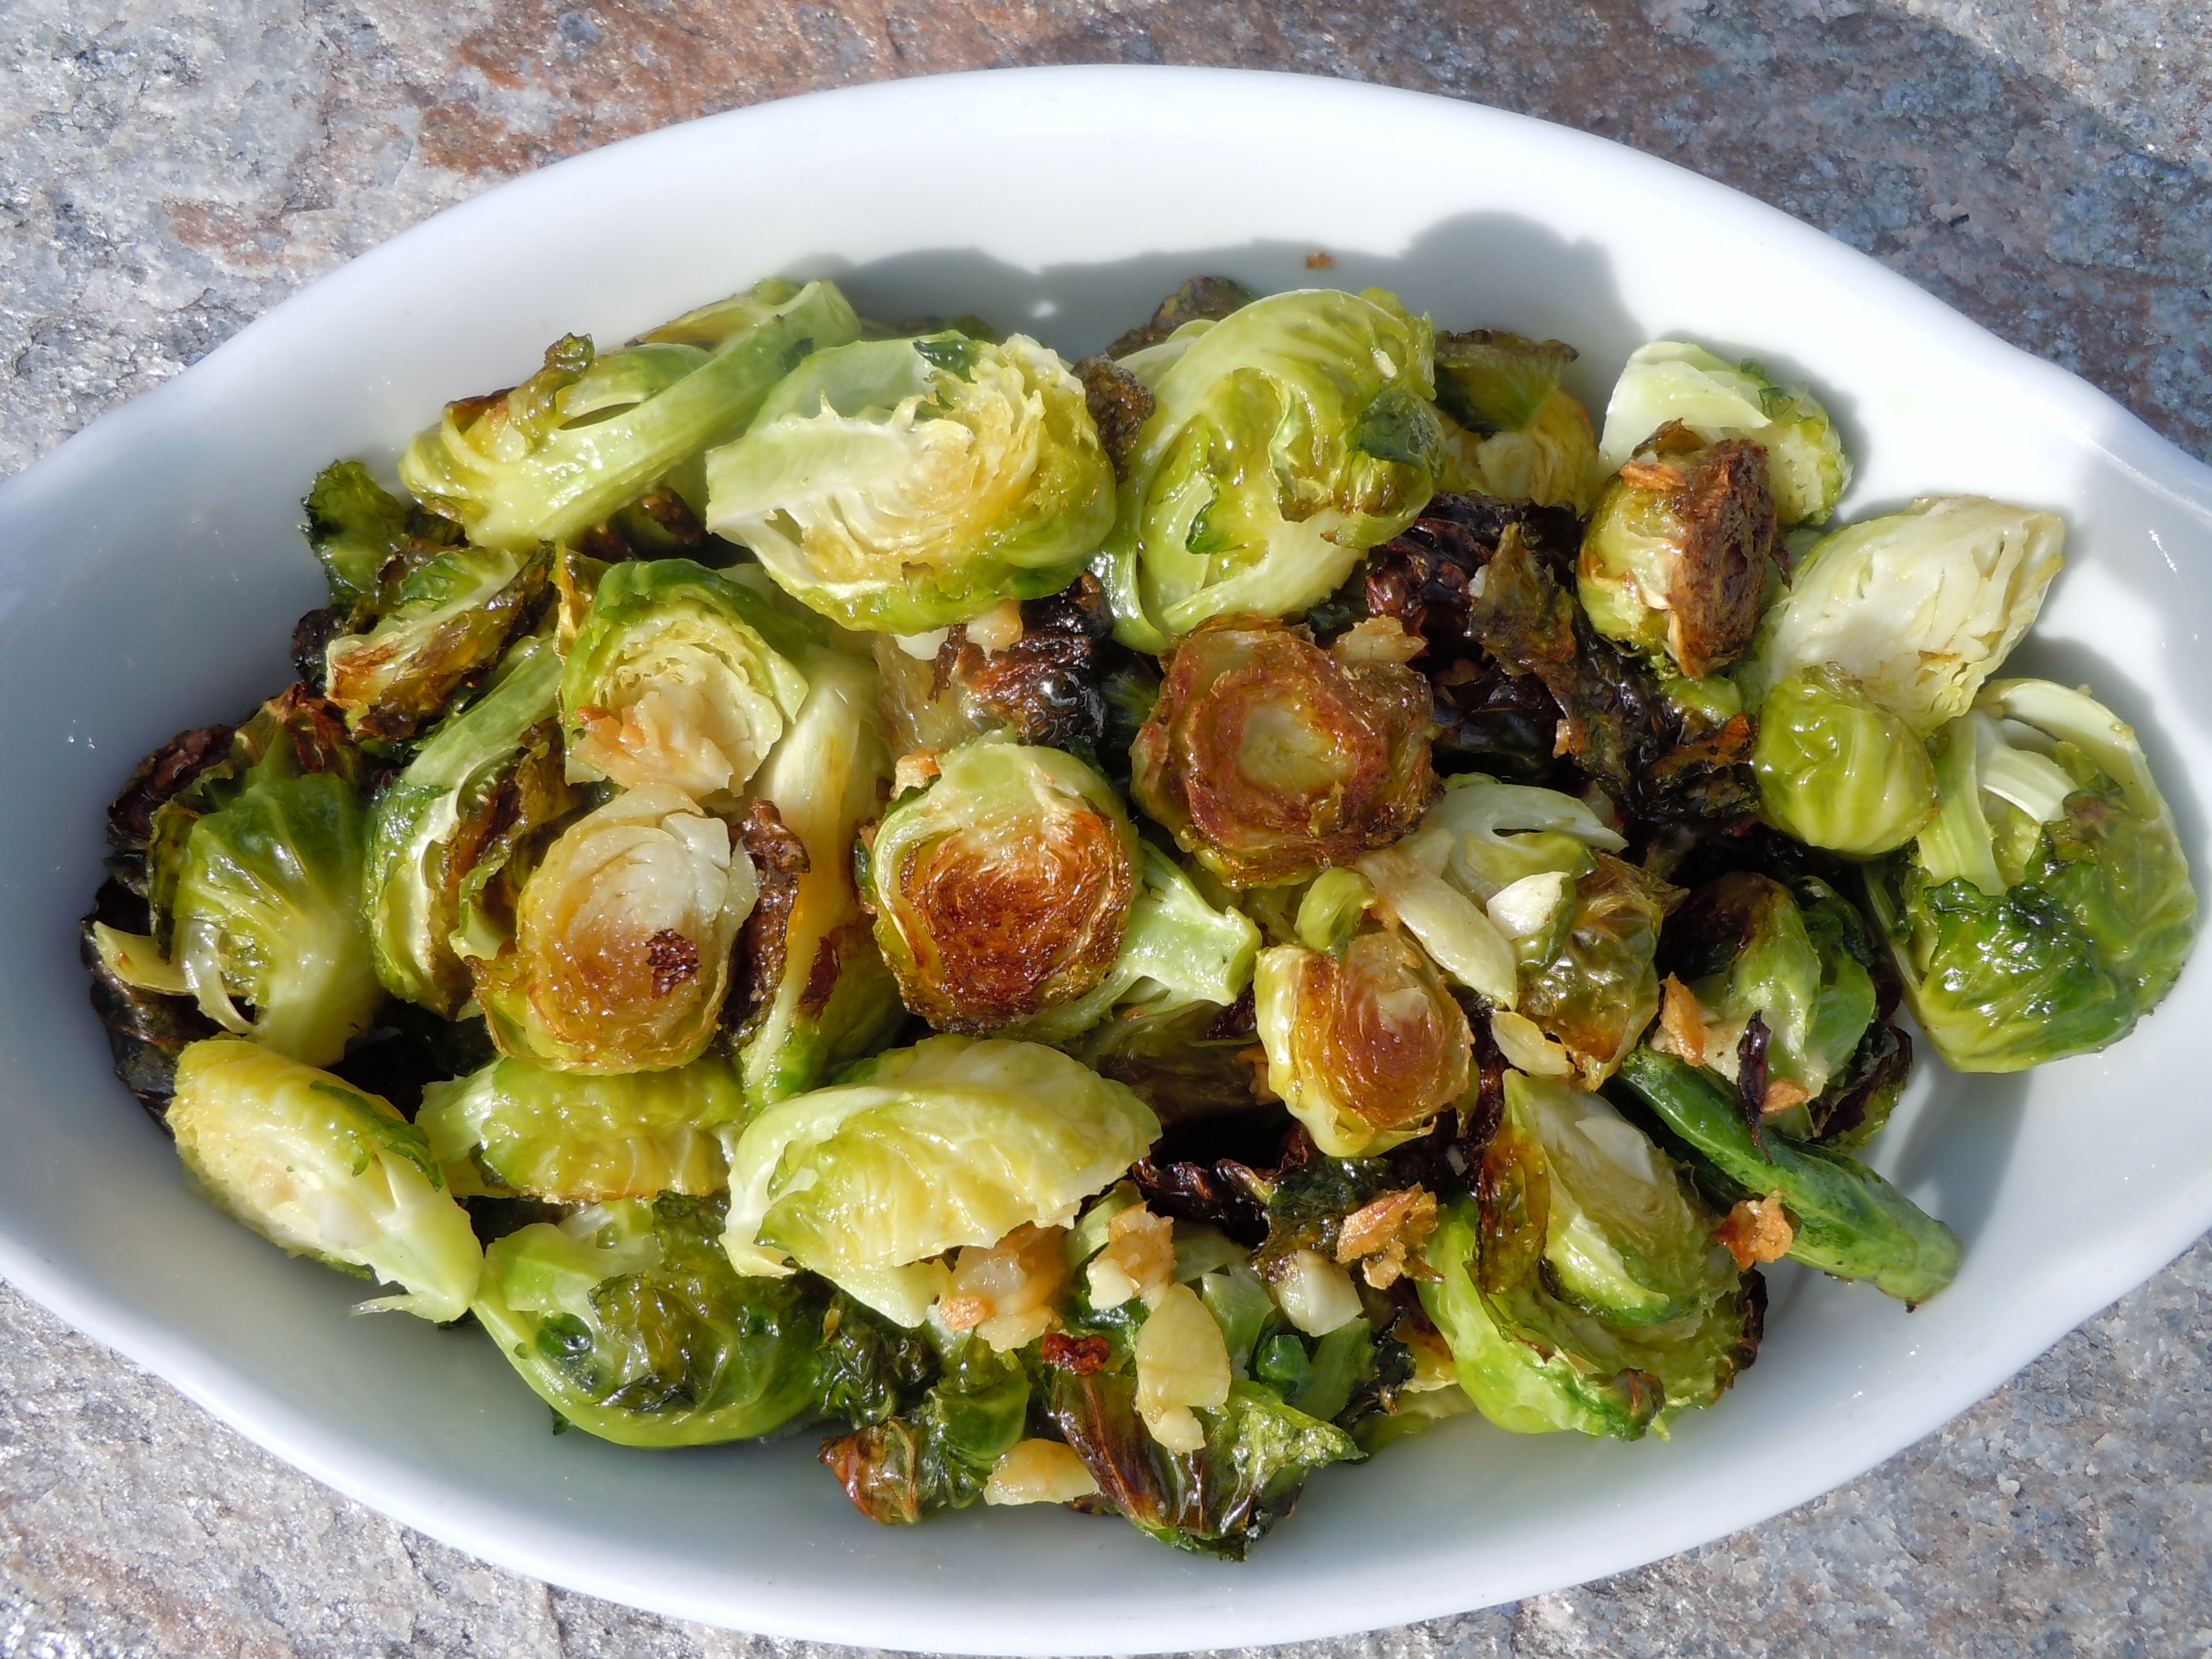
This best blueberry pie recipe might just become your decadent dessert ritual for your holiday dinners! Making the “perfect pie crust in 5 minutes”a week or two ahead of time and popping it into the freezer until you need it is a great way to cut down on some of the work that’s involved in throwing a Thanksgiving dinner or any holiday feast for that matter. If you get ambitious you can always add a chocolate pecan pieinto the mix. To help save some time with the side dishes you might try these roasted brussel spouts. They are so delicious roasted like this you’ll never eat them any other way. Have fun and enjoy 🙂
INGREDIENTS:
4 1/2 cups blueberries (that’s after you have sorted thru bad berries…start with 5 cups to have enough)
1 1/2 ” – 2″ pie leaf cut outs or what ever shape cookie cutter you want to dress the top of the pie with instead of using a whole sheet of pie crust dough
DIRECTIONS:
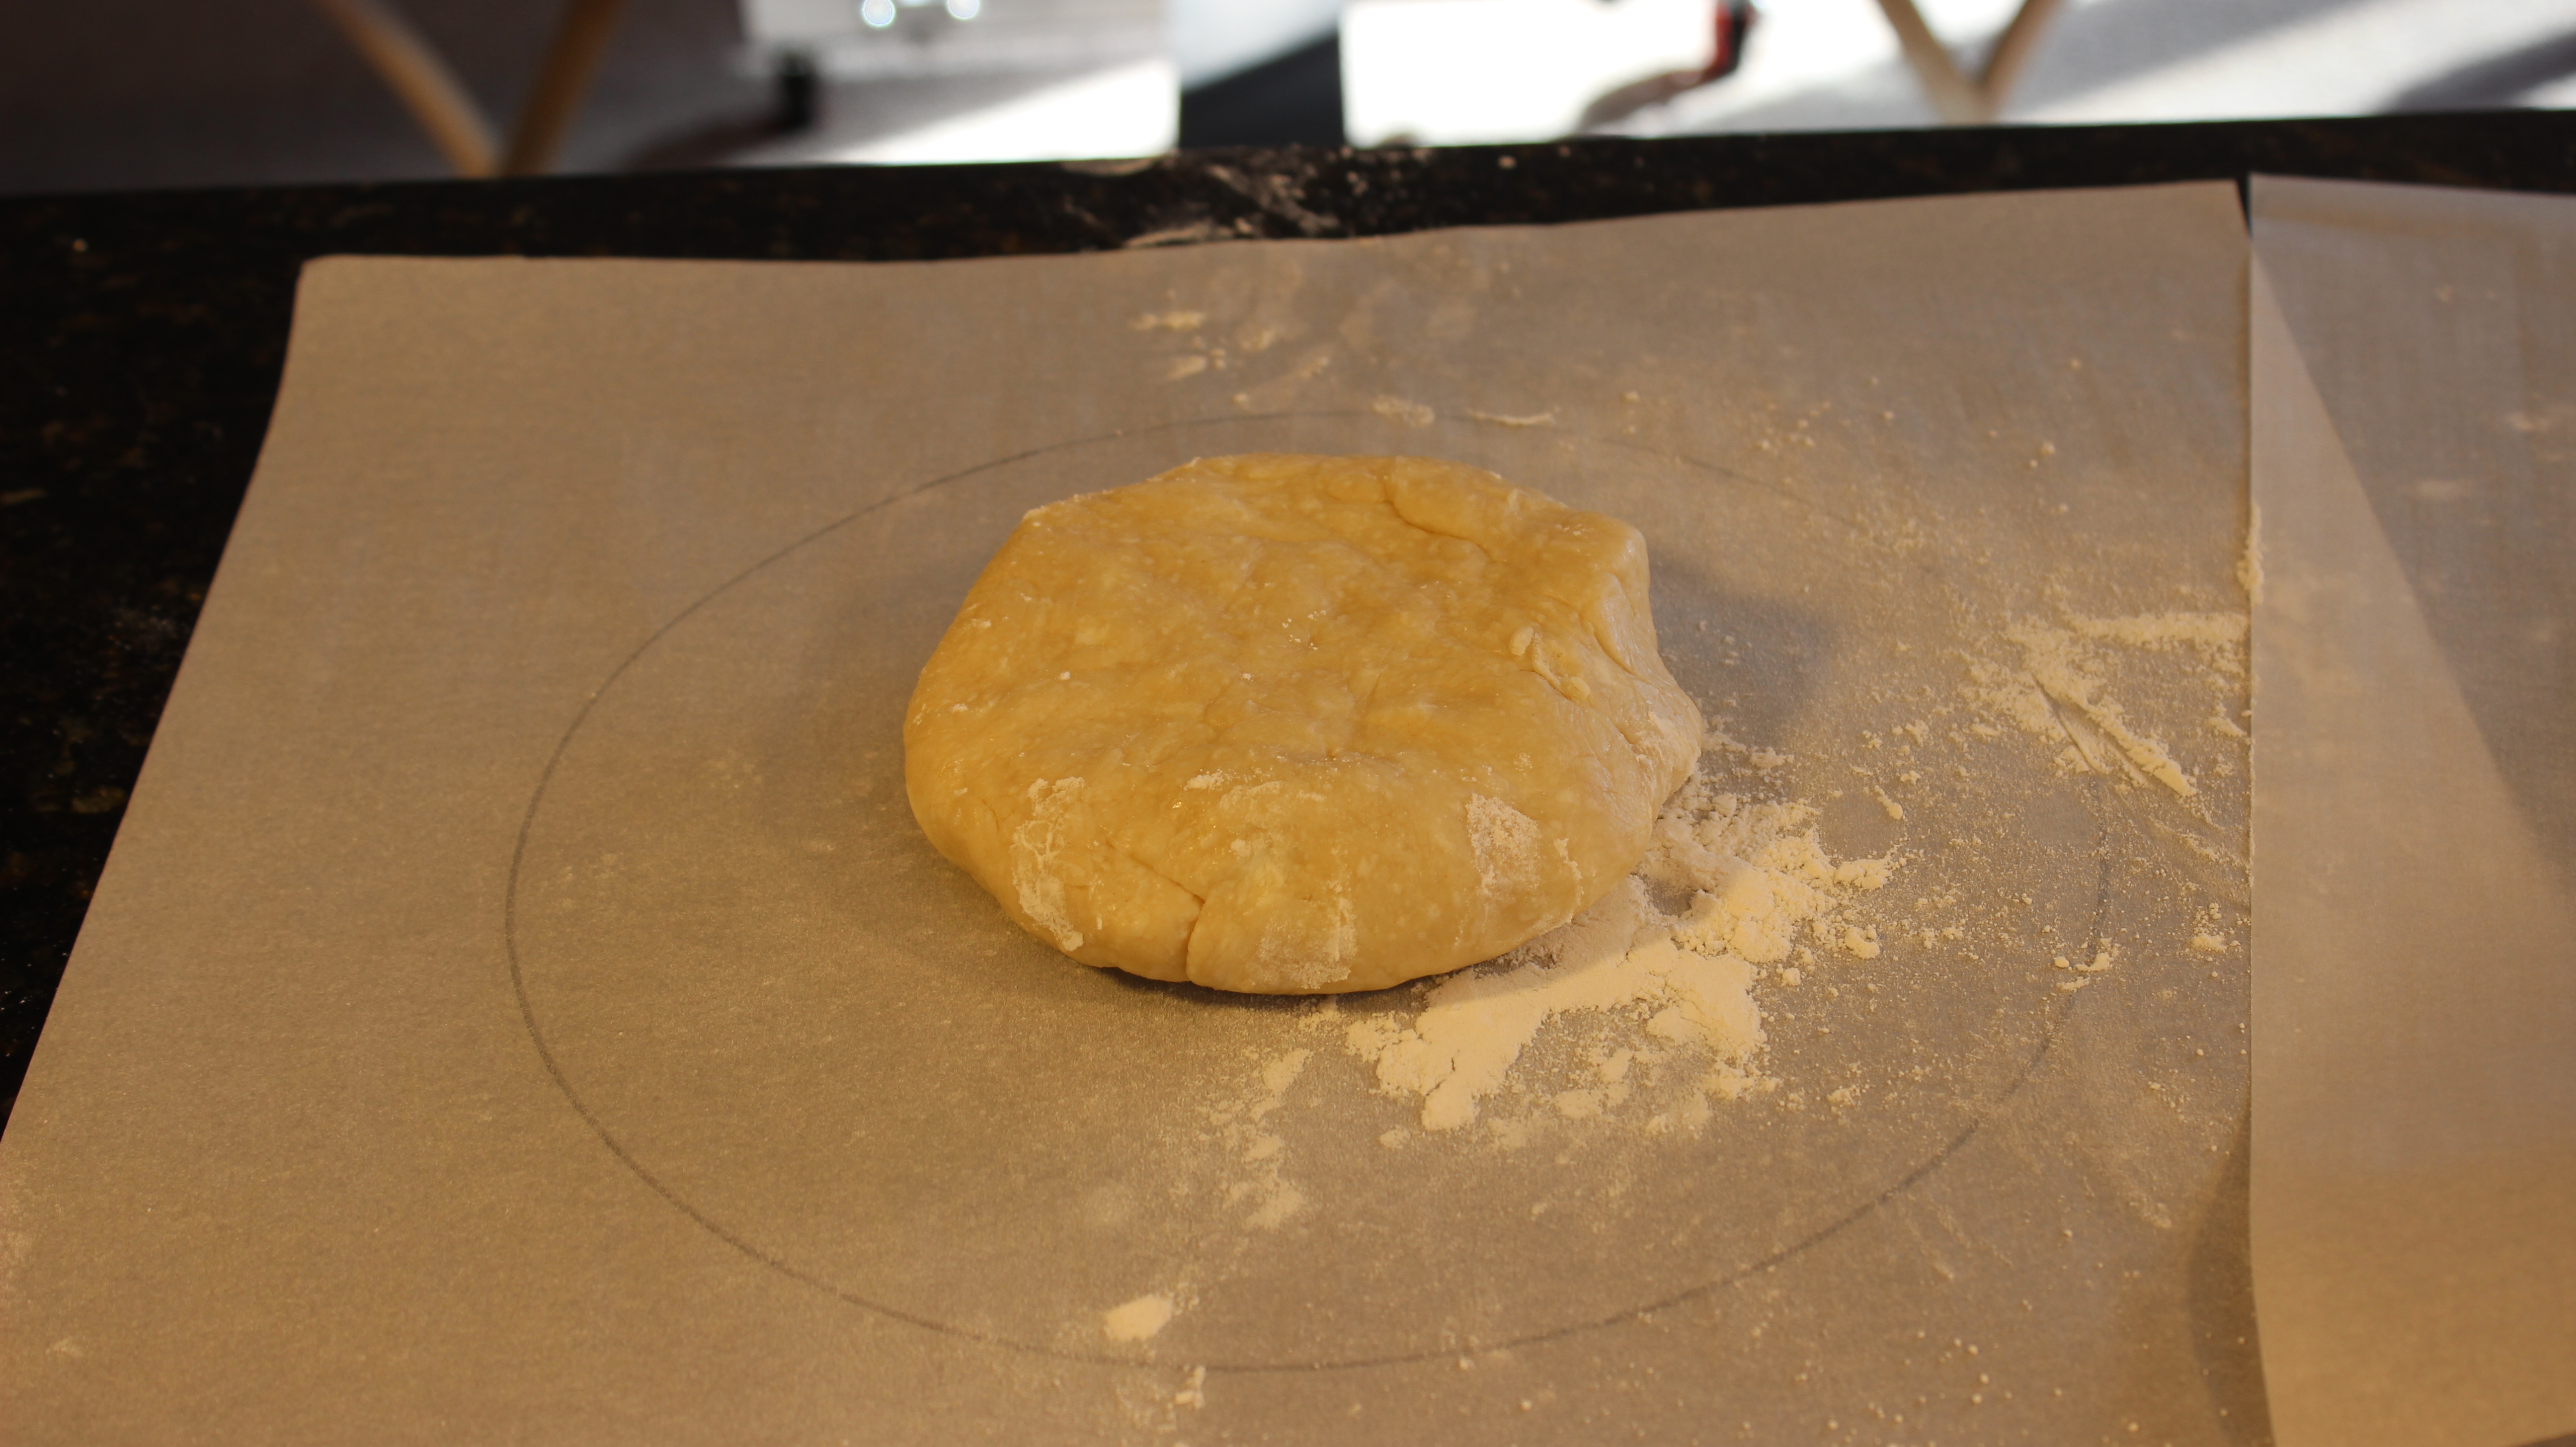
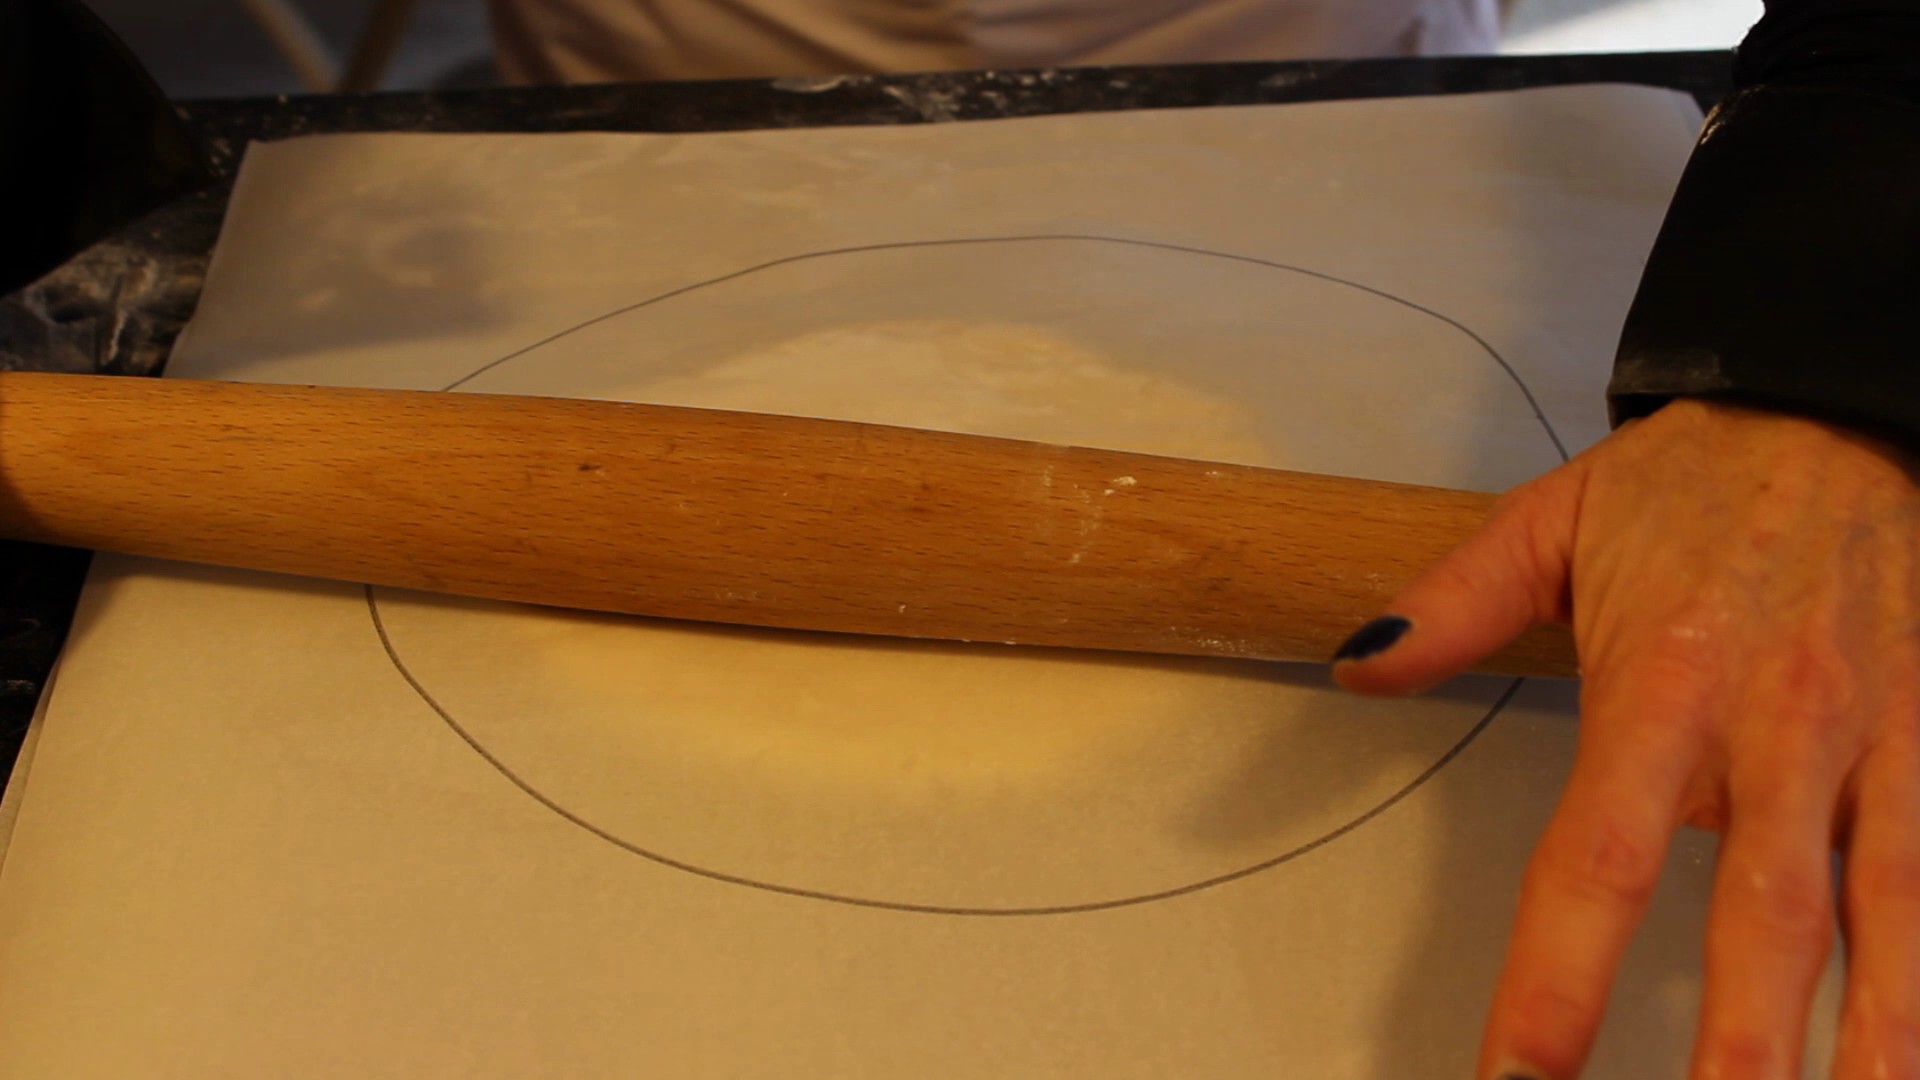
Trace the edge of the pie plate onto both pieces of parchment paper
Roll out 1/2 of the pie crust at a time in between two pieces of parchment with circle drawing on the outside
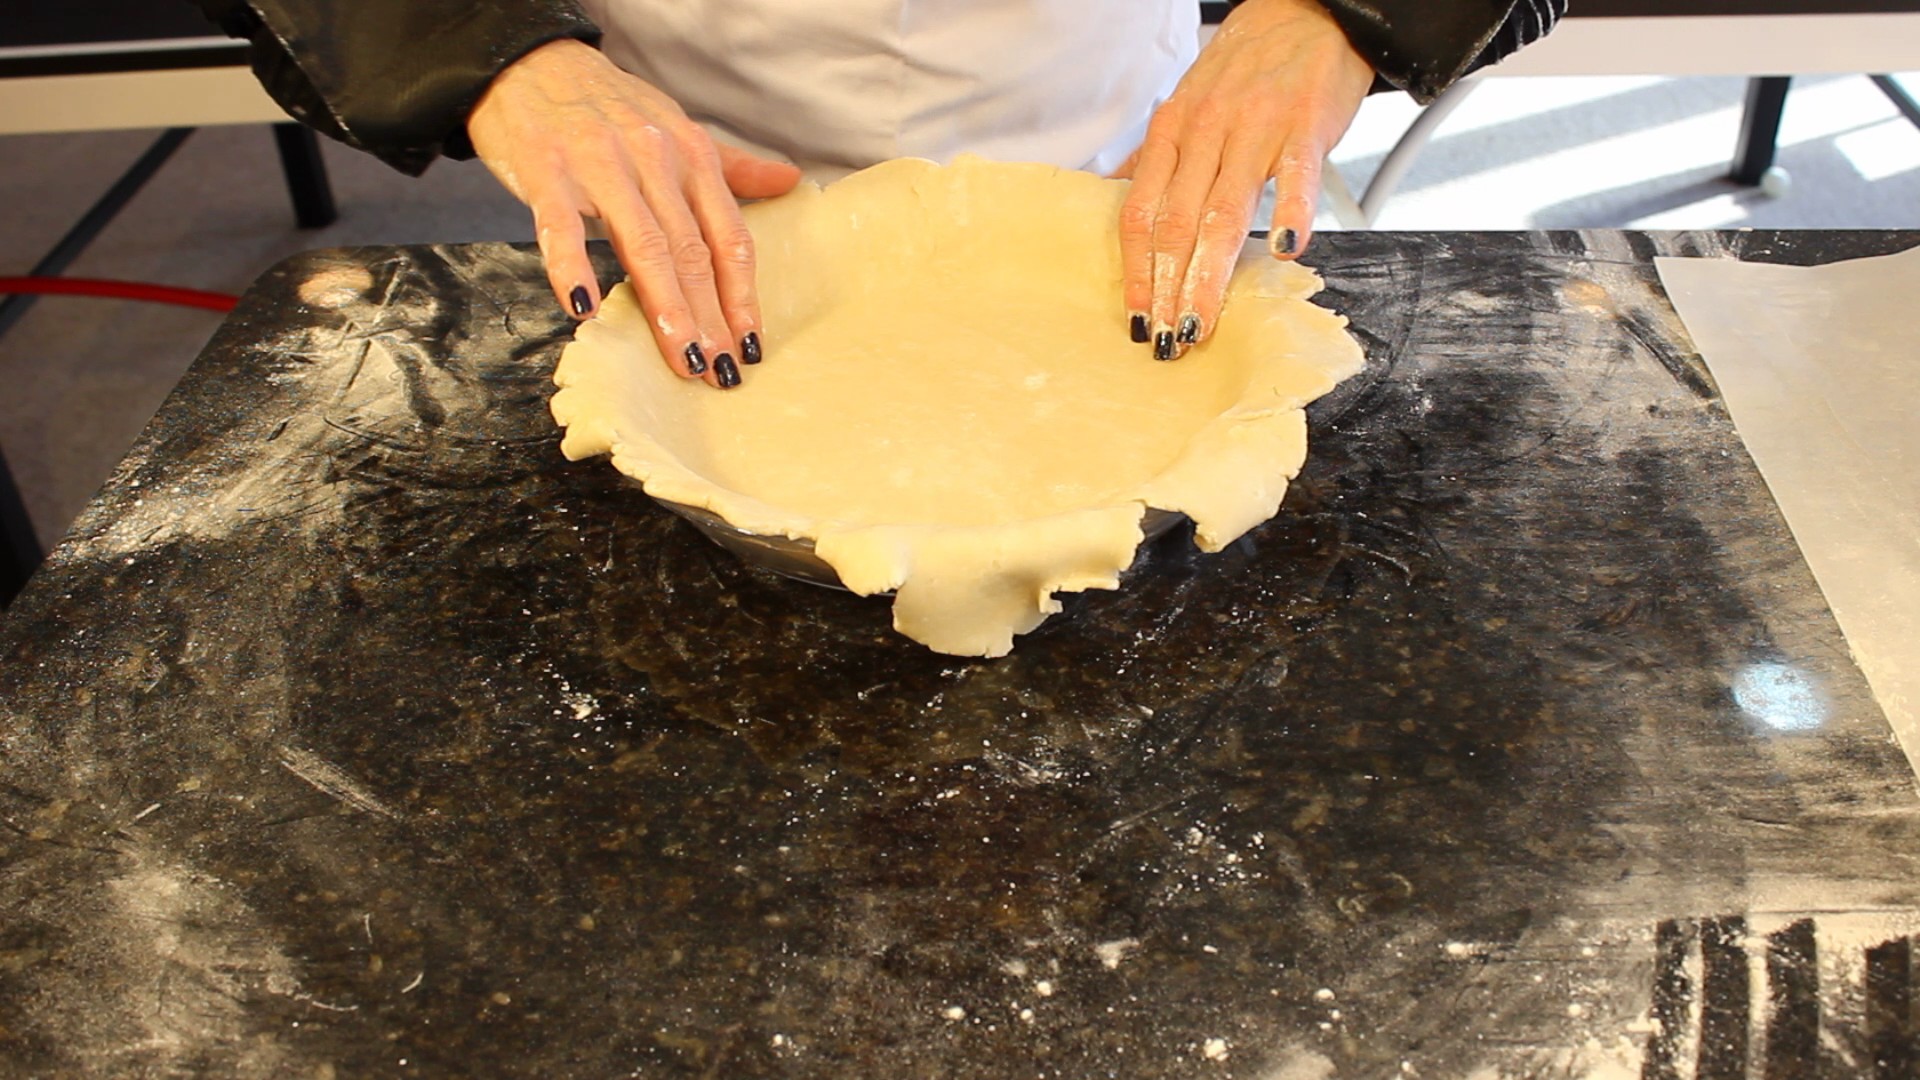
When the dough is rolled out to approx 1/8″ thick and the proper circle size flip pie dough over with parchment paper into pie plate
Gently fit pie dough into dish without pushing down hard and place into the fridge
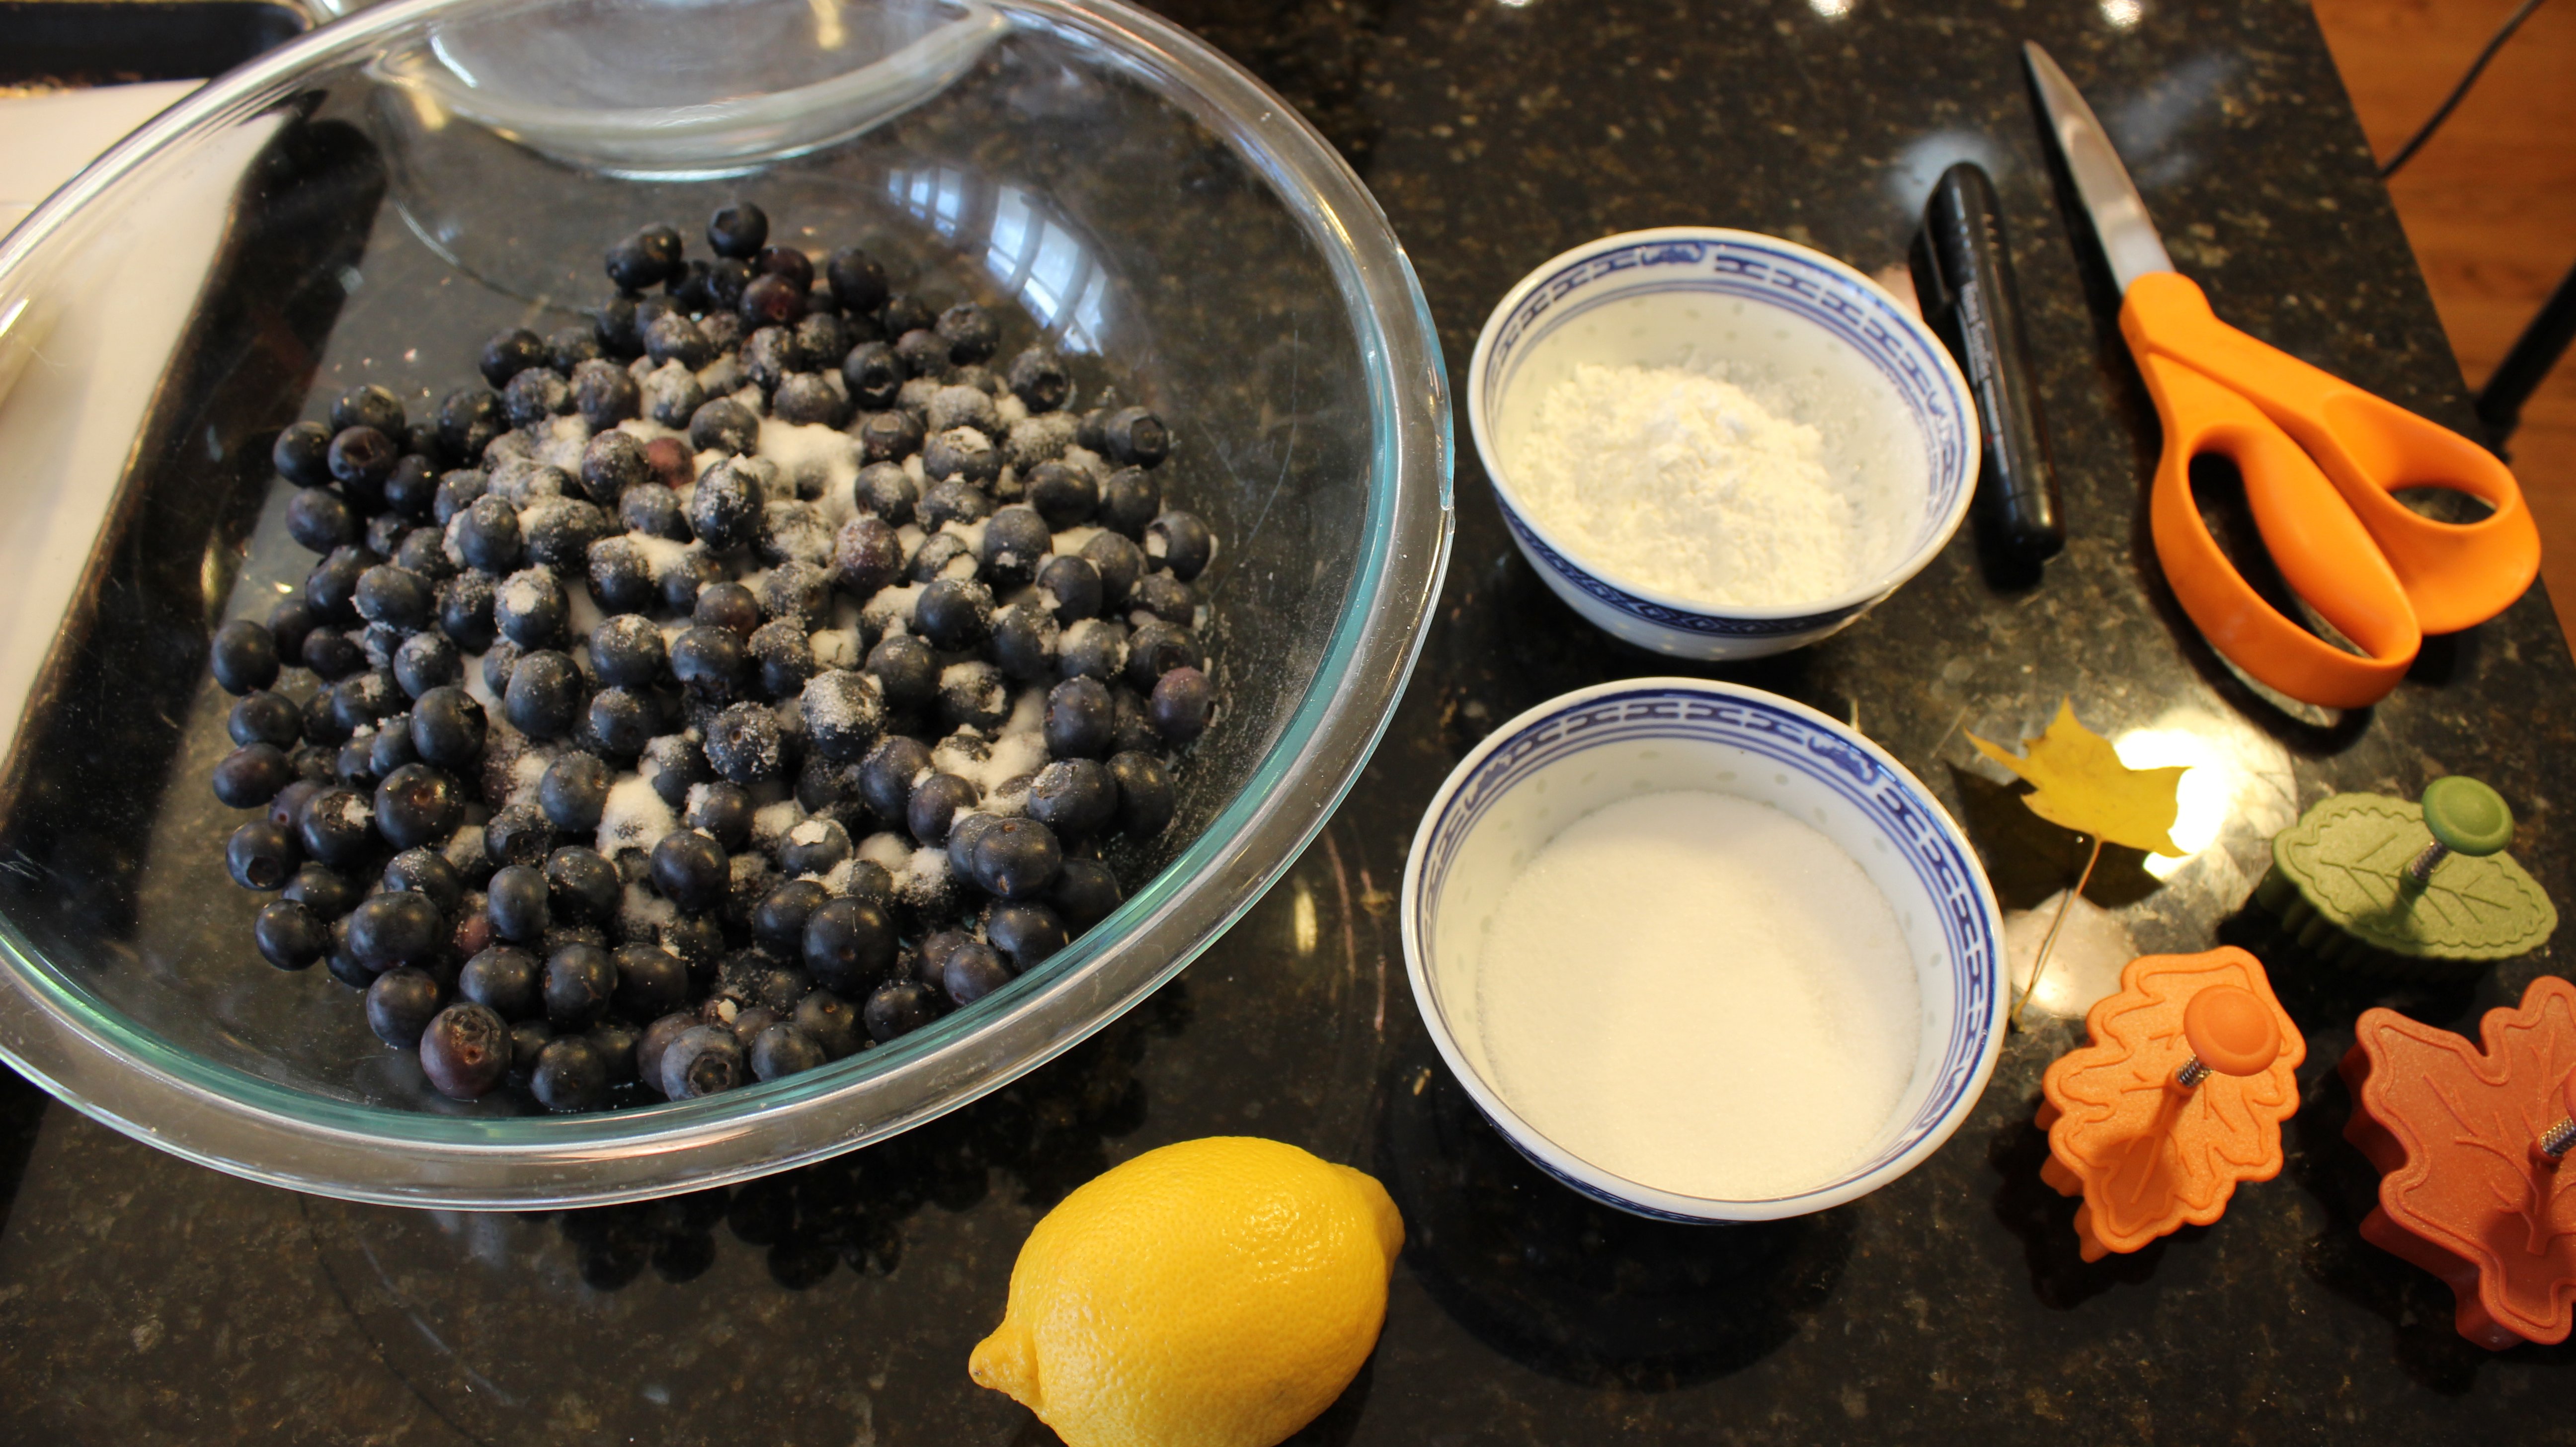
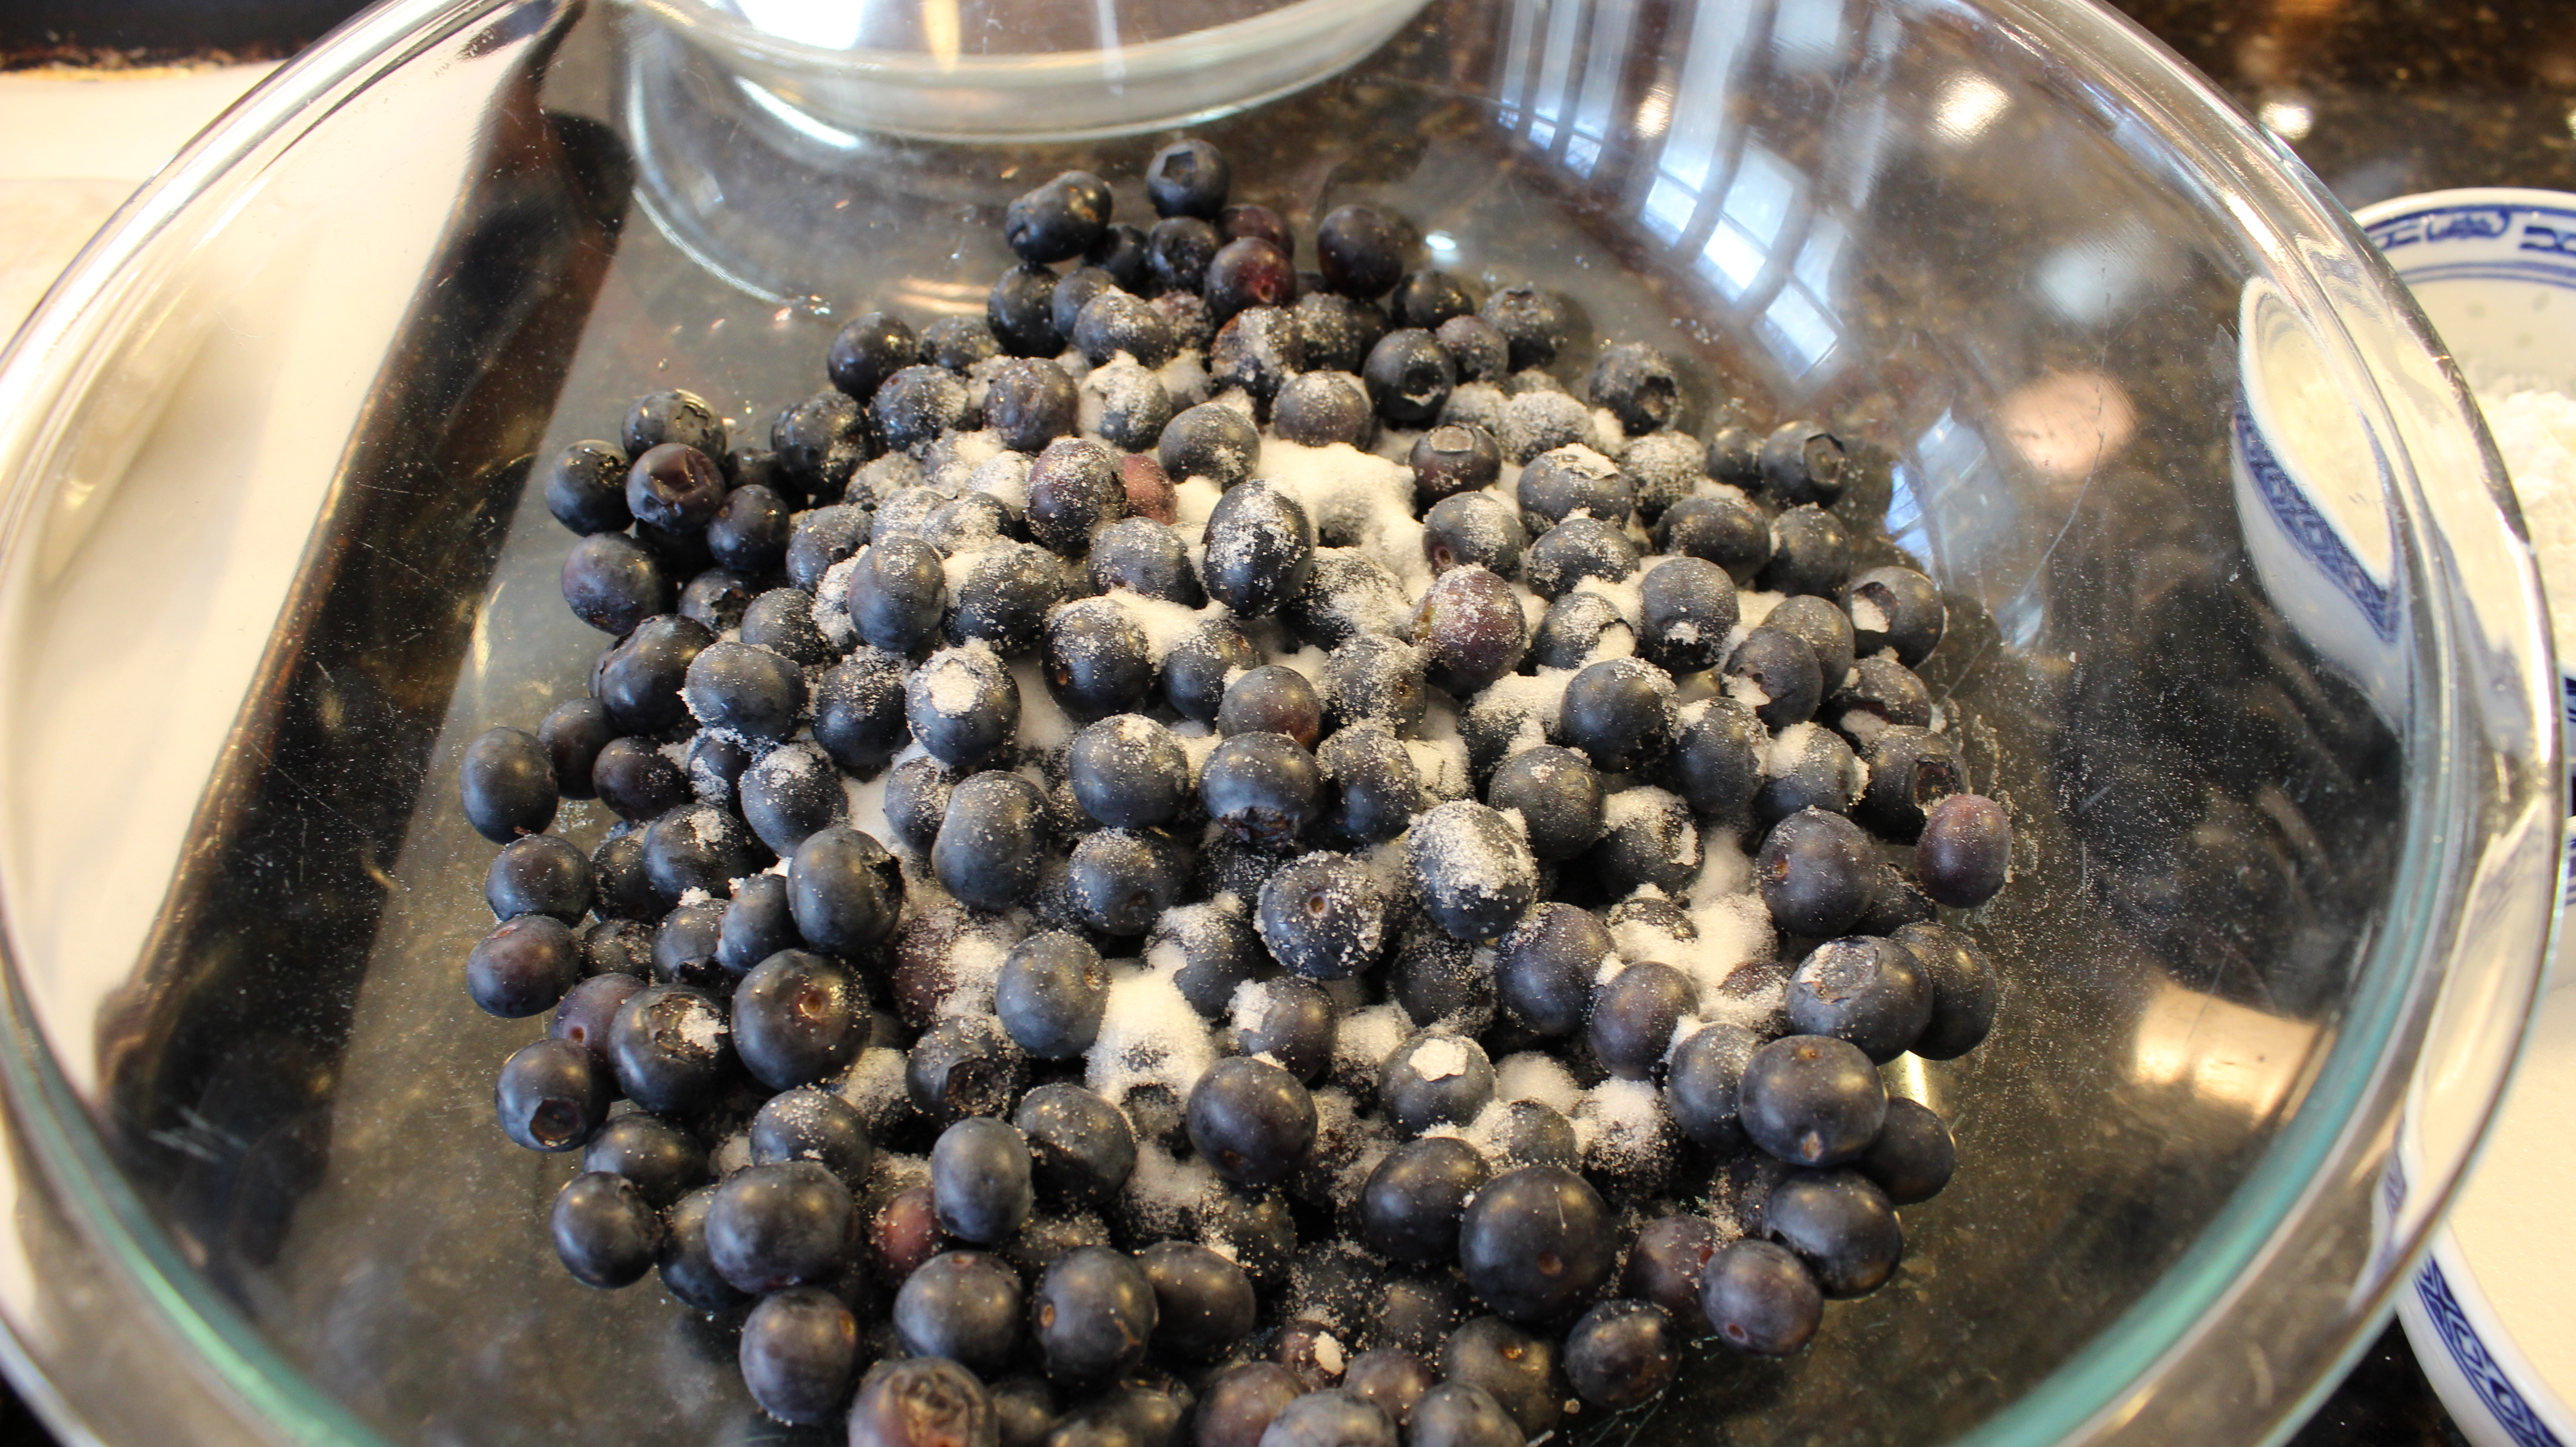
Wash and dry blueberries, picking through them to remove any under and over ripe berries and stems
Place berries in a large bowl and add 1/4 cup corn starch, 1/2 cup sugar, 1/8 tsp salt and juice from 1/2 lemon and toss until coated
Put the bowl of blueberries into the fridge
Roll out the other pie dough disc and cut out leaf shapes or what ever shape you want to be the top layer of the pie
Lay down a piece of parchment on a cookie sheet with a sprinkle of flour and place leaf cut outs onto the cookie sheet
Put leaf cut outs into the fridge
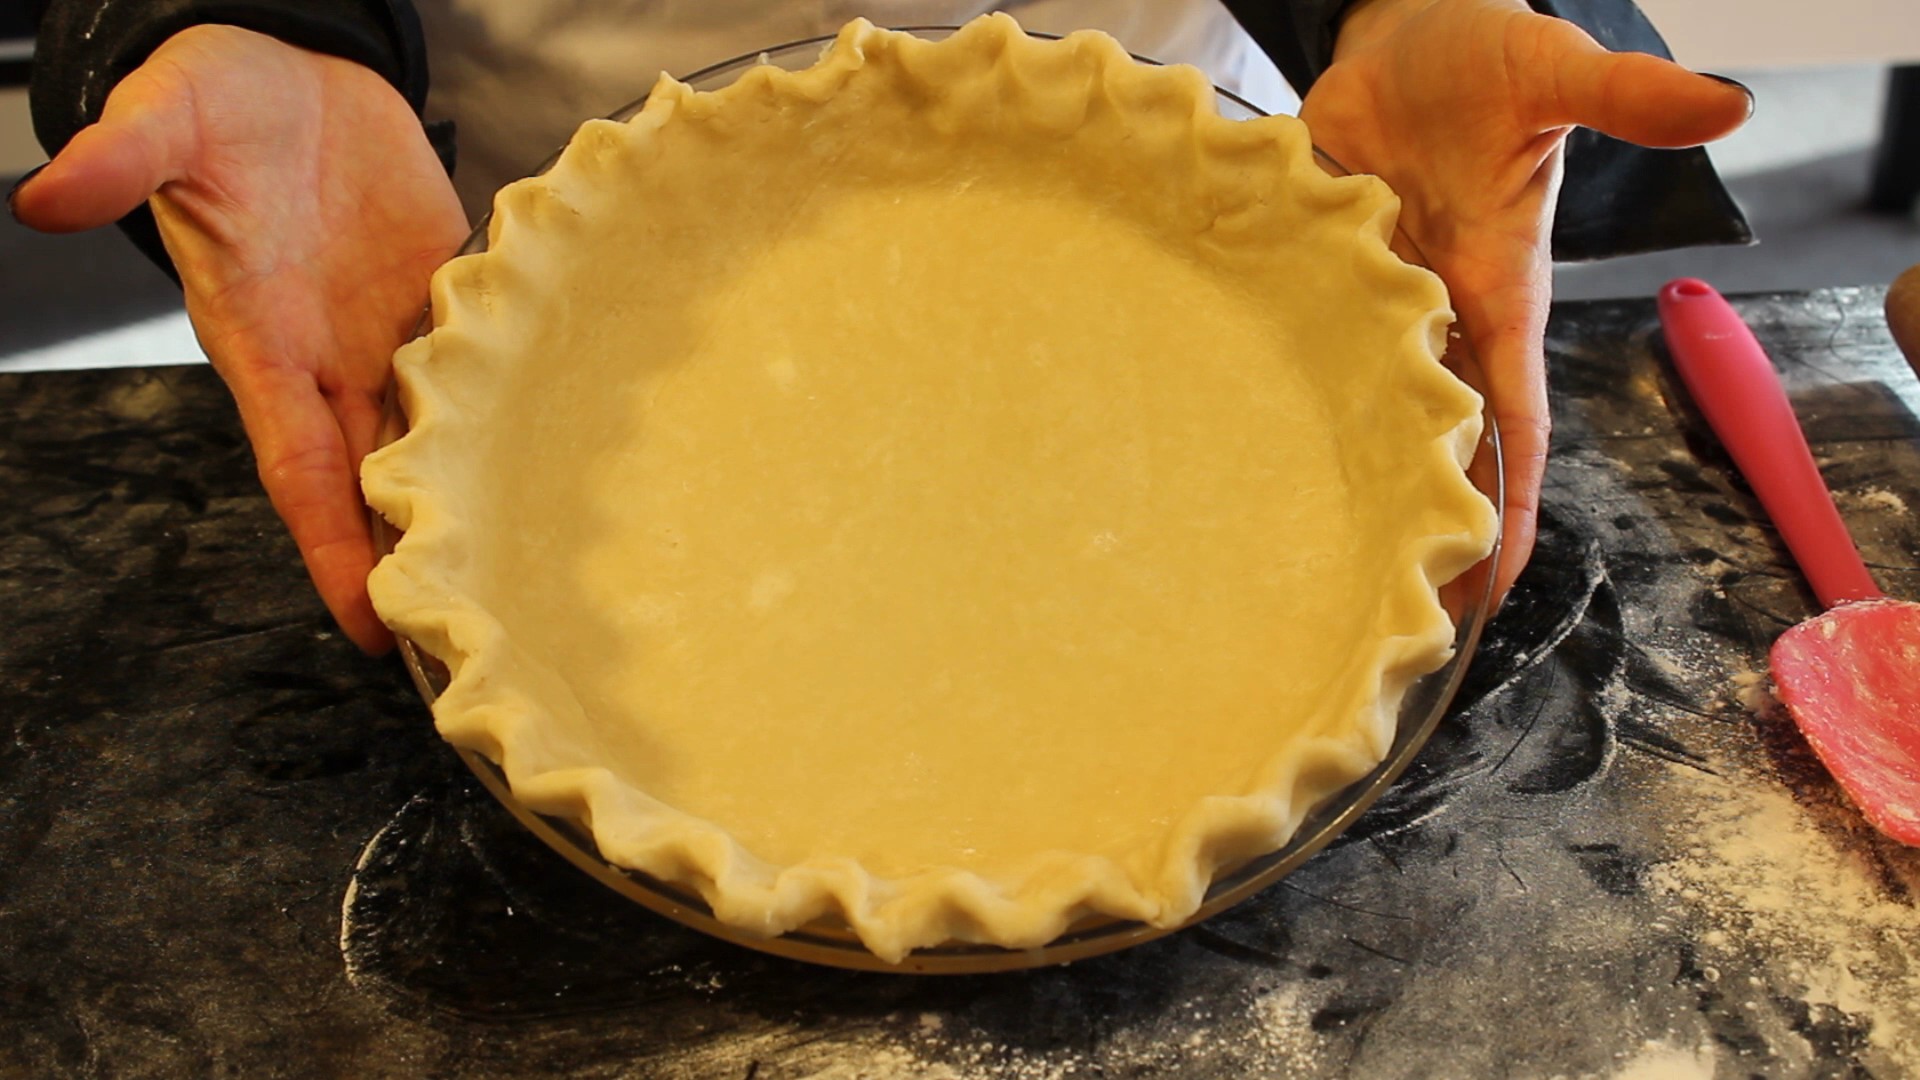
Take out pie dish with pie dough from fridge and crimp edges
Pour the blueberries into the pie dish and back into the fridge
Whisk 1 egg with 1 tbsp of heavy cream
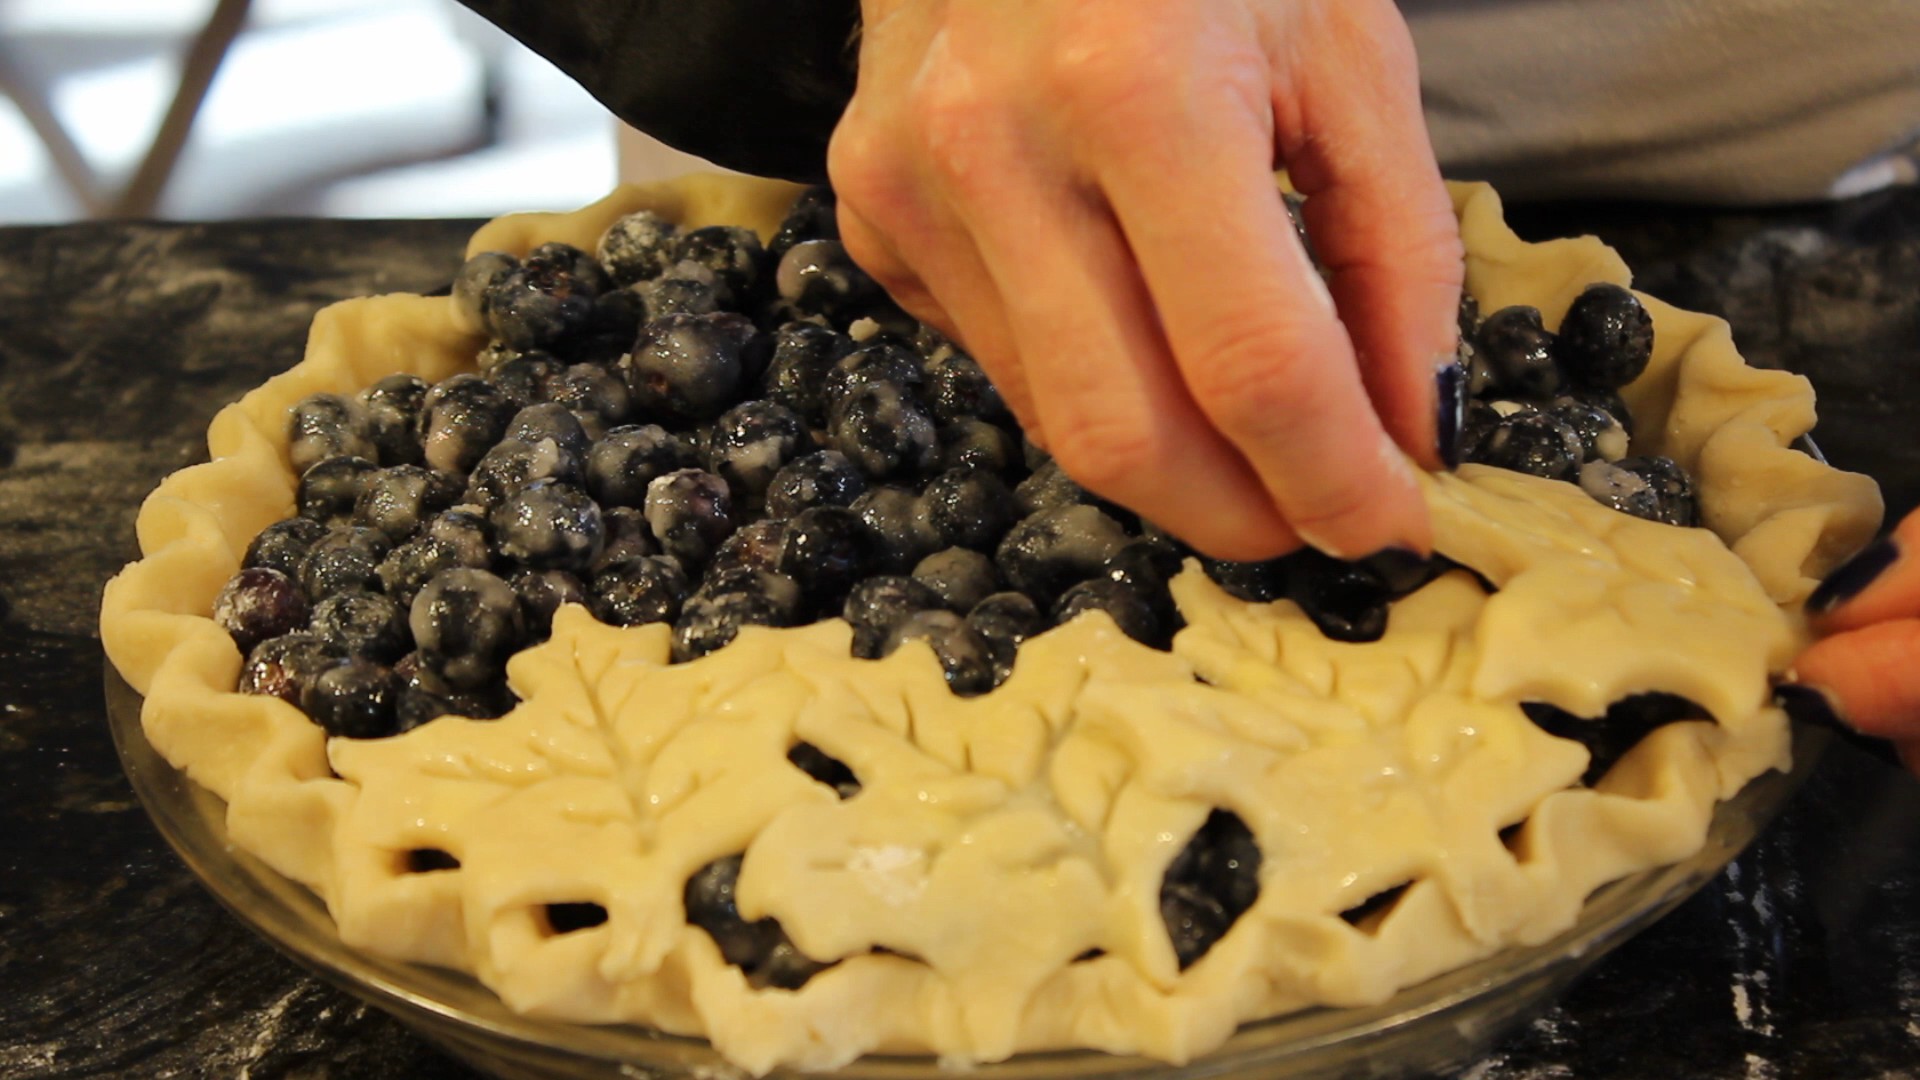
Take the leaf cut-outs on the cookie sheet from the fridge and brush with the egg wash
Take the blueberries in the pie dish out of the fridge and dot the pie with 1 1/2 tbsp of cut up cold butter
Begin to place leaf cut-outs on top of the blueberries. Go along the edge of pie all around and then work your way in (you only need to gently push a couple of the edges of the leaf to crimped edges of the pie and to each leaf
Put the pie back into the fridge for 15 minutes while you pre-heat oven to 400º
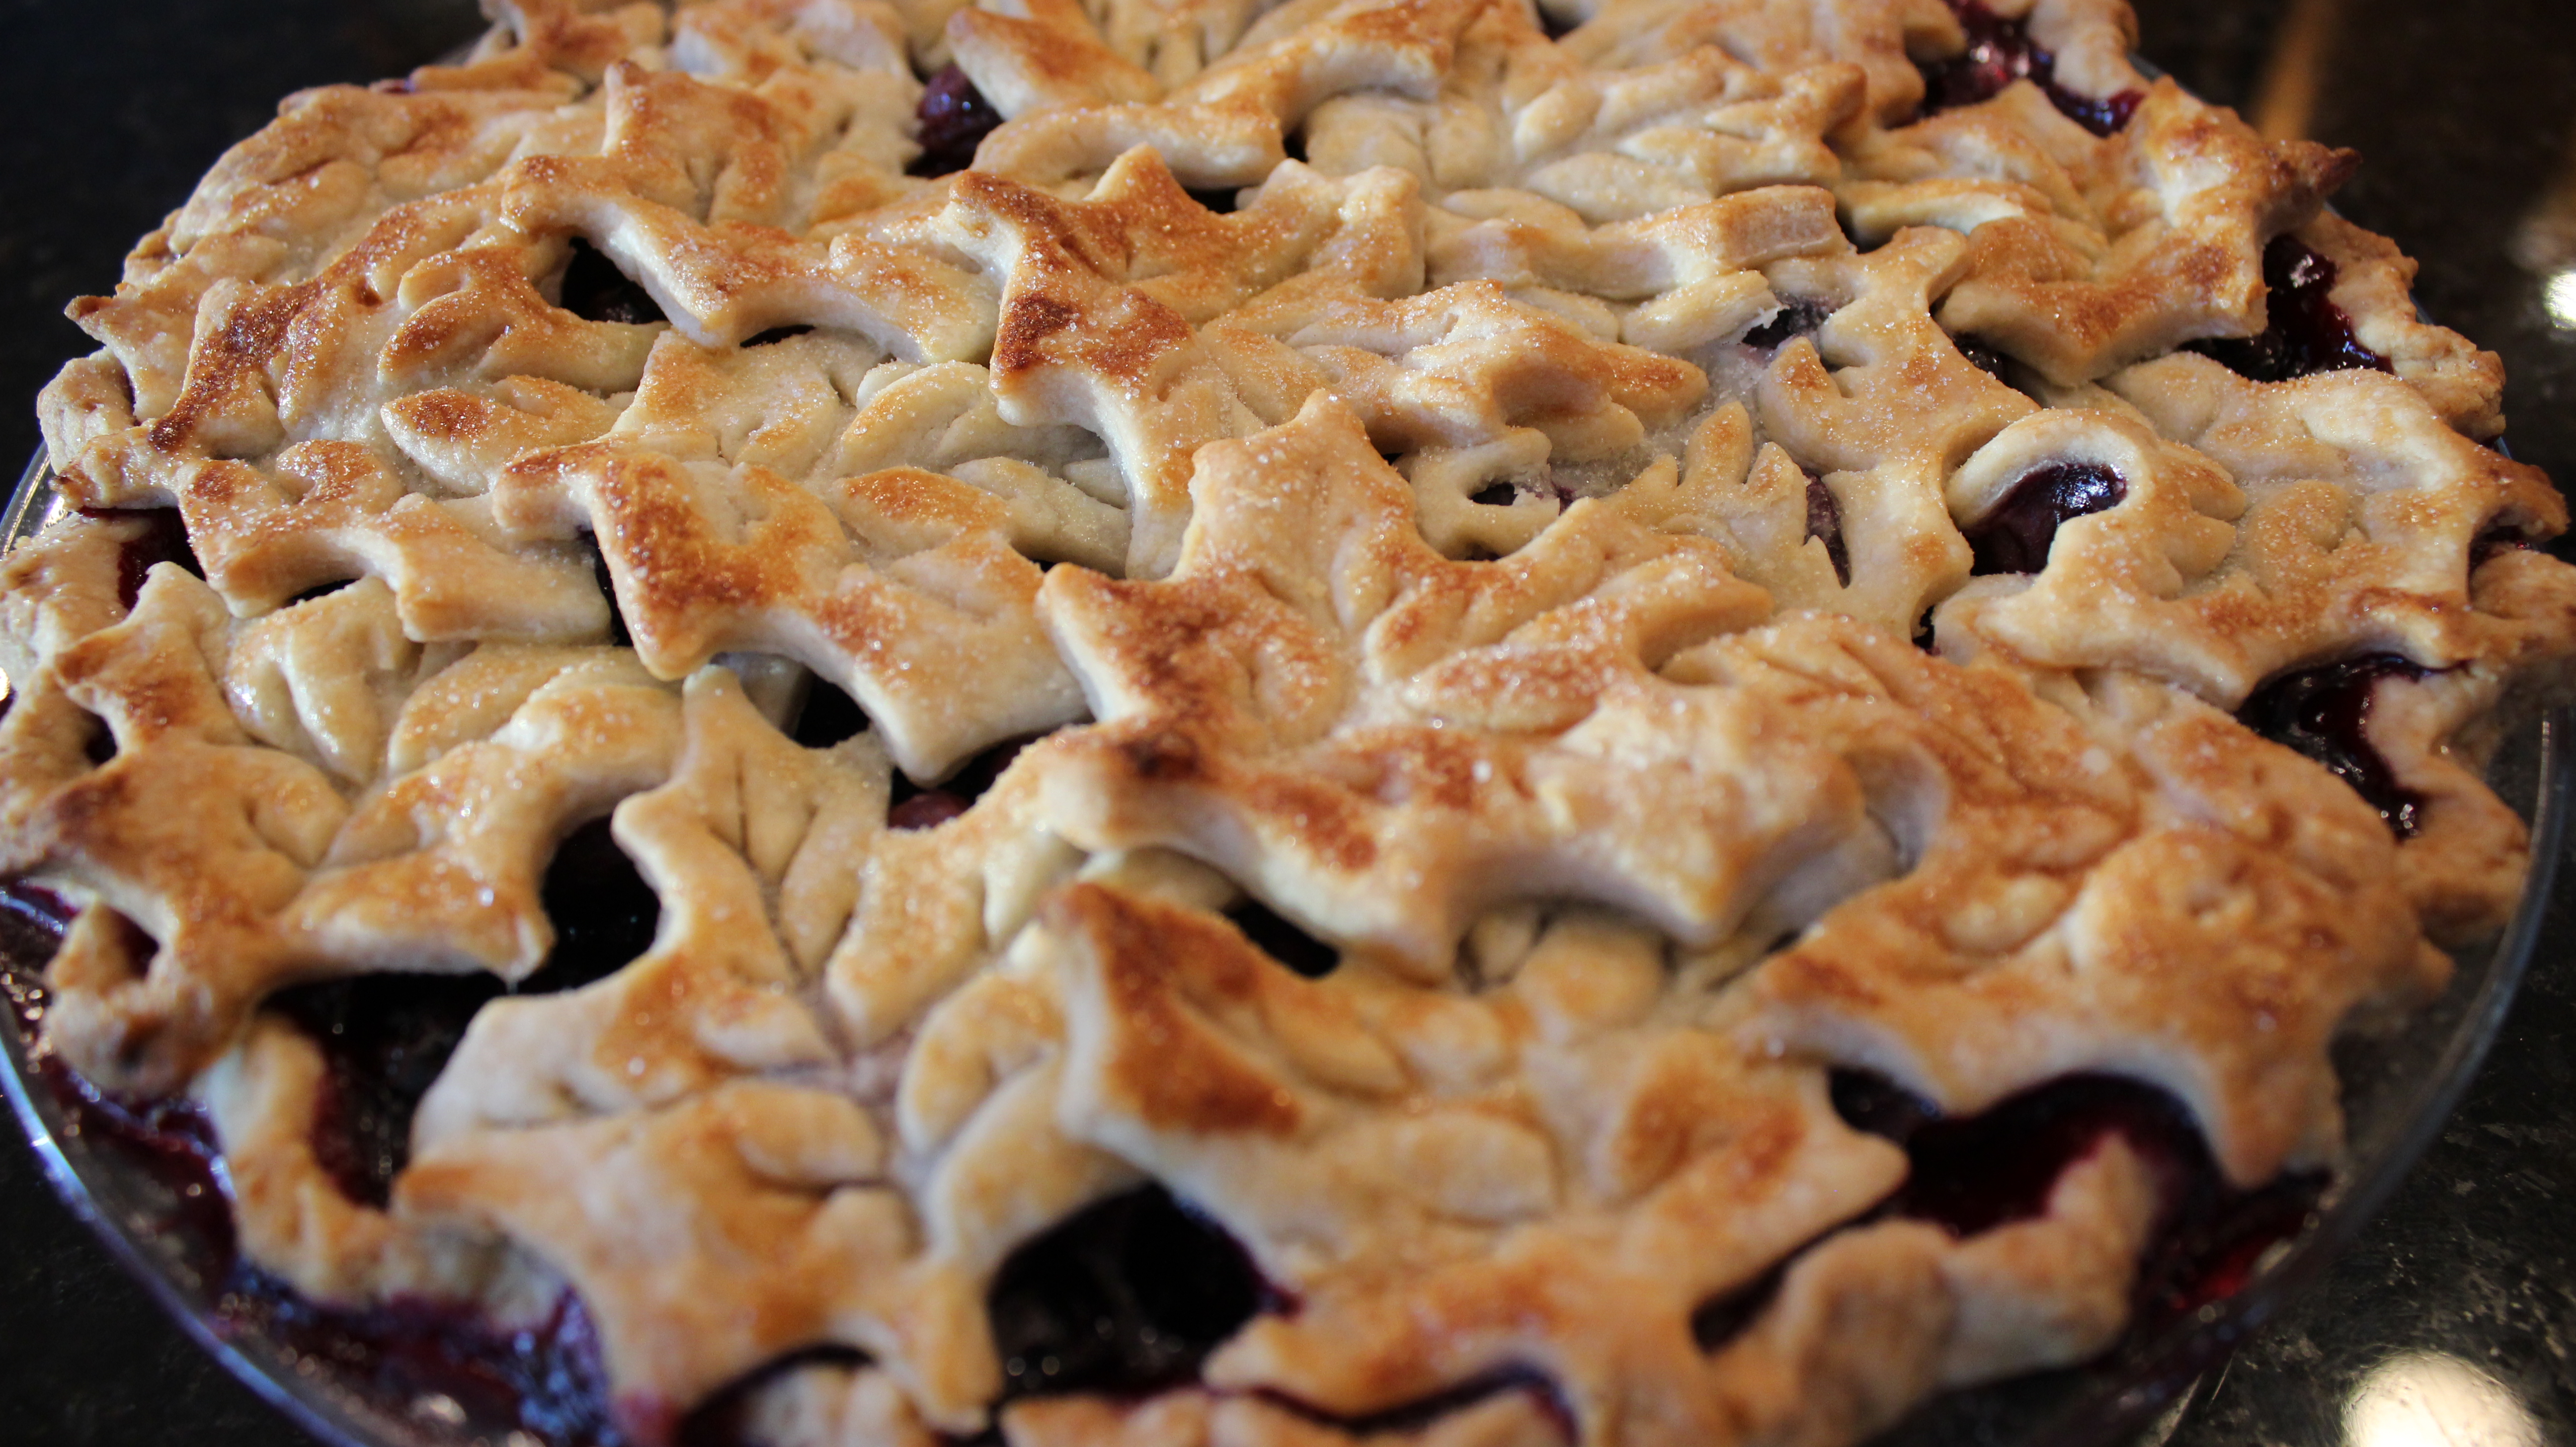
Place blueberry pie on the cookie sheet that has a piece of parchment covering the bottom in case of spillage and pop into the oven for 30 minutes
Turn the oven down to 350º and bake for another 40 minutes until a golden crust and juices are bubbly
You must let cool 3 hours so the blueberry juicy can thicken properly
Serve with your best vanilla ice cream and you will be one happy camper! 🙂
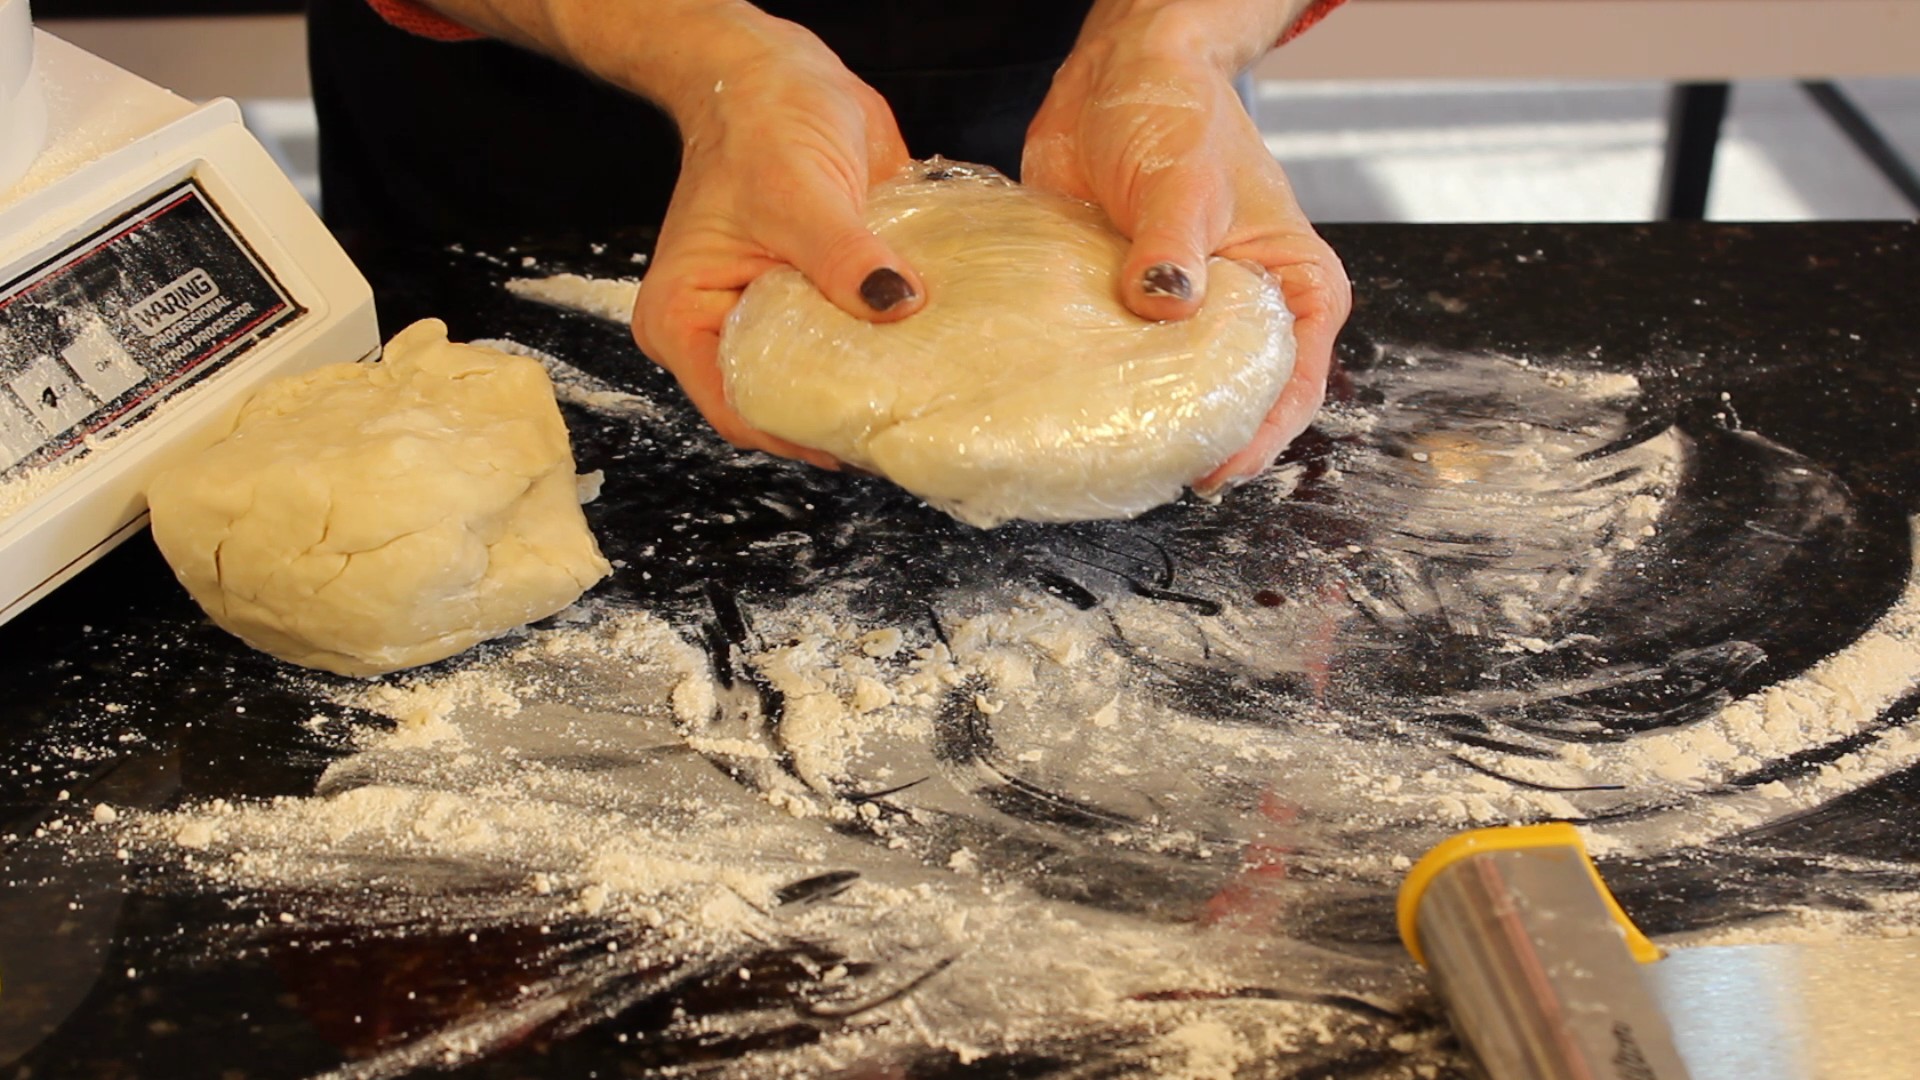
Who would ever think you could make this buttery, flaky, homemade pie crust in 5 minutes? After eating many of my Grandma Reilly’s pies when I was little I was inspired to come up with a recipe that tasted just like hers. Unfortunately, I never got her recipe but have been making pie crust’s for over twenty years and I’m happy to say I came up with a pie crust recipe that is spot on to what my Grandma used to make . Granted, there are some pretty decent pie crusts available at the market and if you are making many pies it totally makes sense to go that route. If you are only making a couple of pies you really need to get busy and make this homemade pie crust!
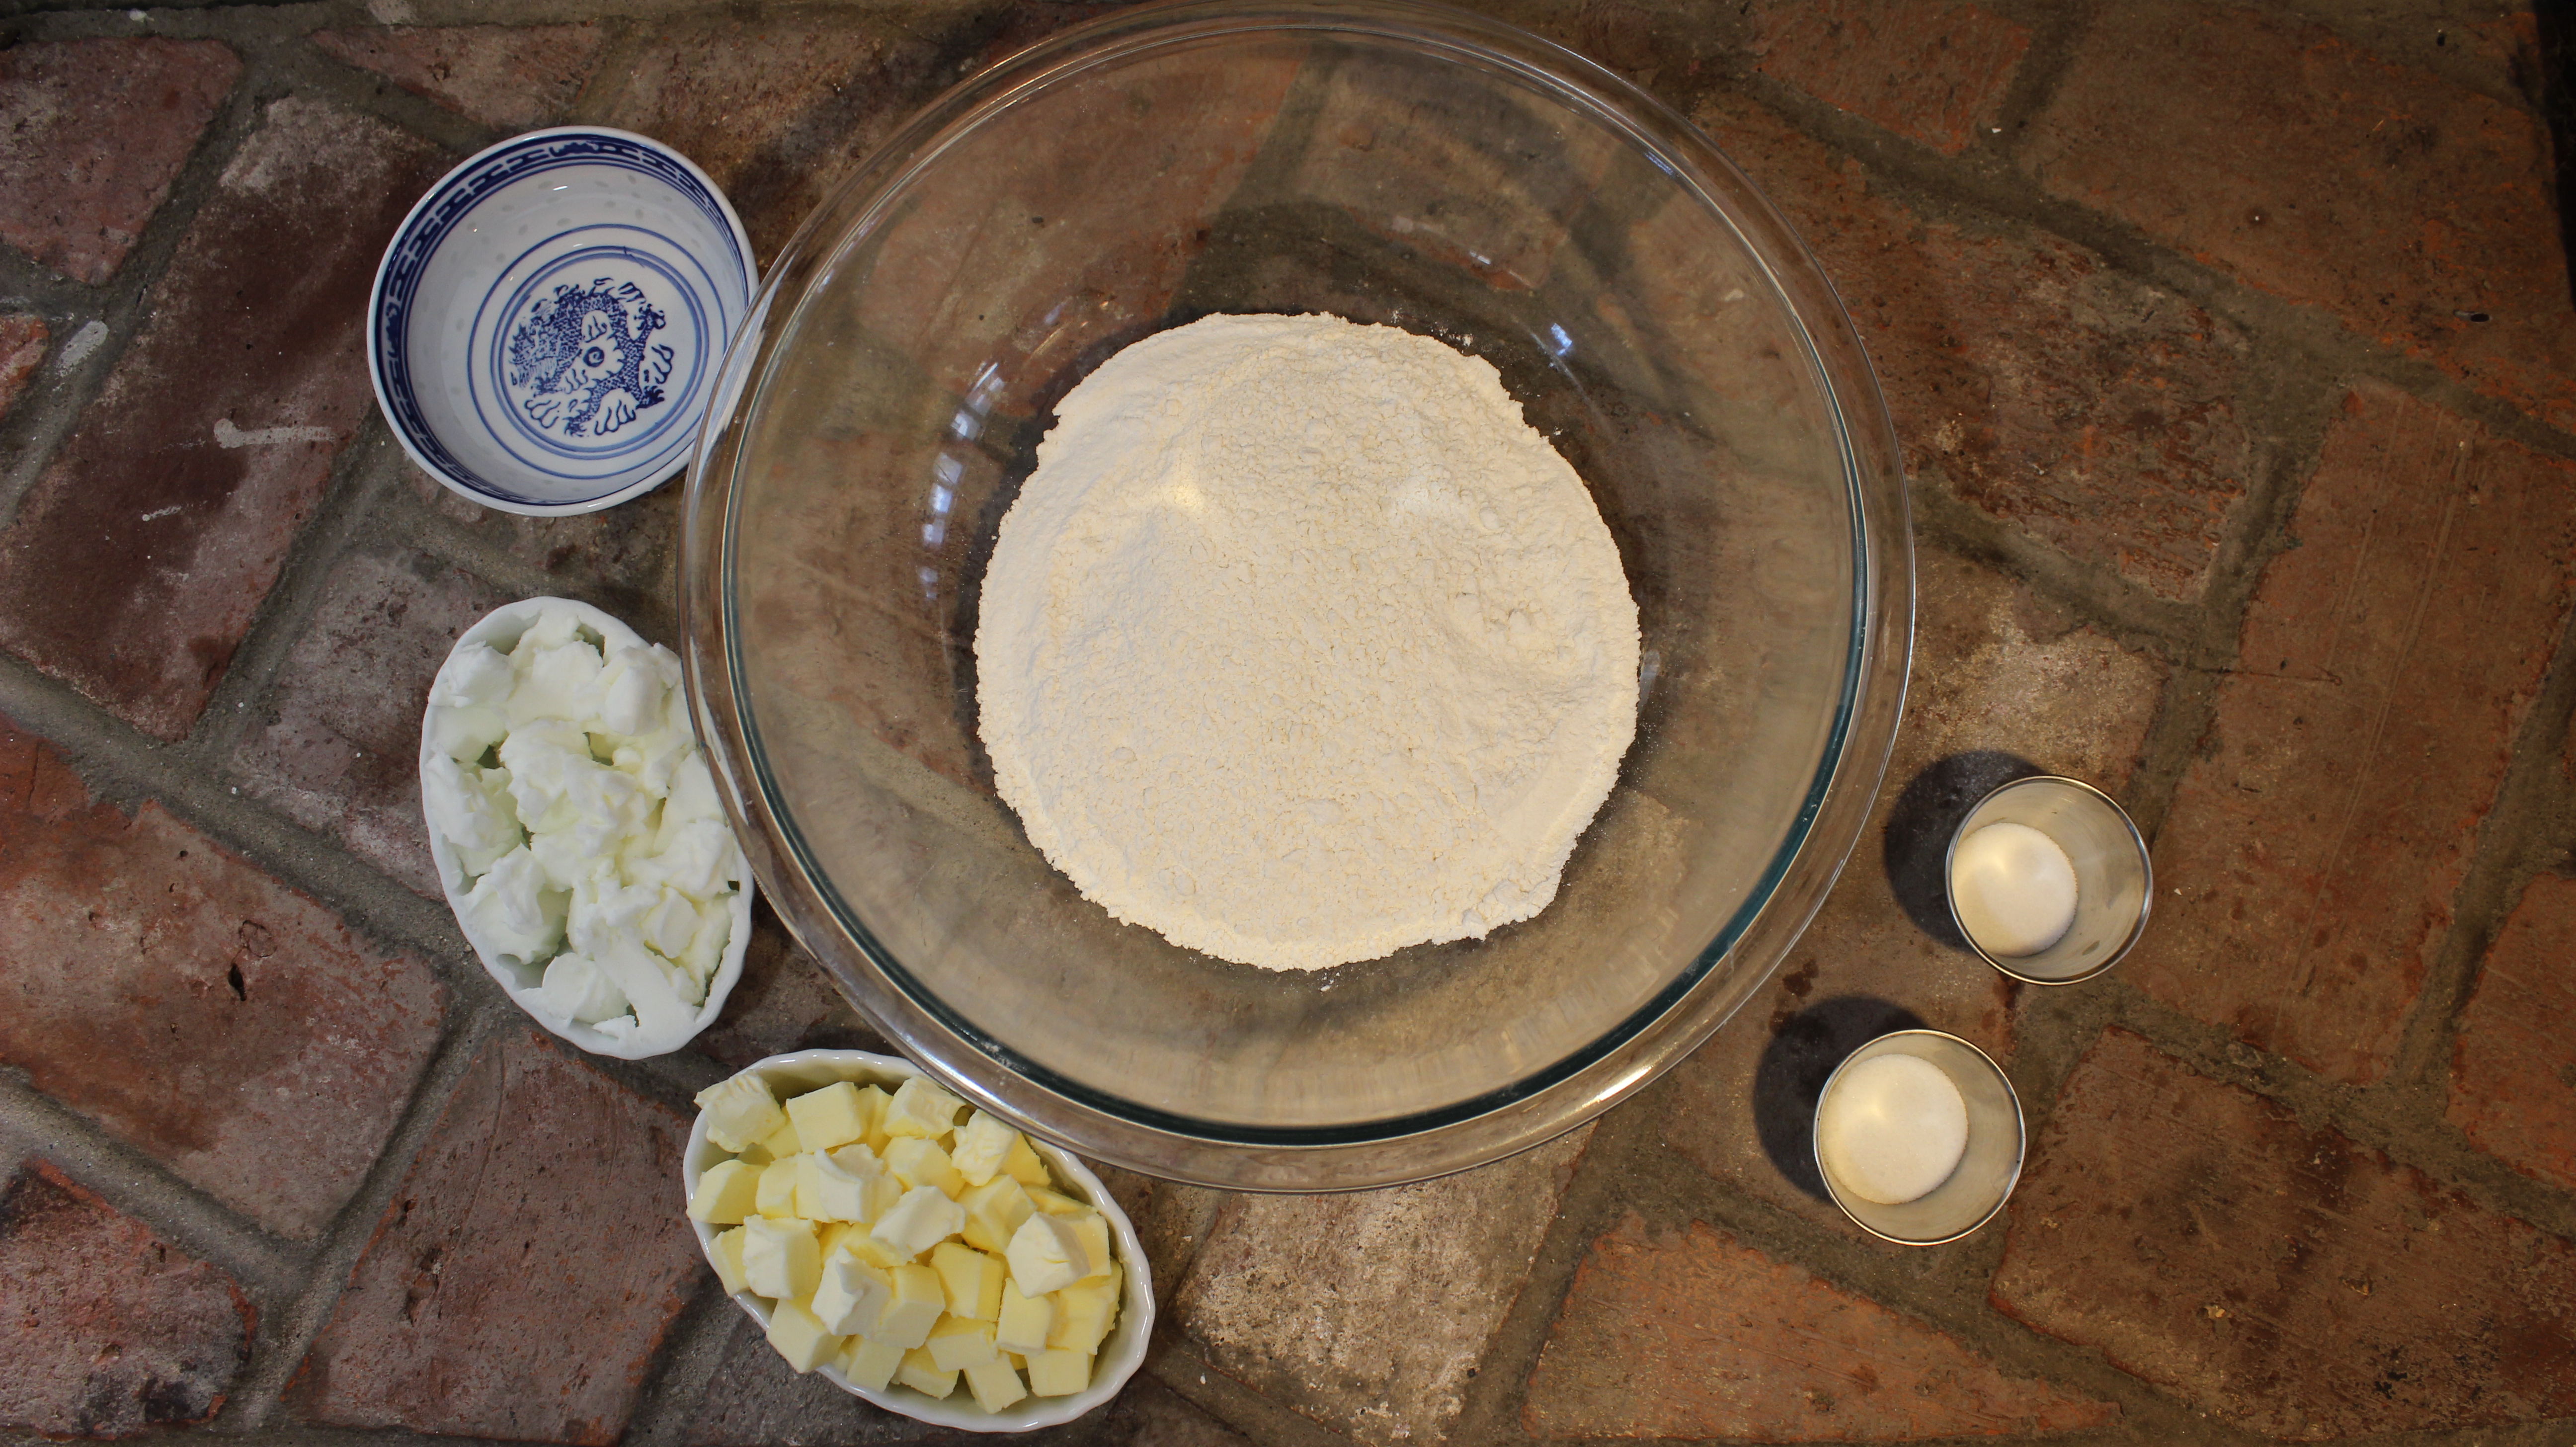
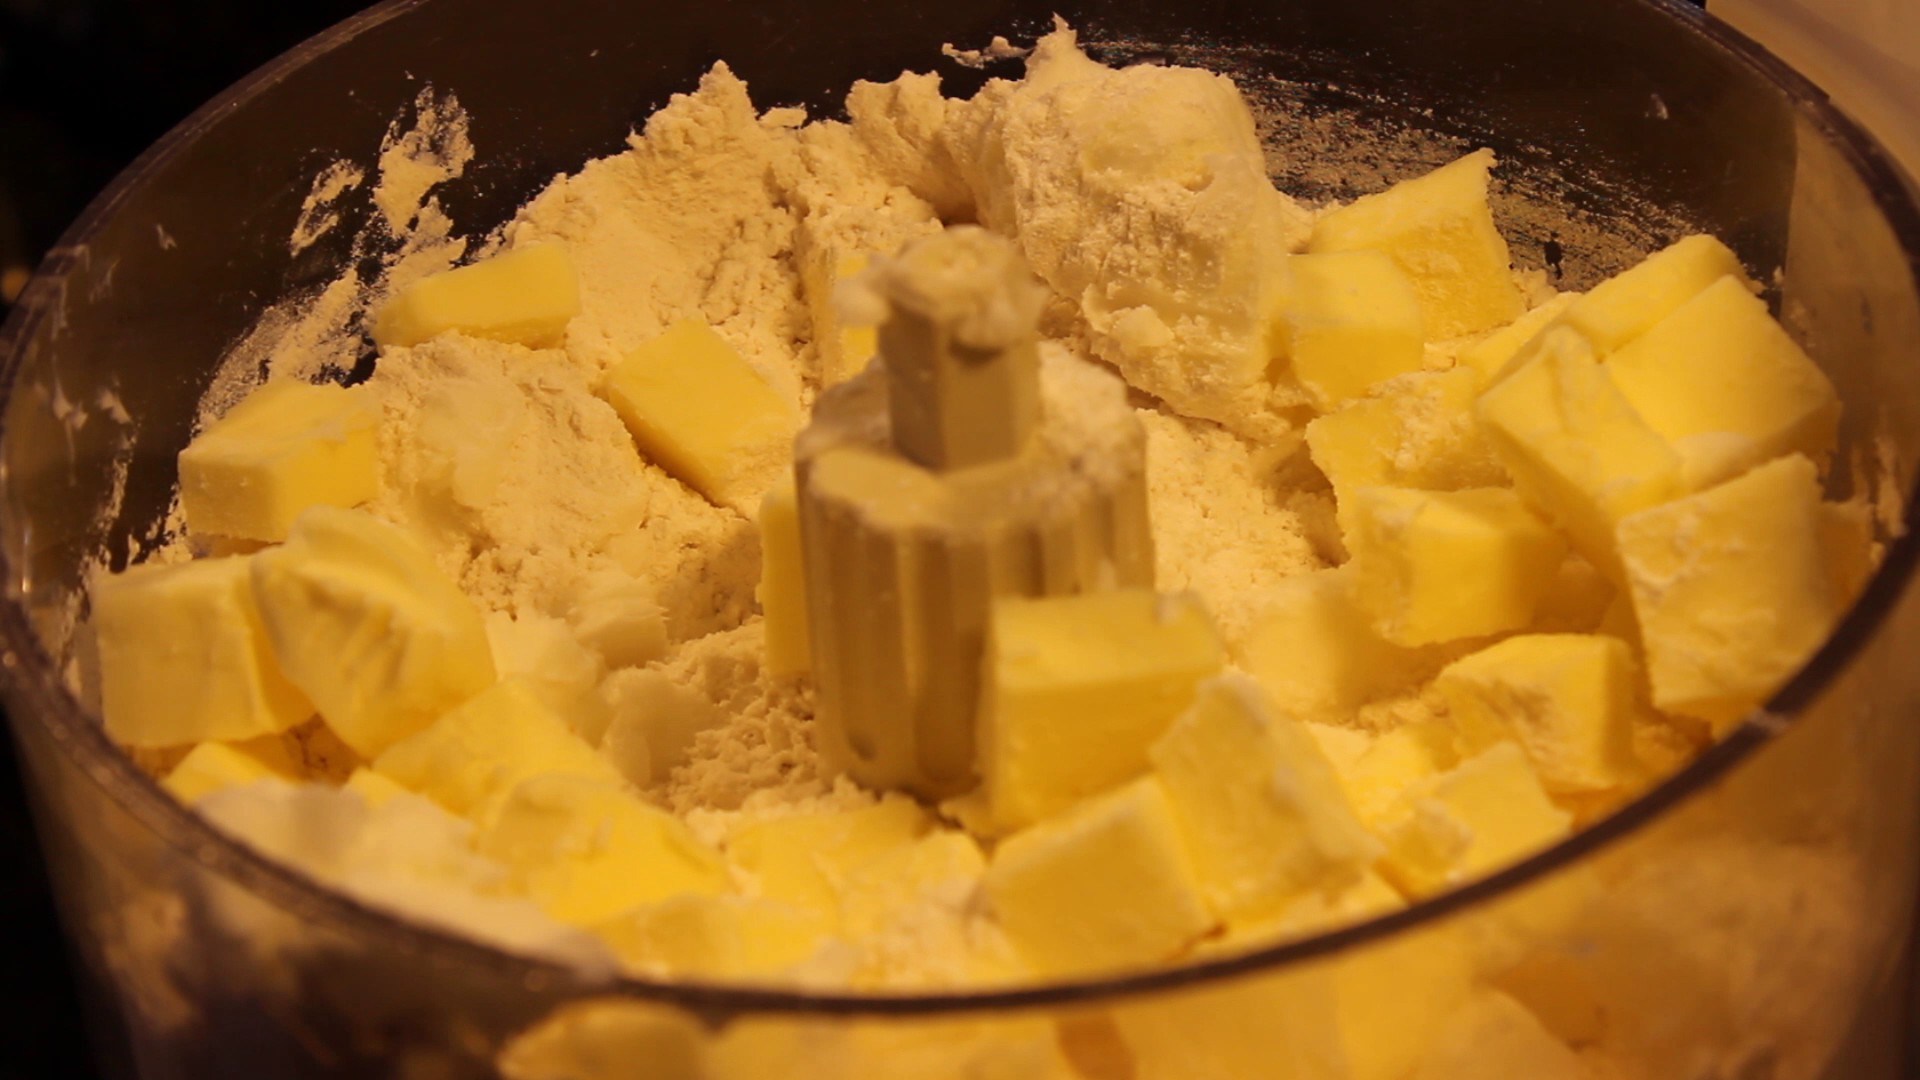
Homemade pie crust in 5 minutes is just that but there two tricks to this amazing pie crust. First, all the ingredients must be very cold. Refrigerated butter cubes are already firm enough but to firm up the soft Crisco pieces it’s wise to put that into the freezer before adding it to the food processor. Second, you MUST NOT OVER WORK the dough! Over working the dough will build gluten’s like you are make a bread dough and we don’t want that for making this perfect pie crust in 5 minutes. We want our pie crust to be flaky in texture not tough and hard.
In my opinion, a couple of the best bakers in the world are the French and the Southerner’s. One loves butter and the other loves Crisco. So why not take the best of both worlds using both butter and Crisco to achieve these wonderful results. Not to mention, as I always do, I have tested many pie crusts recipes to come to this theory.
You need to try out this perfect pie crust in 5 minutes recipe just once to be convinced to start making your own. In fact, you will wonder why you haven’t been making your own homemade pie crust your whole life when it’s that easy to make and tastes like this! Enjoy the show and don’t forget to make this ahead of time popping it into your freezer until you are ready to roll it out for a pie or a quiche. I would transfer the dough from your freezer to your refrigerator couple of days before you are ready to use it in order for the dough to come to the proper workable temperature. Once you make your dough you really ought to try making an amazing Chocolate Pecan Pie or Death by Chocolate Meringue Pie for your holiday. Don’t forget to watch Thanksgiving week when we roll out this dough and bake a pie together! For theBest Blueberry Pieeverrecipe this is one that shouldn’t be missed. Enjoy 🙂
Ingredients:
10 tbsp cold butter cut up each tablespoon into 4 pieces and into fridge until you are ready to add to flour
1/2 cup coldCrisco cut into small pieces OR 1/2 cup REAL LARD from FIREFLY FarmsOR 1/4 cup Crisco & 1/4 cup lard
1/2 cup, plus 2 tbsp cold water, (keep in fridge until you are ready to add to flour)
3 cup all-purpose flour
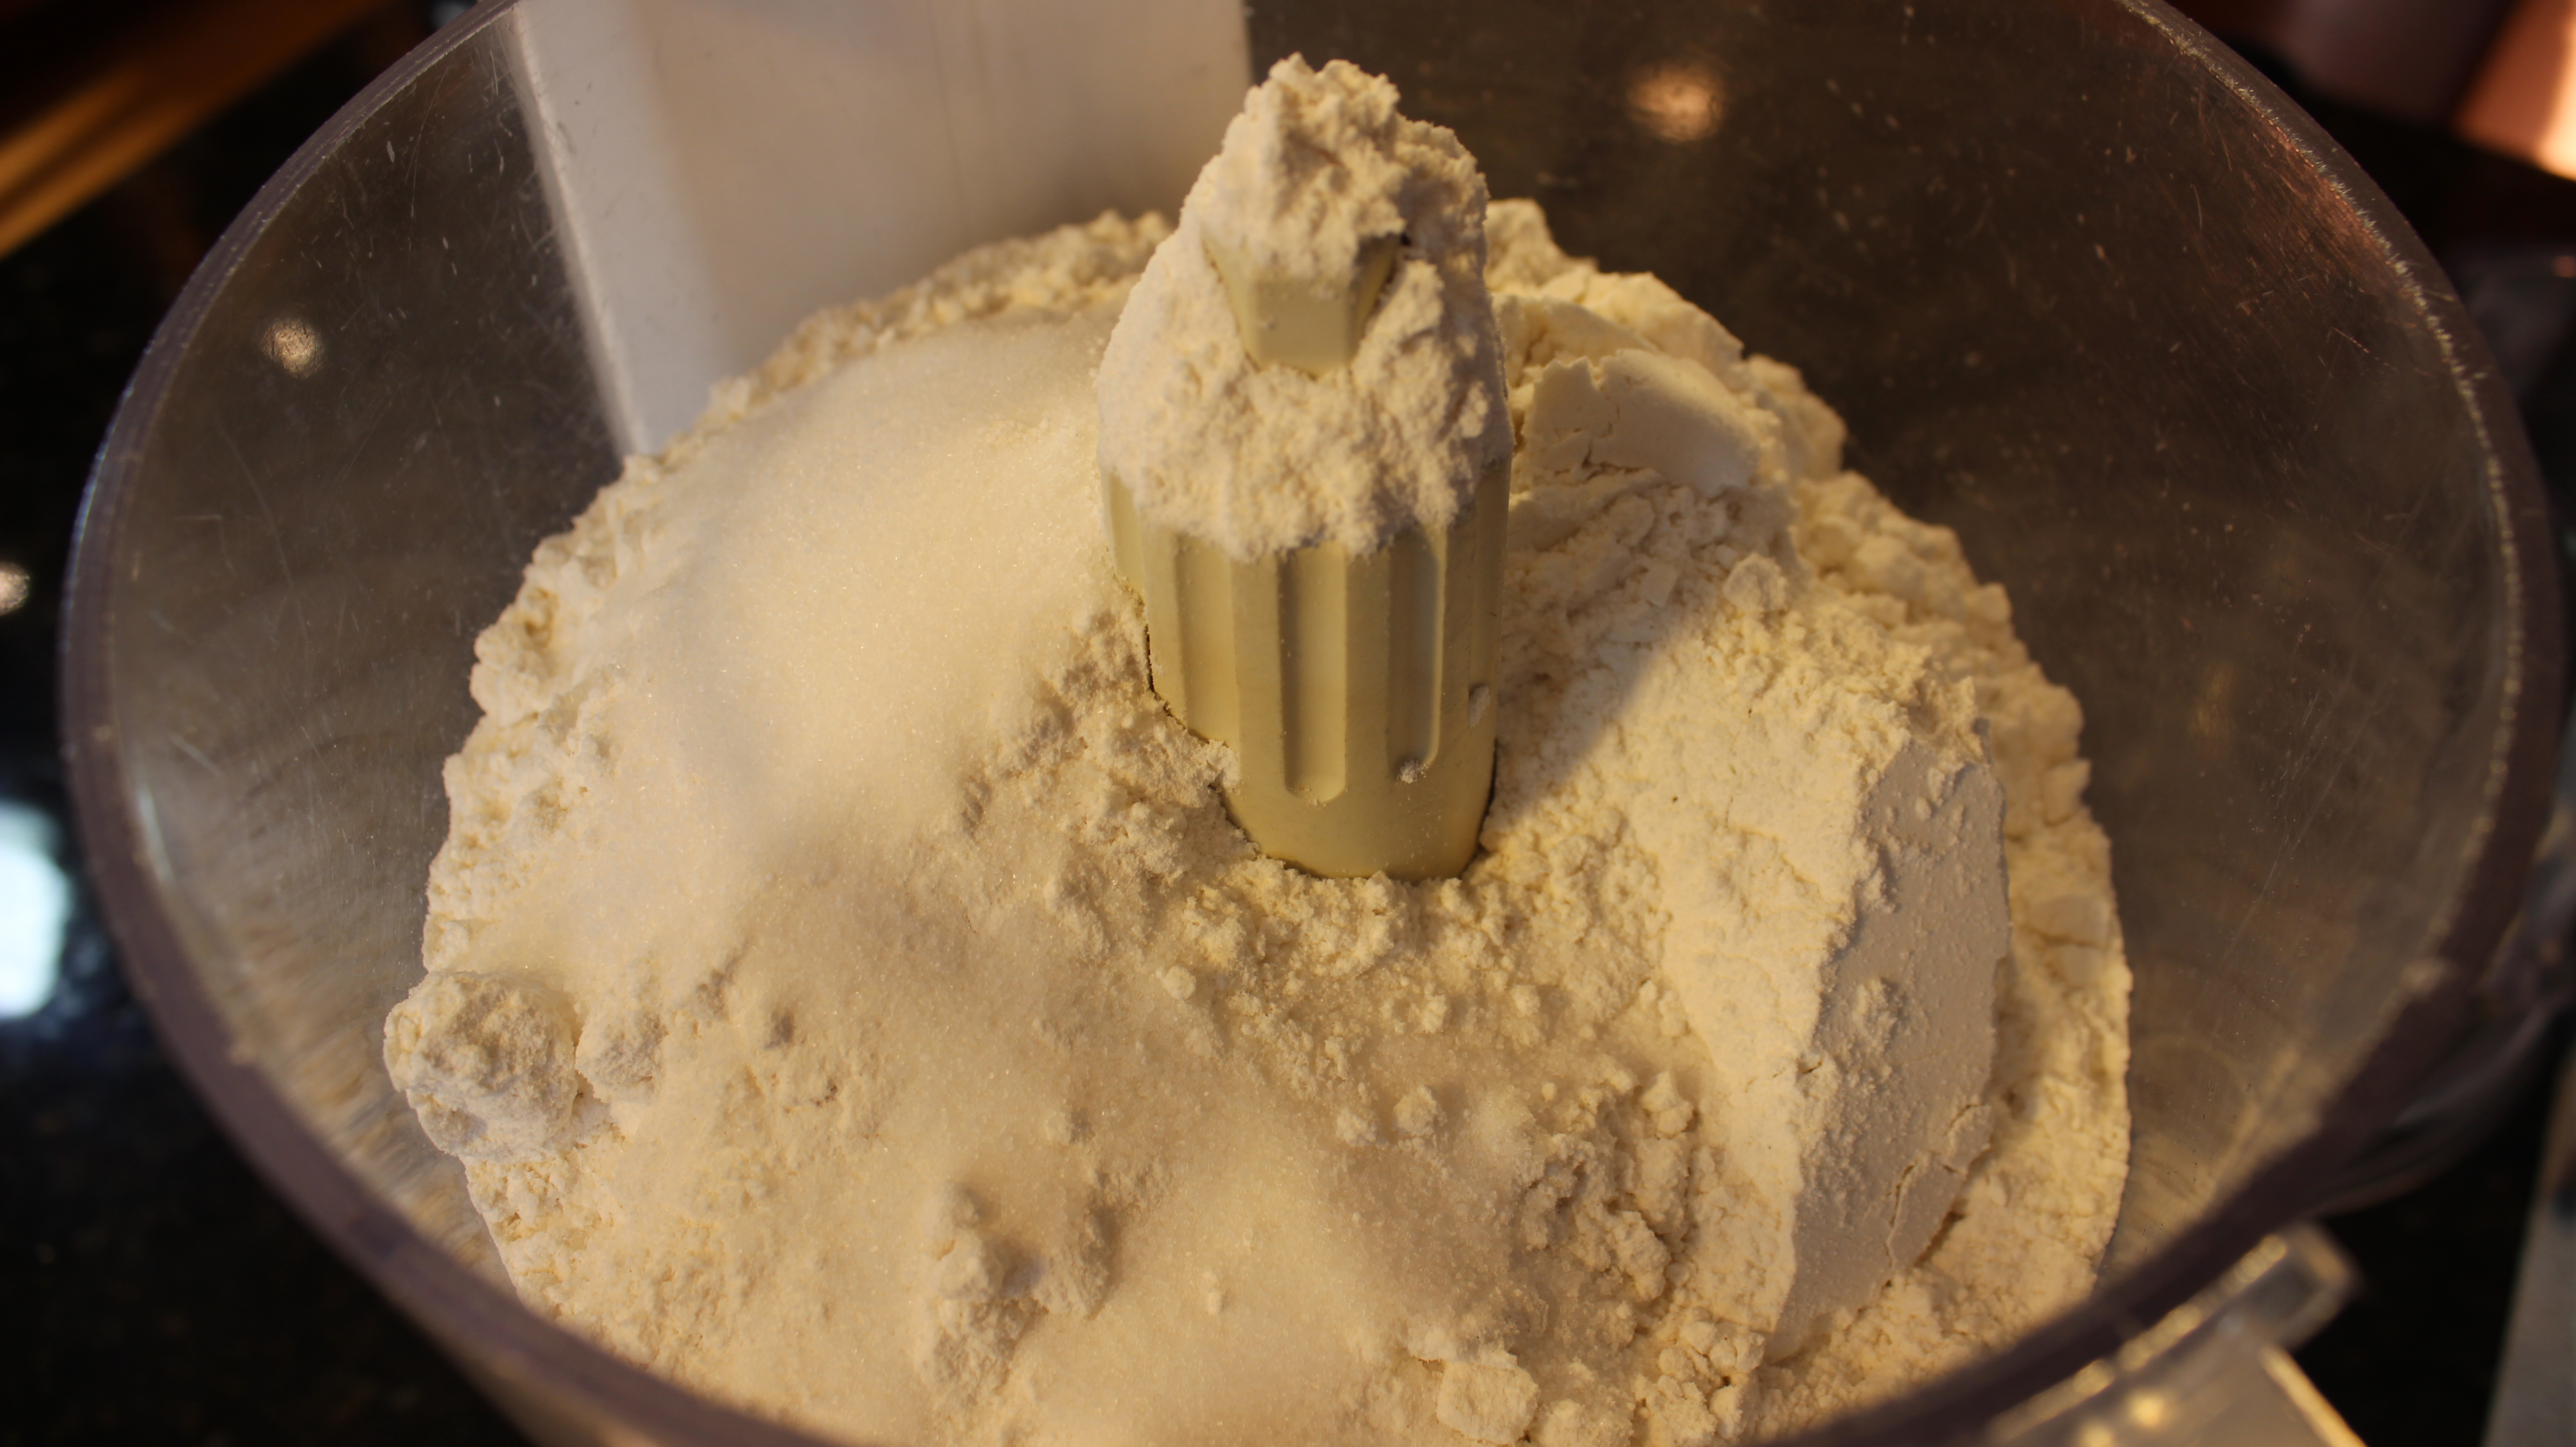
1 tbsp sugar
1 tsp sea salt
NOTE: I even keep food processor container with medal blade in it in the fridge until you are ready to pulse ingredients
It’s easiest to freeze first, especially for crisco or real lard, then take out of freezer and cut up or grate before adding to processor
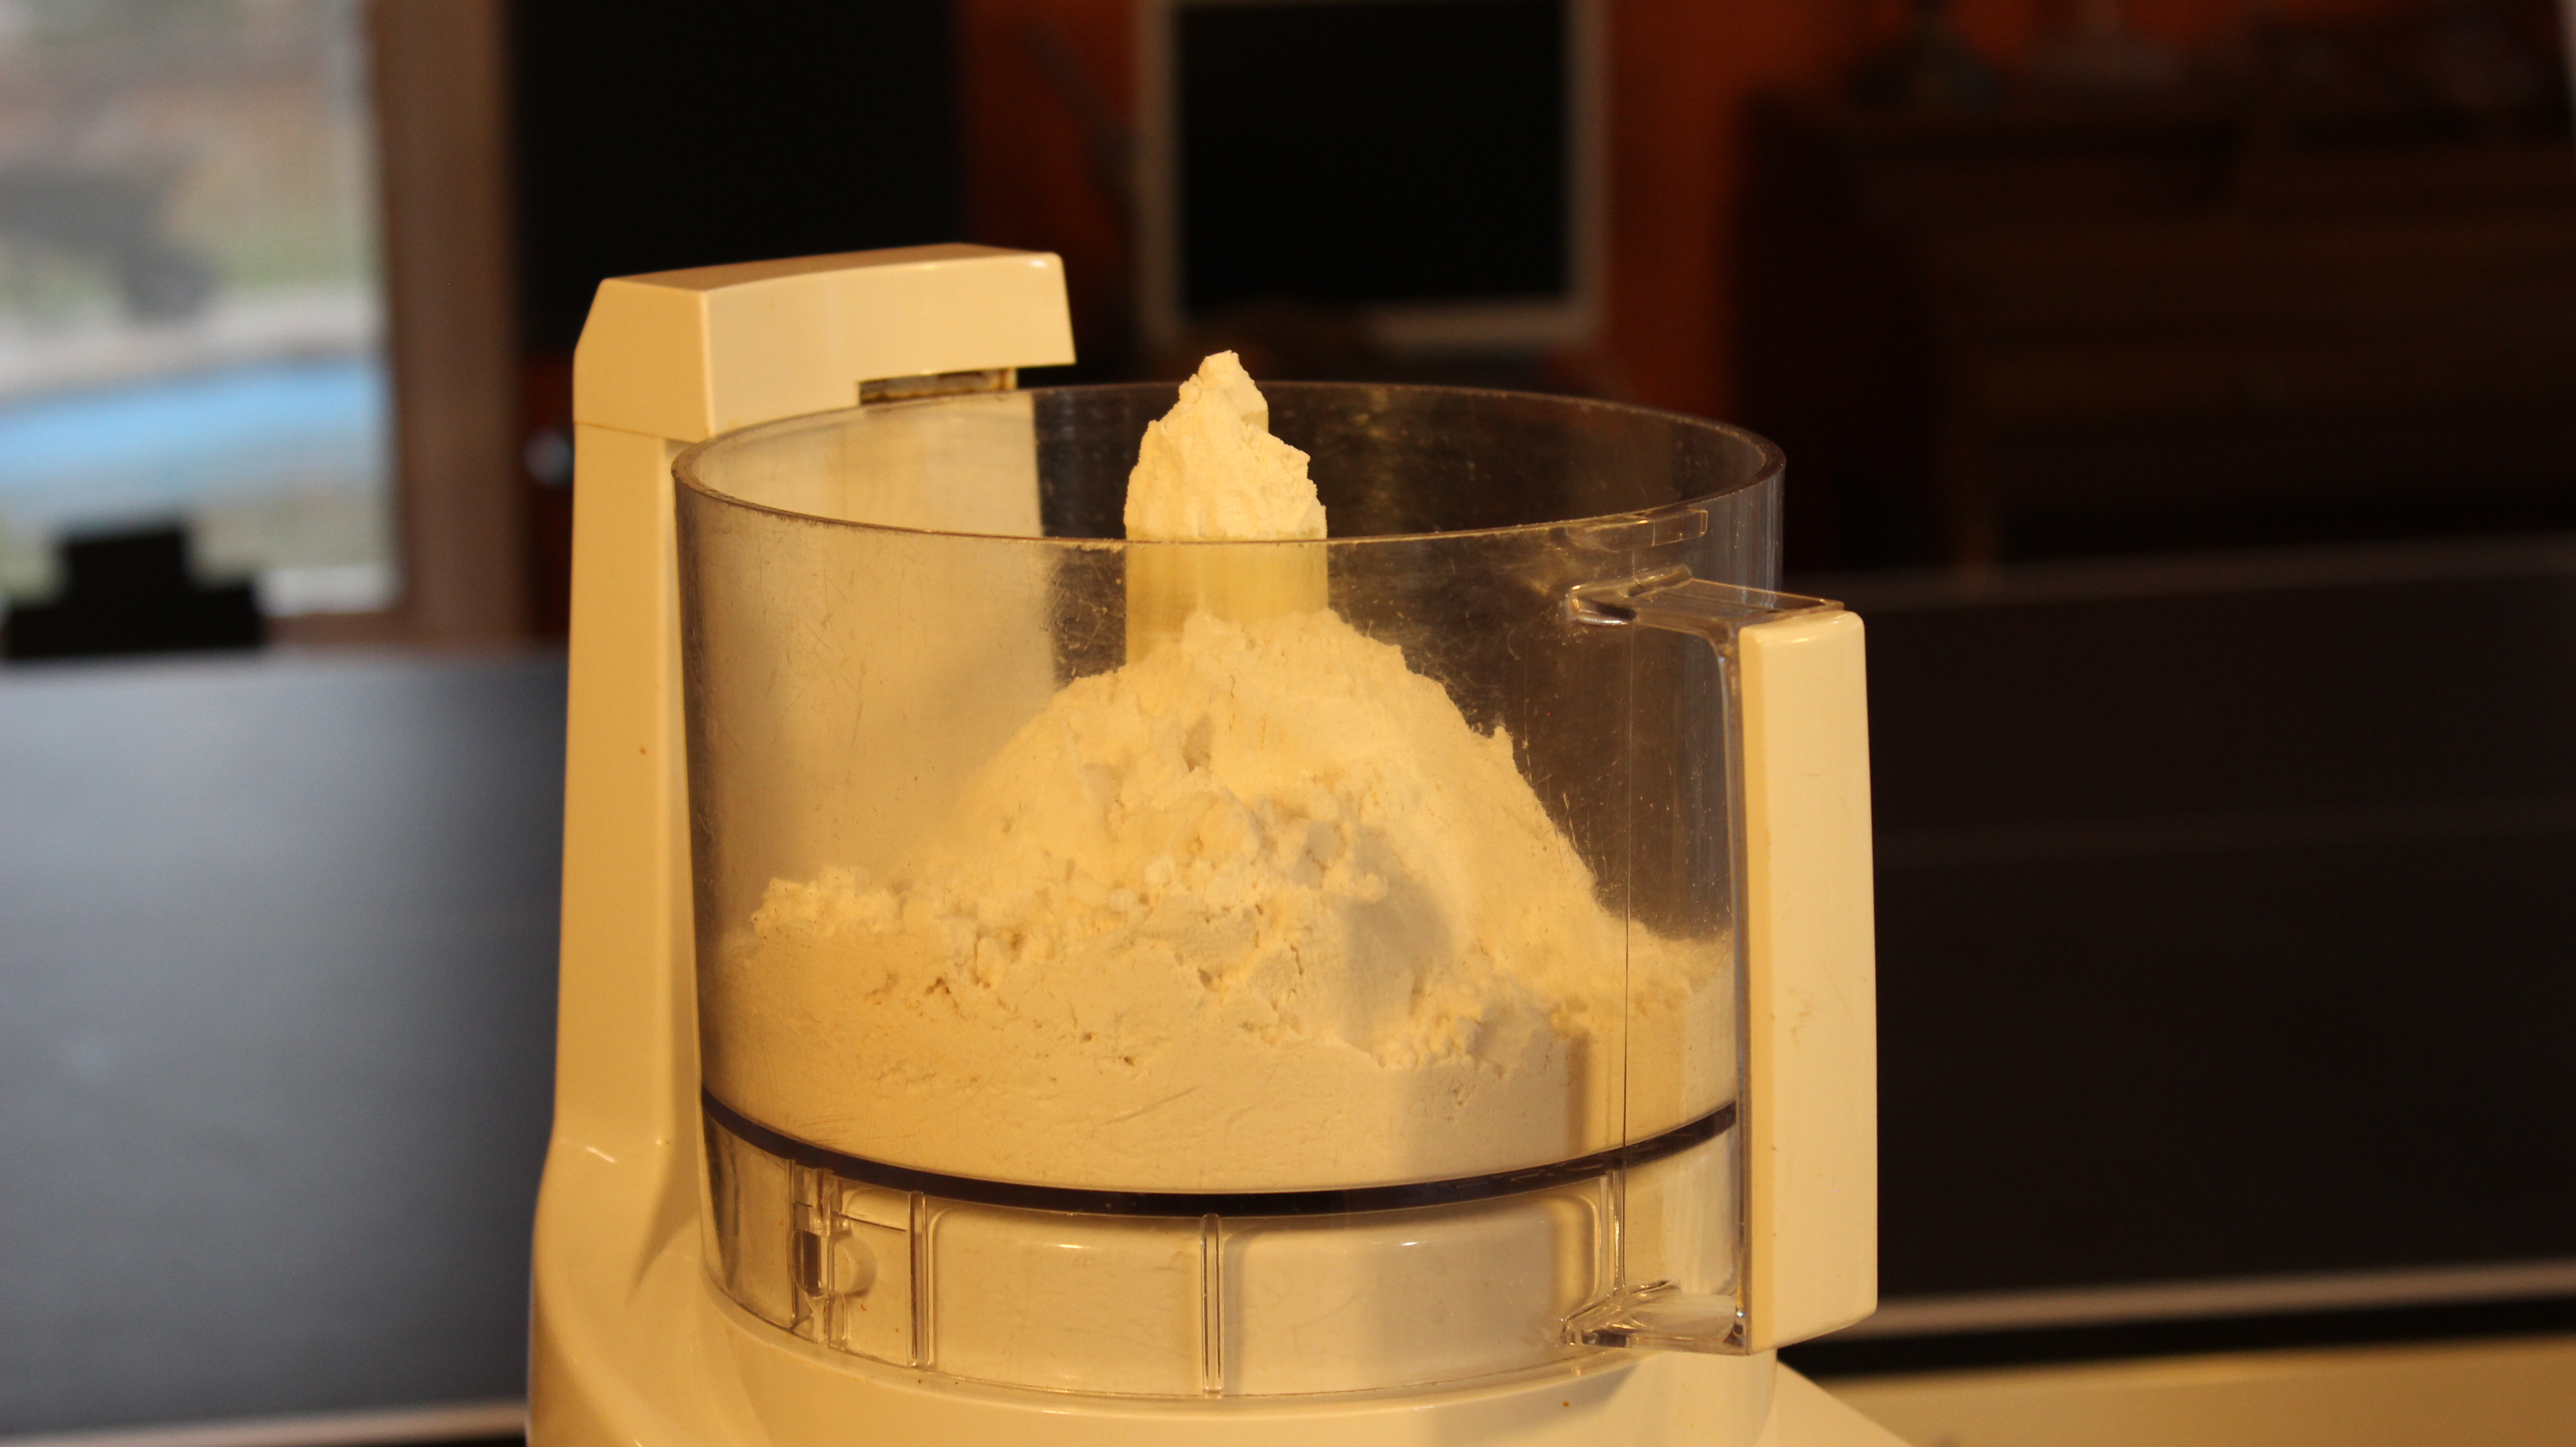
Add dry ingredients to the food processor and pulse twice to combine
Drop the freezer cold, firm Crisco or lard pieces onto the flour
Then add the butter pieces helping the pieces to separate with a butter knife as you drop them onto the flour
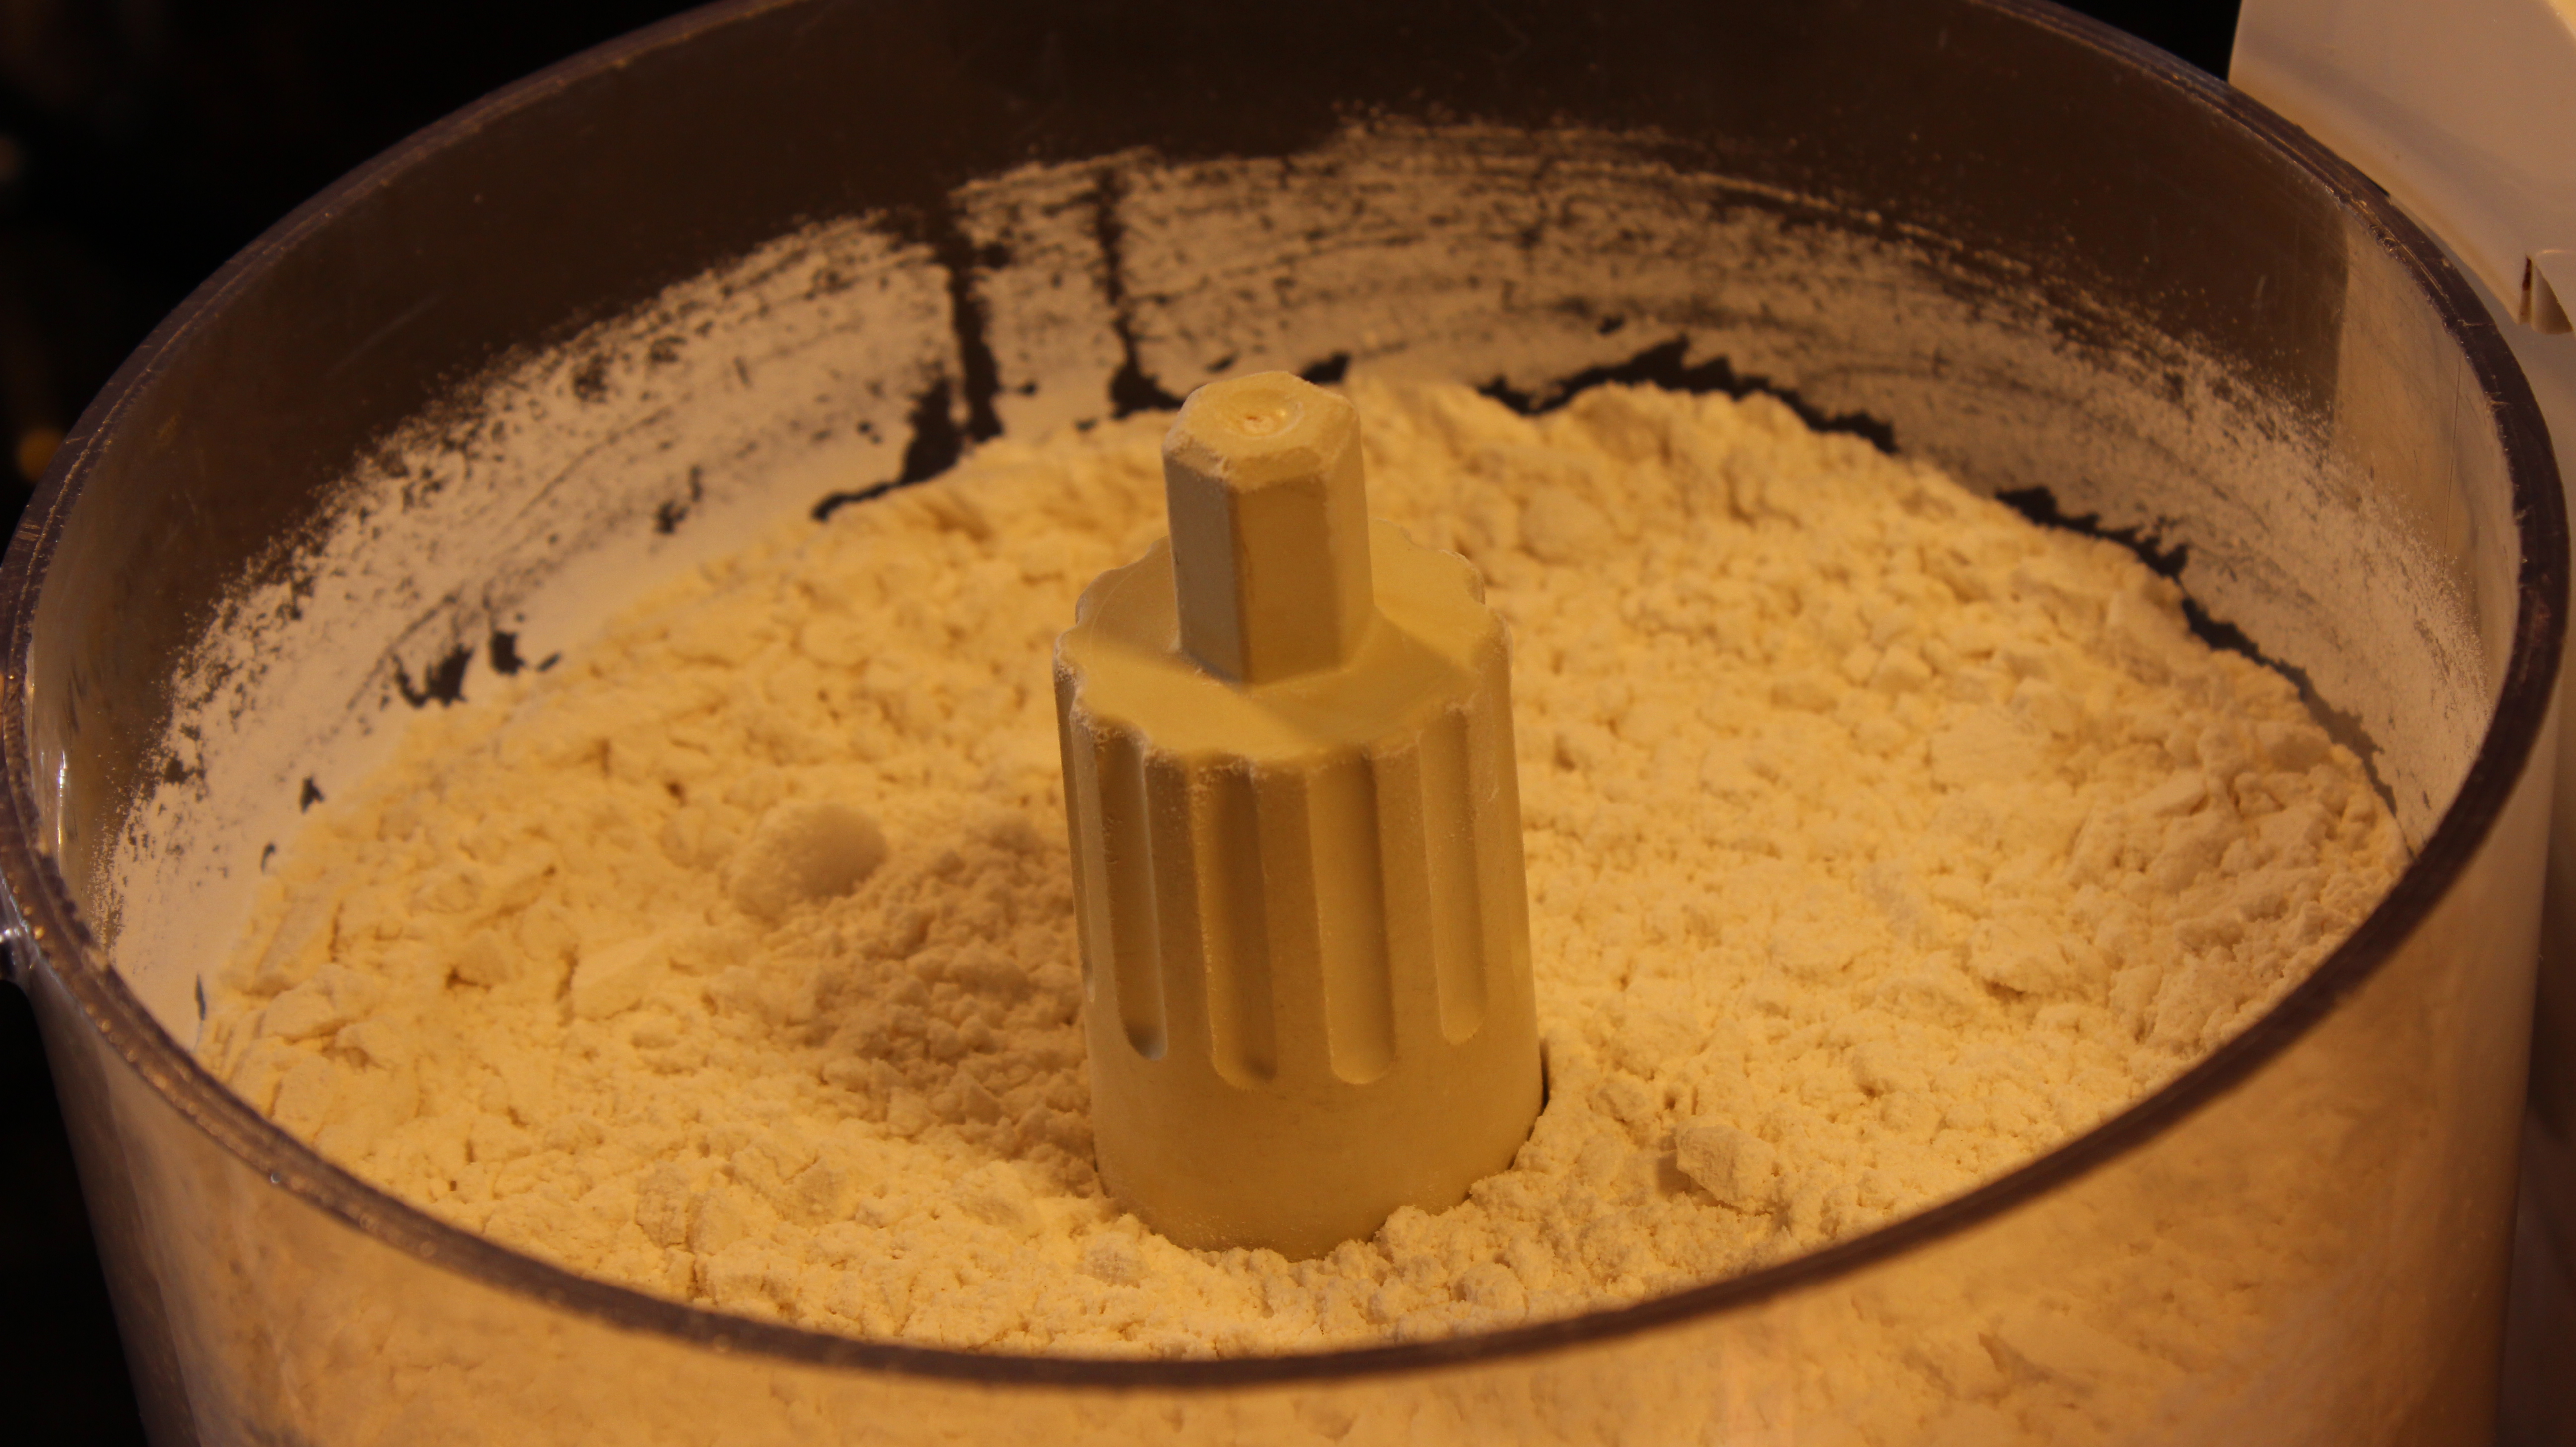
Pulse 5-7 time until the Crisco and butter are pea size
Now turn processor to “on” and slowly add water through opening – Note: this will take about 12-15 seconds for the dough to come together
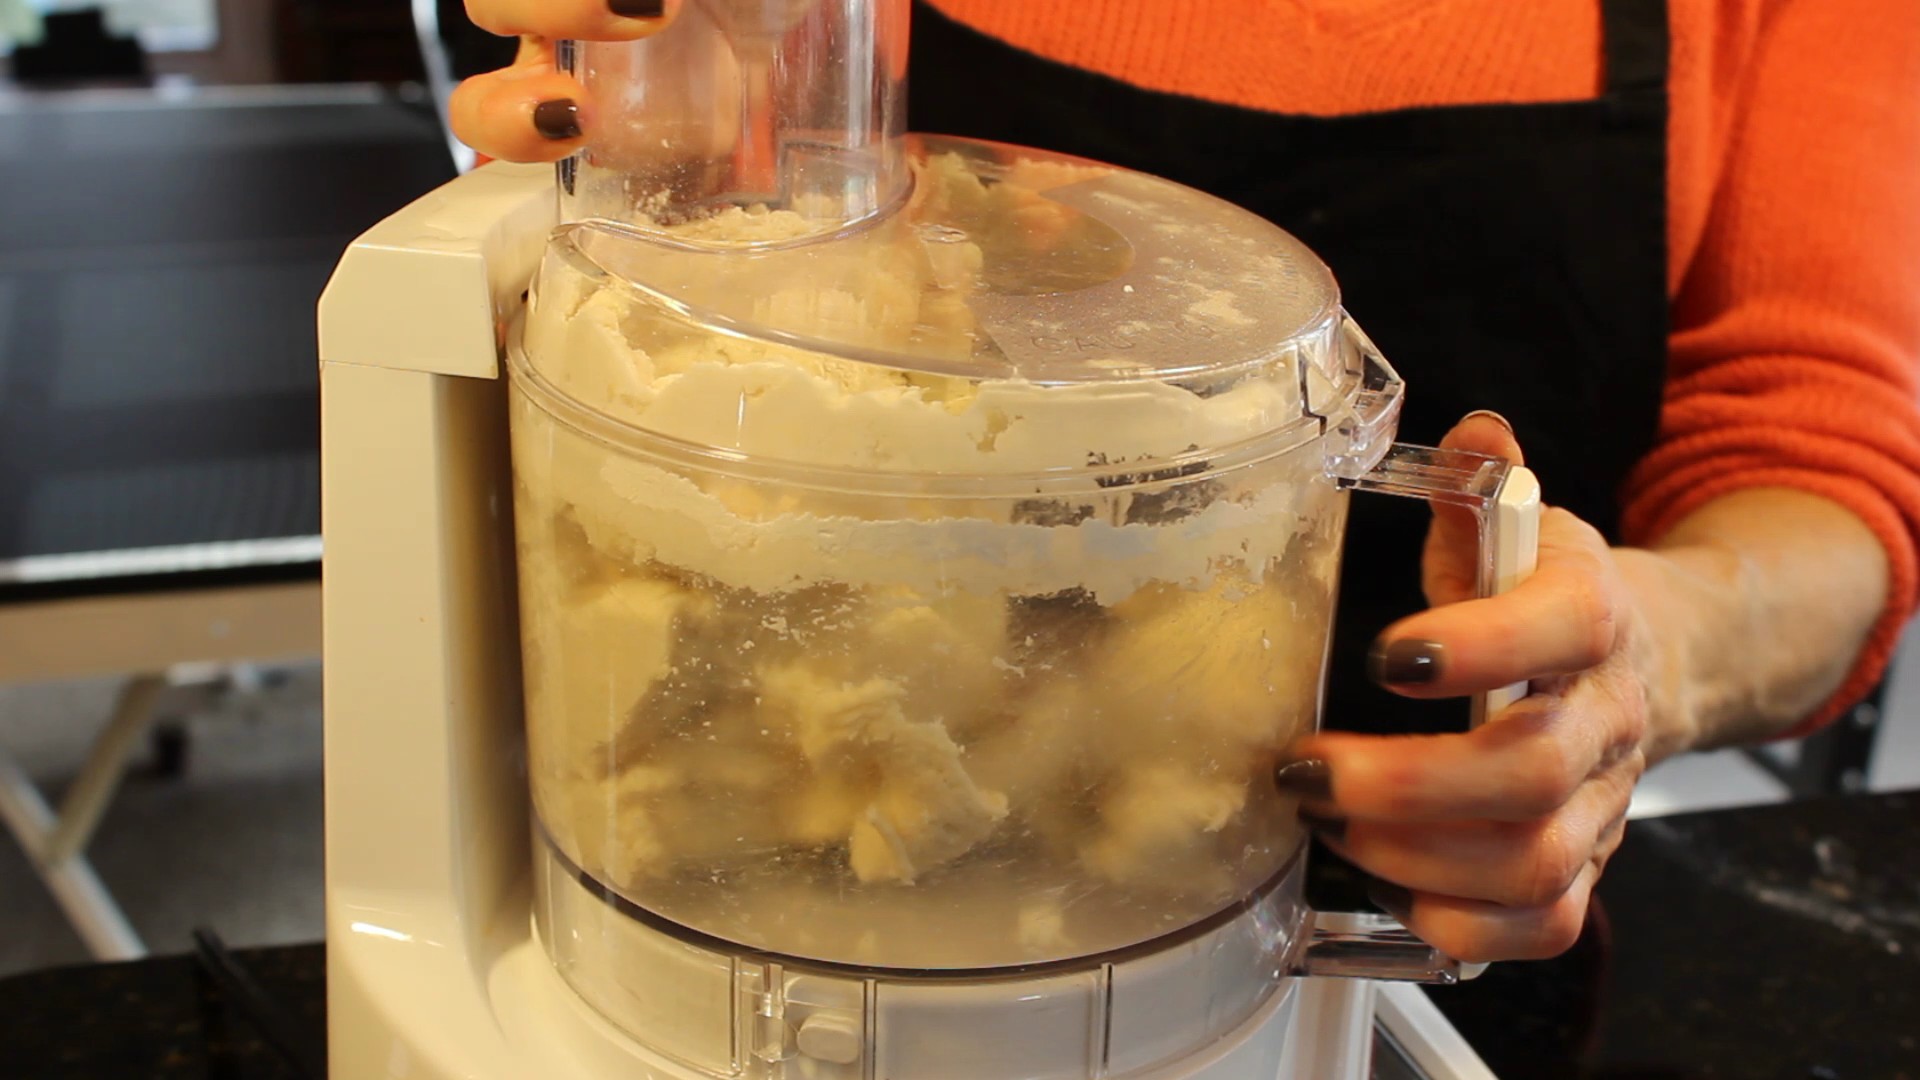
The moment you see the dough begin to come together, STOP, and PULSE 2-3 times to finish into a ball
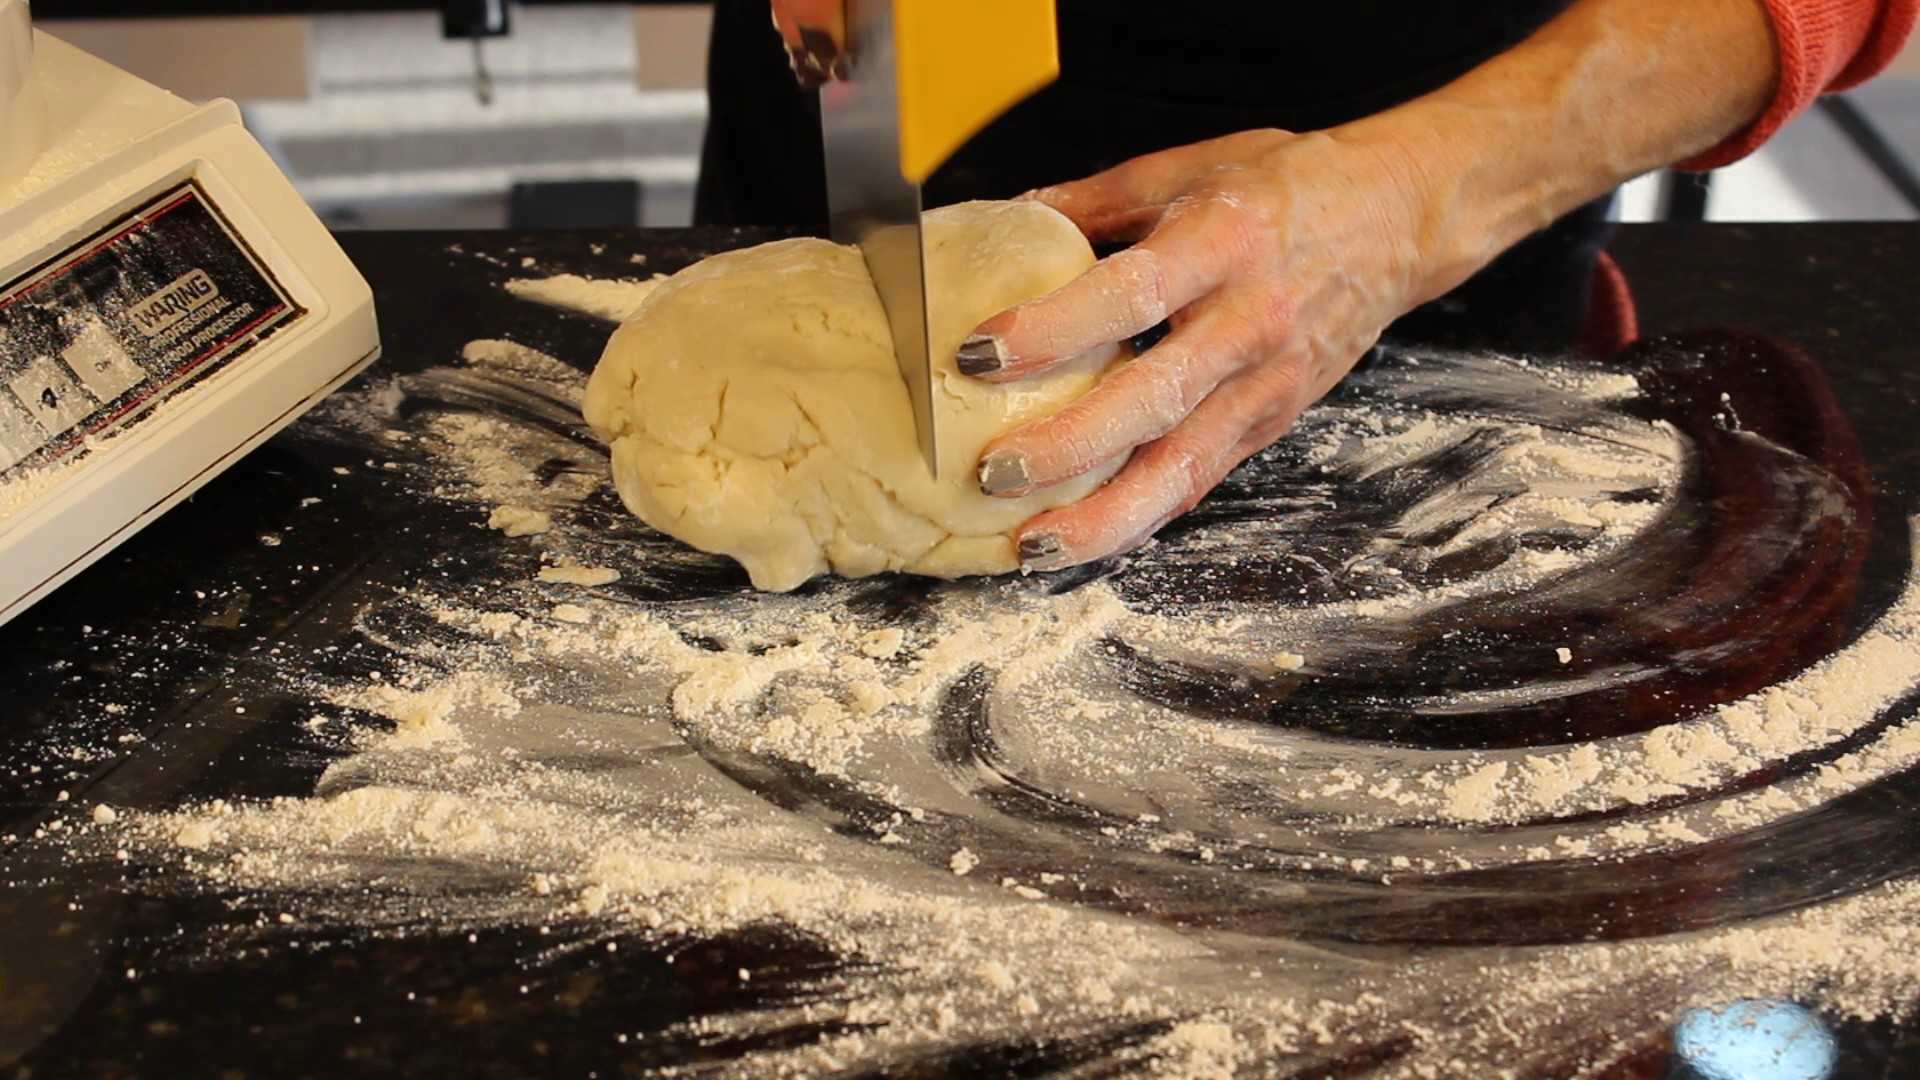
Take dough out onto floured counter surface – you will see little specs of butter and Crisco in the dough which will make for a buttery, flaky crust!
Cut dough into two pieces, cover with Saran Wrap and into fridge for at least 30 minutes or freezer until you are ready ( If you freeze it allow 2 days back in fridge to come to proper workable temperature)


 This Creamy New England Clam Chowder is bursting with clam broth flavor, tender clams, melt in your mouth potatoes and a hint of smokey from the bacon and best of all, I can make it 12 months of the year! My secret ingredients in this homemade New England Clam Chowder push it right over the top! My mother was whipping up creamy New England clam chowder when I was little so making homemade soups just comes naturally to me. My New England clam chowder recipe reminds me of my no-nonsense crab cake recipe, no extra fillers! Topped with a little dollop of butter, a few dashes of tabasco and some oyster crackers brings me to chowda heaven!
 Dry Sherry-Blend of Amontillado for only $11 a bottle. It will last a while in your cupboard and help you to create amazing dishes. I would never not think of putting a big splash of dry sherry into my chowder! You will understand why once you try it this way …you’ll never go back to sherry-less chowder!
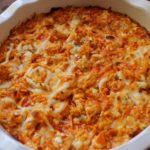


 MasterChef open casting calls and chewy chocolate chip cookies are the highlights of my blogging today. With exhausting life events that have taken place over the last three weeks I was some how able to produce my chewy chocolate chip cookie show for you and show up to my second pre-registered casting call for MasterChef.