Stuffed Roulades of Chicken
I serve these stuffed roulades of chicken sliced up on top of a roasted garlic and cannellini bean purée…the flavors are amazing together! Stuffing meats with vegetables and herbs makes a great presentation and people will think you worked a lot harder than you did. The stuffing in these chicken roulades is especially wonderful because the ingredients are all raw there isn’t any sautéing, . If you don’t like one of the ingredients in the stuffing you can easily substitute for something you do like. For instance, cilantro instead of basil, or diced artichoke hearts instead of olives or maybe swiss cheese instead of feta.


Ingredients:
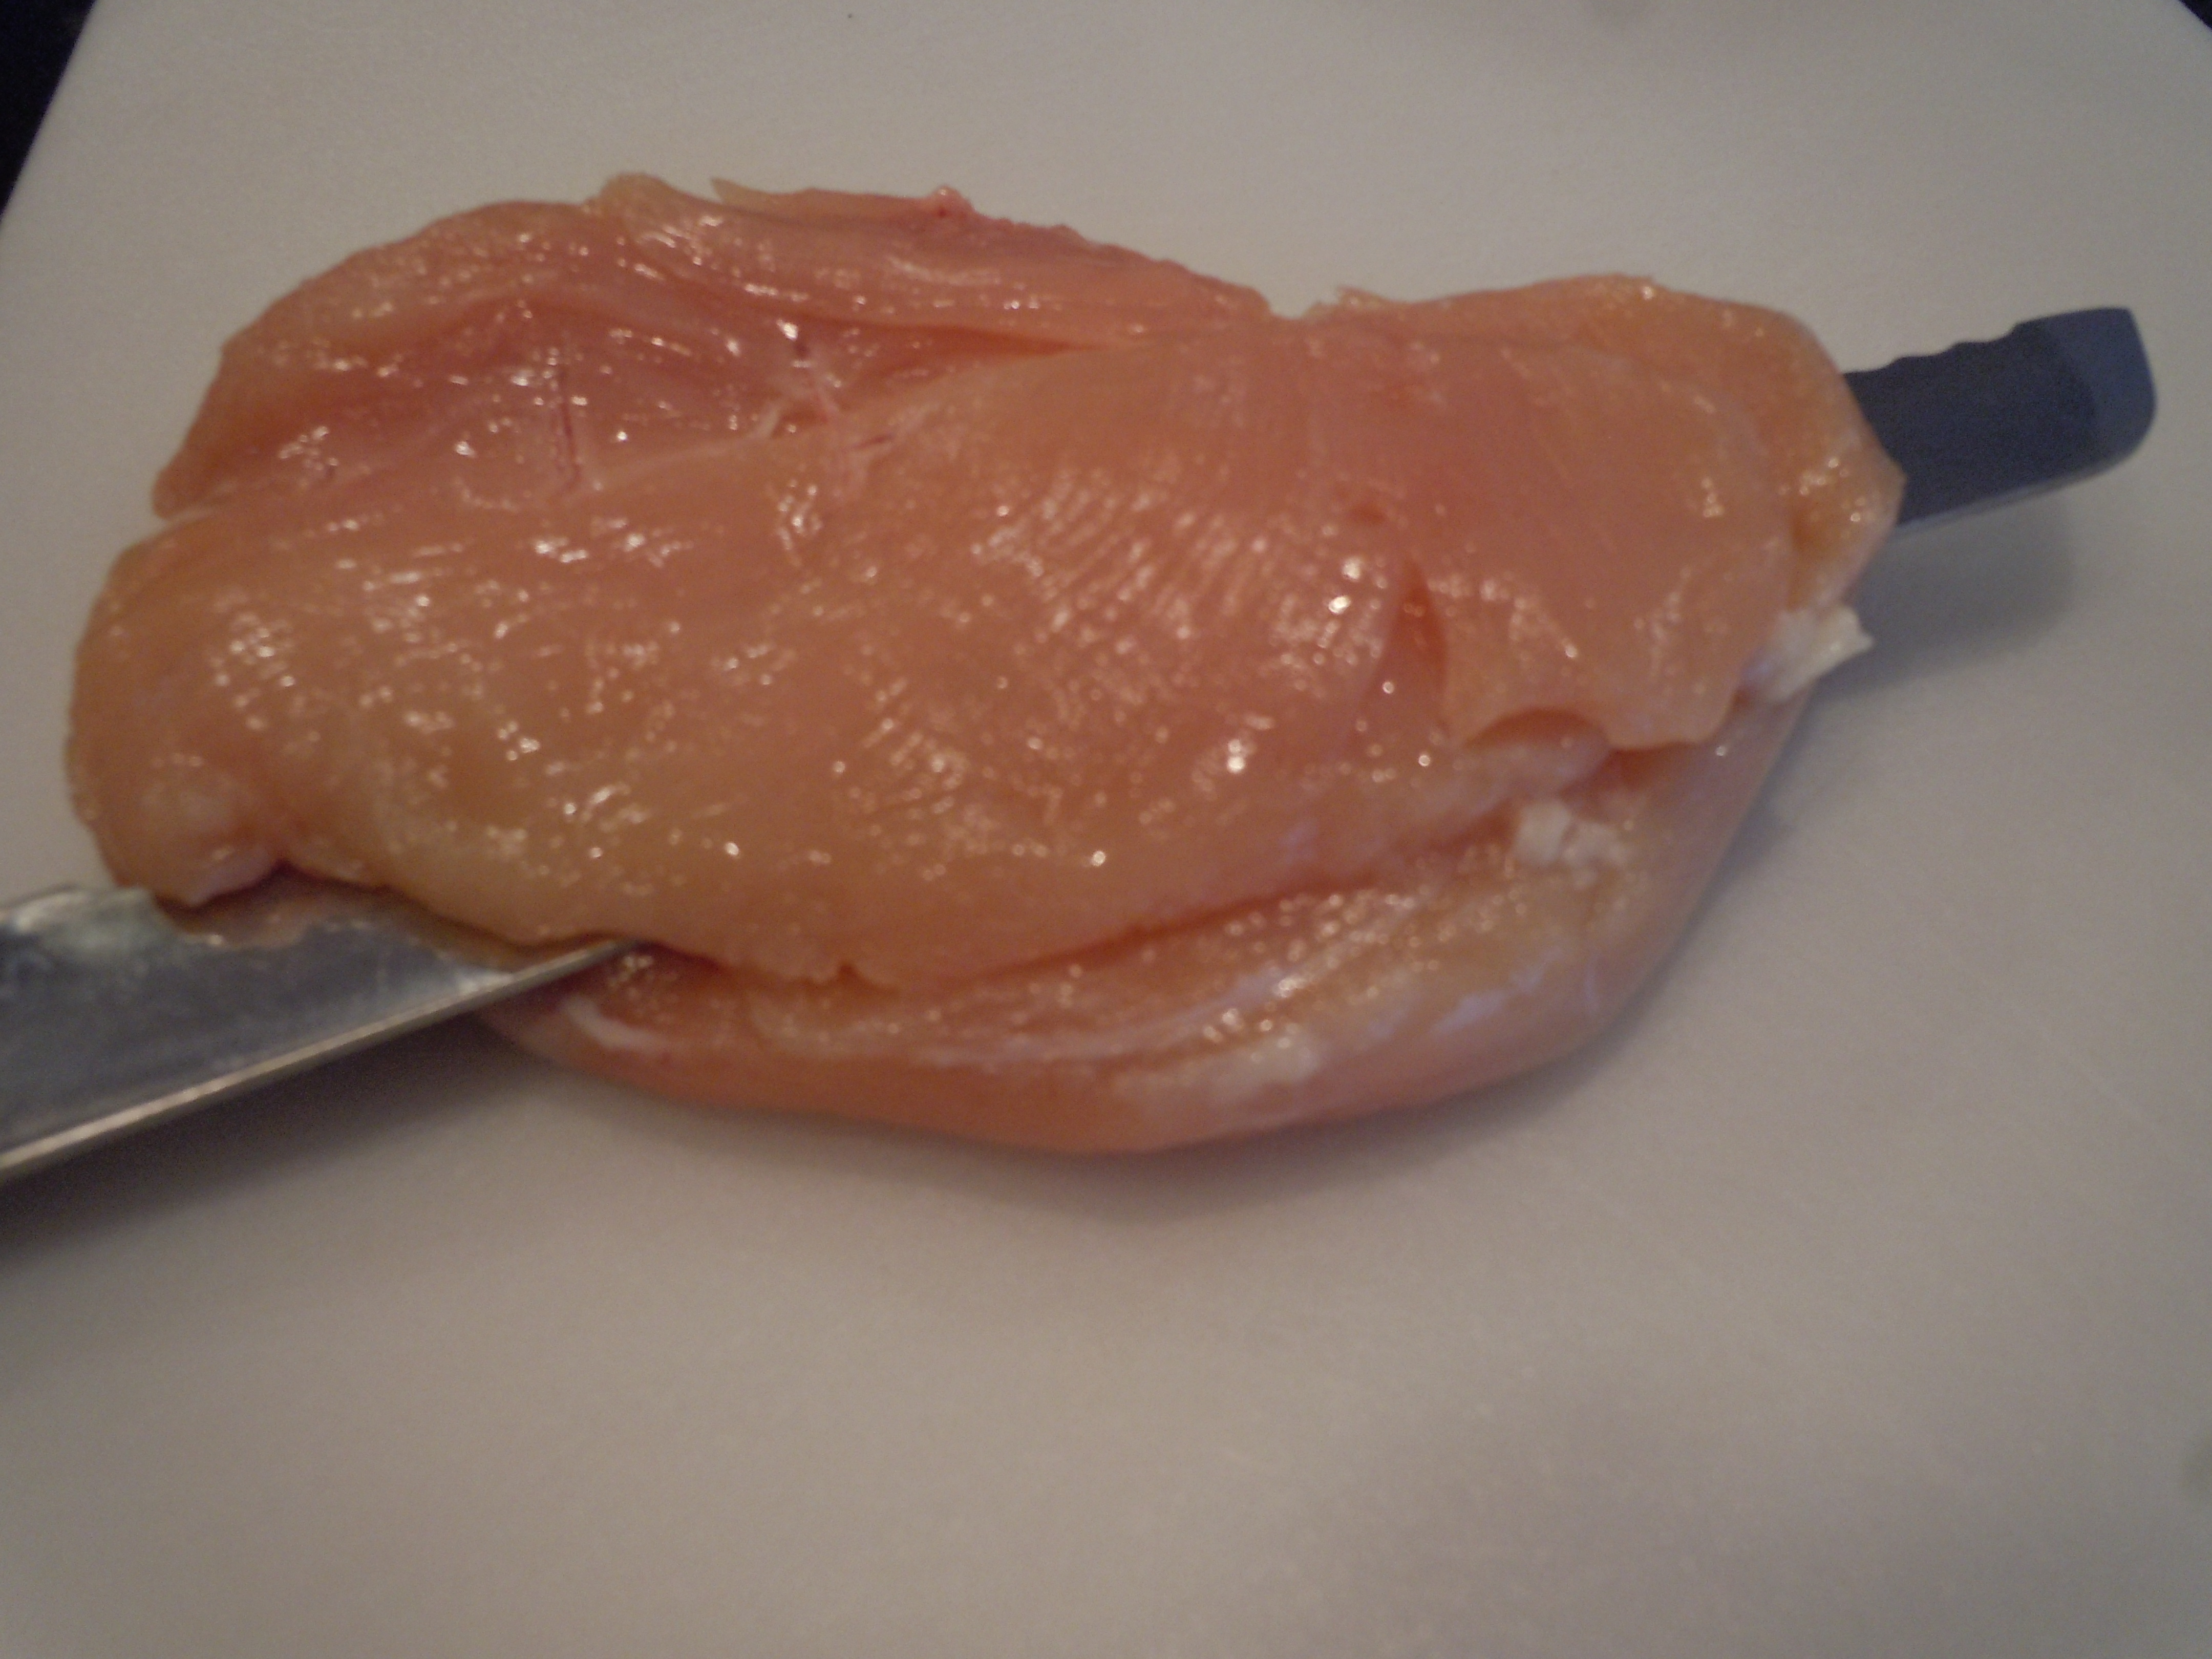
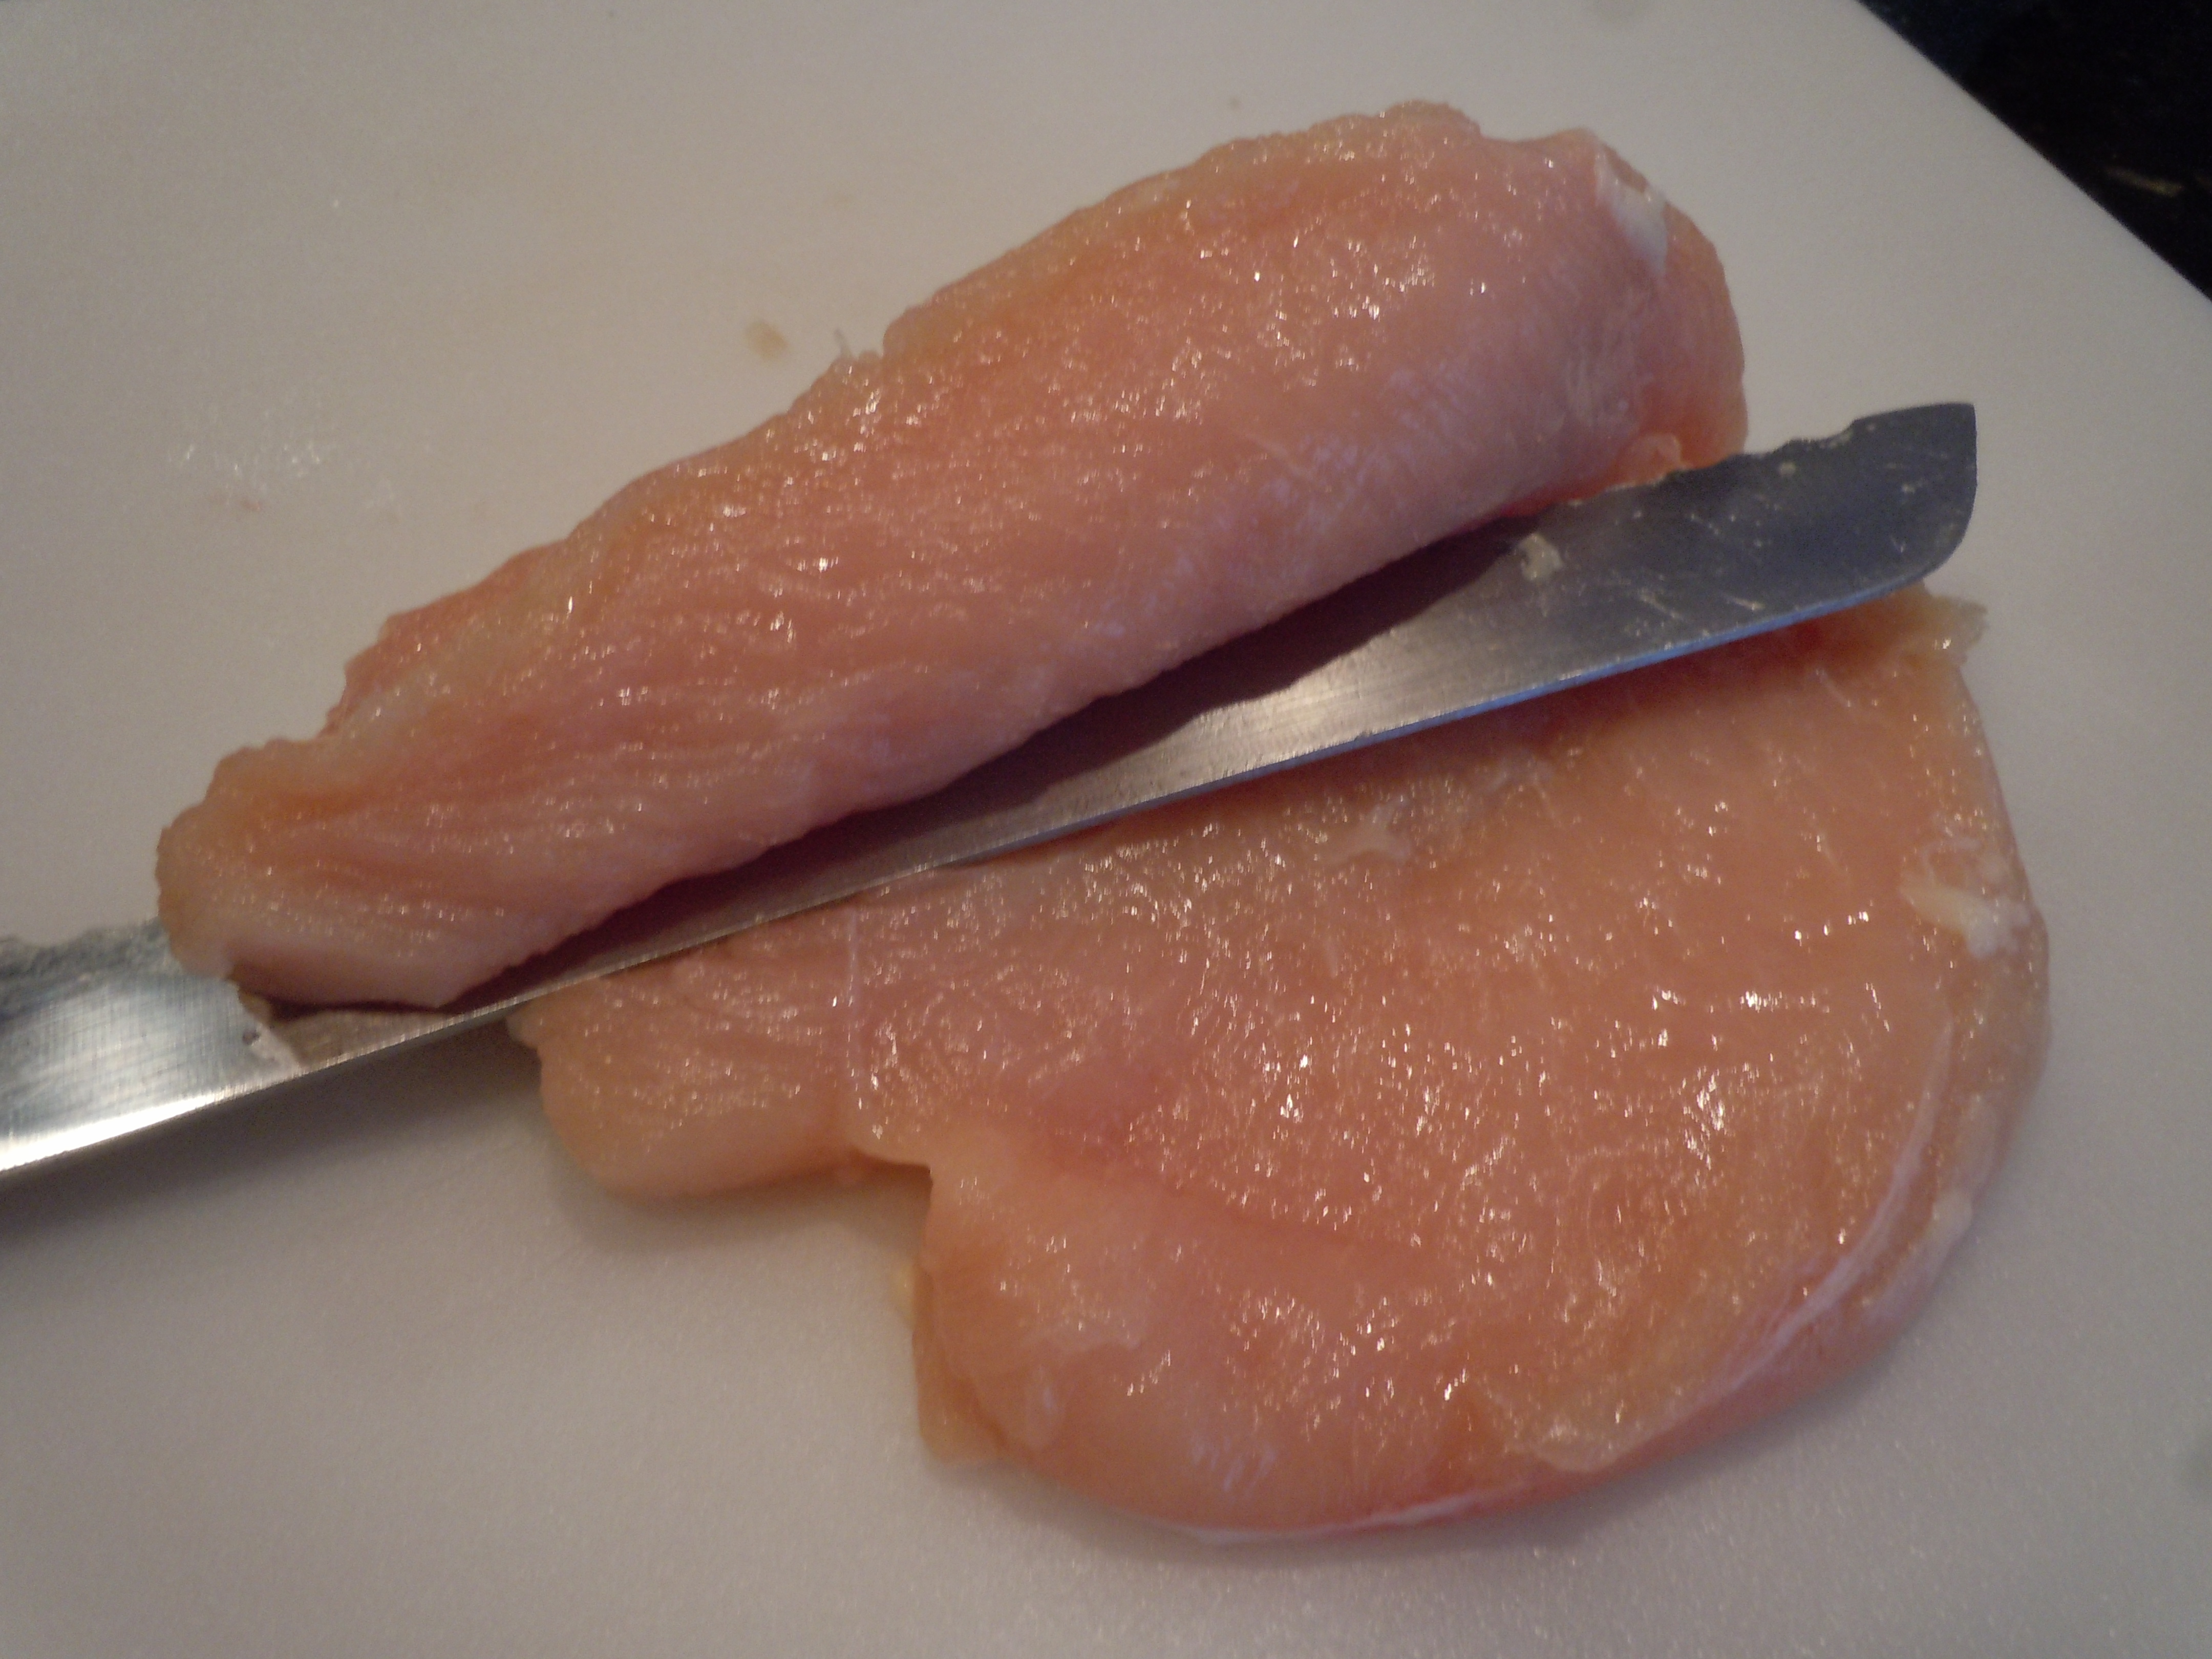
- 2 large boneless chicken breasts (butterflied)
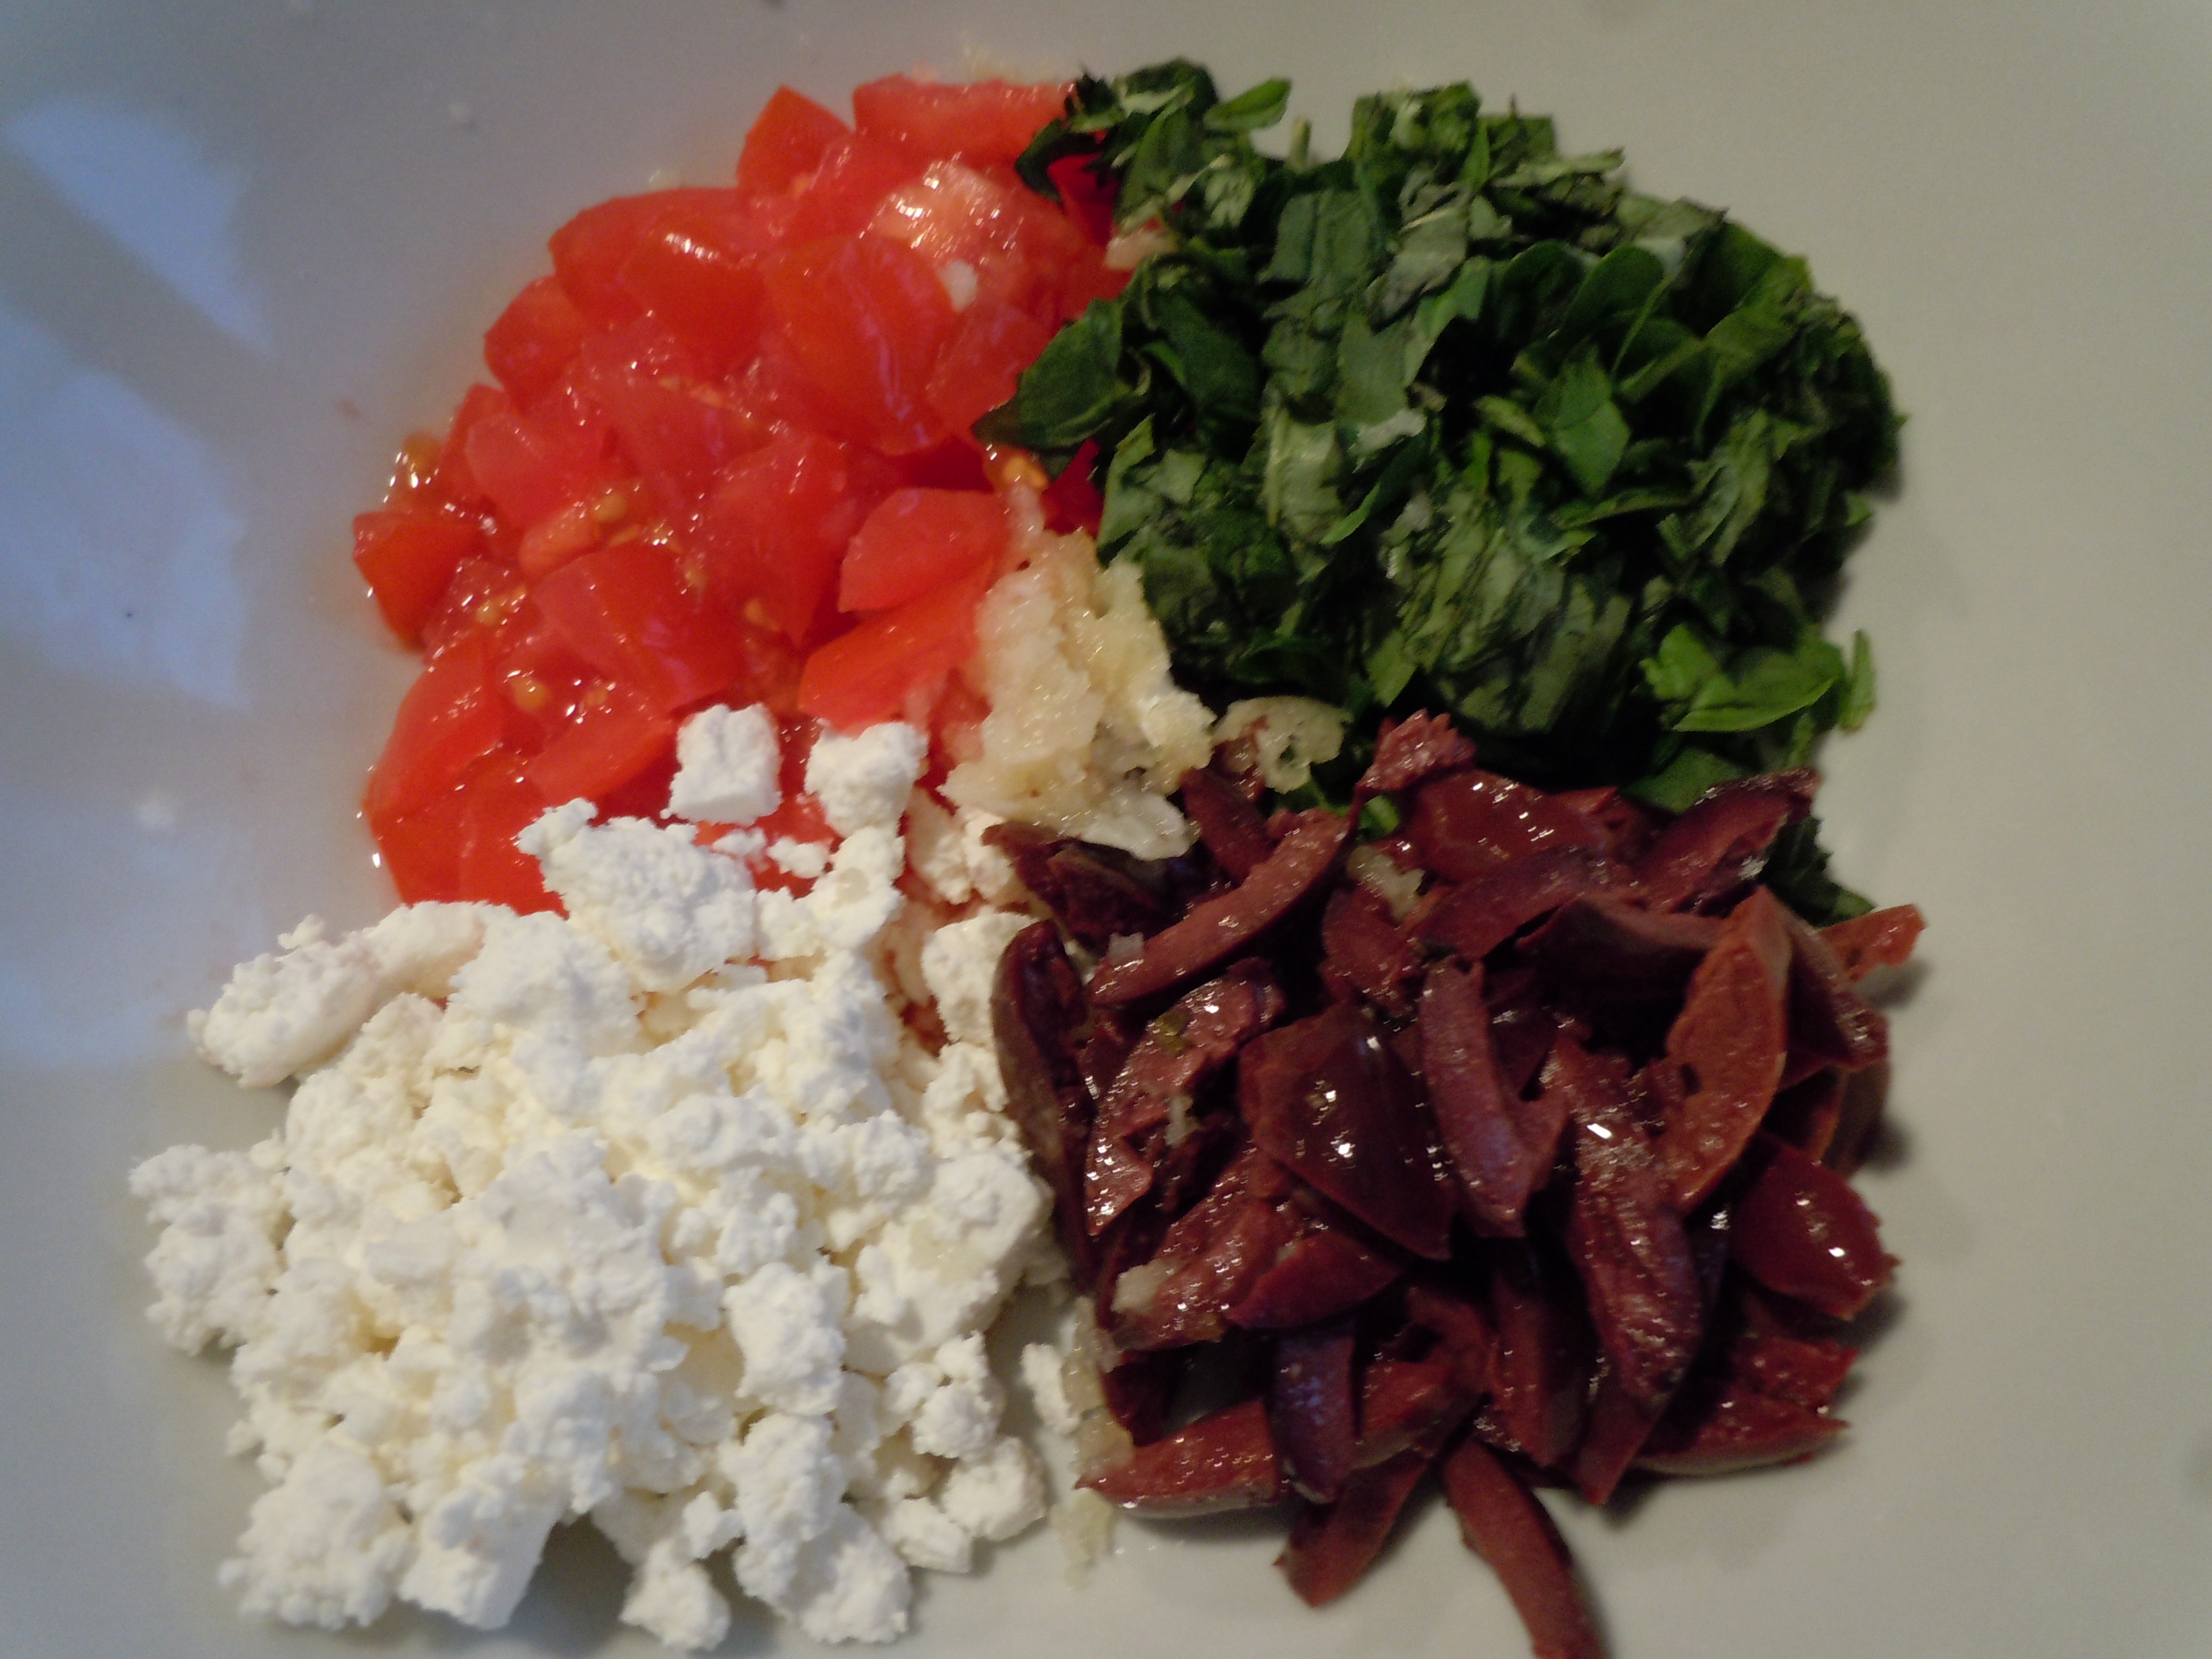
- 1/2 cup diced cherry tomatoes
- 1/4 cup diced kalamata olives
- 1/4 cup crumbled feta cheese
- 1/4 cup chopped basil
- 1 garlic clove thru garlic press
- 1 Tbsp olive oil (for stuffing)
- 1 Tsp rice wine vinegar-“Seasoned” (comes “original” or “seasoned”-I always get the seasoned cause I like the flavor… it has a hint of sweet)
- fresh spinach leaves (flat leaf is easier to use in stuffing then curly)
- 2 Tbsp olive oil for sautéing roulades
- 1/2 cup chicken broth
- 1/2 cup white wine (Pinot Grigio or Sauvignon Blanc … your favorite white drinking wine)
- salt and pepper
- 4 pieces of 20-24″ cotton string
Directions:
- Pre-heat the oven to 350º.
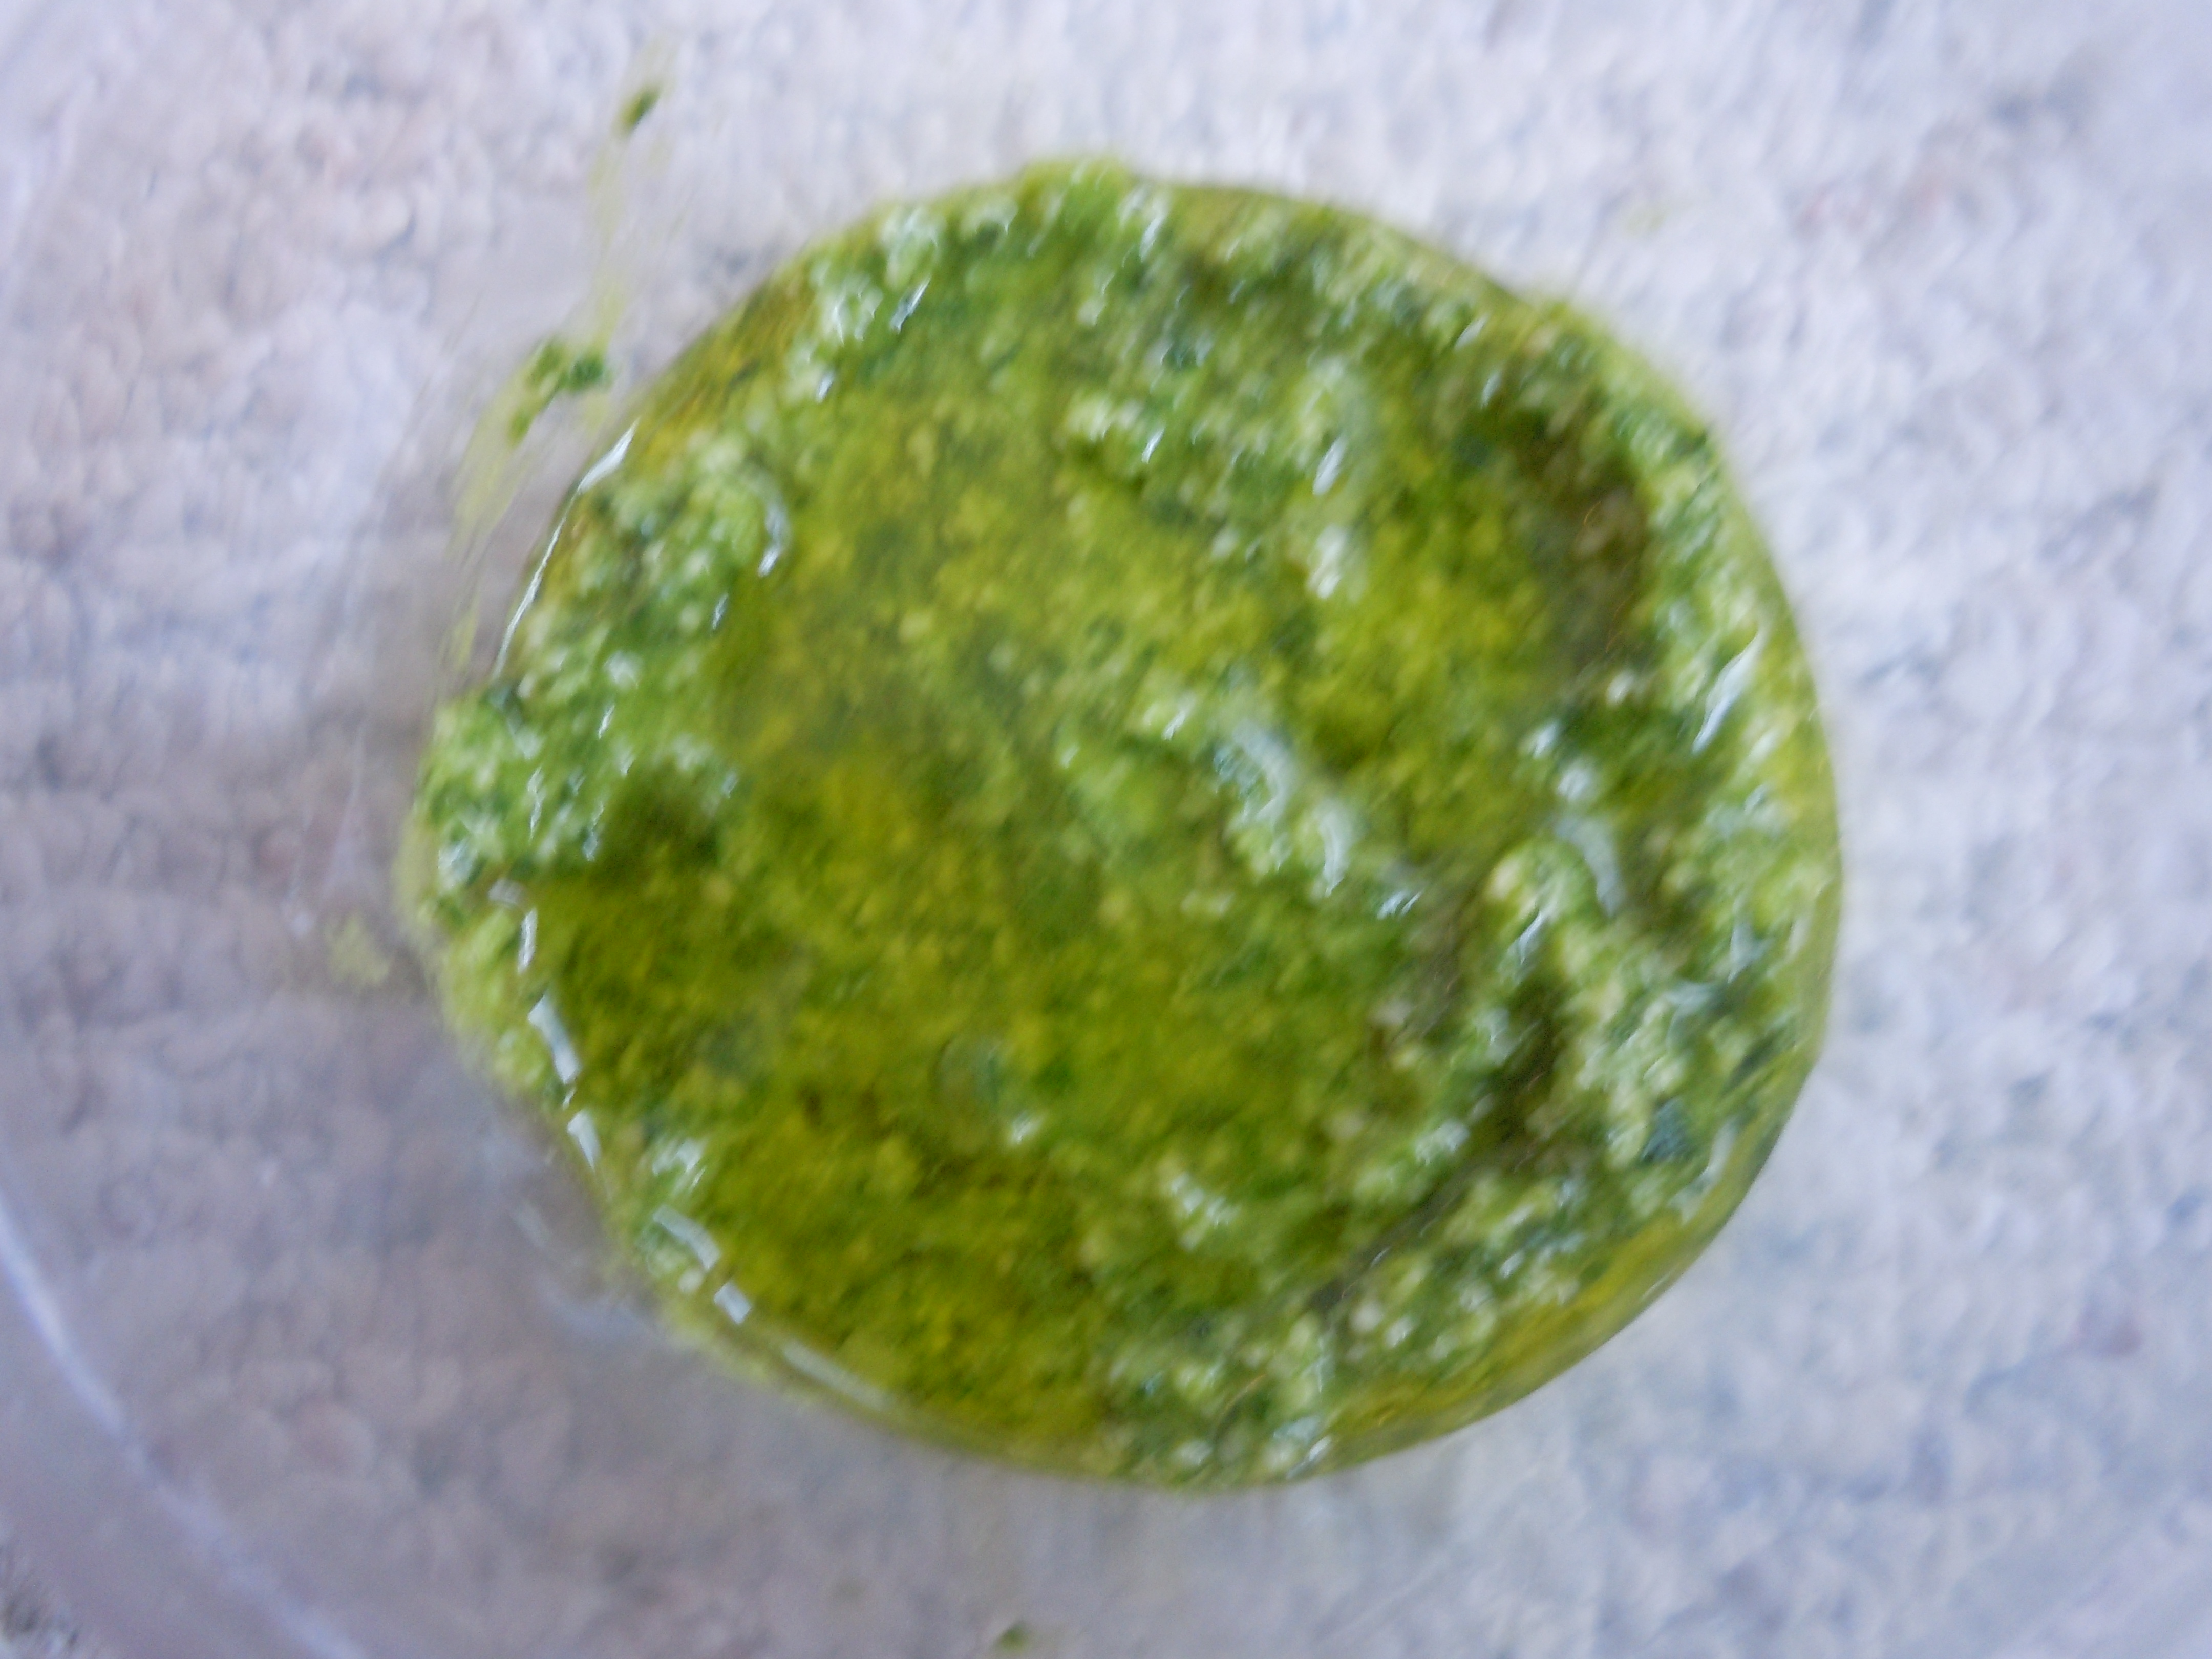
- In a small bowl mix together diced tomaotes, olives, feta, basil and garlic with 1 Tbsp olive oil and 1 Tsp rice wine vinegar and set aside (this is the stuffing).
- Butterfly chicken breasts slicing them open like a book keeping them in 1 piece.
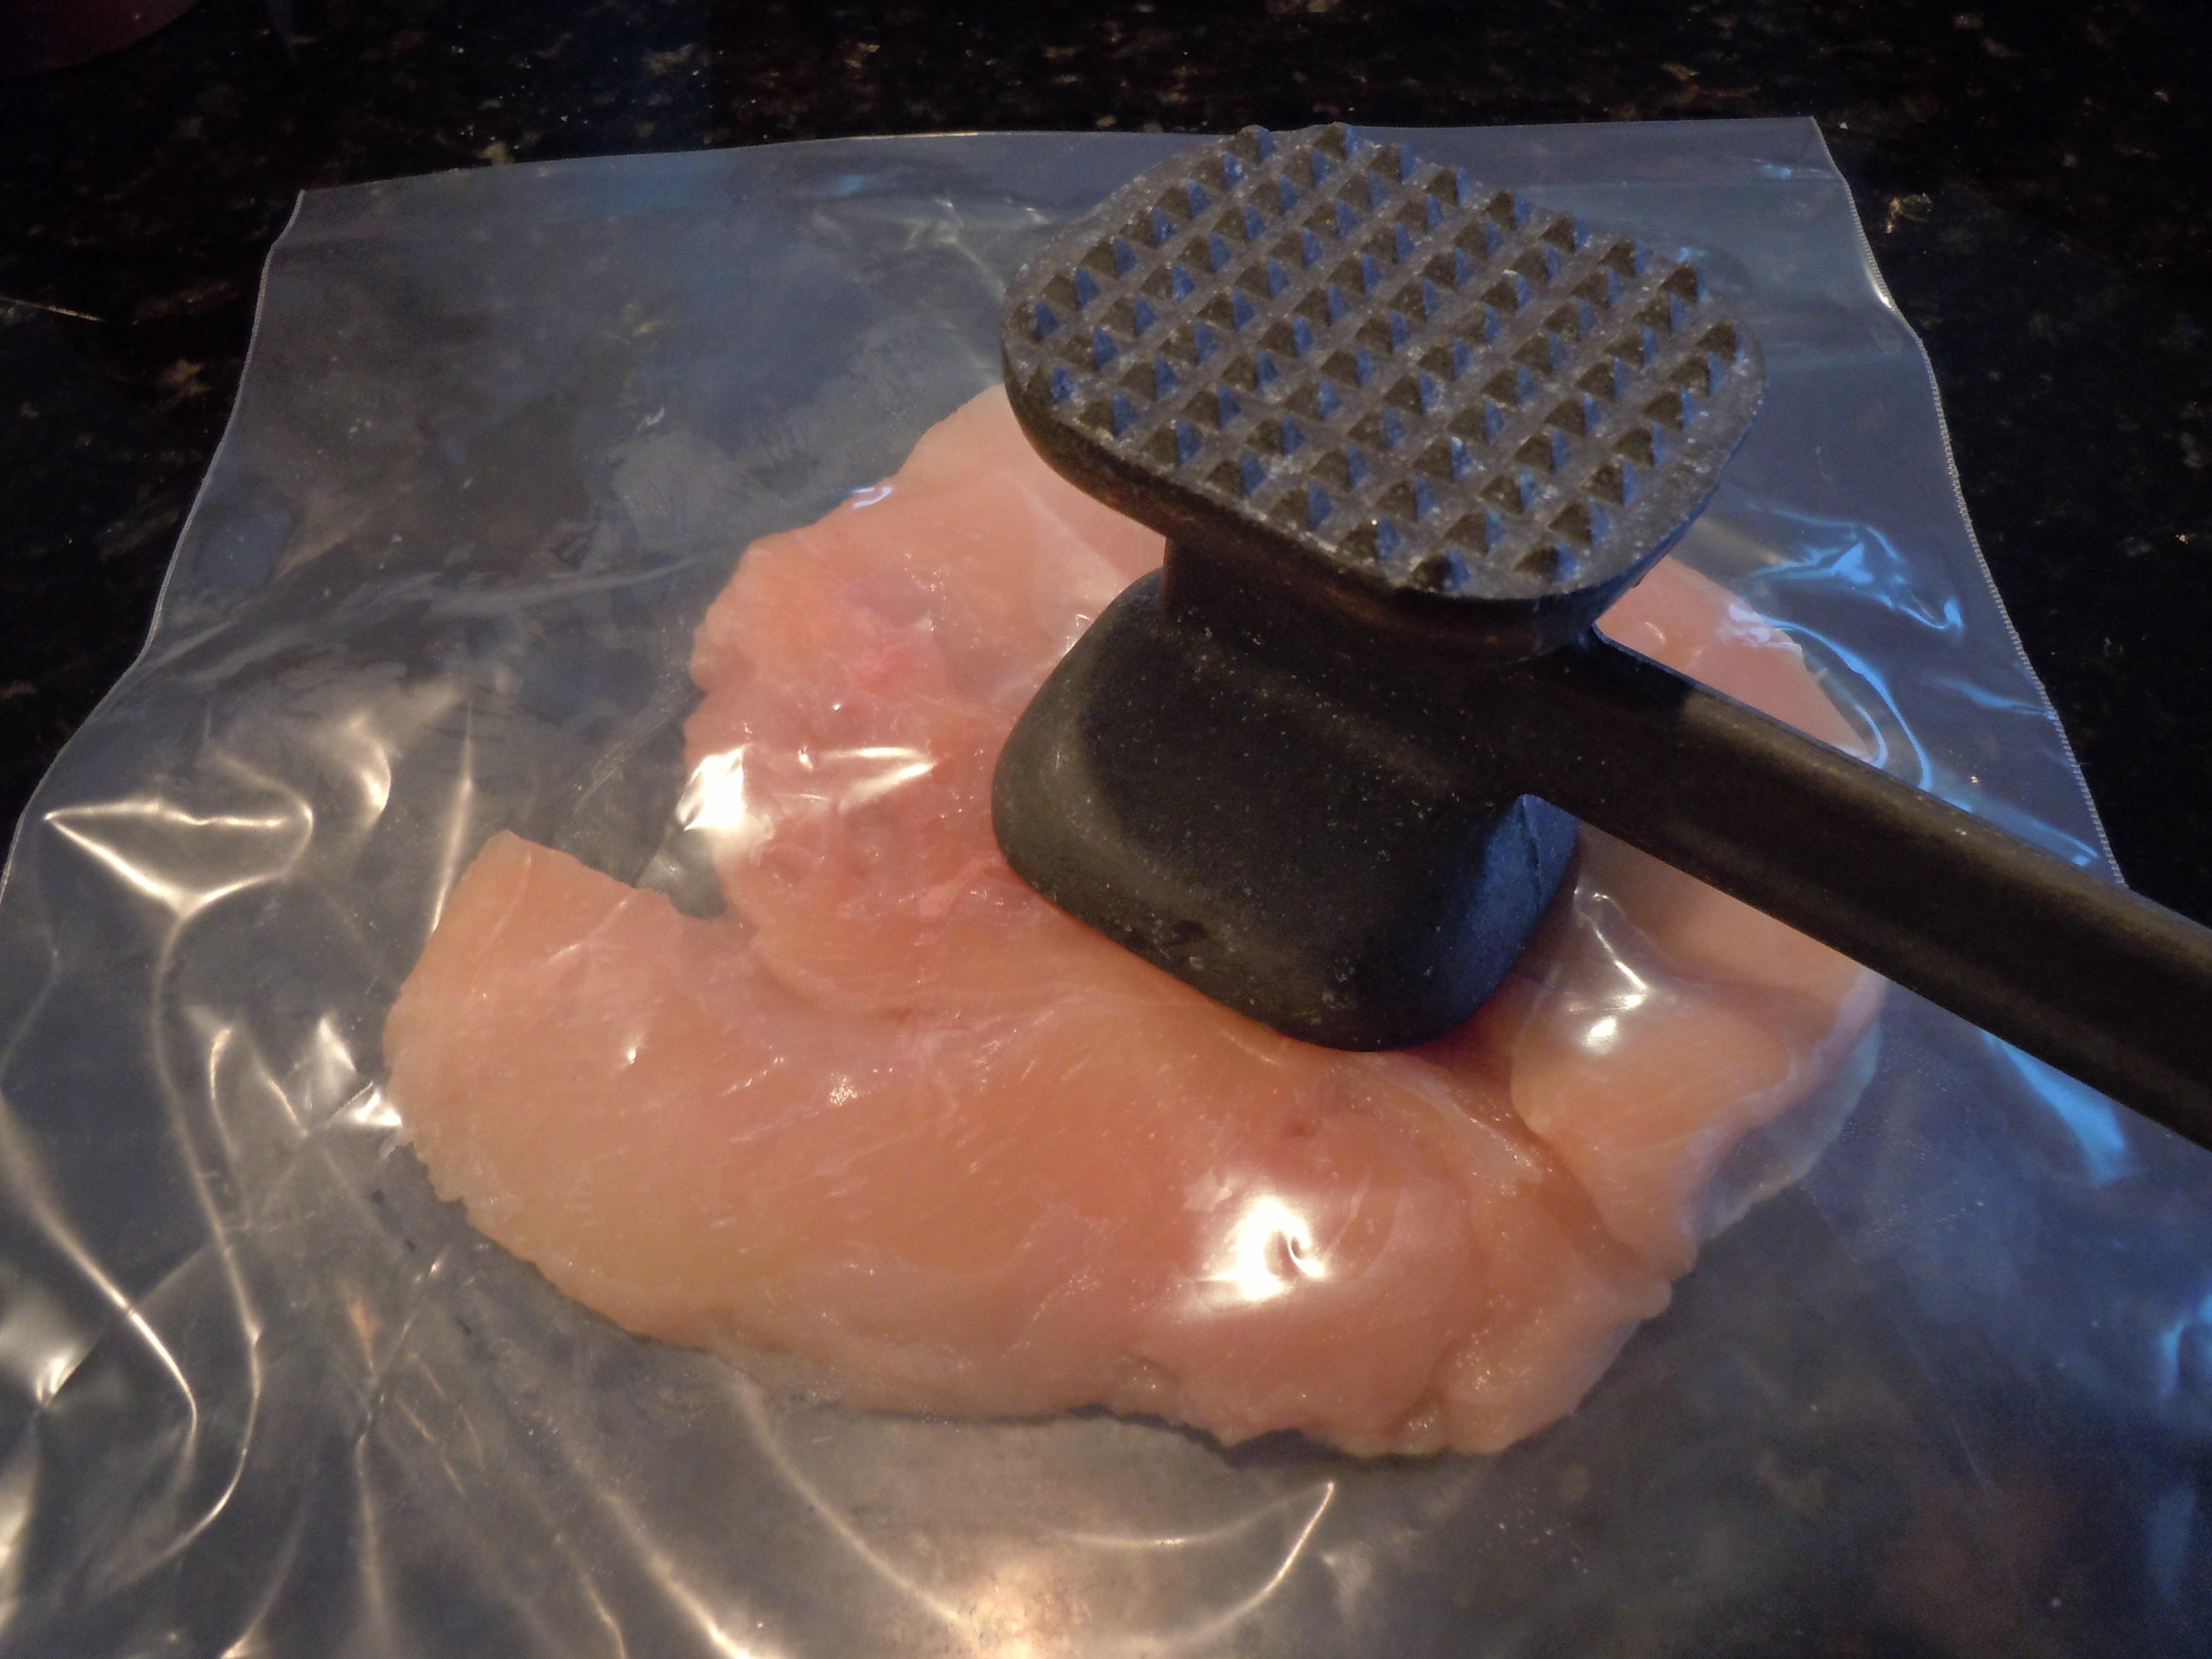
- Place the breasts in a large Ziplock Baggie and pound them out to 1/4″ (if they rip no worries because the spinach leaves will cover that and then you’ll be tying them with string).
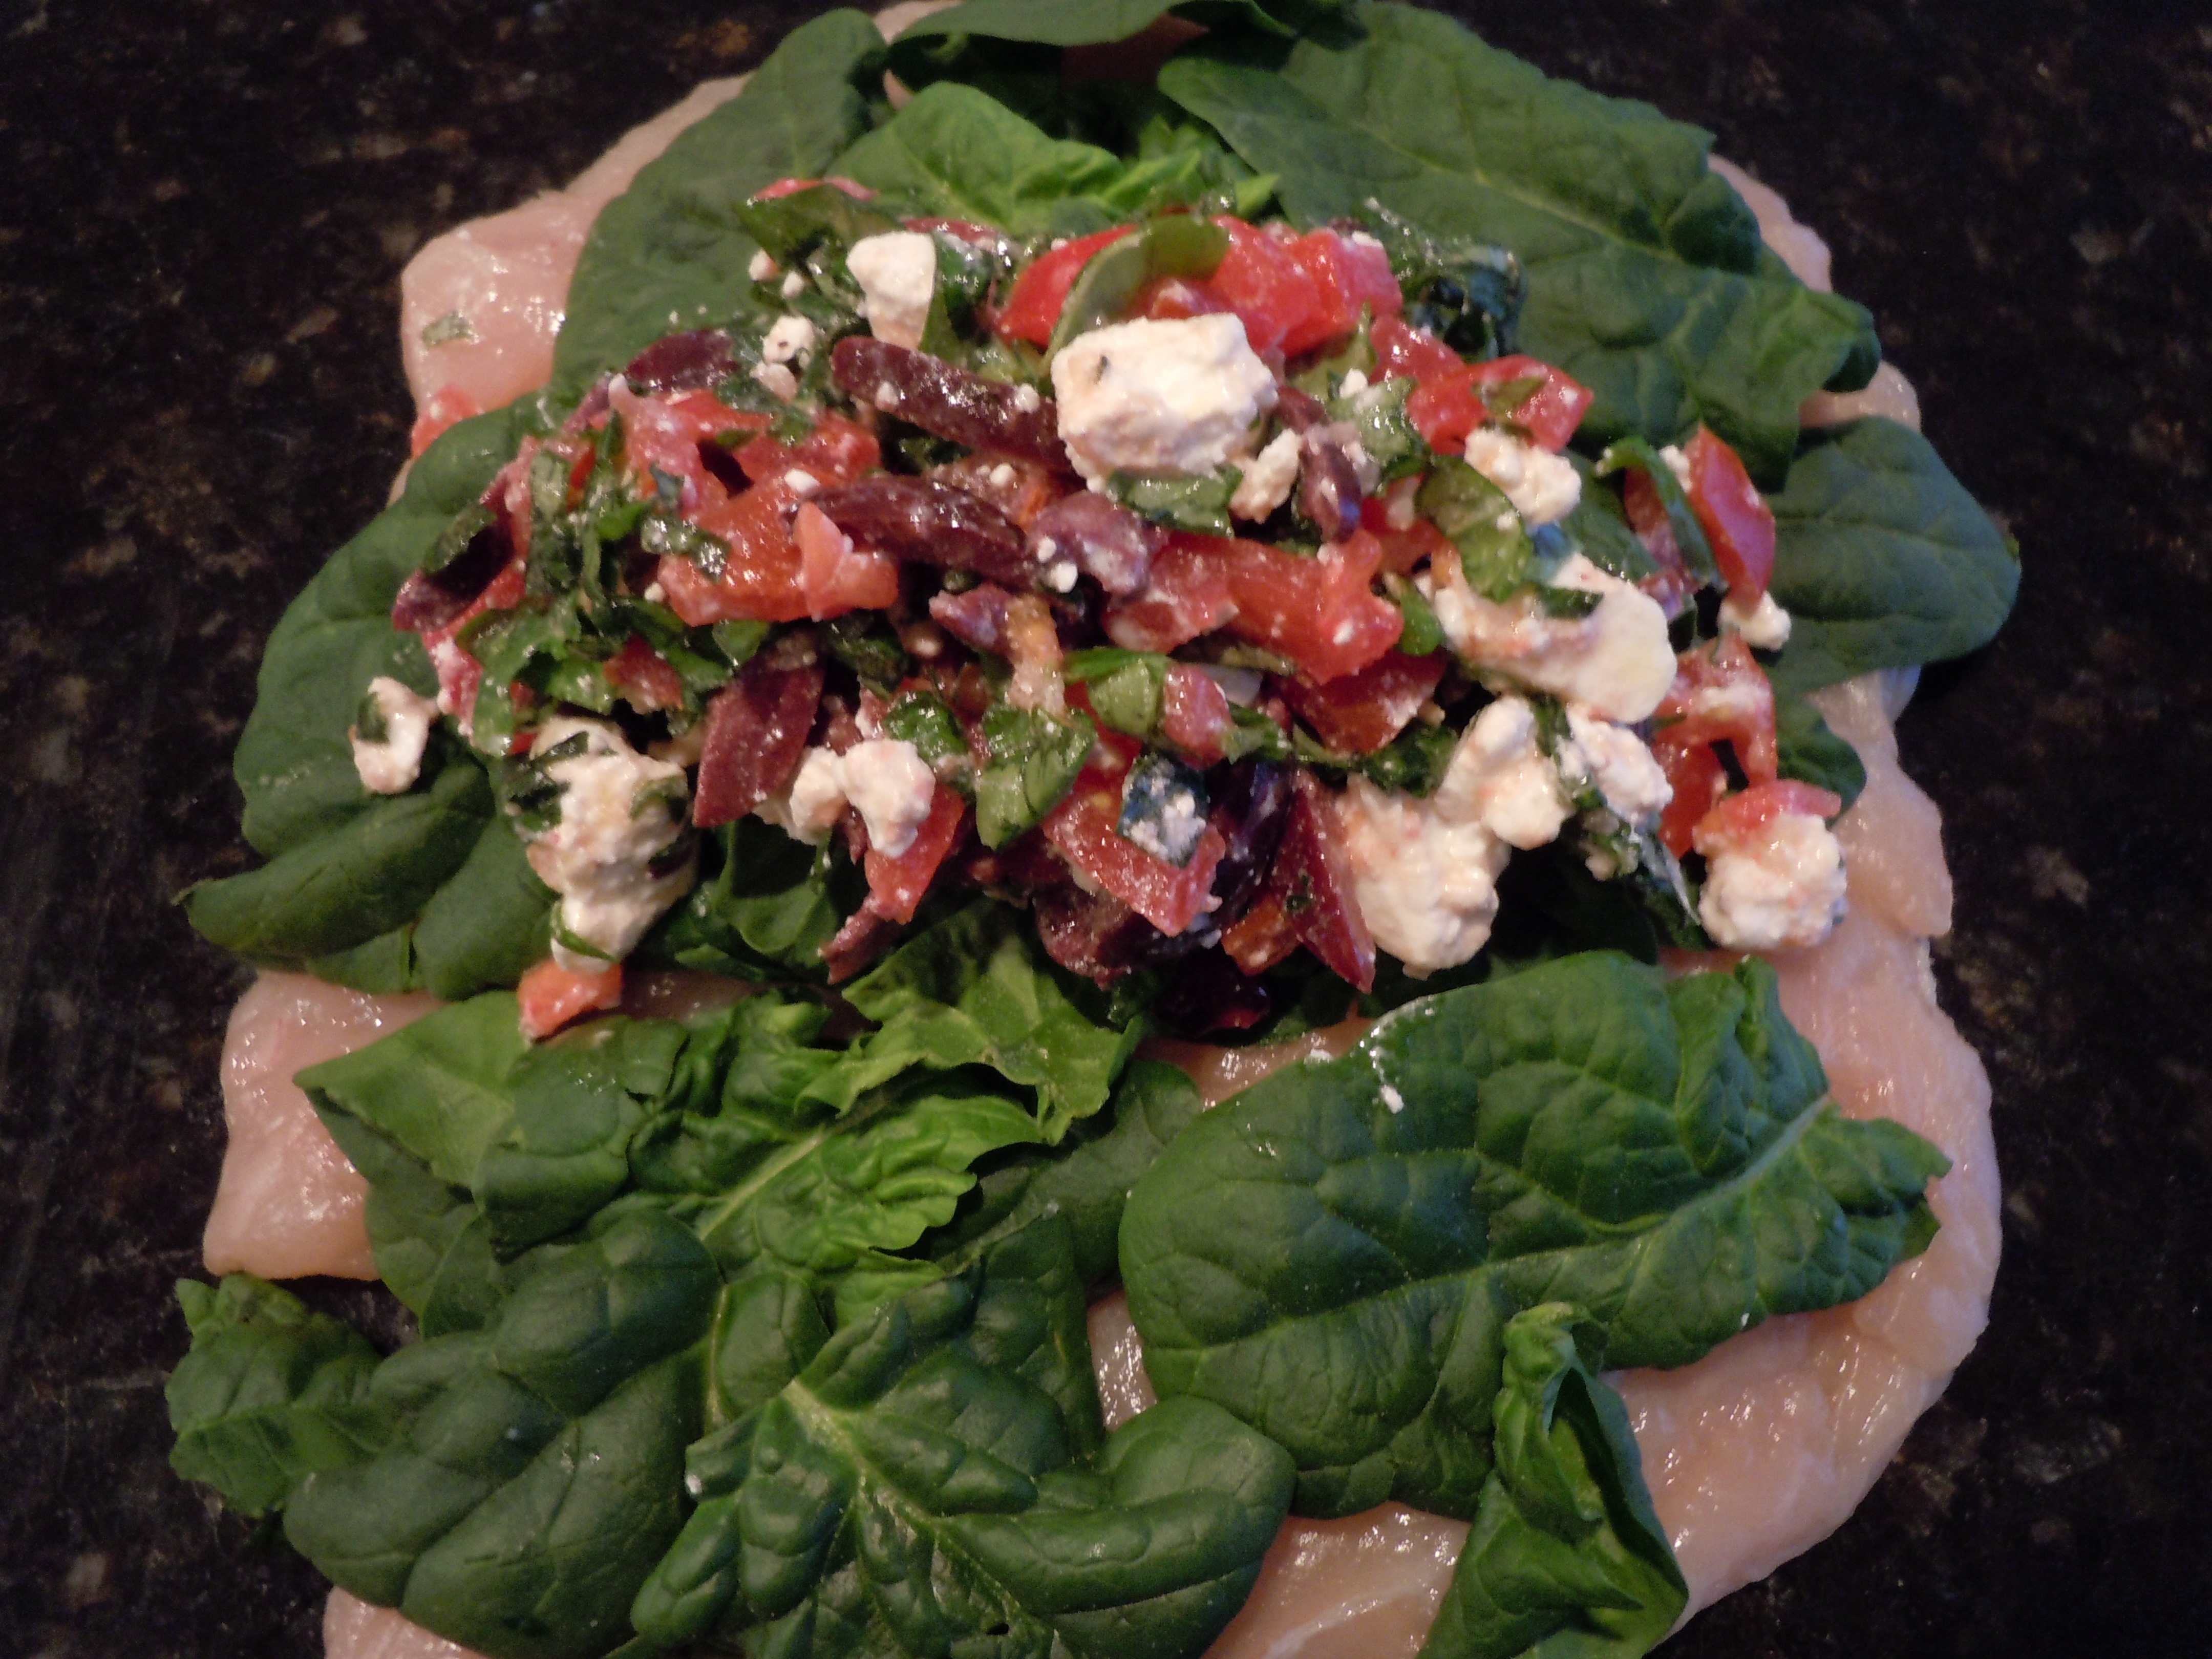
- Put the breasts on a work surface smooth breast side down so the length is going vertically.
- Sprinkle with salt and pepper and put down a layer of spinach leaves on top of the breasts.
- Divide the stuffing into 2 and place each 1/2 onto the center of the breasts (right on top of the spinach leaves).
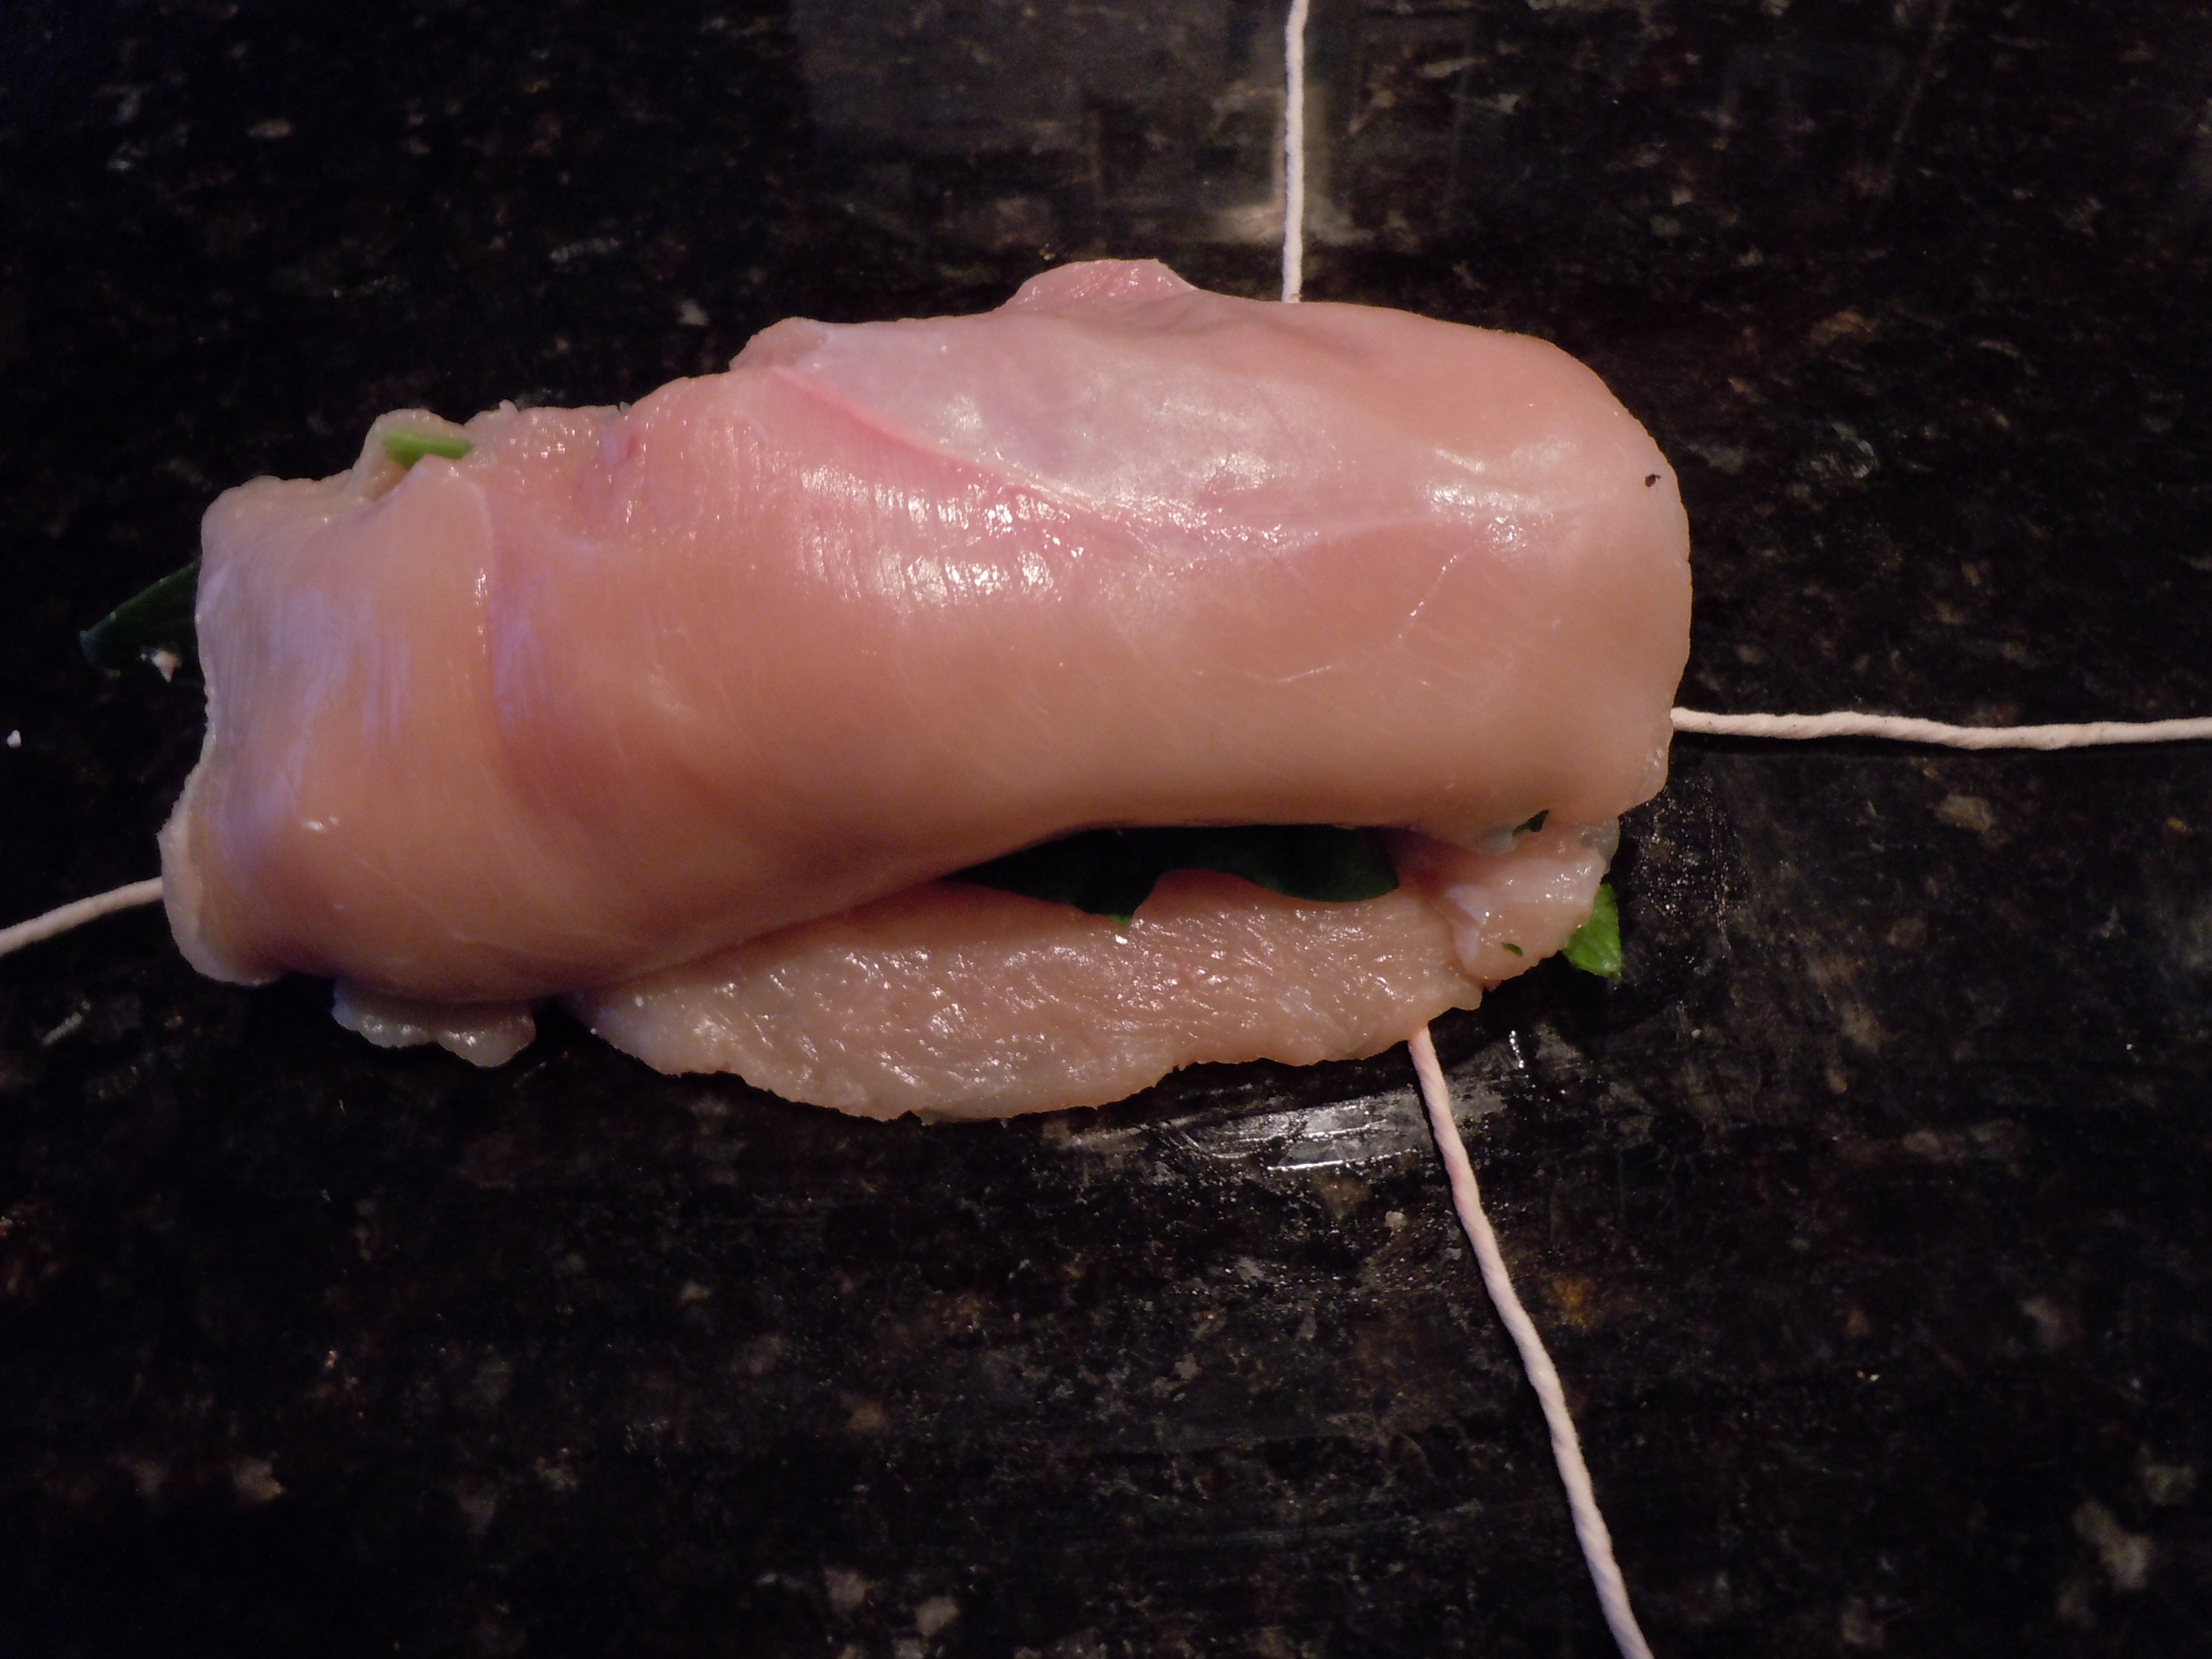
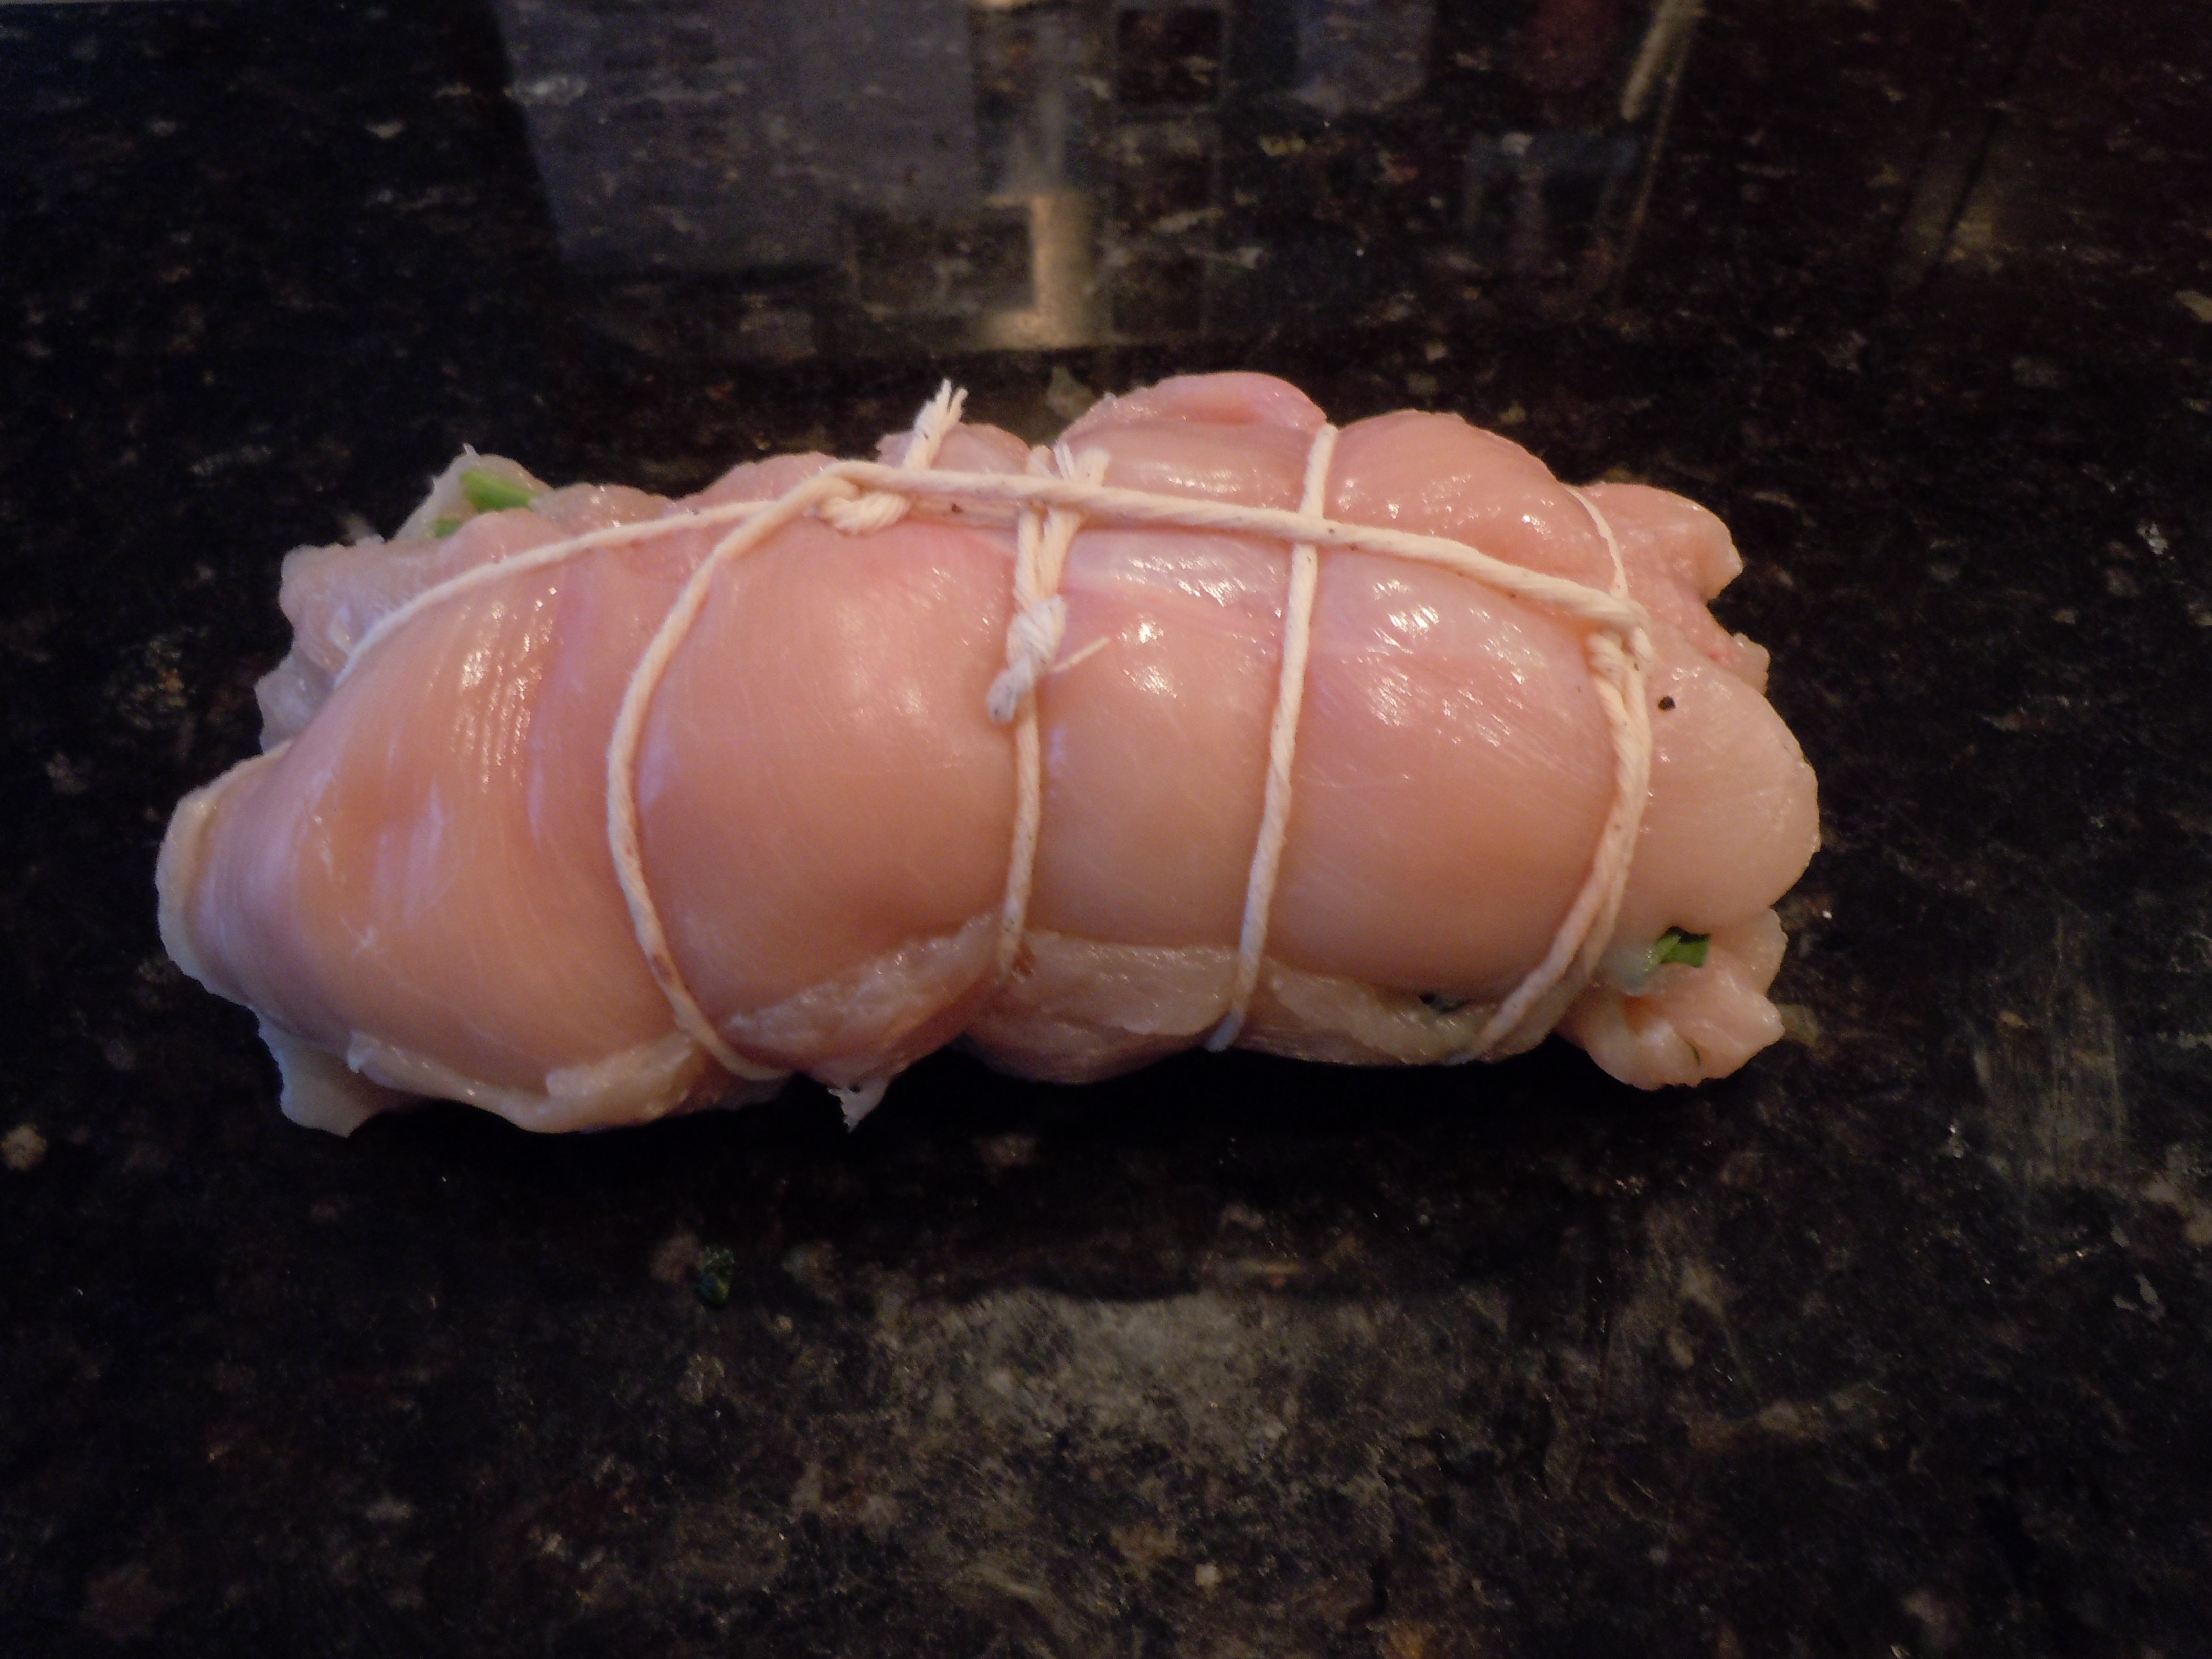
- Roll up the breasts tucking in sides as best as possible. Slide two pieces of string under the breast rolls crisscross like in the photo.
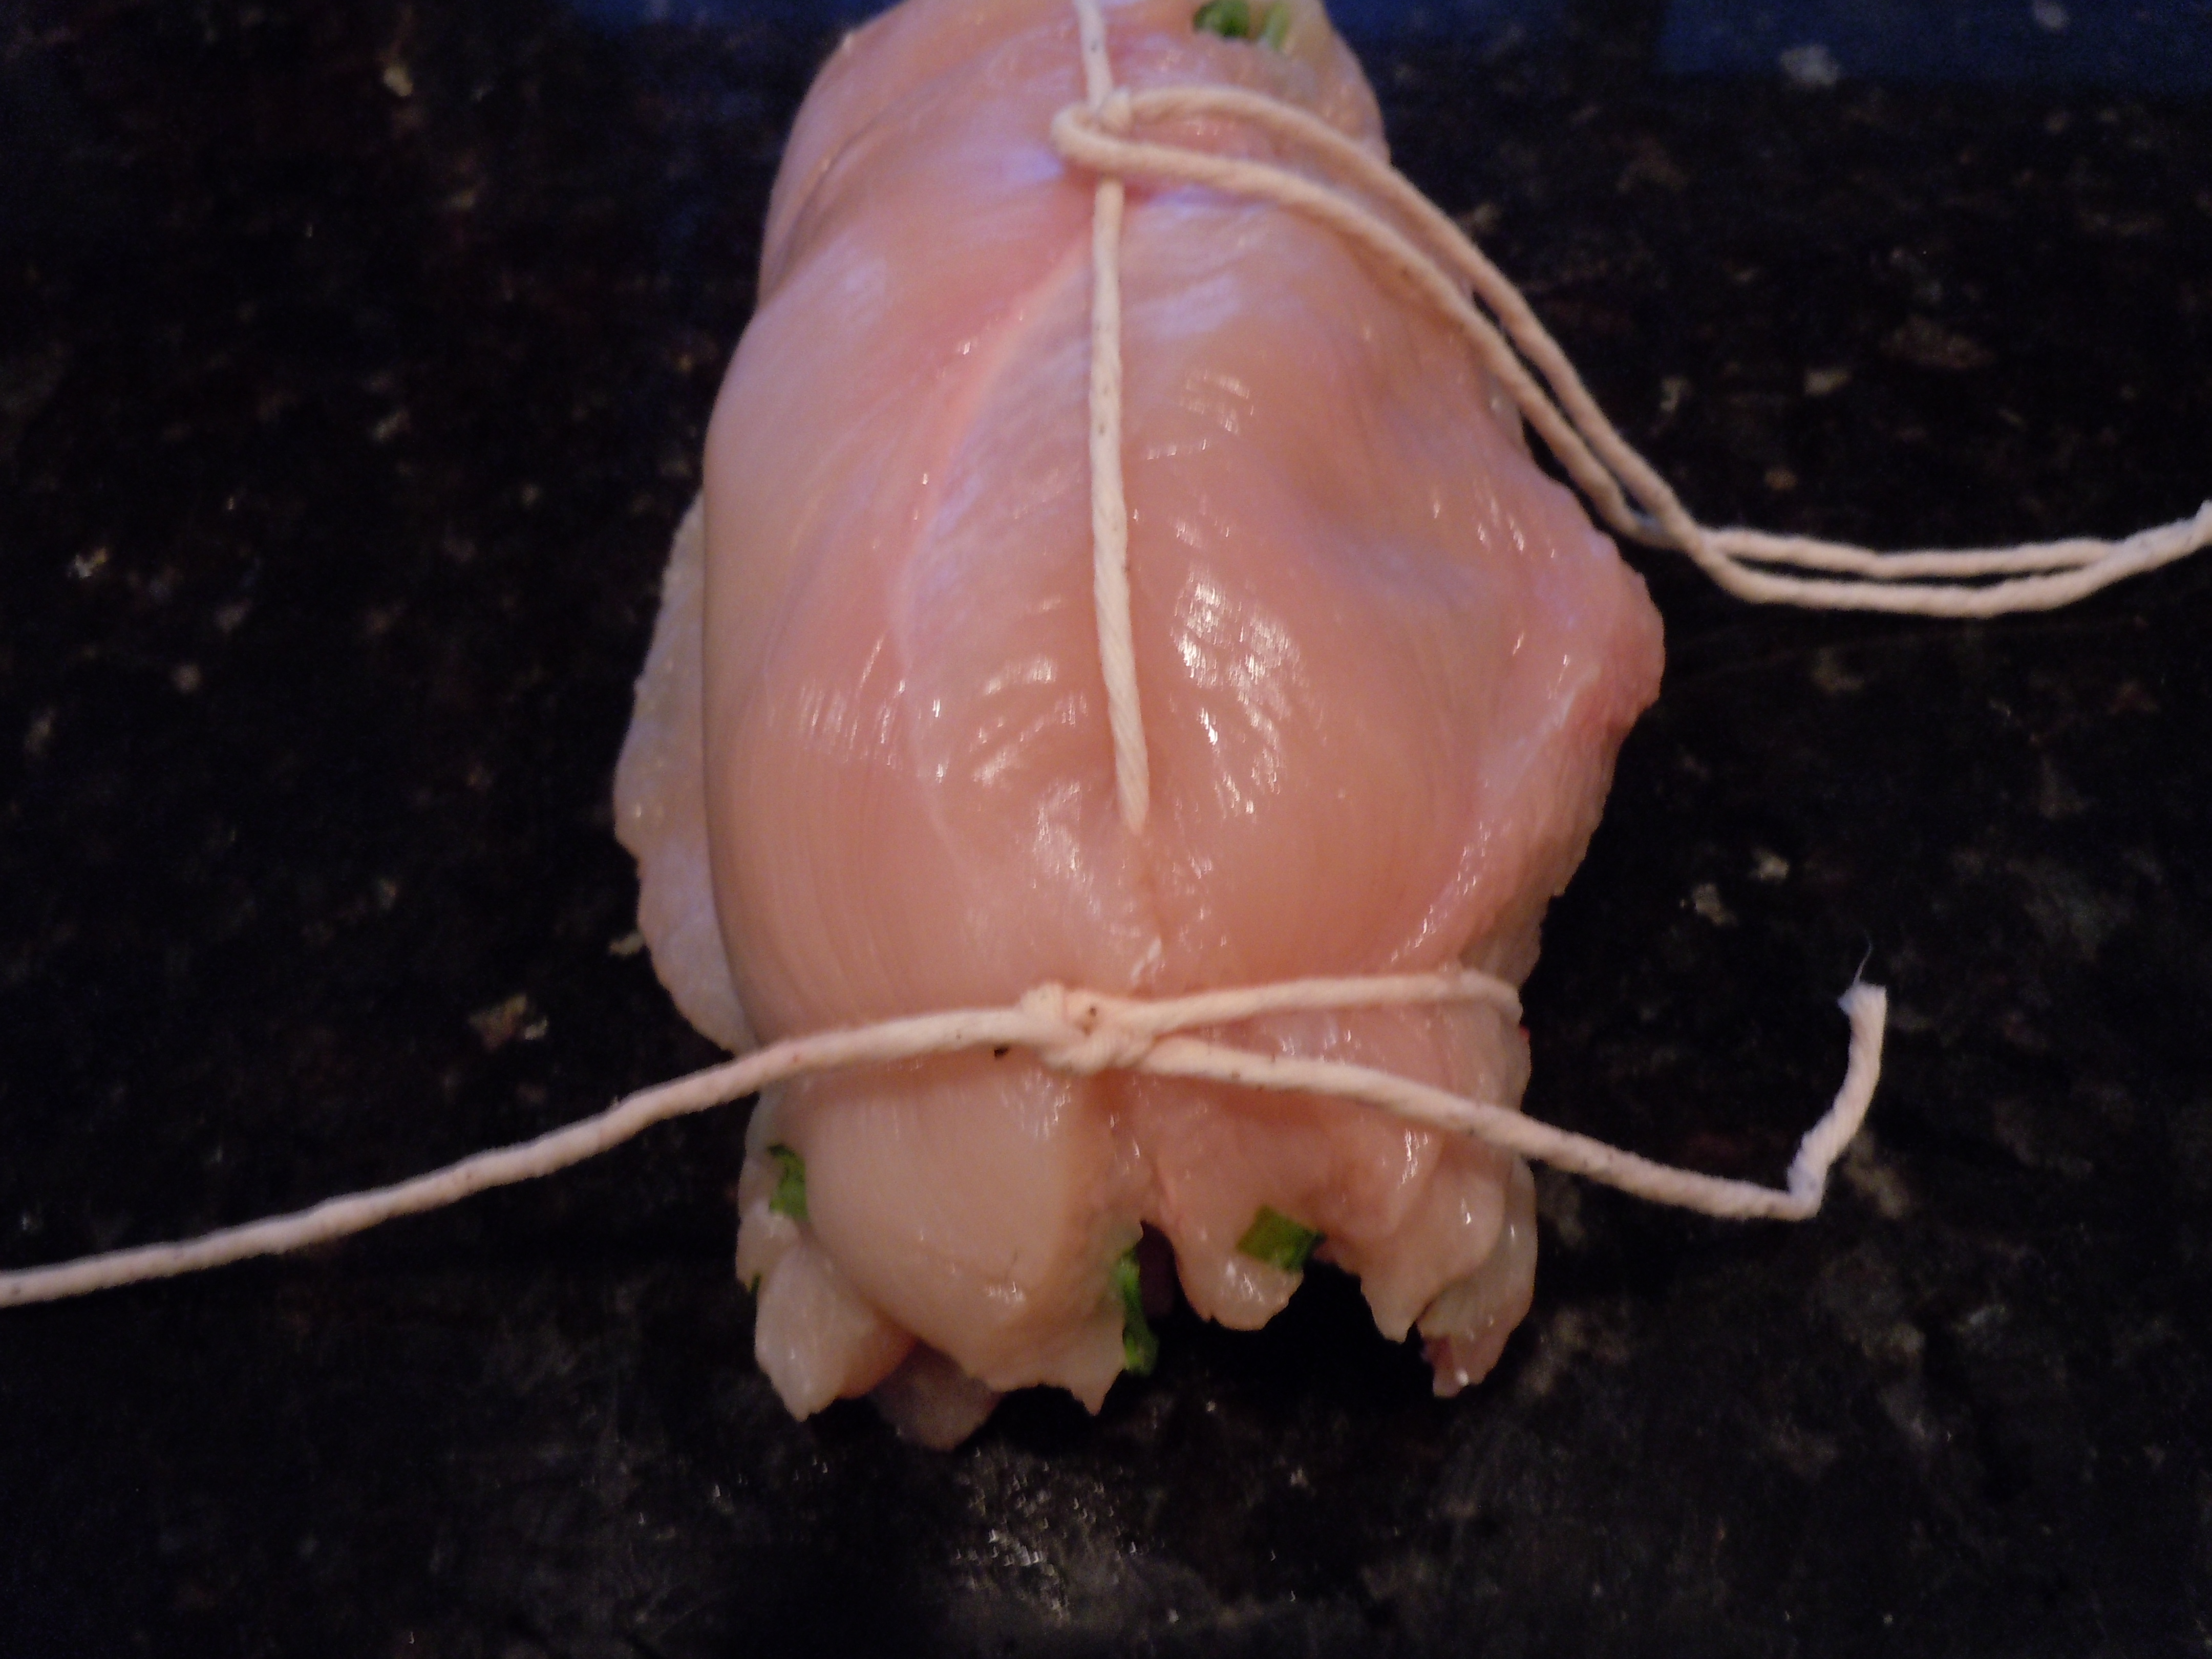
- Begin to tie off from each end knotting the first wrap so it doesn’t move then keep wrapping around the chicken without tying til you get to the other end. You can slide string under the other rows as you go.
- When you get to the other end you should end with a knot.
- Don’t need to get fancy or crazy about this …. it’s only to help hold in place until you can get the roulades in a hot pan to sauté where everything will firm up and stay together.
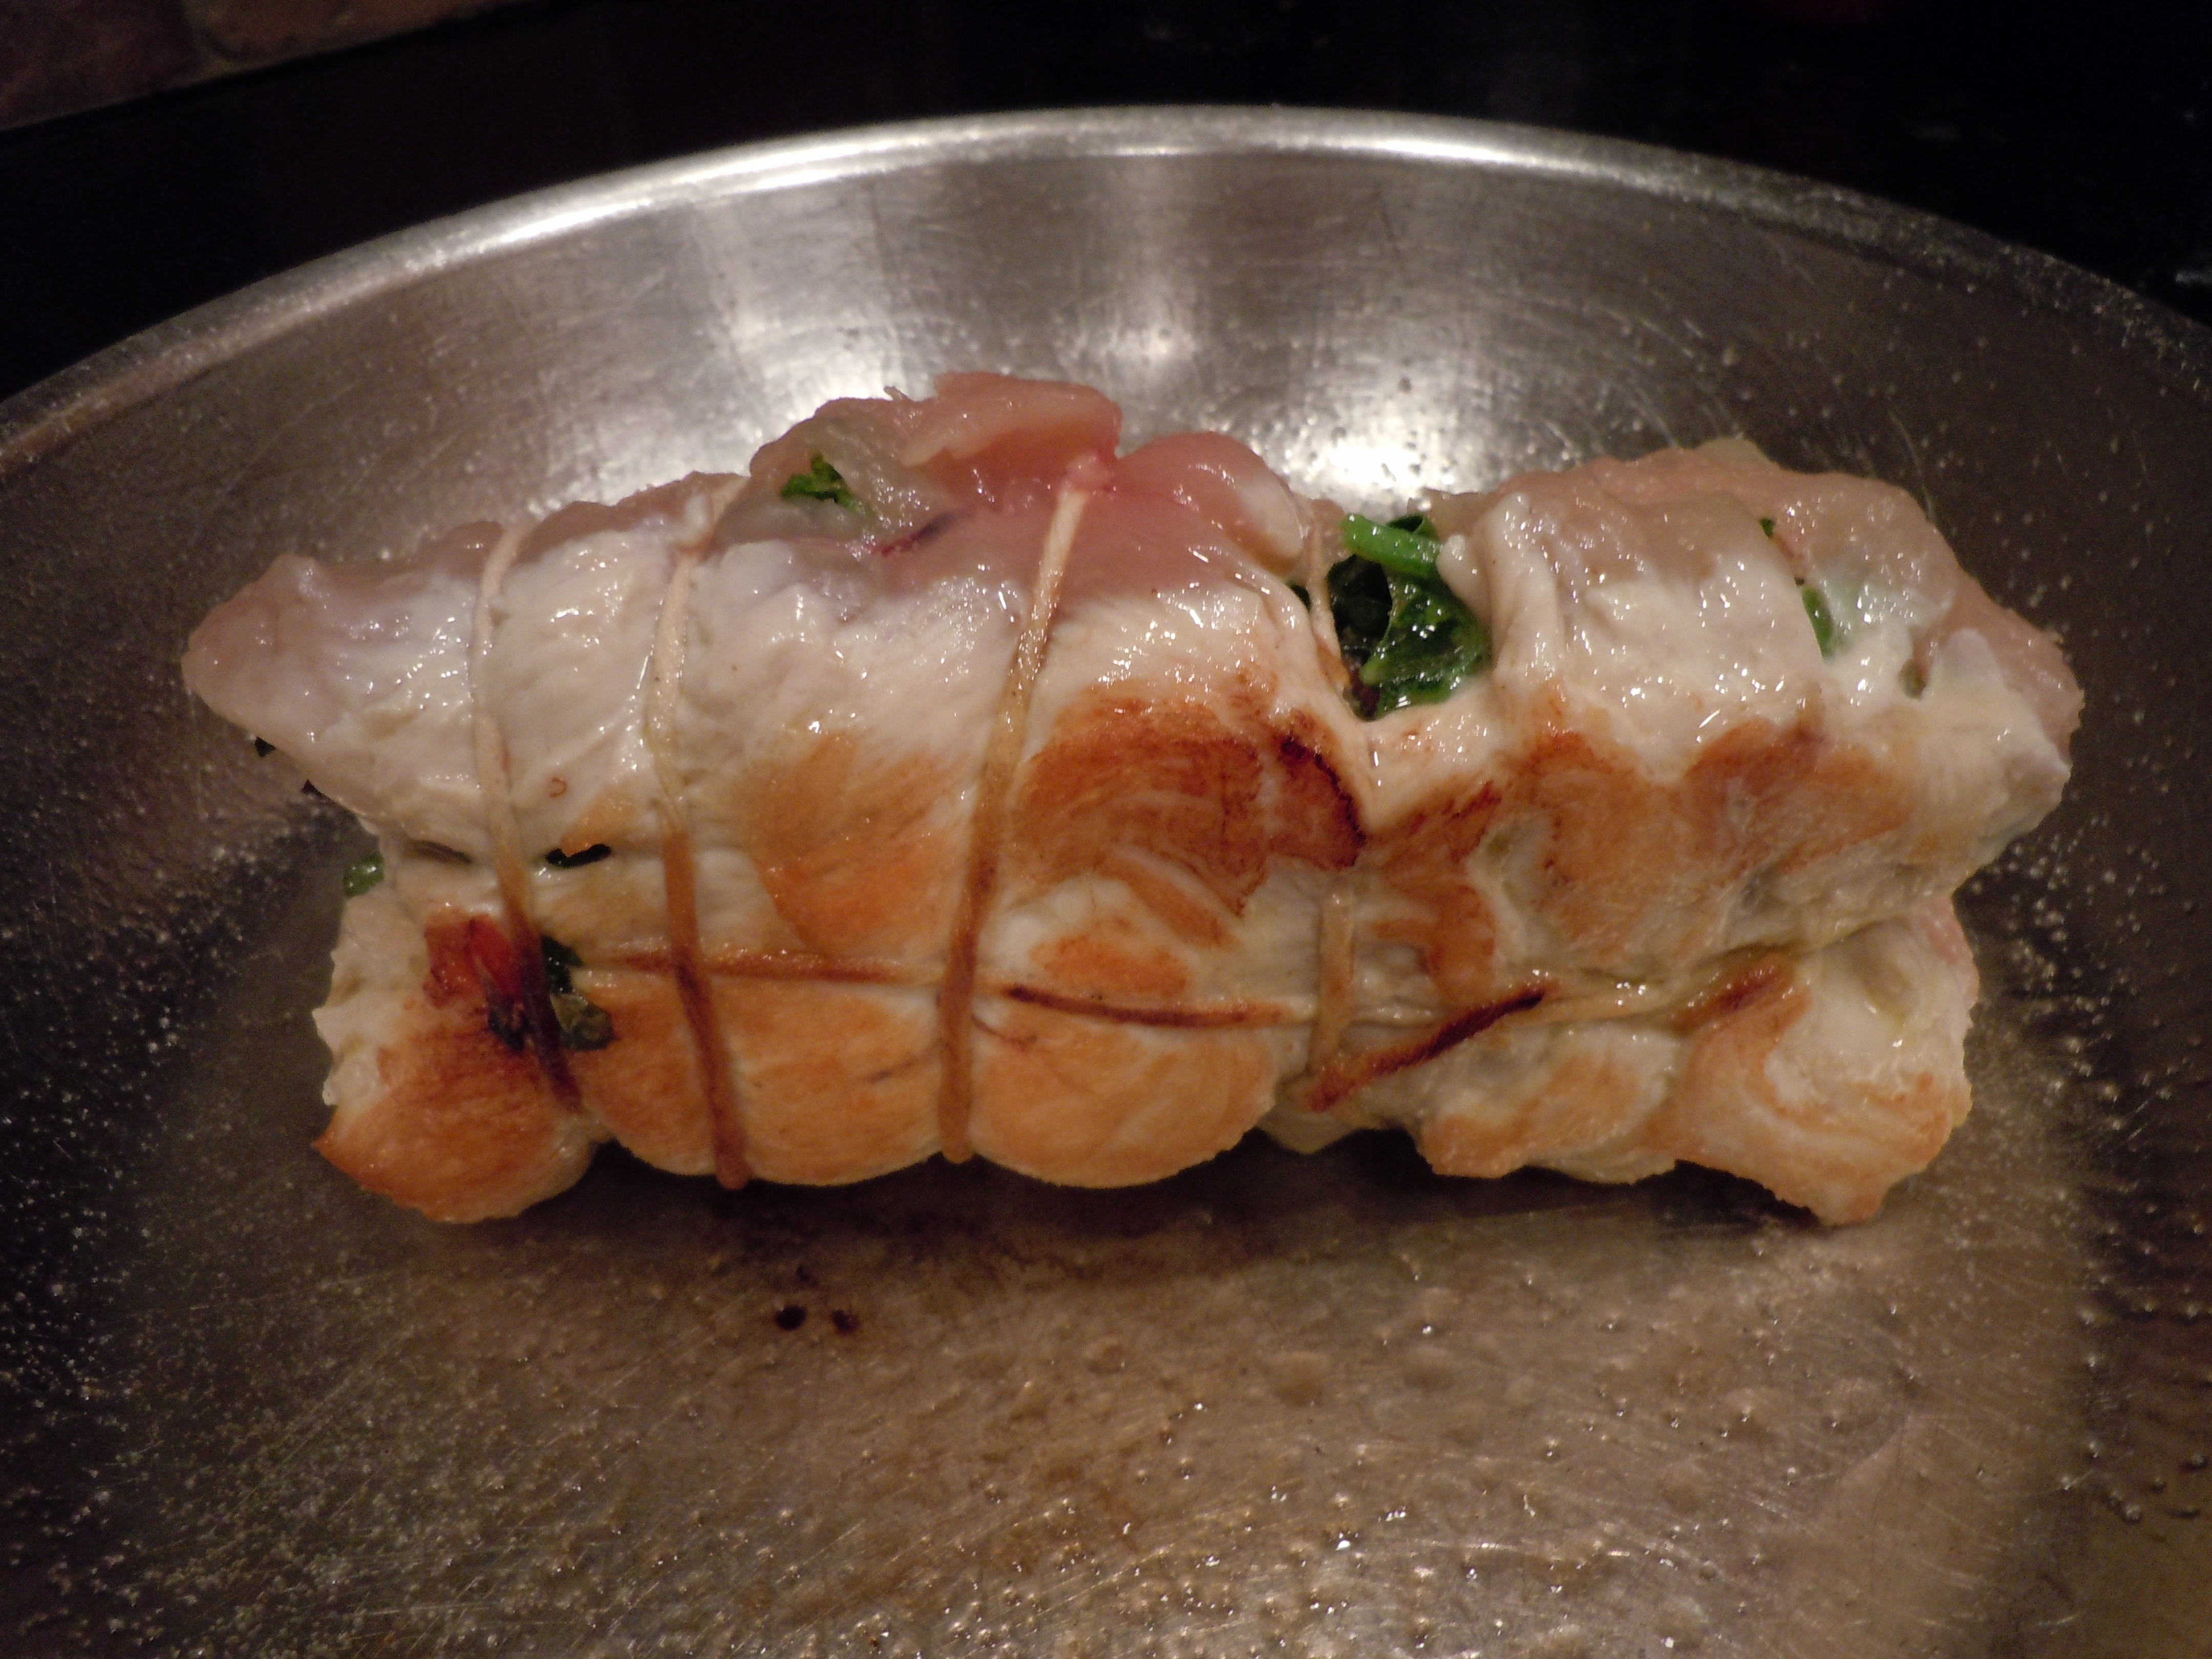
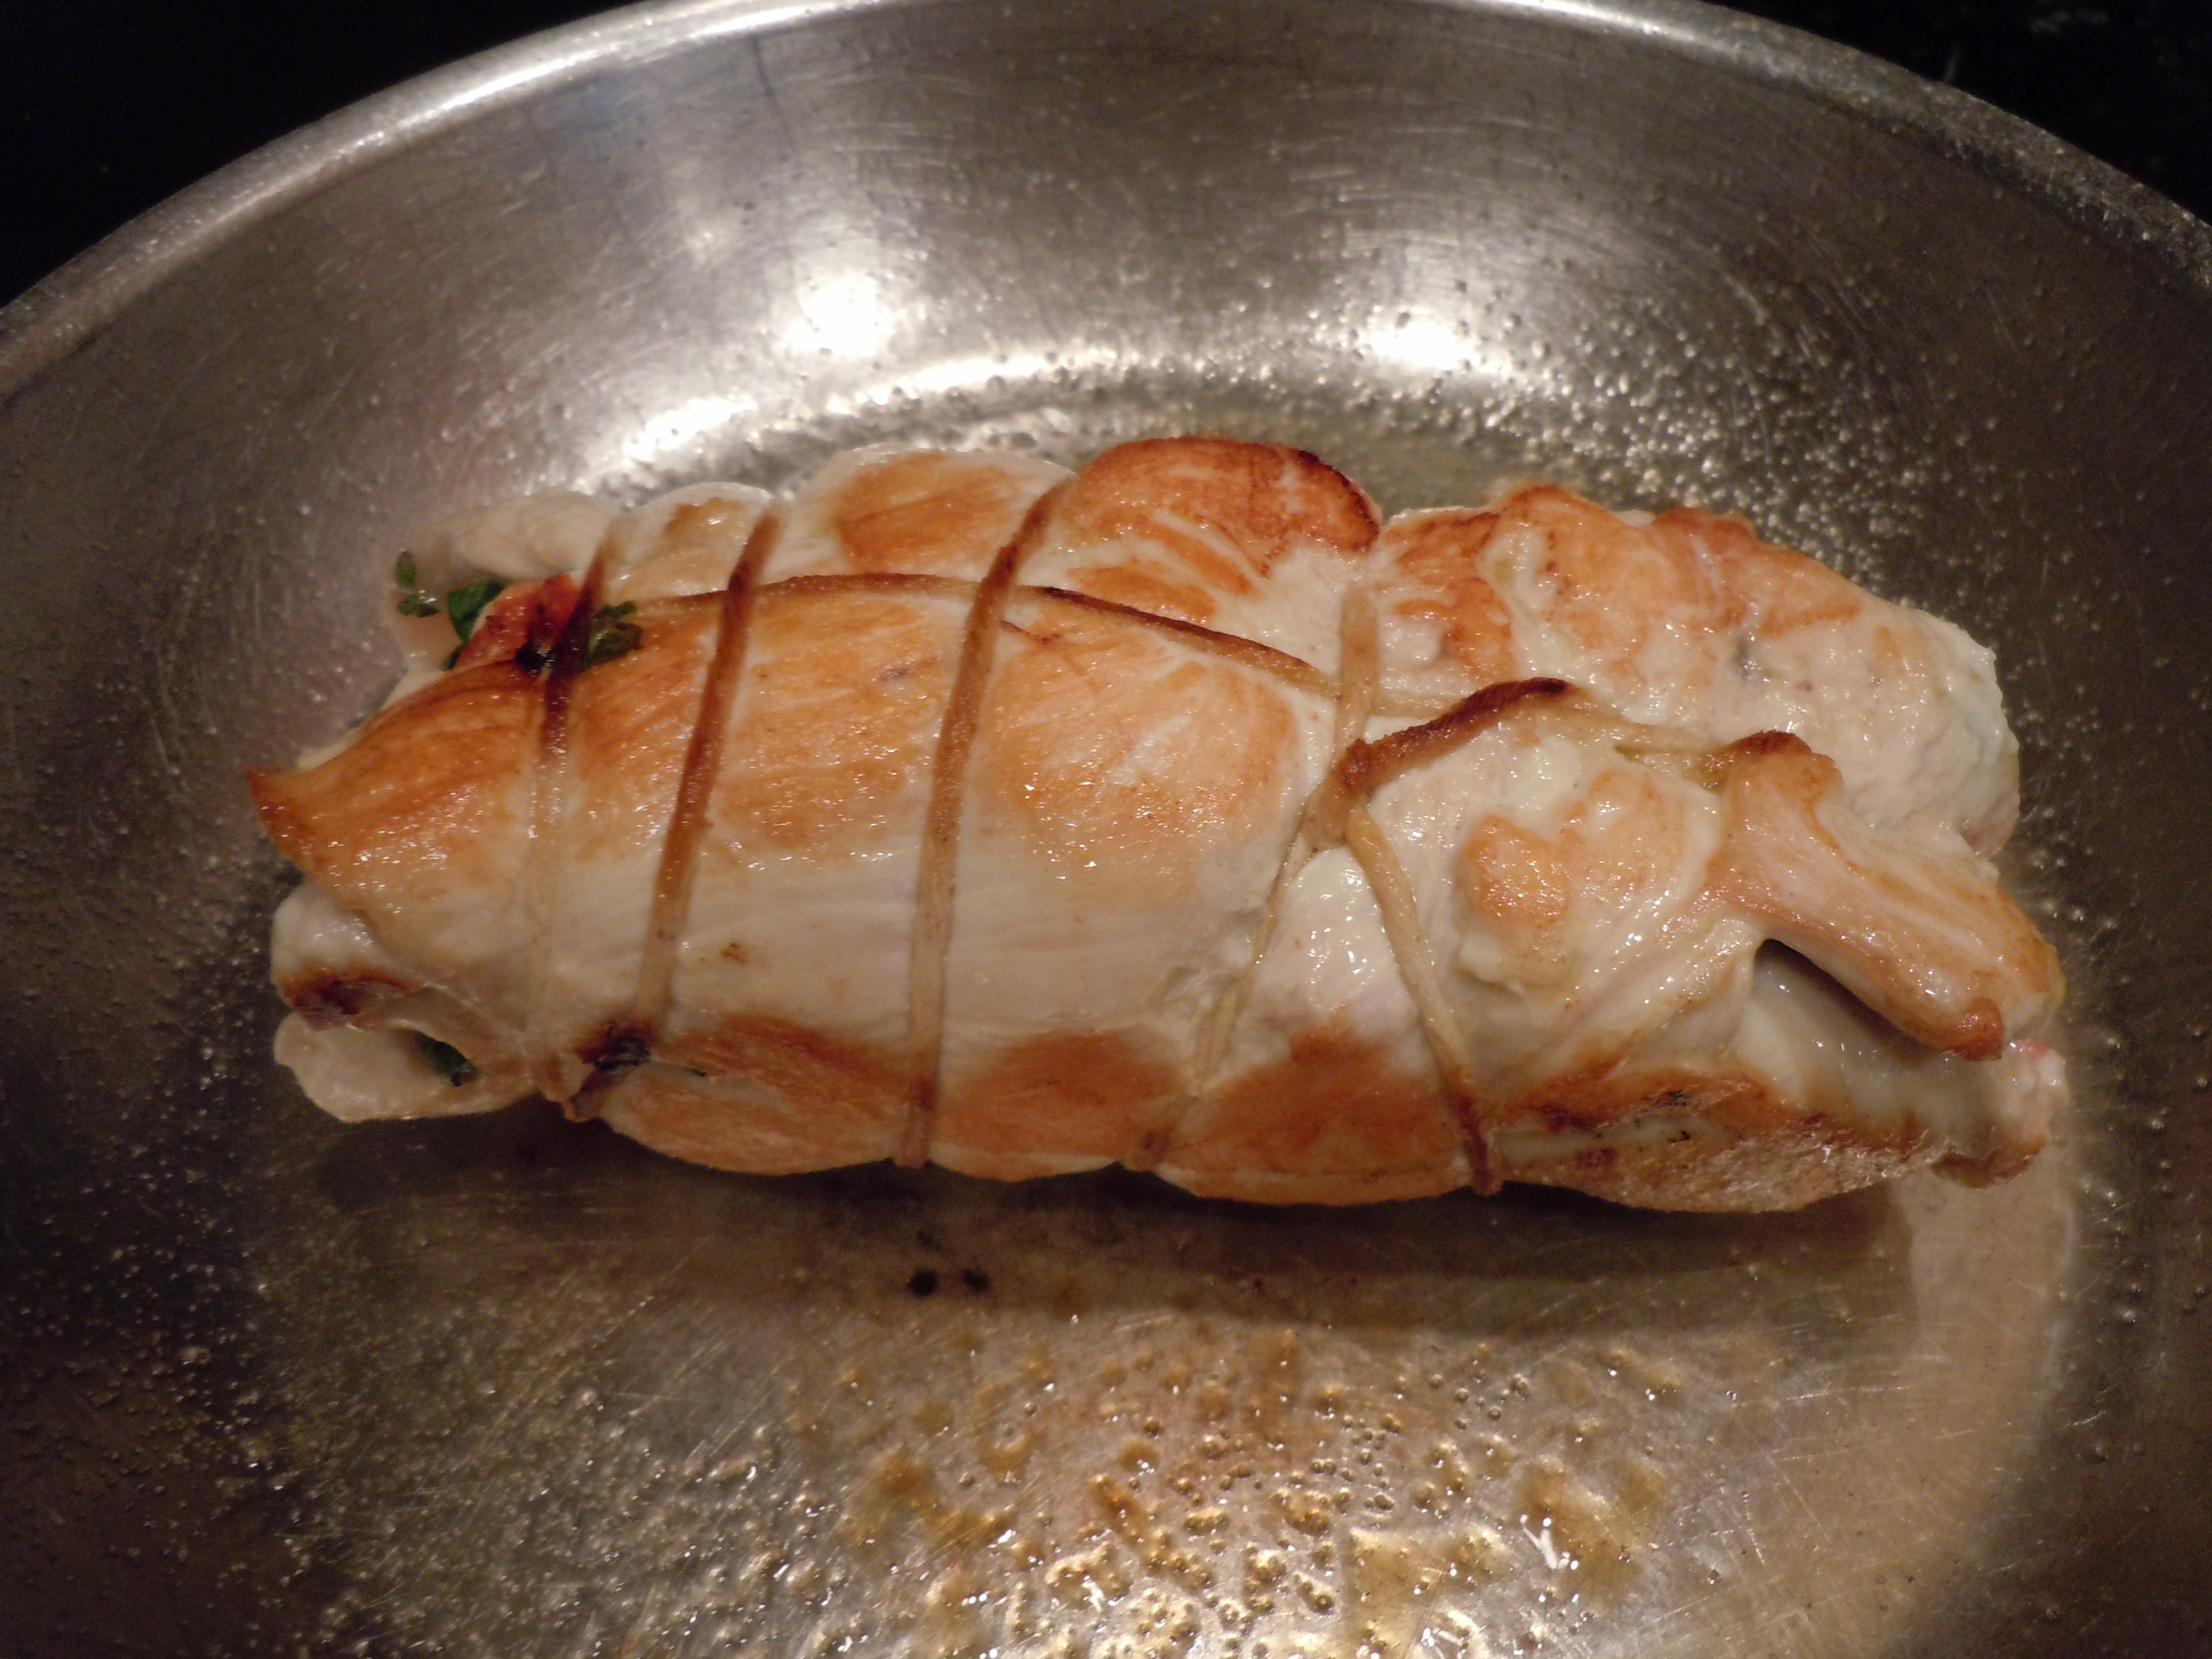
- Add 2 Tbsp olive oil to a medium sauce pan on medium/high heat.
- When the pan is hot add the tied up roulades and sauté for 2 minutes on each side total of 8 minutes.
- Add the wine, and then the broth to the chicken (be careful of the steam when add the liquids) and place into the oven for 15 minutes.
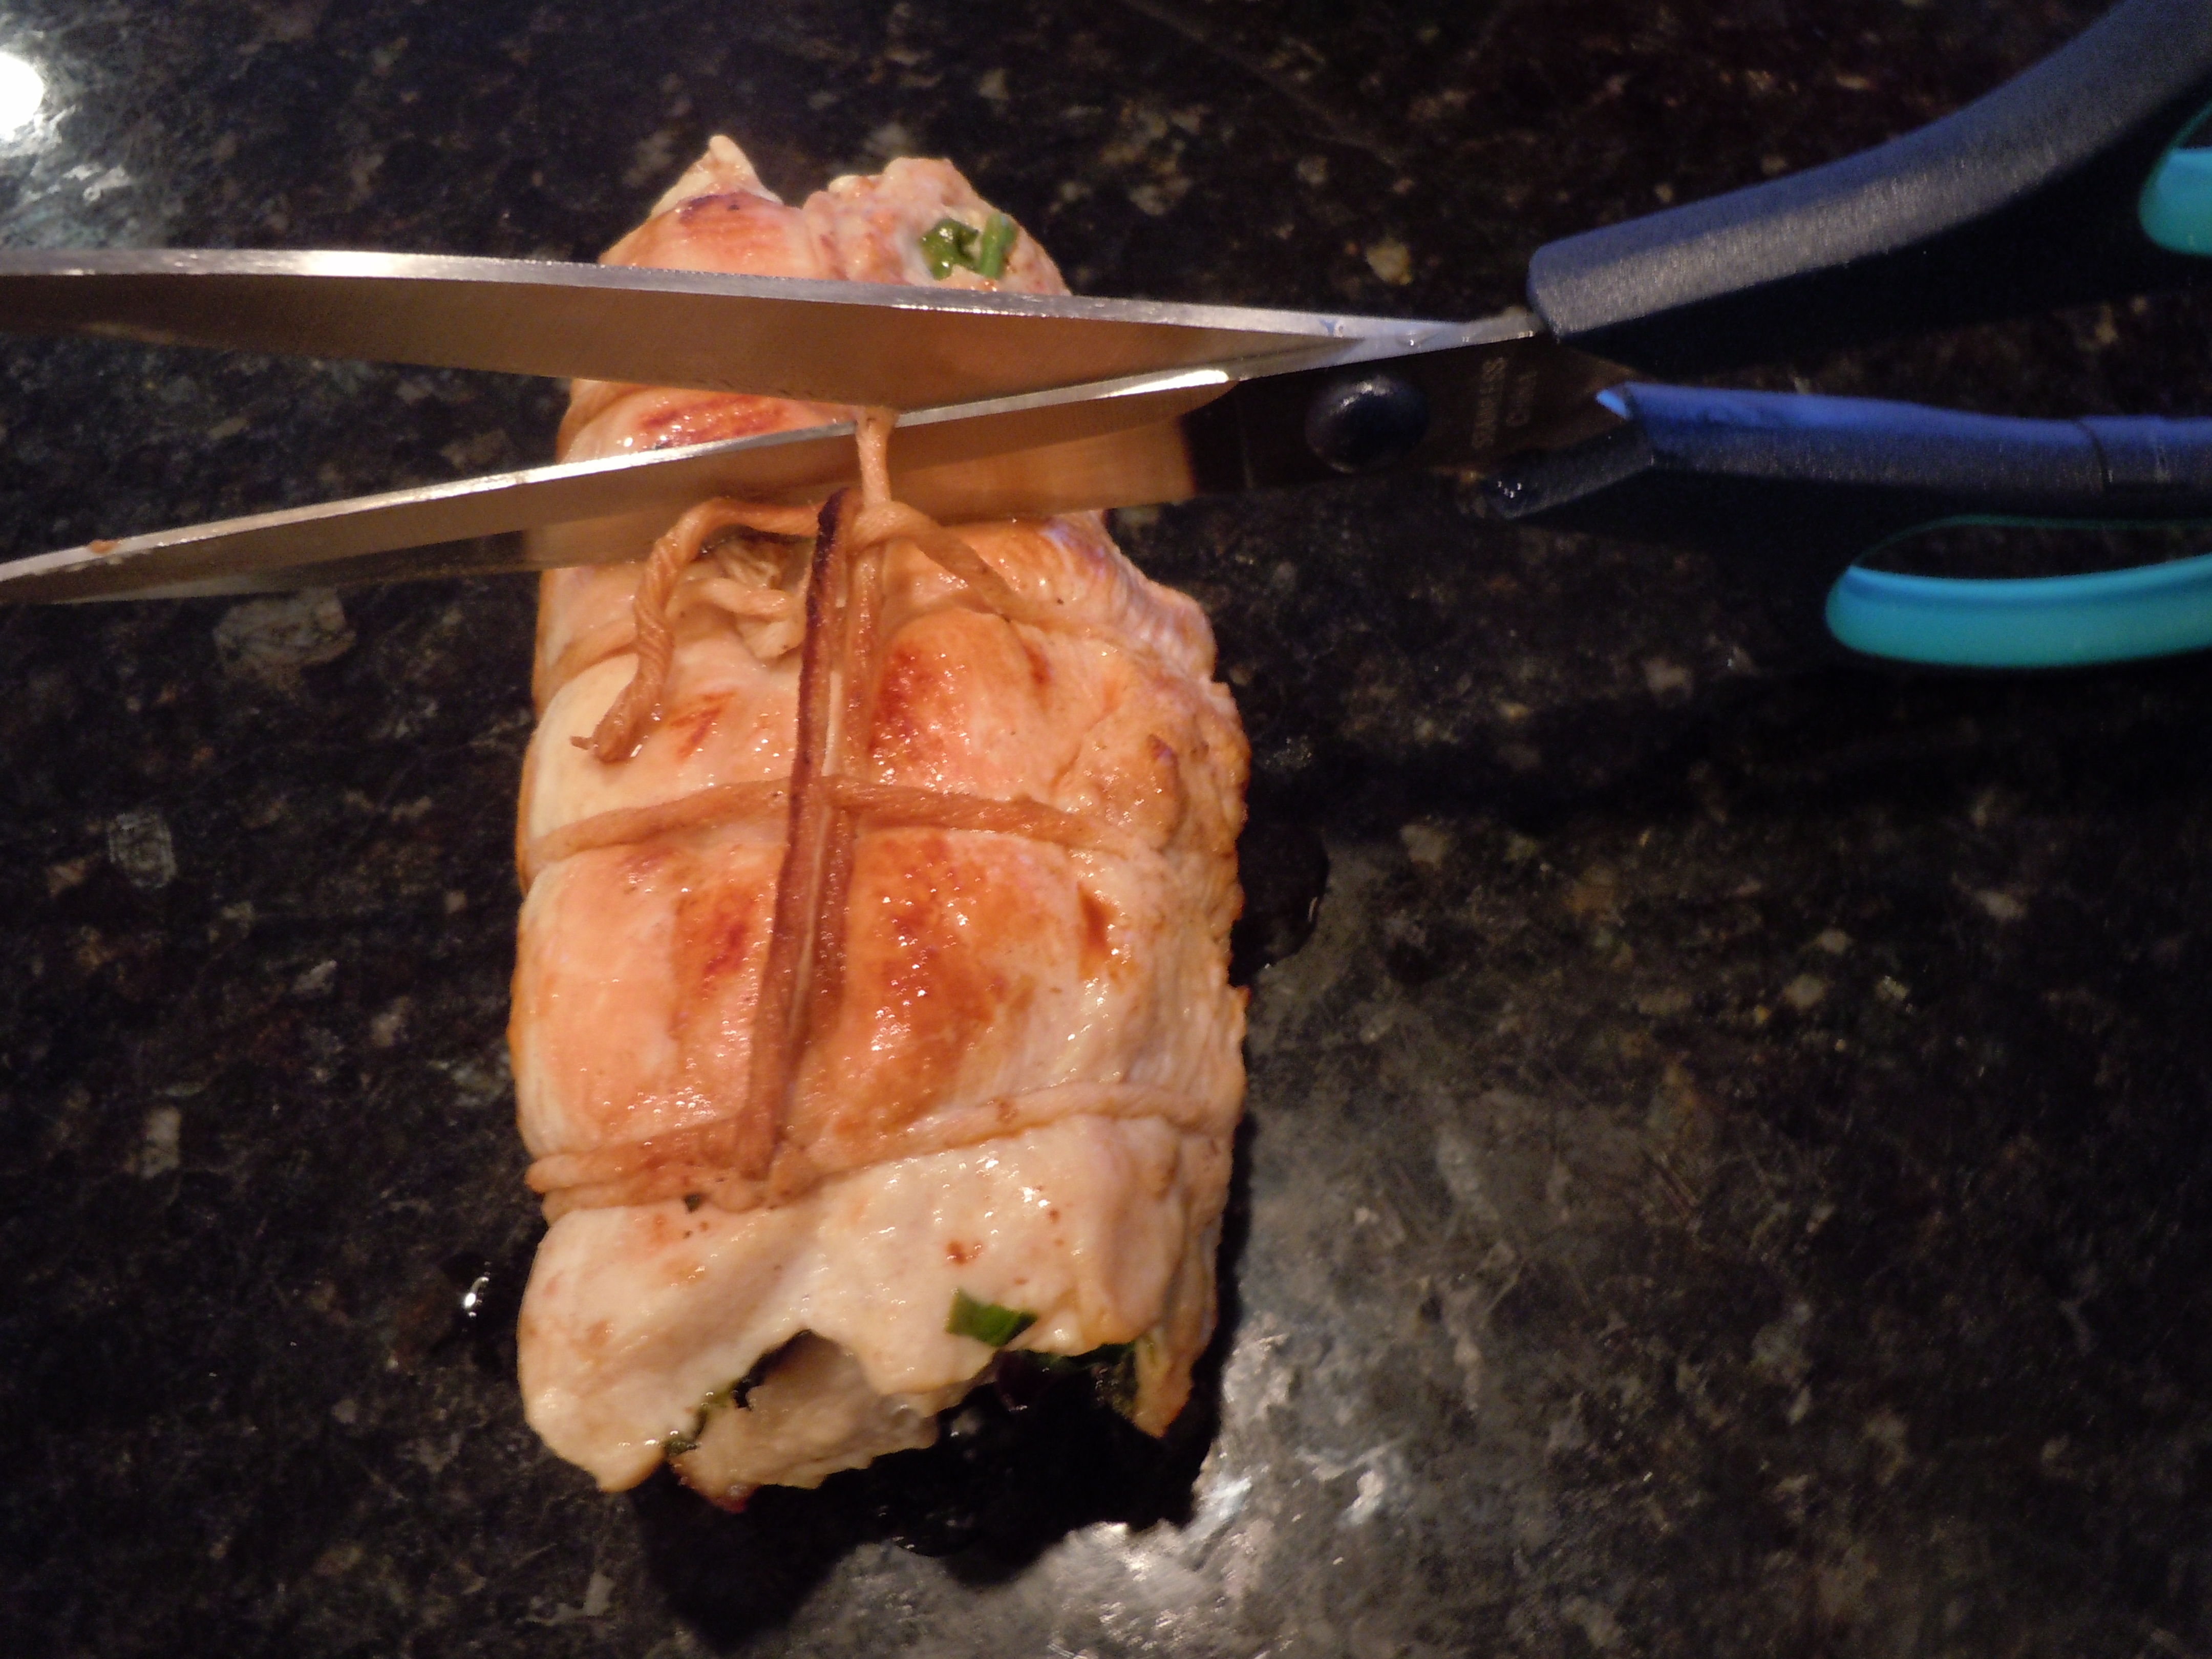
- Take the chicken out of the oven and cover it with foil.
- Let it sit for 5 minutes and then simply cut the string with a clean pair of scissors (or kitchen scissors).
- Slice up the roulades and serve on top of roasted garlic and cannellini bean purée.
- The great thing about this dish is you can make the roasted garlic and bean purée the day before!
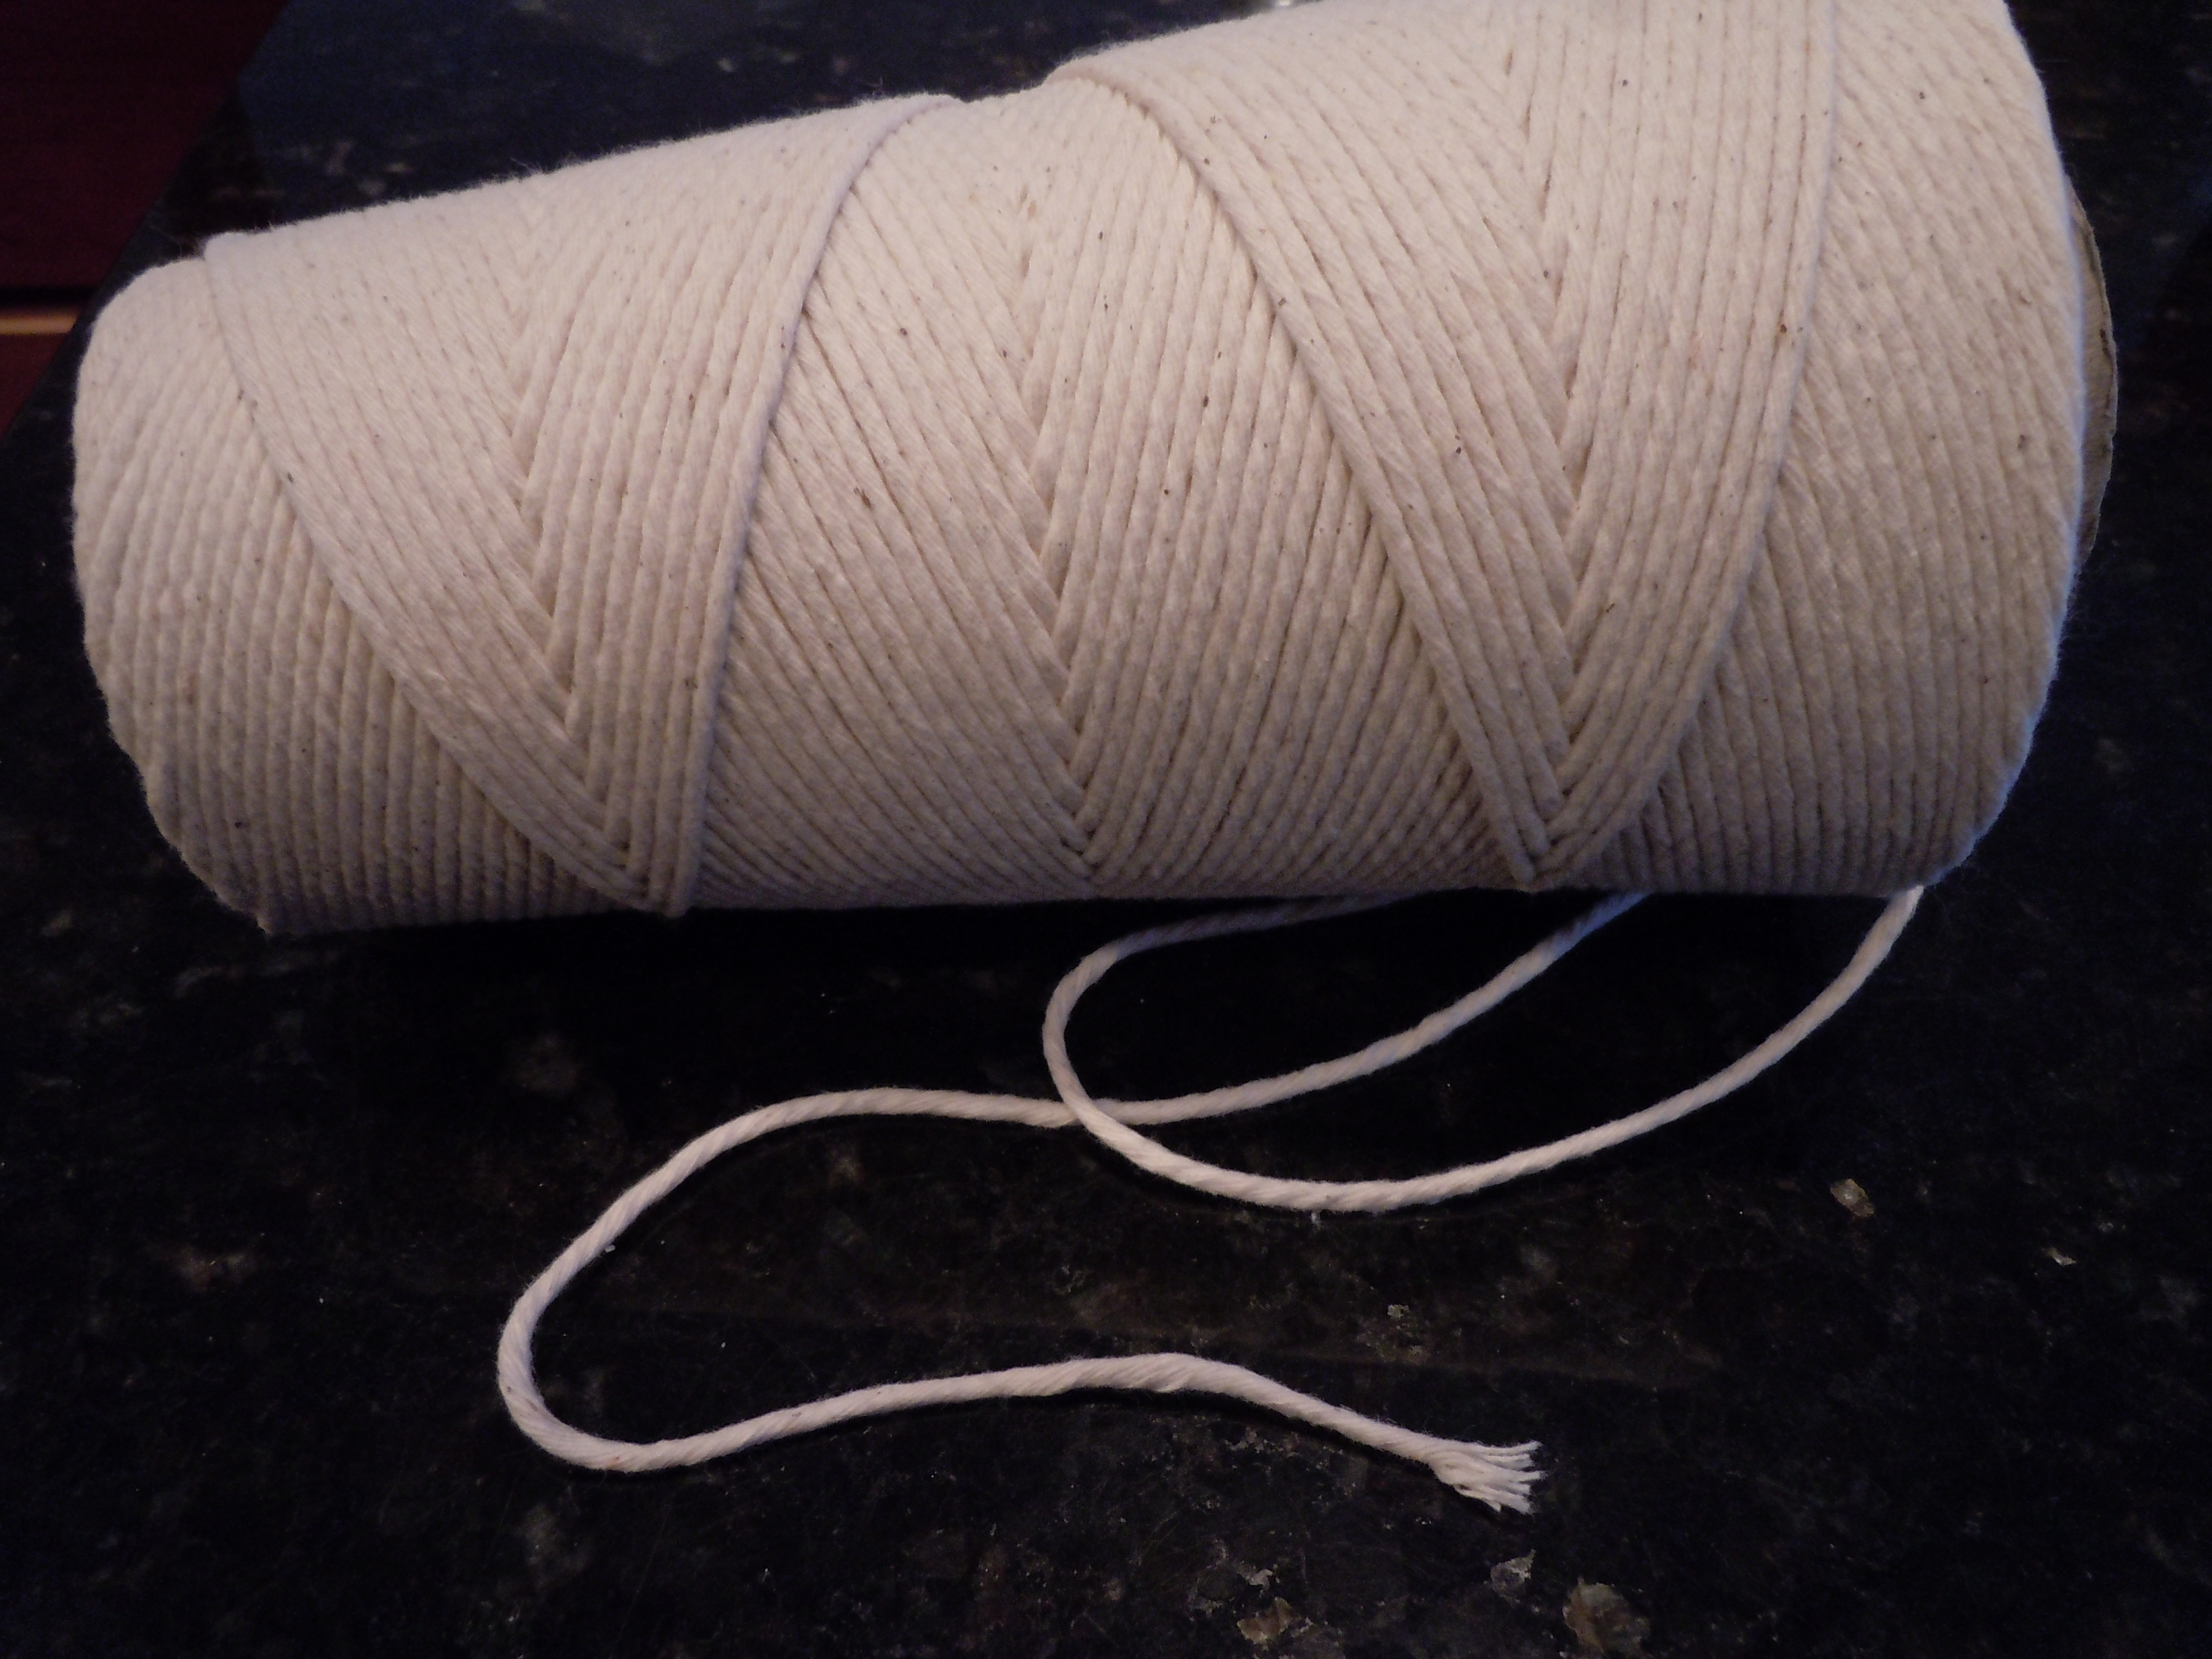
TIP: I like to buy a giant roll of cotton string from the hardware store and keep it in a Ziplock Baggie on the spice shelf so no one can get to it and dirty it up.
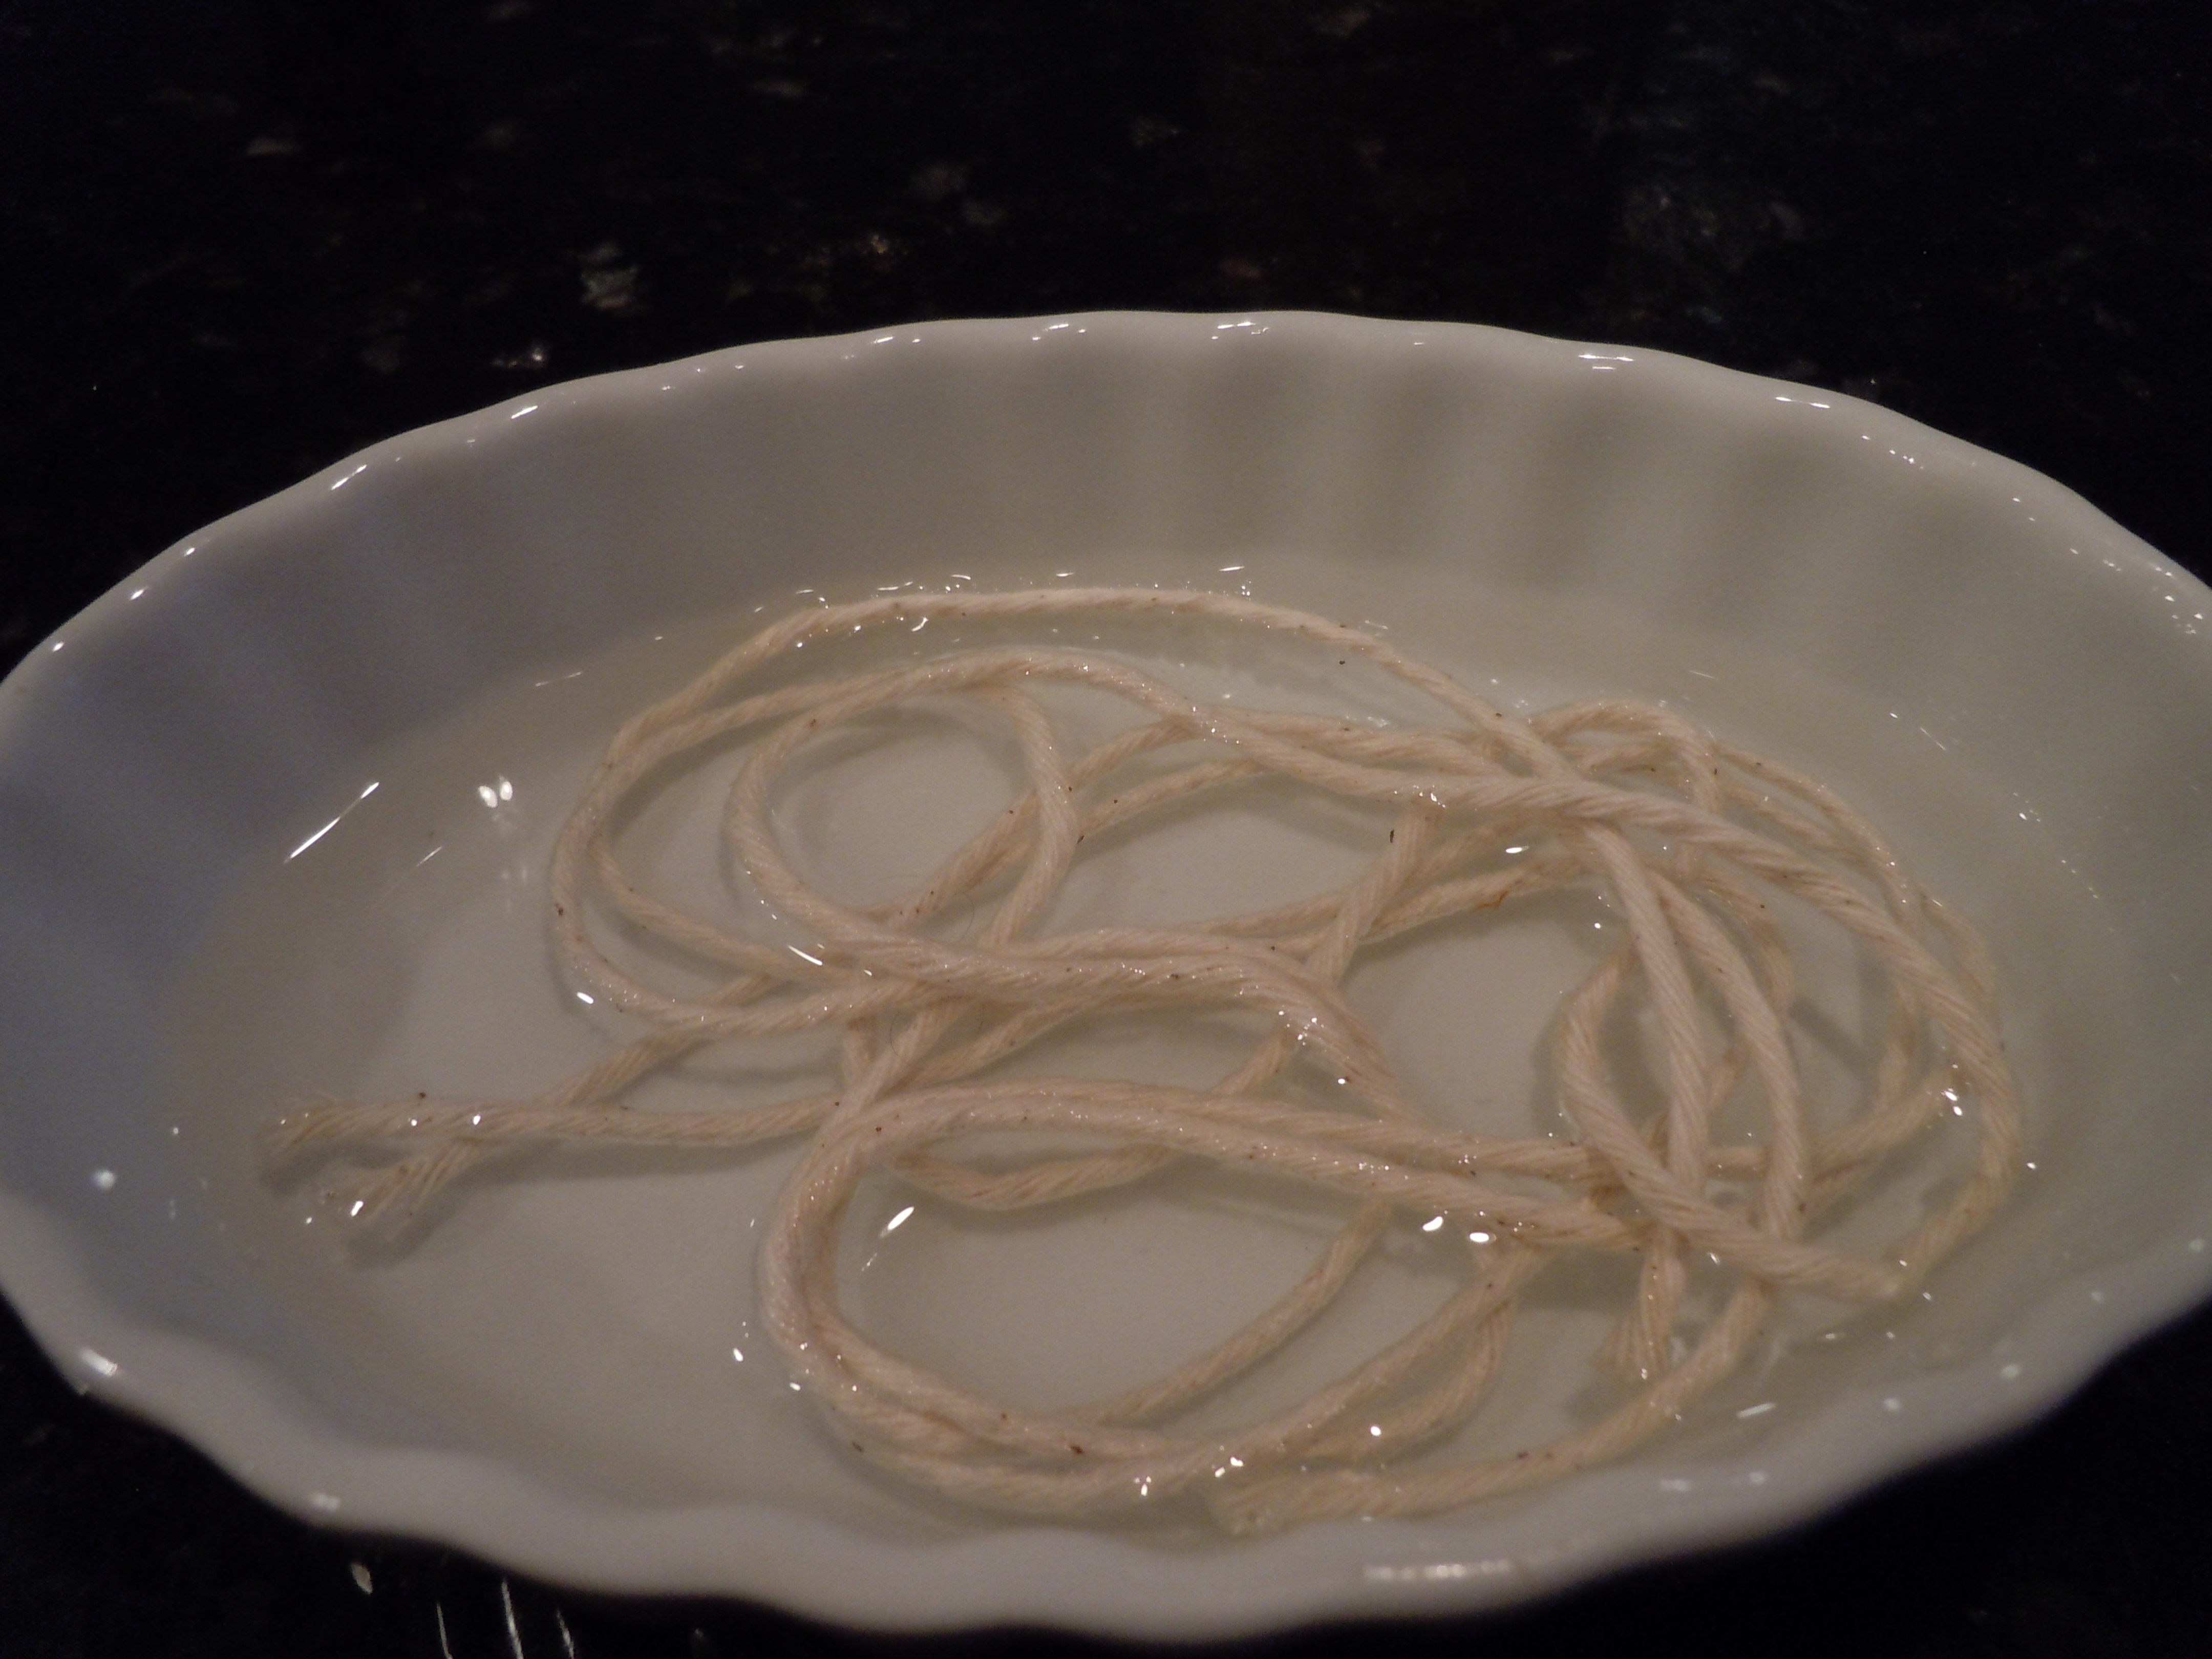
TIP: It’s a good idea to soak the cotton string in water for 10 minutes before you use it otherwise it will dry out in the oven and become brittle.