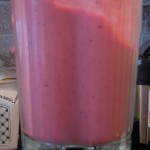
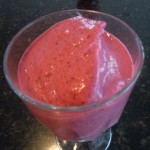
The Traveling Epicurean

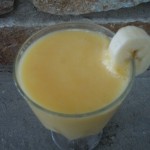
Mango-Banana Smoothie

Mango-Banana Smoothie

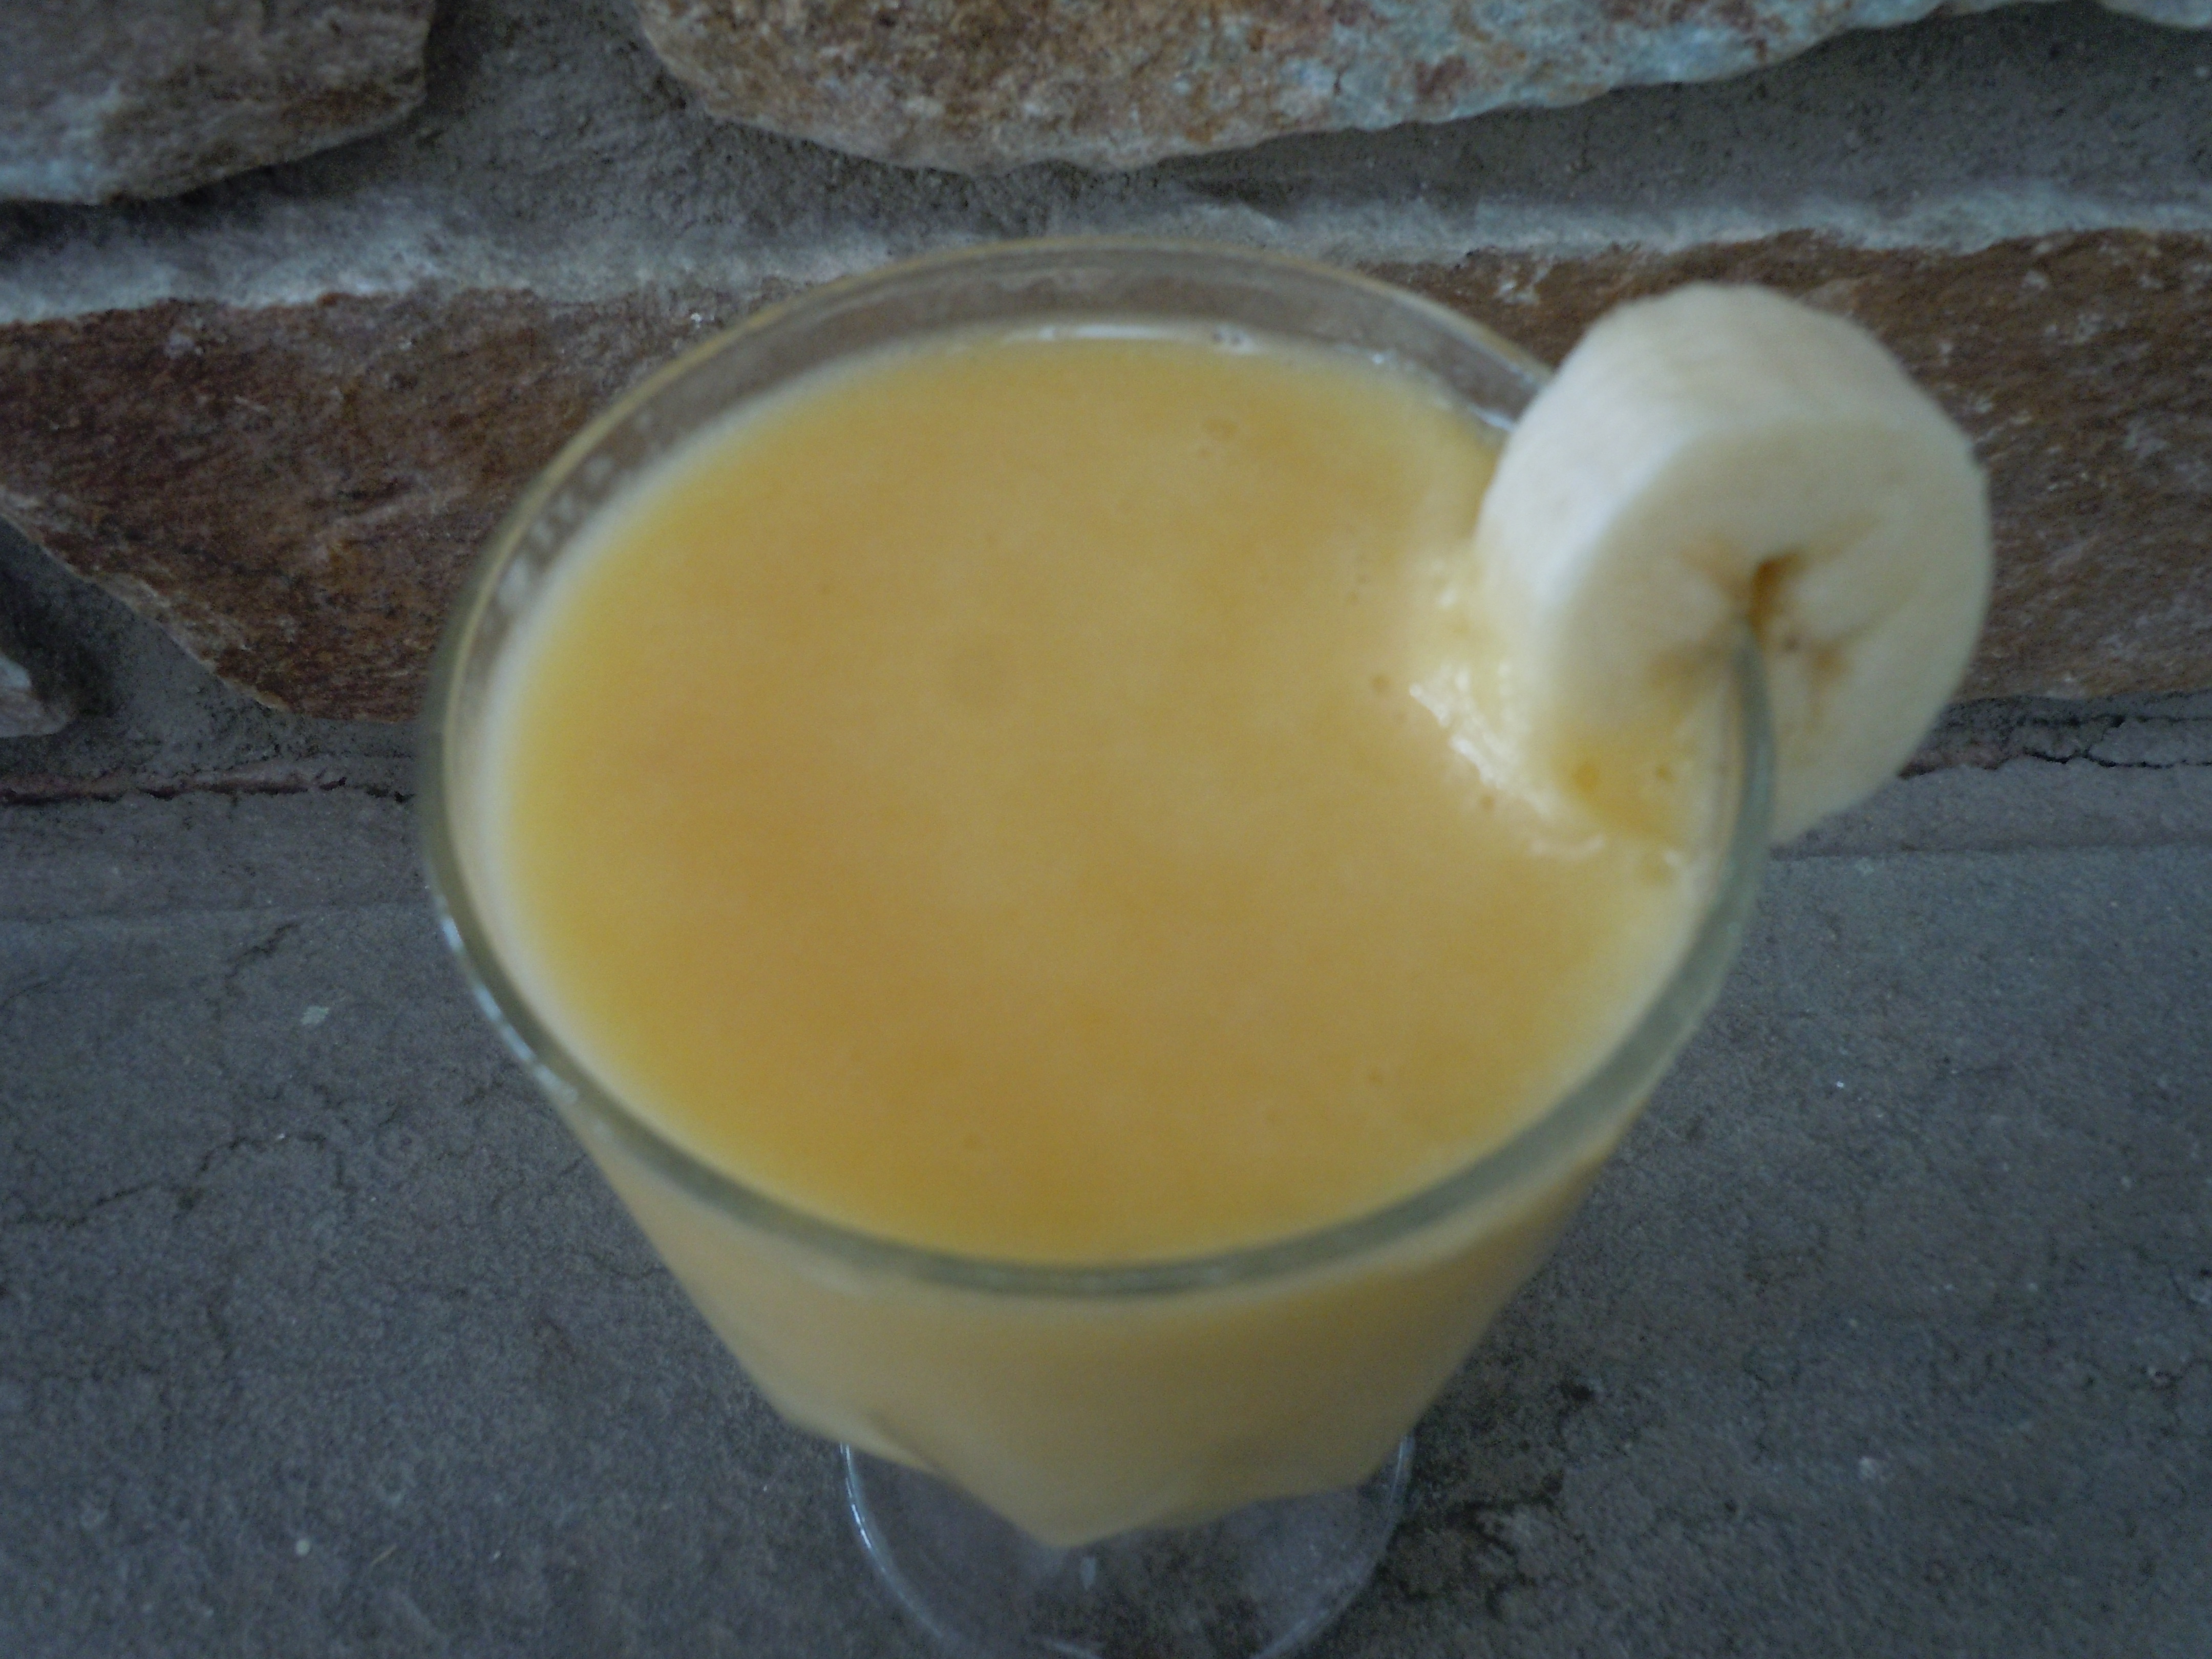
You just can’t beat smoothies, in my opinion!  They’re refreshing, delicious, filling and really good for you.  A Smoothie made with Greek yogurt and fruit are one my favorites particularly when it includes mangoes.  The fact that you can easily ripen mangoes on your counter in any season really makes me happy especially when it’s a brutal winter like this one …I can still feel somewhat tropical. Adding a jigger of RUM and a little umbrella could change it up into a “mango-banana smoothie cocktail” giving you an authentic tropical warming feeling! Enjoy.

iphone pictures 501 iphone pictures 504 iphone pictures 505 iphone pictures 930

iphone pictures 931 iphone pictures 681 iphone pictures 1016 iphone pictures 938

iphone pictures 944

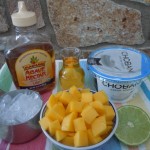
Ingredients:

  • 1 ripe mango diced up  (2 cups)
  • 1/2 banana sliced
  • 1/4 cup vanilla Greek yogurt
  • 1 3/4 cup crushed ice
  • 1/2 cup unsweetened apple juice
  • juice from 1/2 fresh lime
  • 1/4 cup agave nectar

Directions:

  1. If you only have large chunky ice see “TIP” below.
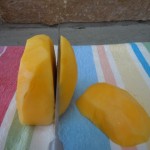
  2. Cut off the bottom of the mango to give you a flat edge to work with…so you can sit the mango up right.
  3. Then peel the skin of the mango kind of like an apple.
  4. Once all the skin is off cut the down the sides of the stone pit as shown in the photos.
  5. Keep cutting the mango flesh until you are left with the pit (doesn’t have to be neat)
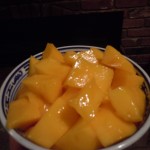
  6. Cut the mango into chunks
  7. Slice the banana
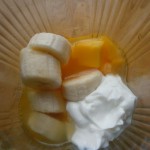
  8. Add the mango, banana and the rest of the ingredients on the list into the blender and purée.

iphone pictures 932 iphone pictures 933 iphone pictures 934

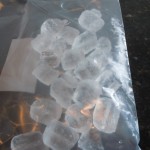
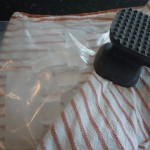
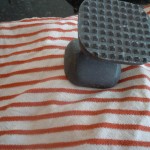
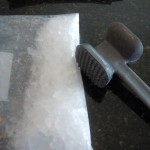
Tiphone pictures 936IP:  If you only have a bag of large chunky ice on hand and need it crushed slide the ice chunks into a large Ziplock Baggie, fold a dish towel around it and hit it with your meat mallet and voilà.


Chilean Sea Bass with Green Goddess Sauce II

Chilean Sea Bass with Green Goddess Sauce II

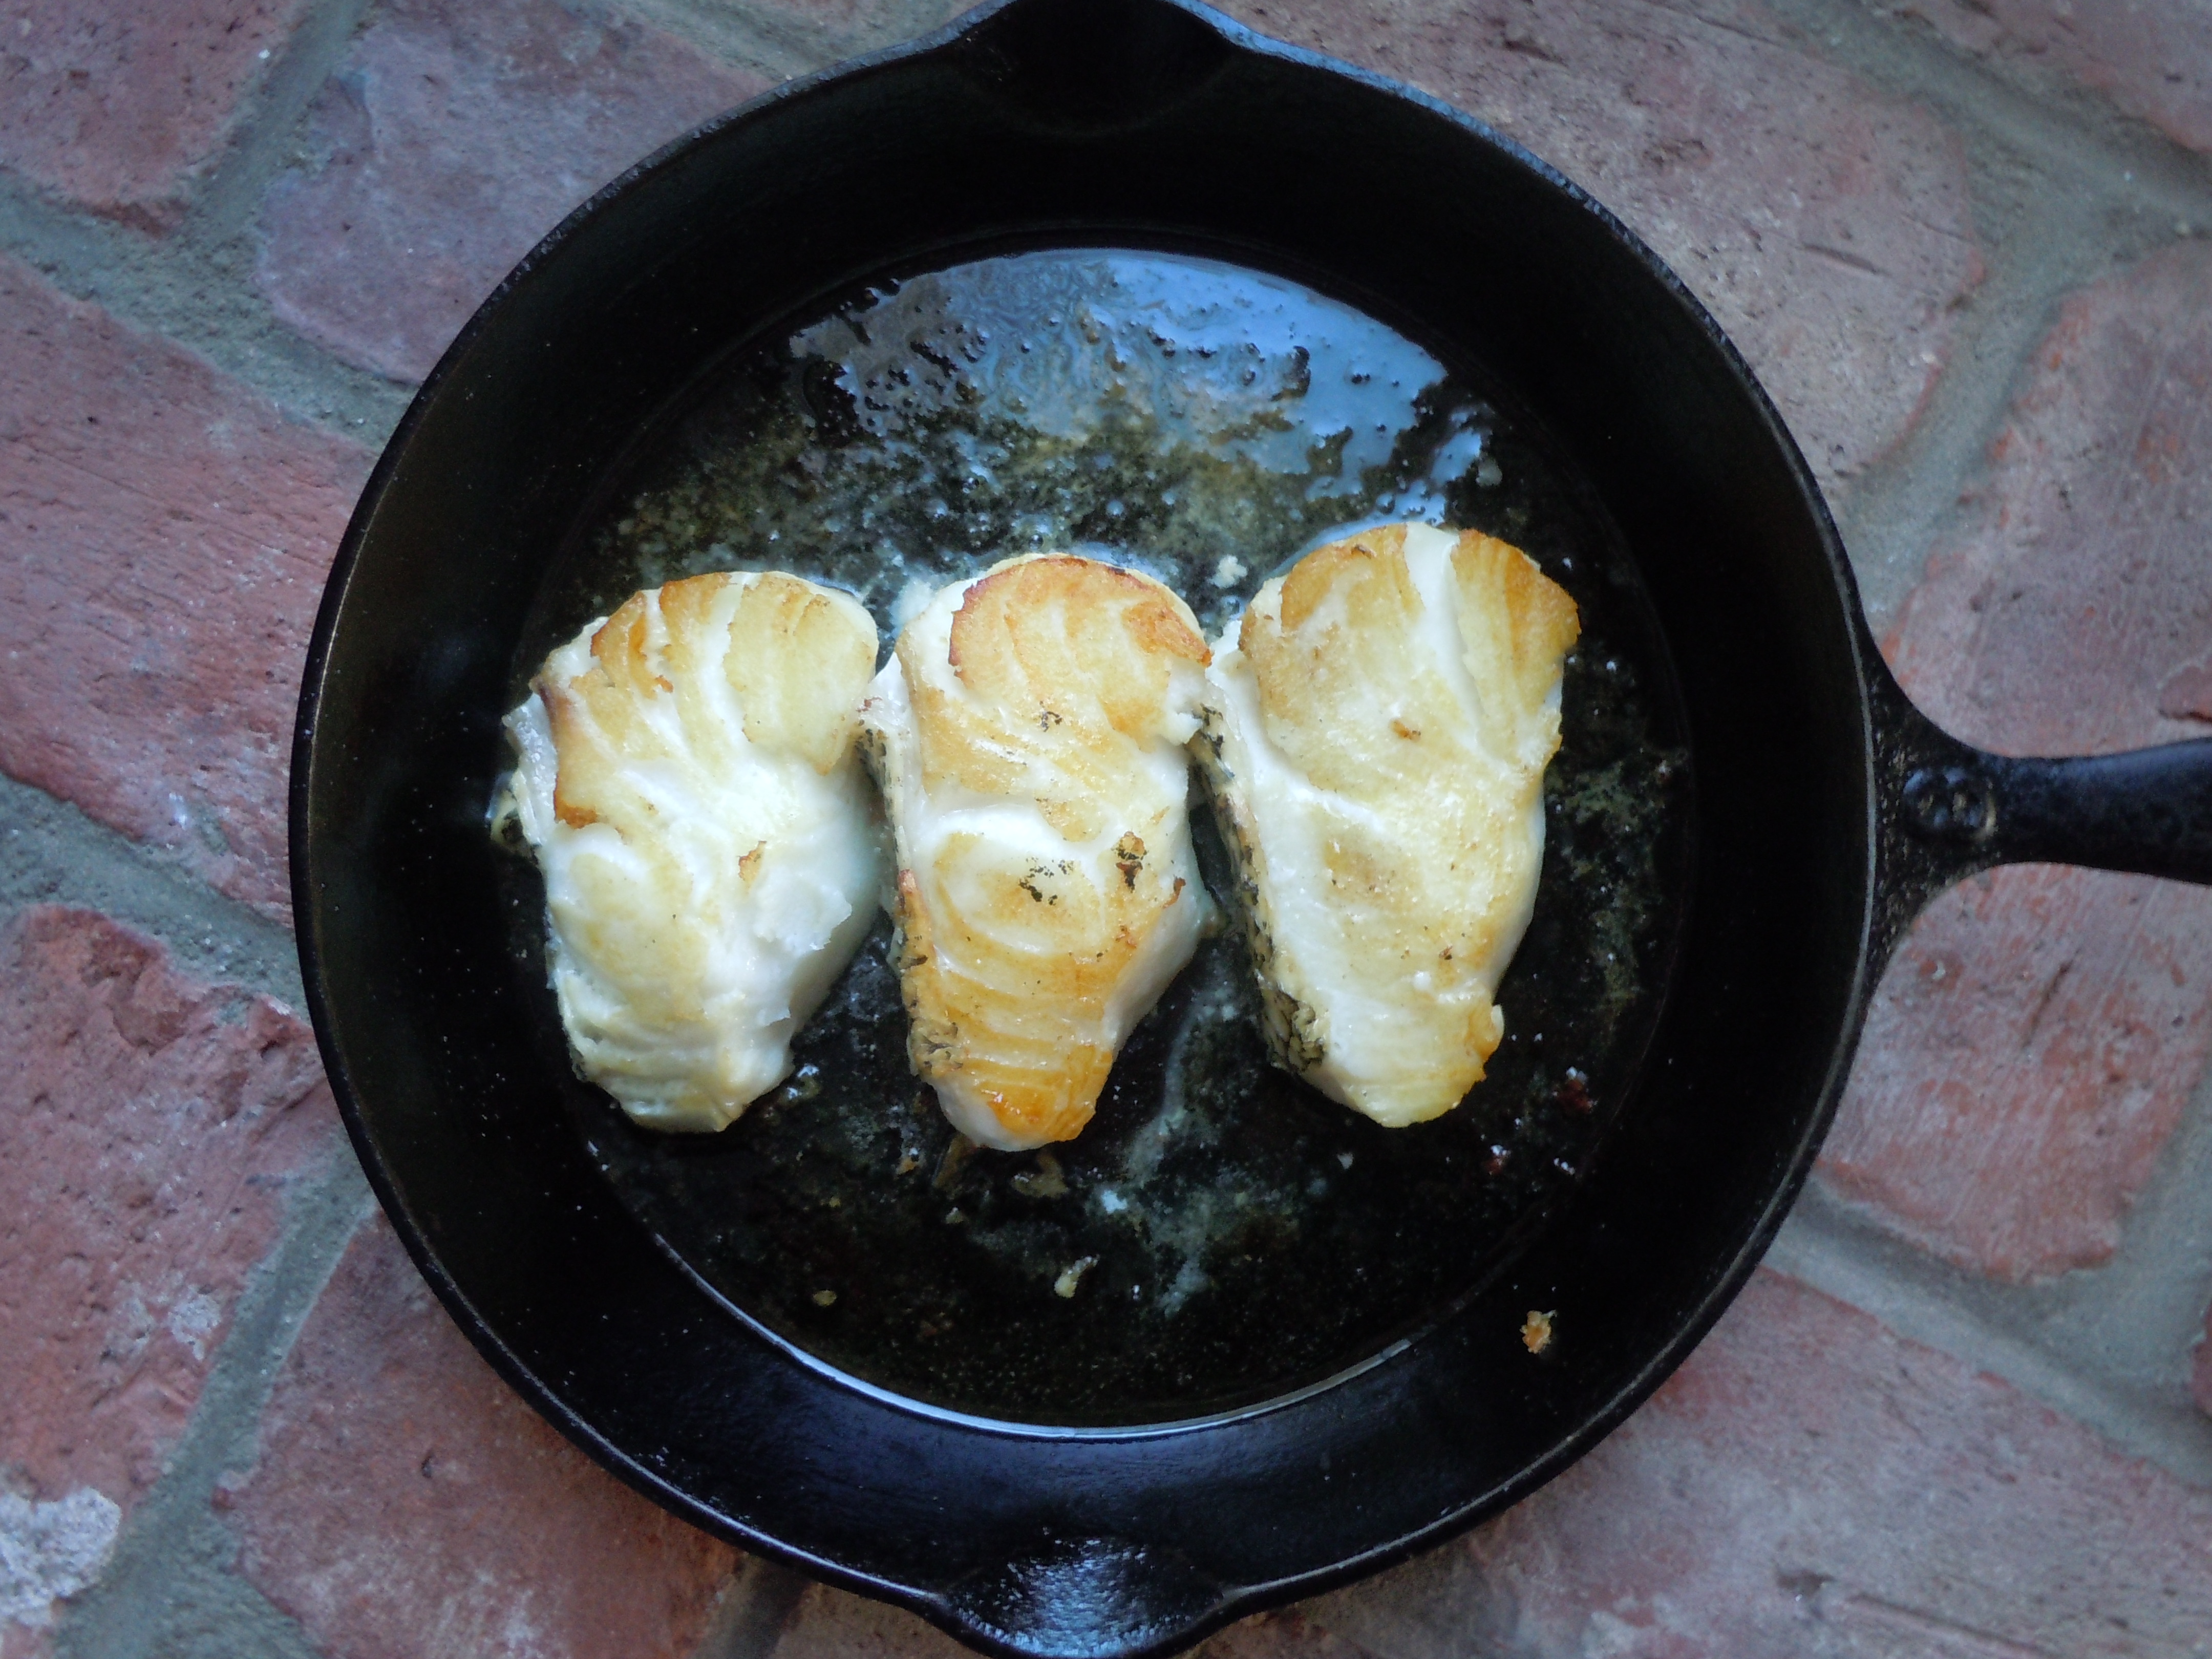
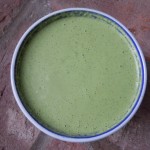
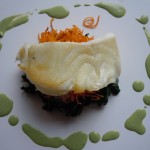
Chilean sea bass is full of flavor and has large meaty flakes. This is an oily fish so you need to have some kind of citrus to balance it out and that’s why my green goddess II is a perfect match!  The lemon and mint in the green goddess II are key flavors in complimenting the sea bass. I am all for cooking fish rare, even sashimi style but you cannot eat this fish under done. Chilean sea bass turns gelatinous and rubber-like when under done while on the other hand when cooked properly, even slightly over, turns it into a buttery, soft fish.

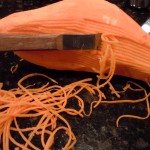
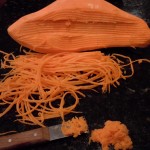
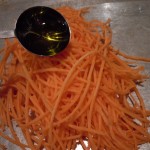
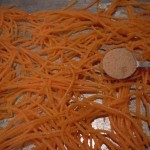
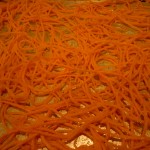
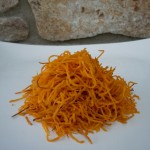
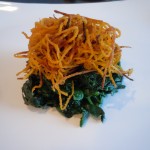
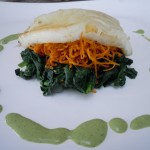
I think presentation is important when friends are over for dinner and you are plating the meal but keeping it fun without a lot of work is even better so you can enjoy being with your friends. That’s why I came up with my baked sweet potato haystacks. Not only are they delicious and good for you but are super easy to add to the garlic-spinach and sea bass layers making for some good eye candy.  Use a kitchen zester to make the potato strings. It’s really quite easy and they only bake for 10 minutes and no more or the strands of potato begin to burn.

iphone pictures 1066

iphone pictures 1068

iphone pictures 1073


iphone pictures 1075

iphone pictures 872iphone pictures 873


iphone pictures 876iphone pictures 878iphone pictures 1177


iphone pictures 1180

iphone pictures 879

iphone pictures 881


iphone pictures 883

iphone pictures 1187


iphone pictures 1230


iphone pictures 1169iphone pictures 1194iphone pictures 1191


iphone pictures 1083

iphone pictures 1090


Ingredients for the Chilean Sea Bass:

Directions for the Sea Bass:

  1. Pre-heat oven to 350º
  2. Rub olive oil on seabass
  3. Add dash of salt and pepper
  4. Heat up the sauté pan on medium/high heat
  5. Add sea bass to the hot pan and sauté 4 minutes on each side
  6. Put pan into the oven for 8-10 minutes
  7. Layer on a plate a small mound of fresh sautéed spinach with garlic
  8. On top of spinach put a pile of sweet potato haystack
  9. Place a piece of sea bass on the very top and drizzle green goddess sauce II around plate and serve with a lemon wedge

Ingredients for the Baked Sweet Potato Haystack:

  • 1 large sweet potato
  • 2 Tbsp oilve oil
  • 1 Tsp onion granules (do not use garlic …they make the potato strings bitter)
  • 1/2 Tsp salt

Directions for the Baked Sweet Potato Haystack:

  1. Pre-heat oven to 375º
  2. Use a potato peeler to peel the skin off of the sweet potato
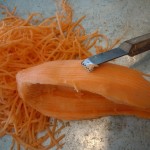
  3. Then begin to zest strands from the sweet potato
  4. You will get little mounds of pulp like texture from the potato while you are zesting so just keep putting that aside…you don’t want the pulp in with the haystack strands.
  5. Once one side is hallowed out just flip the potato around and zest the arc of the other side
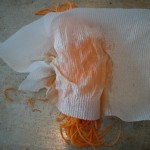
  6. Take the pile of sweet potato strands, place them on a cookie tray and squeeze them with a paper towel to get some of the moisture out.
  7. Add 2 Tbsp olive oil
  8. Add 1 Tsp onion granules and 1/2 Tsp salt and mix stands with your hands
  9. Using your fingers spread strands in an even layer on the cookie tray as best as possible
  10. Bake for exactly 10 minutes
  11. Take out of the oven and scoop mounds of potatoes onto the beds of spinach to make your sweet potato haystacks
  12. Then place your fish on top of the haystack and drizzle green goddess sauce II around the plate


Chocolate-Avocado Mousse Recipe

Chocolate-Avocado Mousse

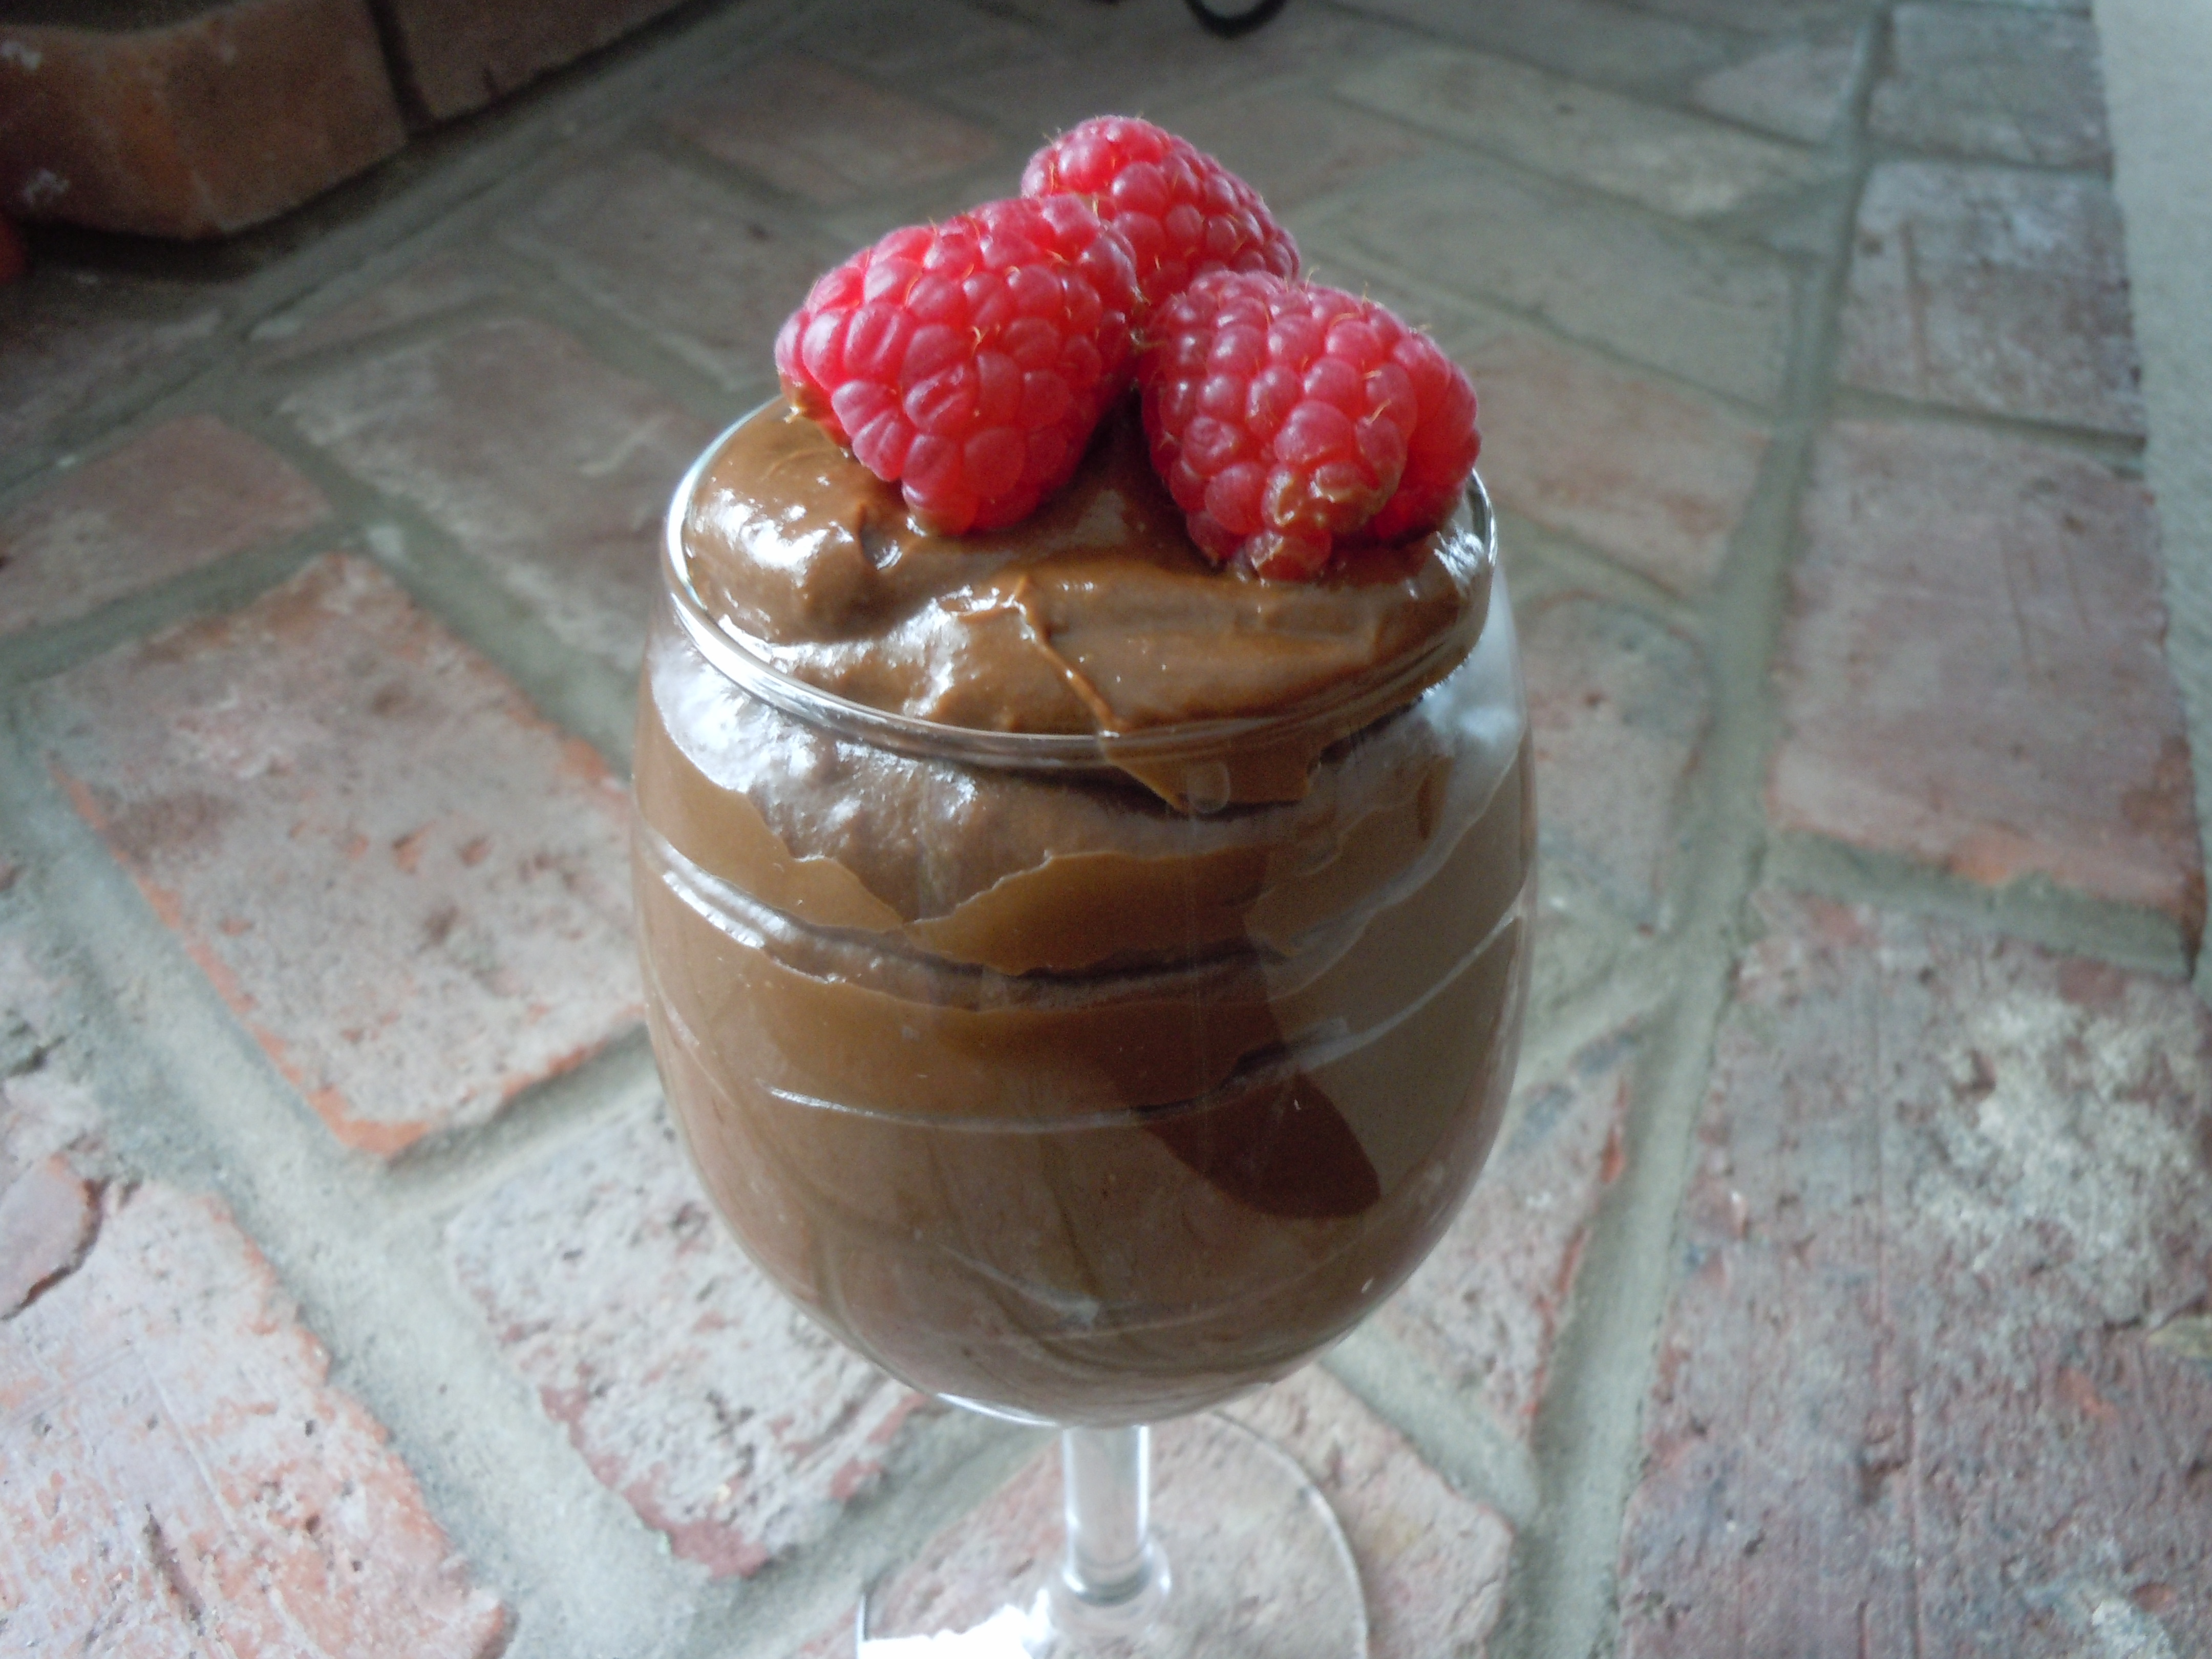
You will be amazed how this fruit can be transformed into a creamy, chocolatey mousse! Yes, an avocado is actually a fruit from an avocado tree. I read through so many recipes that it took a bit to figure out which chef inspired me here but I finally got it done. Some recipes have you grinding chia seeds to thicken the mousse but the avocado is already thick and creamy so I find that step unnecessary. Others have honey or a man-made “all natural” sweetener added in but I think the agave nectar is the best option.

This recipe is from Giada De Laurentis’ team except I change it up by adding a little more chocolate and by using Perugina “milk chocolate bars (Italian) or Ghirdelli milk chocolate chips instead of the Ghiradelli semi sweet chips.  This mousse is pretty rich so using the creamy milk chocolate bars lightens it up a bit and another reason being I wanted to get my two children to eat the mousse …they love the milk chocolate. Yes, that would be the kids who don’t eat anything green. I told you I would get them to eat something green sooner or later. I just left out the part that one of their favorite desserts, chocolate mousse, was made with avocado’s when serving it up to them…needless to say they LOVED it! They will thank me some day.

Make sure to watch my YouTube cooking show that goes with this recipe and don’t forget to SUBSCRIBE on my YouTube channel so that you can receive my latest cooking show releases!
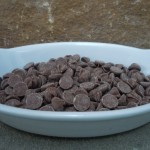
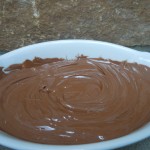
iphone pictures 730iphone pictures 731iphone pictures 741


iphone pictures 743

iphone pictures 745

iphone pictures 755


Ingredients:  

  • 4  VERY RIPE-California avocado’s (SOFT not TOO MUSHY because they get brown inside)
  • 7 oz. Perugina milk chocolate bars chopped up ( 2- 3.5 oz bars)
  • 1/2 cup unsweetened cocoa powder (Hershey)
  • 1/2 cup agave nectar
  • 1/3 cup almond milk
  • 2 Tbsp pure vanilla extract
  • 1/4 Tsp fine salt
  • fresh raspberries and whipped cream for garnish-optional
  • Fresh mint

Directions:

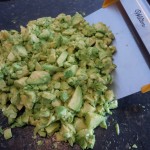
  1. Chop up all the avocado’s and put them into the food processor.
  2. In a small bowl melt the chocolate chips or chopped up chocolate bar in the microwave for 30 seconds x3 stirring at each interval…..WATCH so as not to BURN the chocolate (everyone’s microwave is a little different).
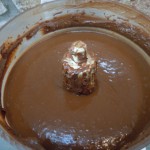
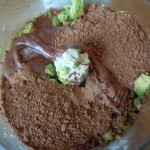
  3. Add the melted chocolate, and the next 5 ingredients to the food processor and purée for 30 seconds, stop to scrape the sides, then purée for 1-2 minutes, stop to scrape the sides and purée for 10-20 seconds more.
  4. Scoop out the avocado mousse into your favorite glasses or bowls.
  5. The mousse will be slightly warm from the food processor so put the glasses or bowls into the refrigerator for 2 hours to chill before serving.
  6. Garnish with whipped cream and raspberries…Yum!
iphone pictures 718

iphone pictures 732

iphone pictures 721


iphone pictures 722iphone pictures 724iphone pictures 738


iphone pictures 739

iphone pictures 740


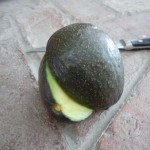
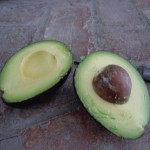
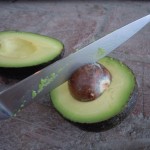
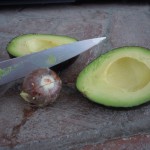
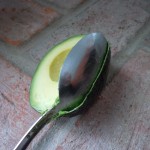
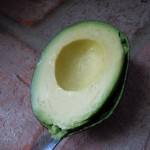
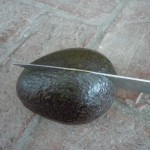
TIP:  There is an easy way to get the pit out of a avocado which I have displayed in the pictures above.  After running the knife around the flesh of the avocado against the edges of the inside pit… put the knife down and twist the avocado halves and pull apart. Then stick the knife into the pit and do the same thing holding on to the knife with one hand and carefully twist the avocado pit and it will pop right out.  Then knock the pit off onto the board away from your hands.  This can be a little tricky the first time so I would advise that this would be for an adult to try.   Finally, Insert a large spoon and scoop the avocado along the edge of the avocado skin to remove avocado flesh.
iphone pictures 761


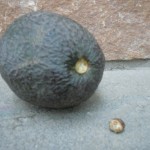
TIP:  VERY IMPORTANT….it is wise to remove this end stem off the avocado because it would taste extremely bitter if it were to accidentally get into the mousse.
Best Mango-Avocado Salsa Ever

Best Mango-Avocado Salsa Ever

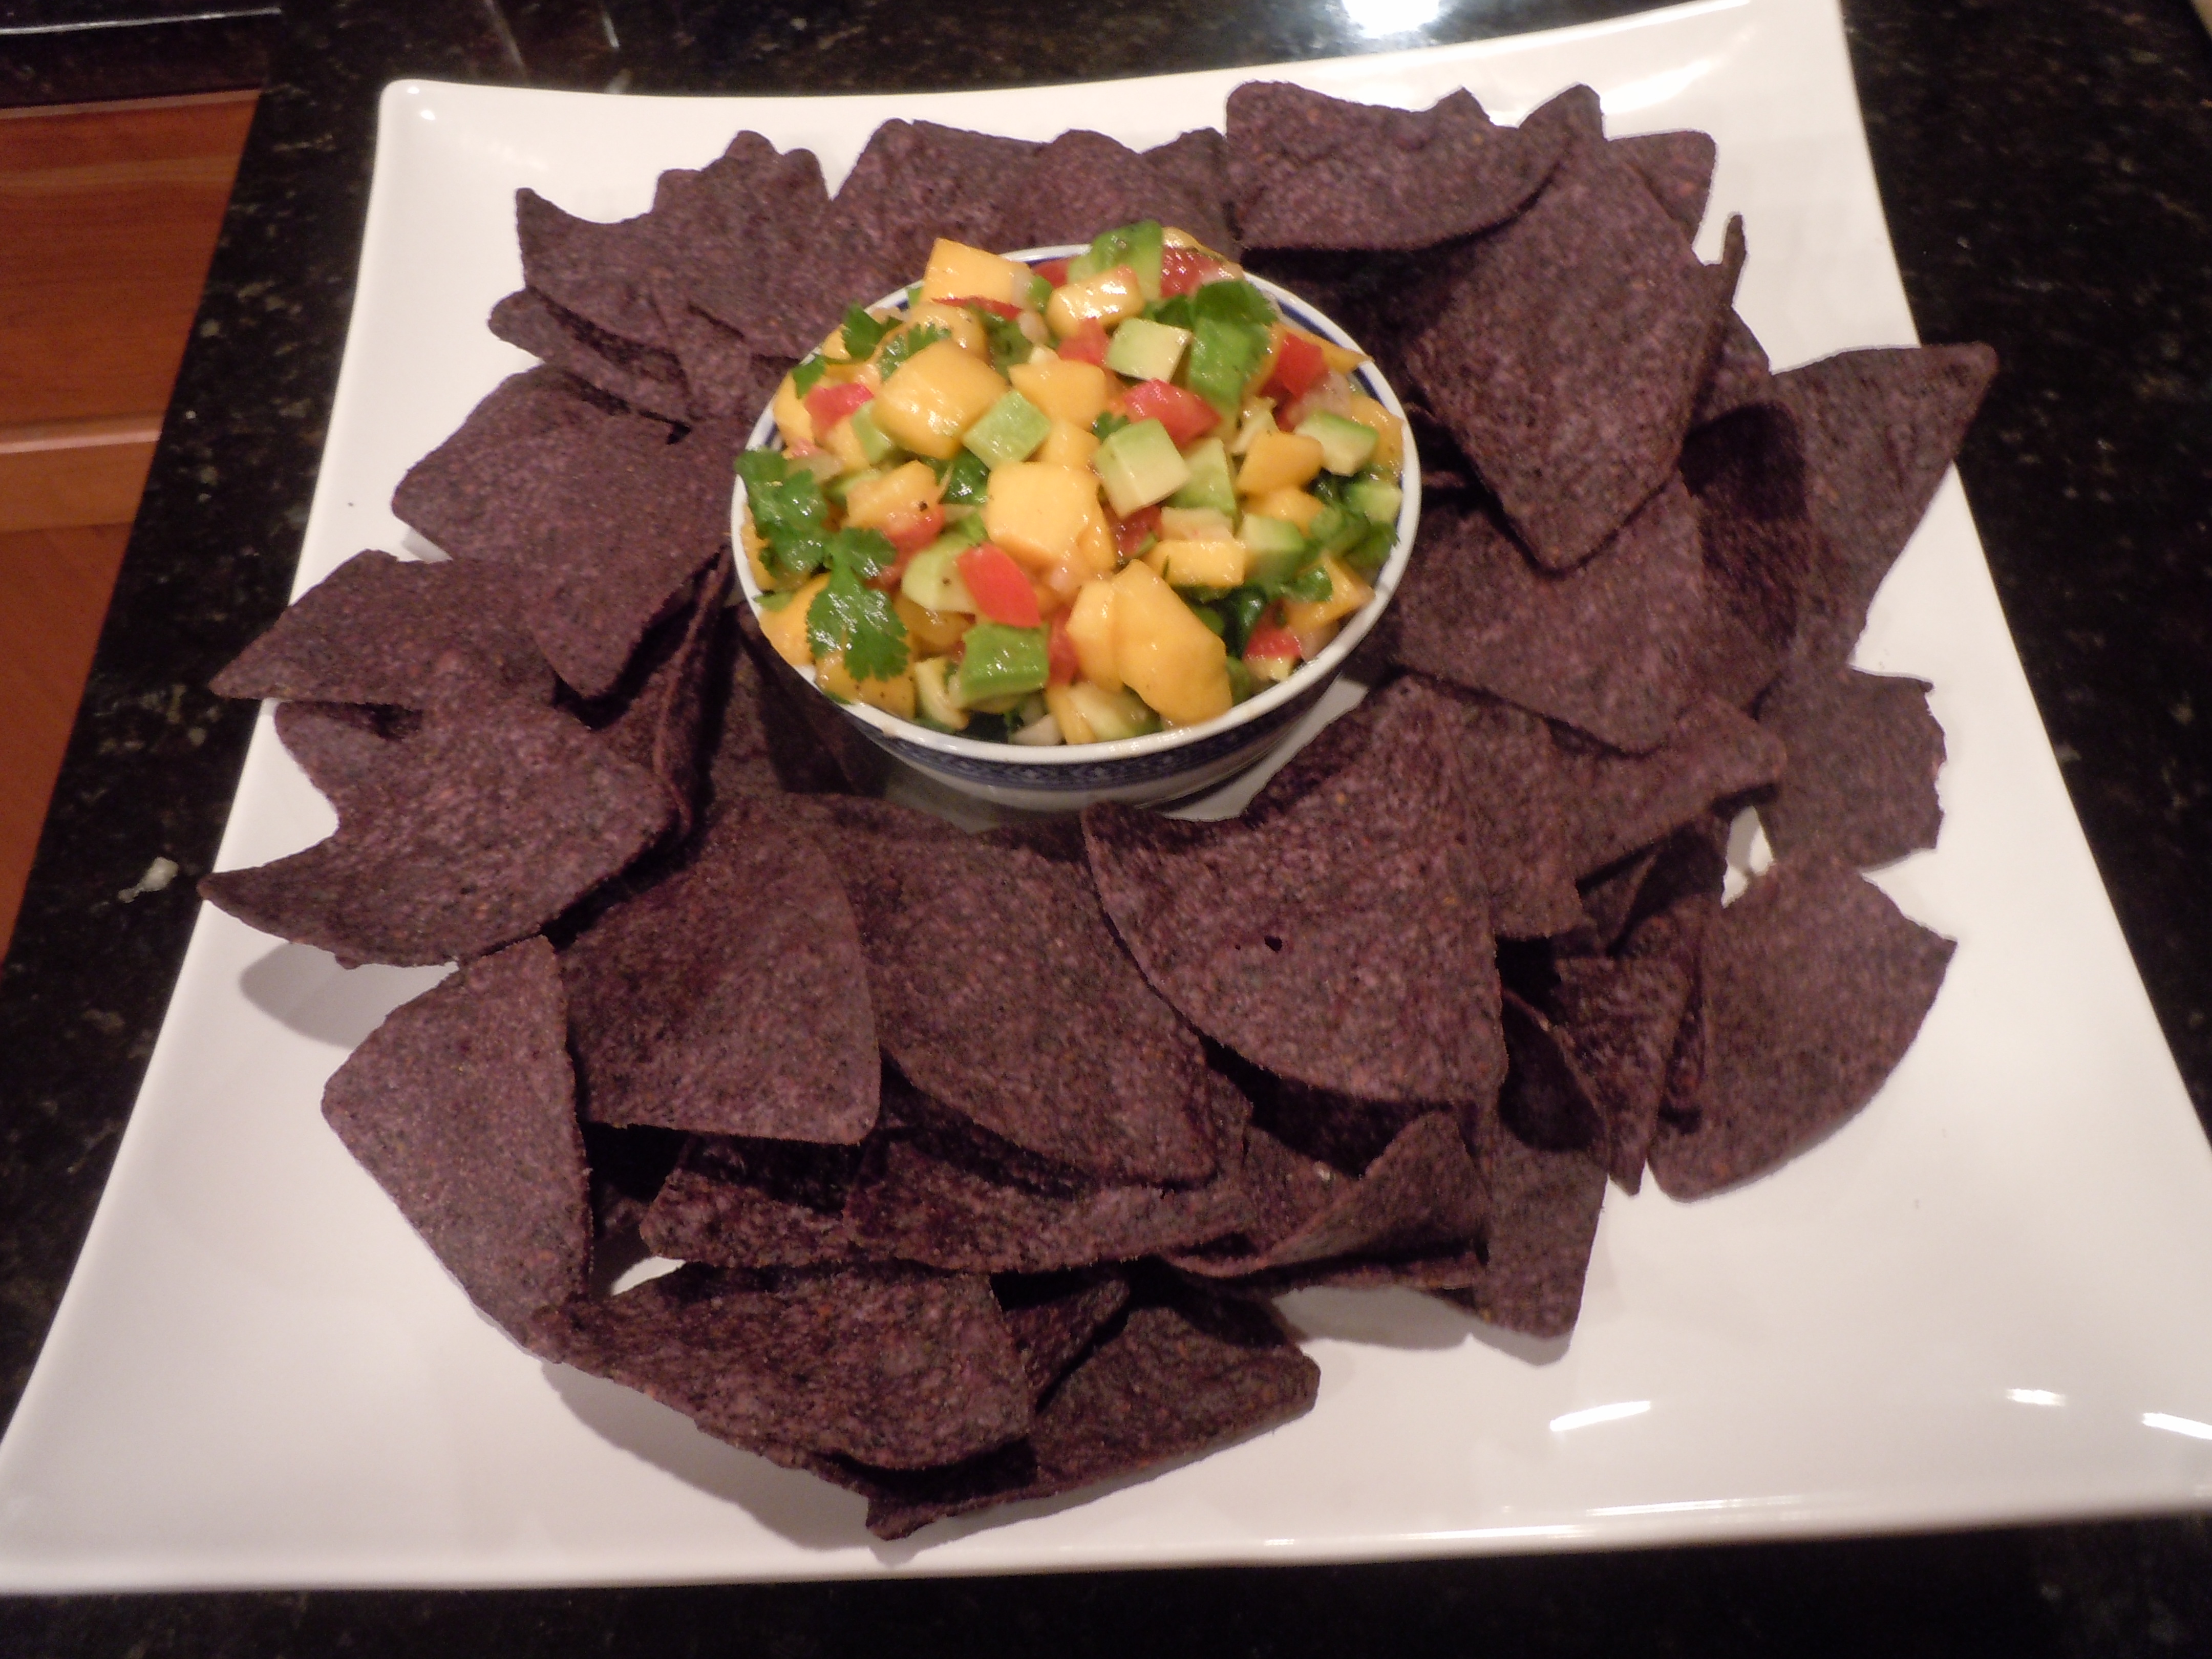
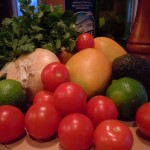
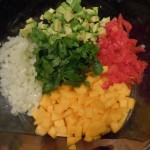
This truly is the most amazing salsa ever!  In fact I found salsa difficult to photograph so I took many pictures of the finished salsa worried that you won’t be able to tell how delicious it is just by looking at the pictures.  Gotta love those sweet and hot flavors together and just knowing that it is all so good for you makes it even better, if that’s possible.   I make this for friends when they come over it’s the first thing gone.   There really is nothing like refreshing mango-avocado salsa in the hot summer months but why should we have to wait until then when we can enjoy ripe mangoes in the winter too!  When I go to the market to buy mangoes this time of year they are usually not quite ripe enough to eat right away.  It’s one of those things where you need to plan a few days ahead so you have time to leave them on your counter to fully ripen.   It’s definitely worth the 2-3 day wait for the mango to soften slightly and the juicy flesh to turn a deep golden color and taste as sweet as honey.  Be sure not to let them get too soft….better to be slightly soft then mushy because that lovely golden flesh starts to turn brown.
iphone pictures 381iphone pictures 386


Ingredients:

  • 2 lg mangoes chopped 1/4″ cubed
  • 1 avocado chopped 1/4″ cubed
  • 2 med/lg size tomato’s or 5 small tomato’s chopped 1/4″ cubed
  • 1/2 vidalia onion (or yellow) FINELY chopped
  • 1 FINELY chopped jalapeno
  • juice from 1 lime
  • 2 Tbsp olive oil
  • 1 Tbsp rice wine vinegar
  • 1/2 cup coarsely chopped cilantro
  • a dash of Siracha (optional)
  • S & P

Directions:

  1. Add all of the ingredients to a large bowl and mix thoroughly.
  2. We really love to eats this salsa with blue chips.
  3. I have also served this salsa up on the tips of endive leaves, and or with a cooked shrimp on top of that ….yum!
  4. I must warn you this salsa is highly addictive……consume at your own risk! LOL

iphone pictures 718iphone pictures 732iphone pictures 721


iphone pictures 722iphone pictures 724iphone pictures 738


iphone pictures 739

iphone pictures 740

TIP:  There is an easy way to get the pit out of a avocado which I have displayed in the pictures above.  After running the knife around the flesh of the avocado against the edges of the inside pit… put the knife down and twist the avocado halves and pull apart. Then stick the knife into the pit and do the same thing holding on to the knife with one hand and carefully twist the avocado pit and it will pop right out.  Then knock the pit off onto the board away from your hands.  This can be a little tricky the first time so I would advise that this would be for an adult to try.   Finally, Insert a large spoon and scoop the avocado along the edge of the avocado skin to remove avocado flesh.

Frozen Berry Smoothies

Frozen Berry Smoothies

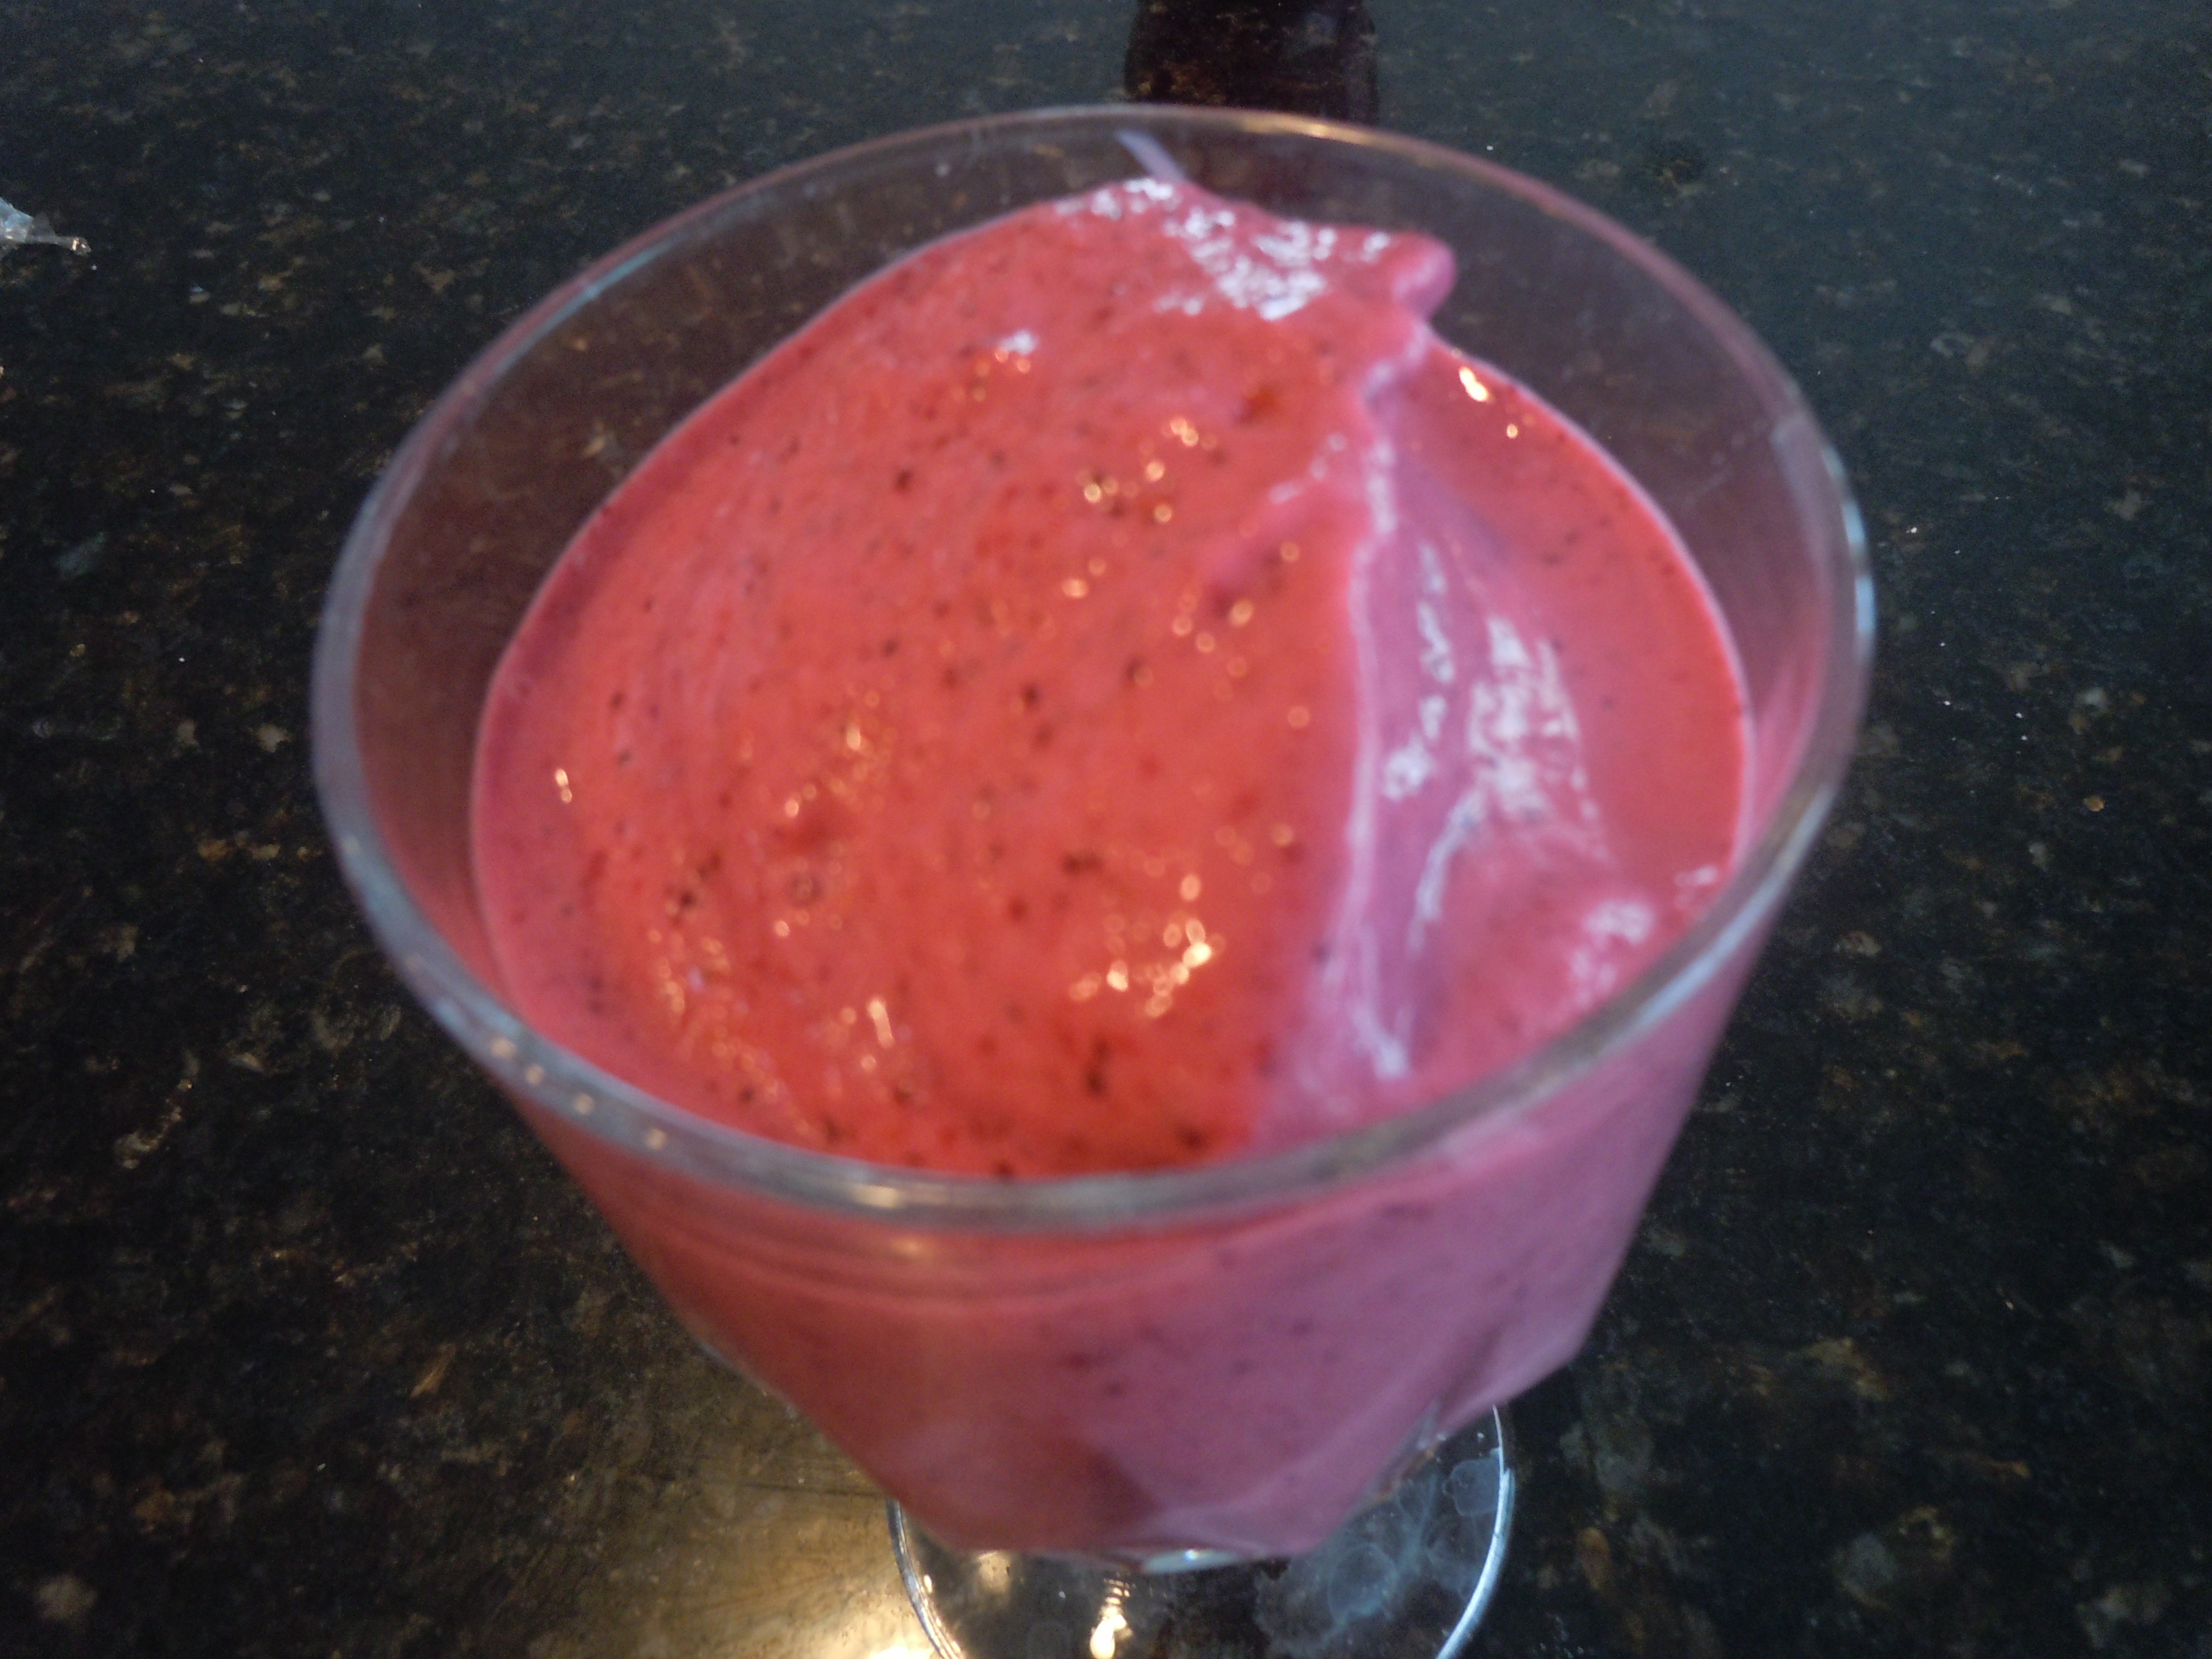
Making homemade fruit smoothies takes less than 5 minutes!   They are healthy, satisfying, and scrumptious. What’s great about this smoothie is you use the frozen bags of fruit from the freezer section at your market.  The frozen fruit and the Greek yogurt make up the thickness in the smoothie.  You don’t have to worry about what season it is…..you can make them through out the winter.  AND my very picky kids love them…what’s better than that!  They say the smoothies remind them of my Fresh Berry Granita…..yeah!

iphone pictures 375 iphone pictures 376


Ingredients:

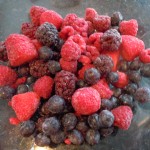
  • 2 cups frozen berries (I use medley-if seeds bother you buy 1 bag of stawberries and 1 bag of blueberries
  • 1 cup vanilla Greek yogurt
  • 1 cup Ocean Spray “Cran/Pomegranate” juice or unsweetened apple juice
  • juice from 1/2 lime

Directions:

  1. Place all of the ingredients into the blender and purée!
  2. You will need to stop the blender and stir once to move frozen berries around, then finish with the puree.
  3. If you want it a little thinner just add a little water or juice.
  4. Pour the mixture into a glass and serve with a spoon.

iphone pictures 377

iphone pictures 378iphone pictures 379