For your convenience you can now SHOP on this page for your cooking accessories and ingredients below the written recipe. I am a Amazon associate affiliate so all you have to do is click on each of the product photos and it will take you to purchase that product.
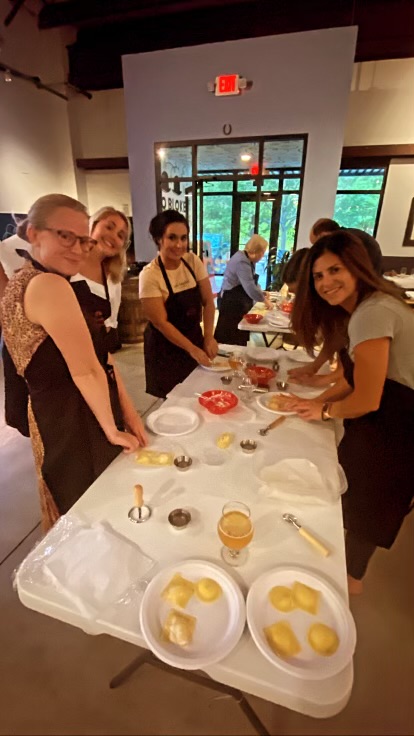
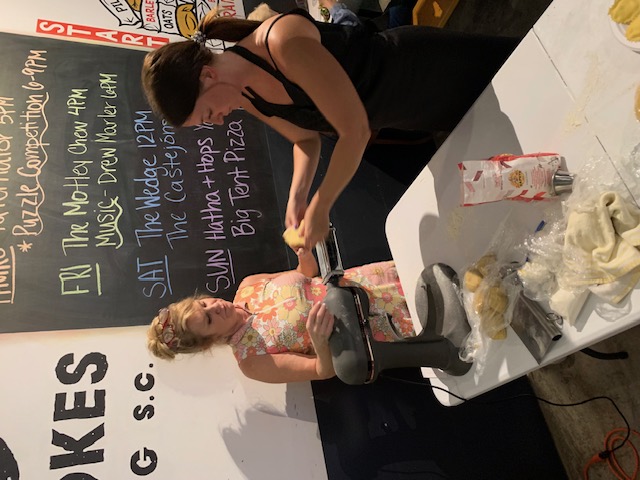
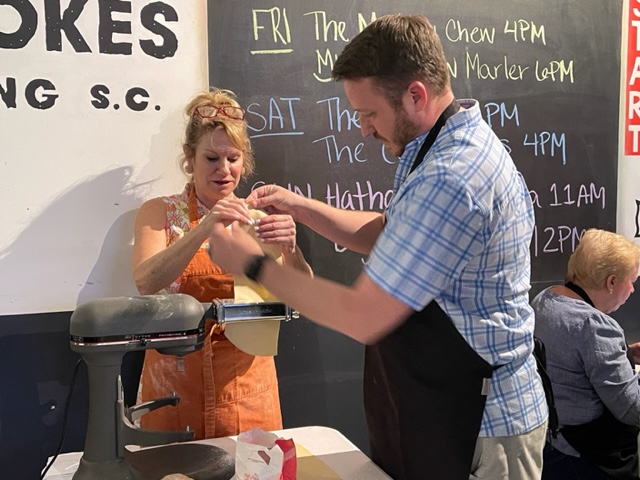
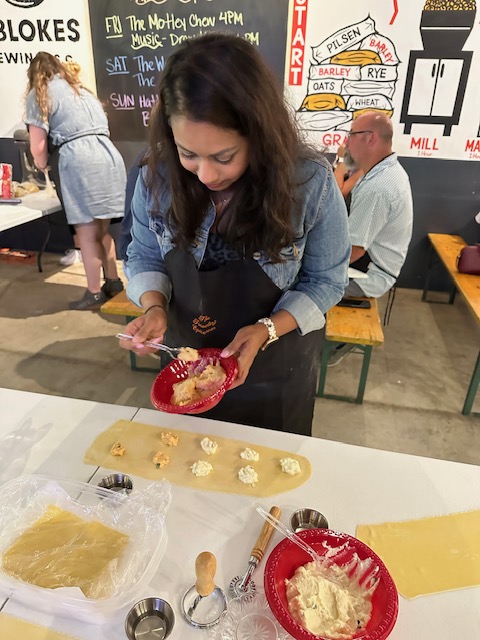
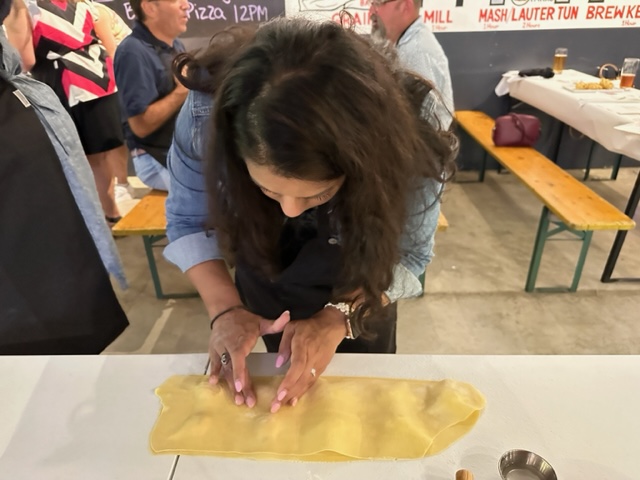
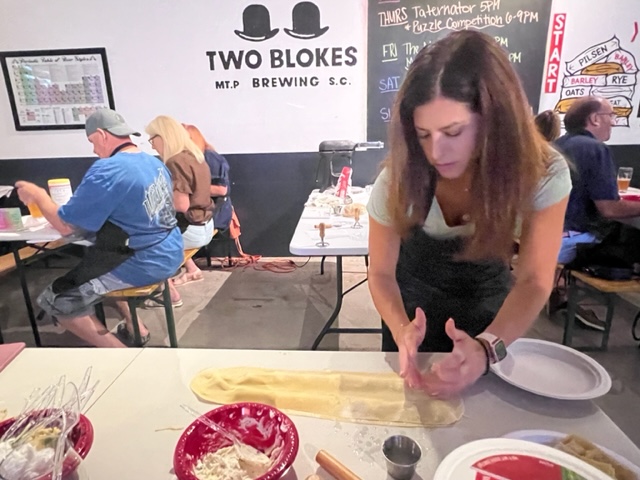
Here we are at Two Blokes Brewing in Mount Pleasant, SC learning to make homemade ravioli! There’s nothing more rewarding then making pasta from scratch, cooking it up fresh and then topping the raviolis with your favorite sauce. This was a very fun group that caught on quickly and truly appreciated learning the art of pasta making. Check out some of the Ravioli Workshop photos. The Ravioli recipe follows below.
CT Style Making Braciole with Ryan Kristafer & Teresa Dufour!
Spring is in the air and family gatherings for graduations are right around the corner so I wanted to share my recipe for Italian Braciole on CT Style this week. It’s a great make ahead recipe allowing you more time with your guests and less time in the kitchen. As always, it was an amazing time with Ryan and Teresa. Not only are they true professionals making all their hard work appear easy but they are wonderful people too. I am fortunate to be able to continually work with such a great duo!
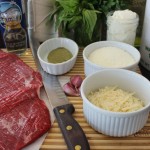
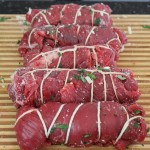
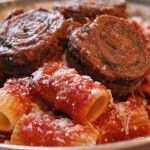
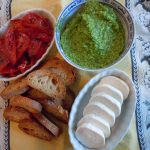
My Italian Braciole is made with thinly sliced flank steak stuffed with fresh and dried herbs, Reggiano Parmesan & Asiago cheeses, rolled up and sautéed, then simmered in tomato sauce for 2 hours. There are many different versions of braciole depending on your Italian family traditions. Some families put raisins in their braciole, others put sliced hard boiled eggs. That’s what makes this dish so fun, you can be creative and add what ever your heart desires. I do love the German version as well where the beef rouladens are stuffed with mustard, onion, pickles and bacon! Who wouldn’t love that?
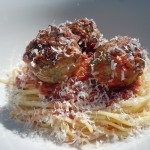
Italian Braciole is traditionally made with flank steak but you can also use top round or bottom sliced thinly and pounded out a little. Simmering these beef bundles in Tomato-Basil Sauce for a couple of hours makes for a very tender and flavorful braciole. I like to serve them with rigatoni pasta and a dollop of ricotta. I’m certain that Italian Braciole will become one of your favorite dishes too!
Thank you toA’s Unique Boutique for their endless selection of gorgeous dresses to wear on CT Style! If you haven’t been to the boutique yet I don’t know what you’re waiting for. They have an enormous selection of stunning designer dresses and help you through through the whole process.
1 cup red wine or white (I actually prefer to deglaze here with red)
1 lb rigatoni
Directions:
Start sautéing the veggies for thetomato-basil sauce and use the same pan for sautéing the braciole bundles
Slice your 2lb. steak in half
Then have your butcher slice each side into 3 horizontal layers
Now have 6 semi-equal pieces
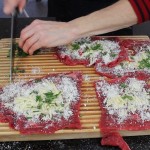
Sprinkle 1/2 tsp dried-ground Italian seasoning on each piece of flank
Sprinkle 1 tbsp each of Reggiano and Asiago on each piece
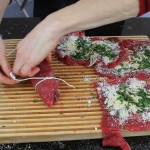
Lay whole basil leaves or chop basil and parsley and sprinkle onto flank slices
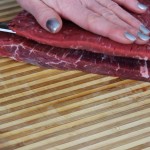
Roll up starting at the small end so that you are rolling up with the grain of the meat
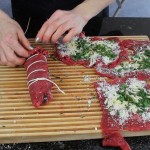
Cut approx 30″ of cotton string and tie a knot at one of the ends
Then keep wrapping string all around the length of the rolled up flank til you are at the other end
Now come back tucking under each row of string going across like shown in the video til you get to the end and tie off a knot with the original piece of string you started with
Add 2 tbsp of olive oil a large pan and a few large cloves of garlic kept whole for extra flavor and sauté 3 rolled up pieces of braciole at a time
Brown on all sides on medium/high heat about 3-4 minutes each side (remove the garlic coves when golden and smear on a baguette and dip into the tomato-basil sauce when you start to simmer with braciole…YUM!)
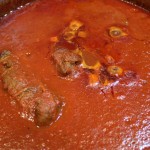
After browning the second batch of (3) braciole add back in the first 3 and de-glaze with red wine (I used white in the show but prefer to use red here)
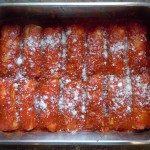
Add in puréed tomatoes and simmer for 1 1/2 – 2 hours
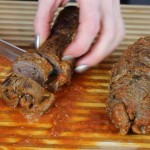
Take braciole rolls out, REMOVE the string with a kitchen scissors and slice 3/8″-1/2″ thick
Serve with pasta (rigatoni) and a dollop of ricotta on top with a few slices of braciole and grated Reggiano…mangia, mangia.
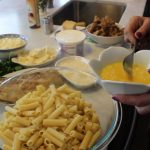
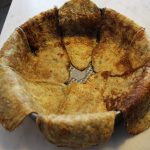
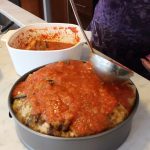
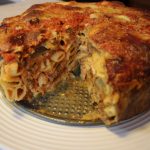
When Adele first told me about her lovely dish I was very excited to get this on camera for you. Actually seeing this eggplant timbale being unmolded when you release the sping form pan its baked in is a whole other story! It really is one of the prettiest dishes I have ever seen not to mention it’s absolutely delicious. The pasta filling is exactly like my“Lazy Mans Lasagna” and then you have the outer wrapping of the fried eggpant slices that bring the flavors to another dimension.
I love this dish beacuse it’s fairly easy to make if you can plan ahead. Now if you have not been frying eggplant your whole life as Adele and I have there certainly would be no shame whatsoever in going to your local Italian deli around the corner and buying already fried eggplant slices! While you are there you can pick up the meatballs too. Then all you will need to do is assemble this magnificent dish. Taking advantage of this convenience allows for last minute planning here which can be a godsend! Trust me you will have as much fun as Adele and I did putting it together. When you present this eggplant timbale at your next holiday dinner the ooh’s and aah’s alone will have you sold!
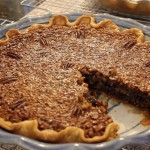
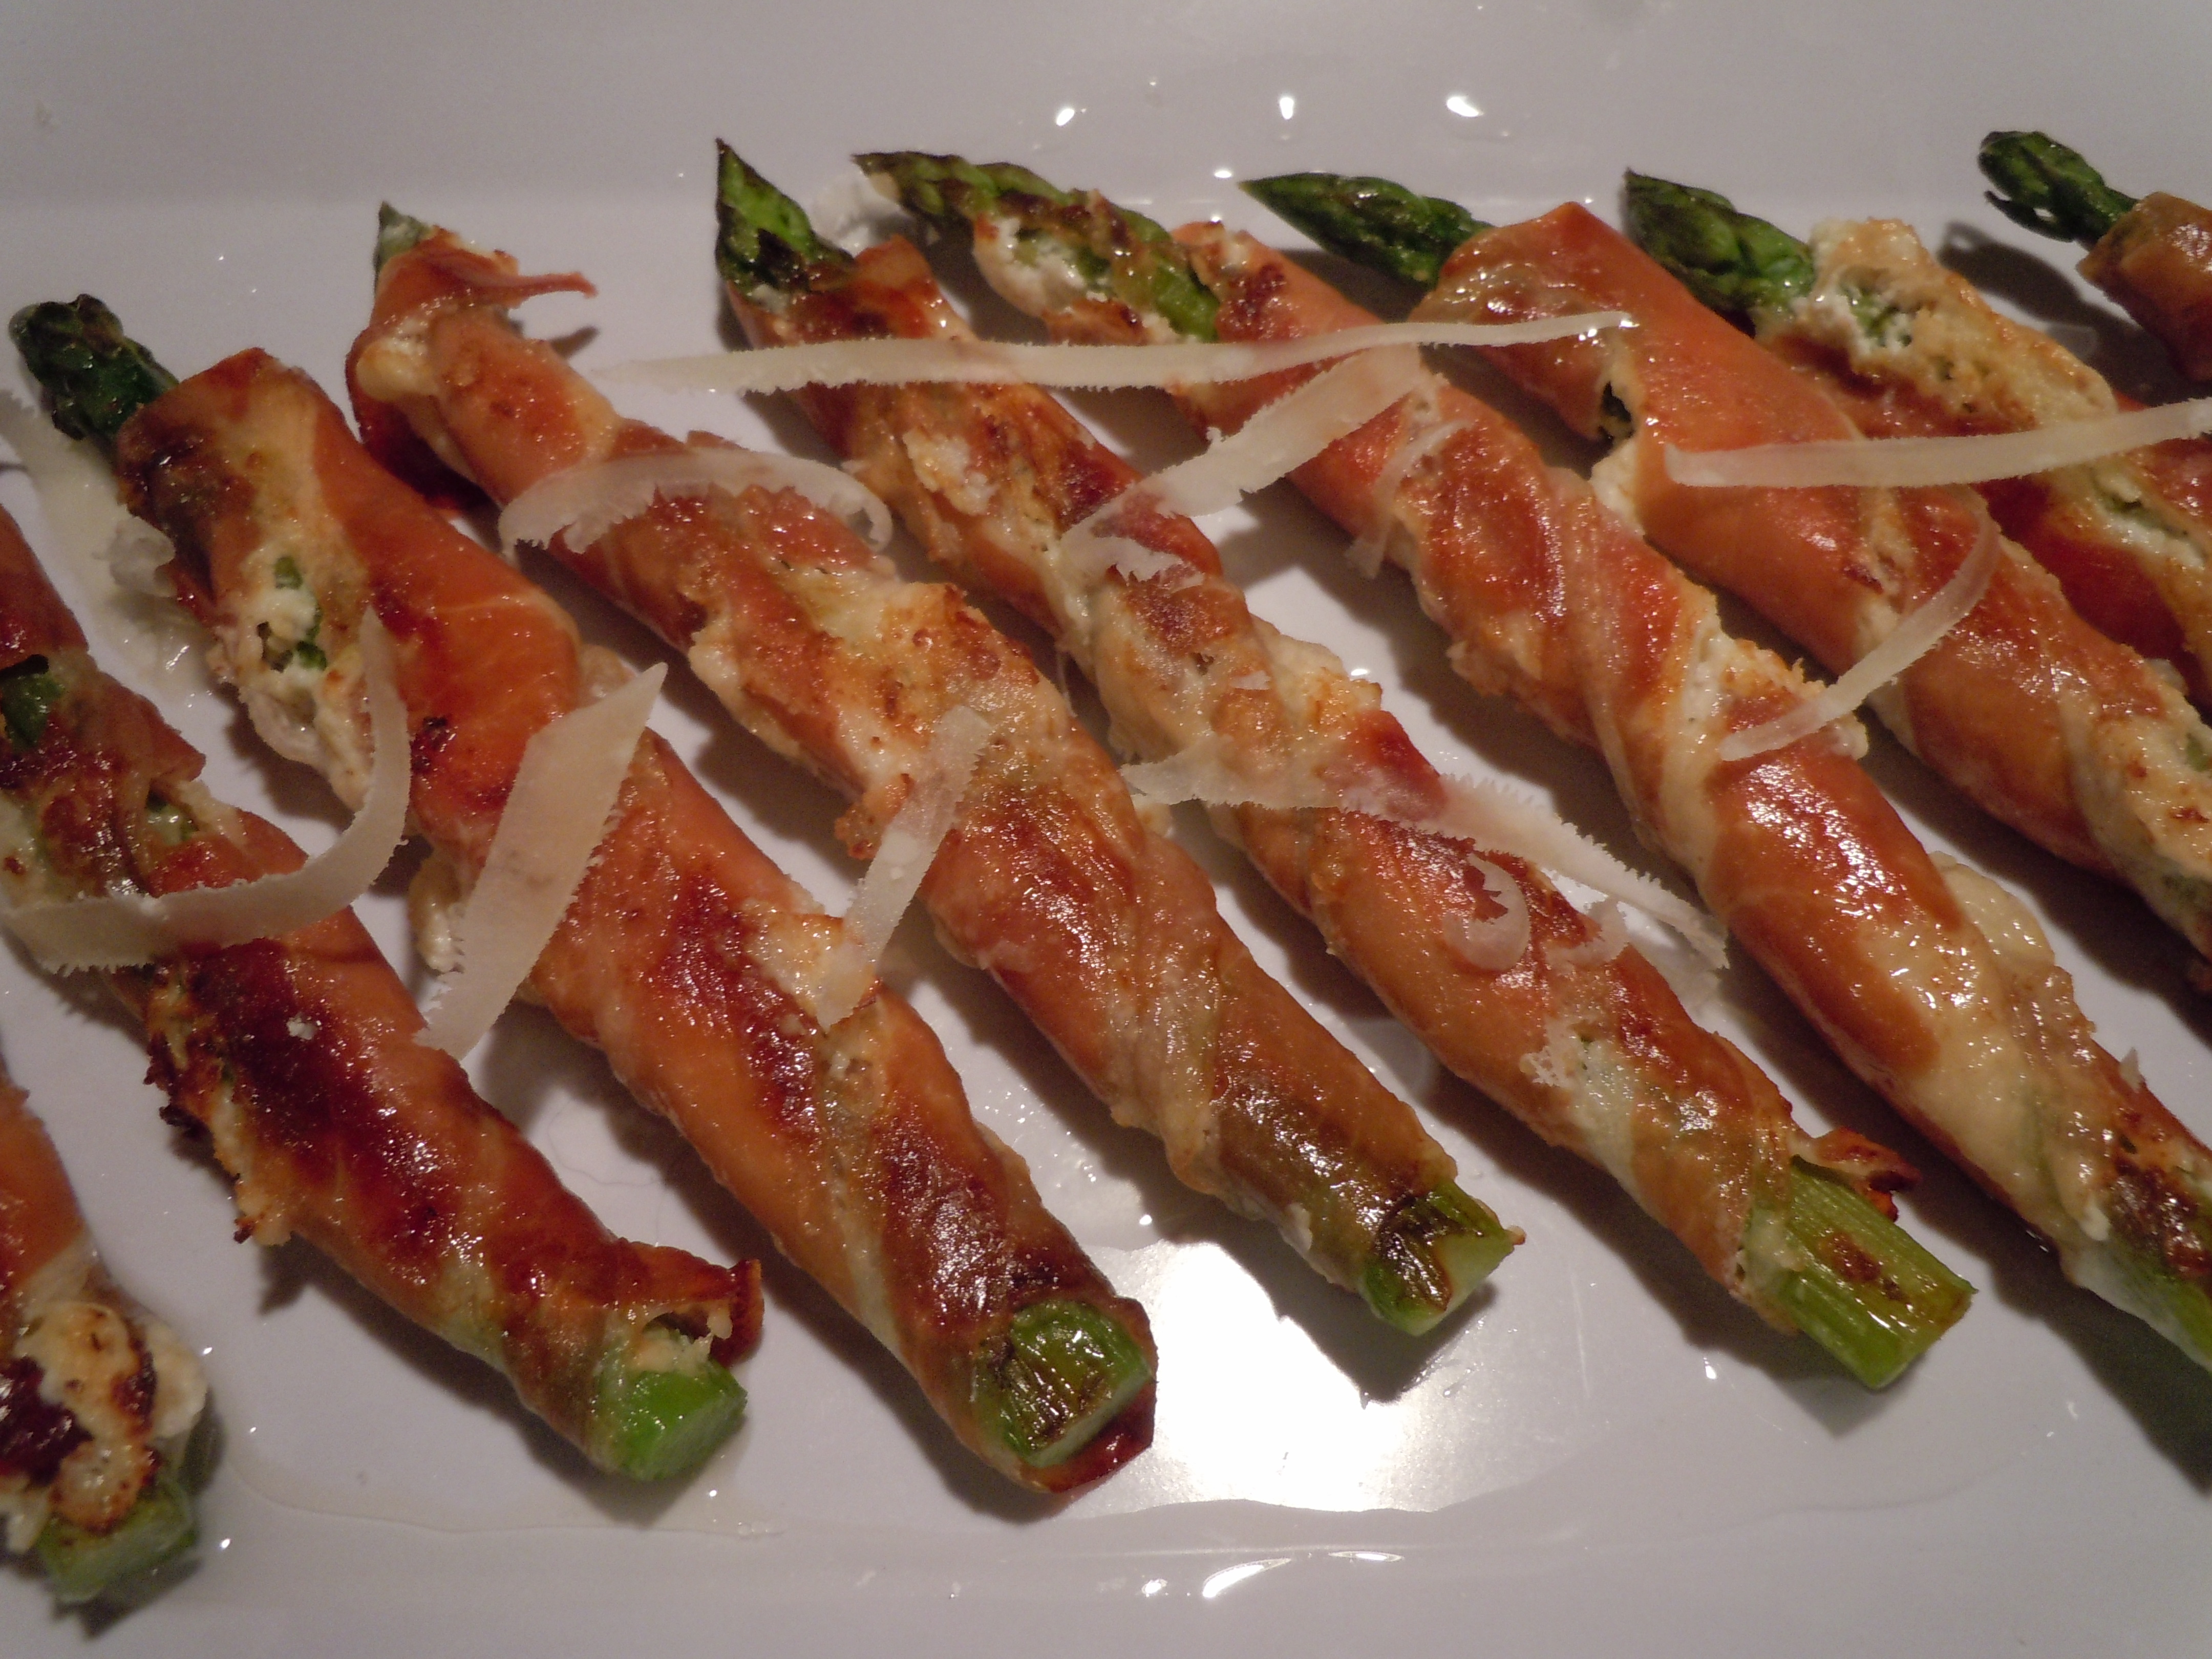
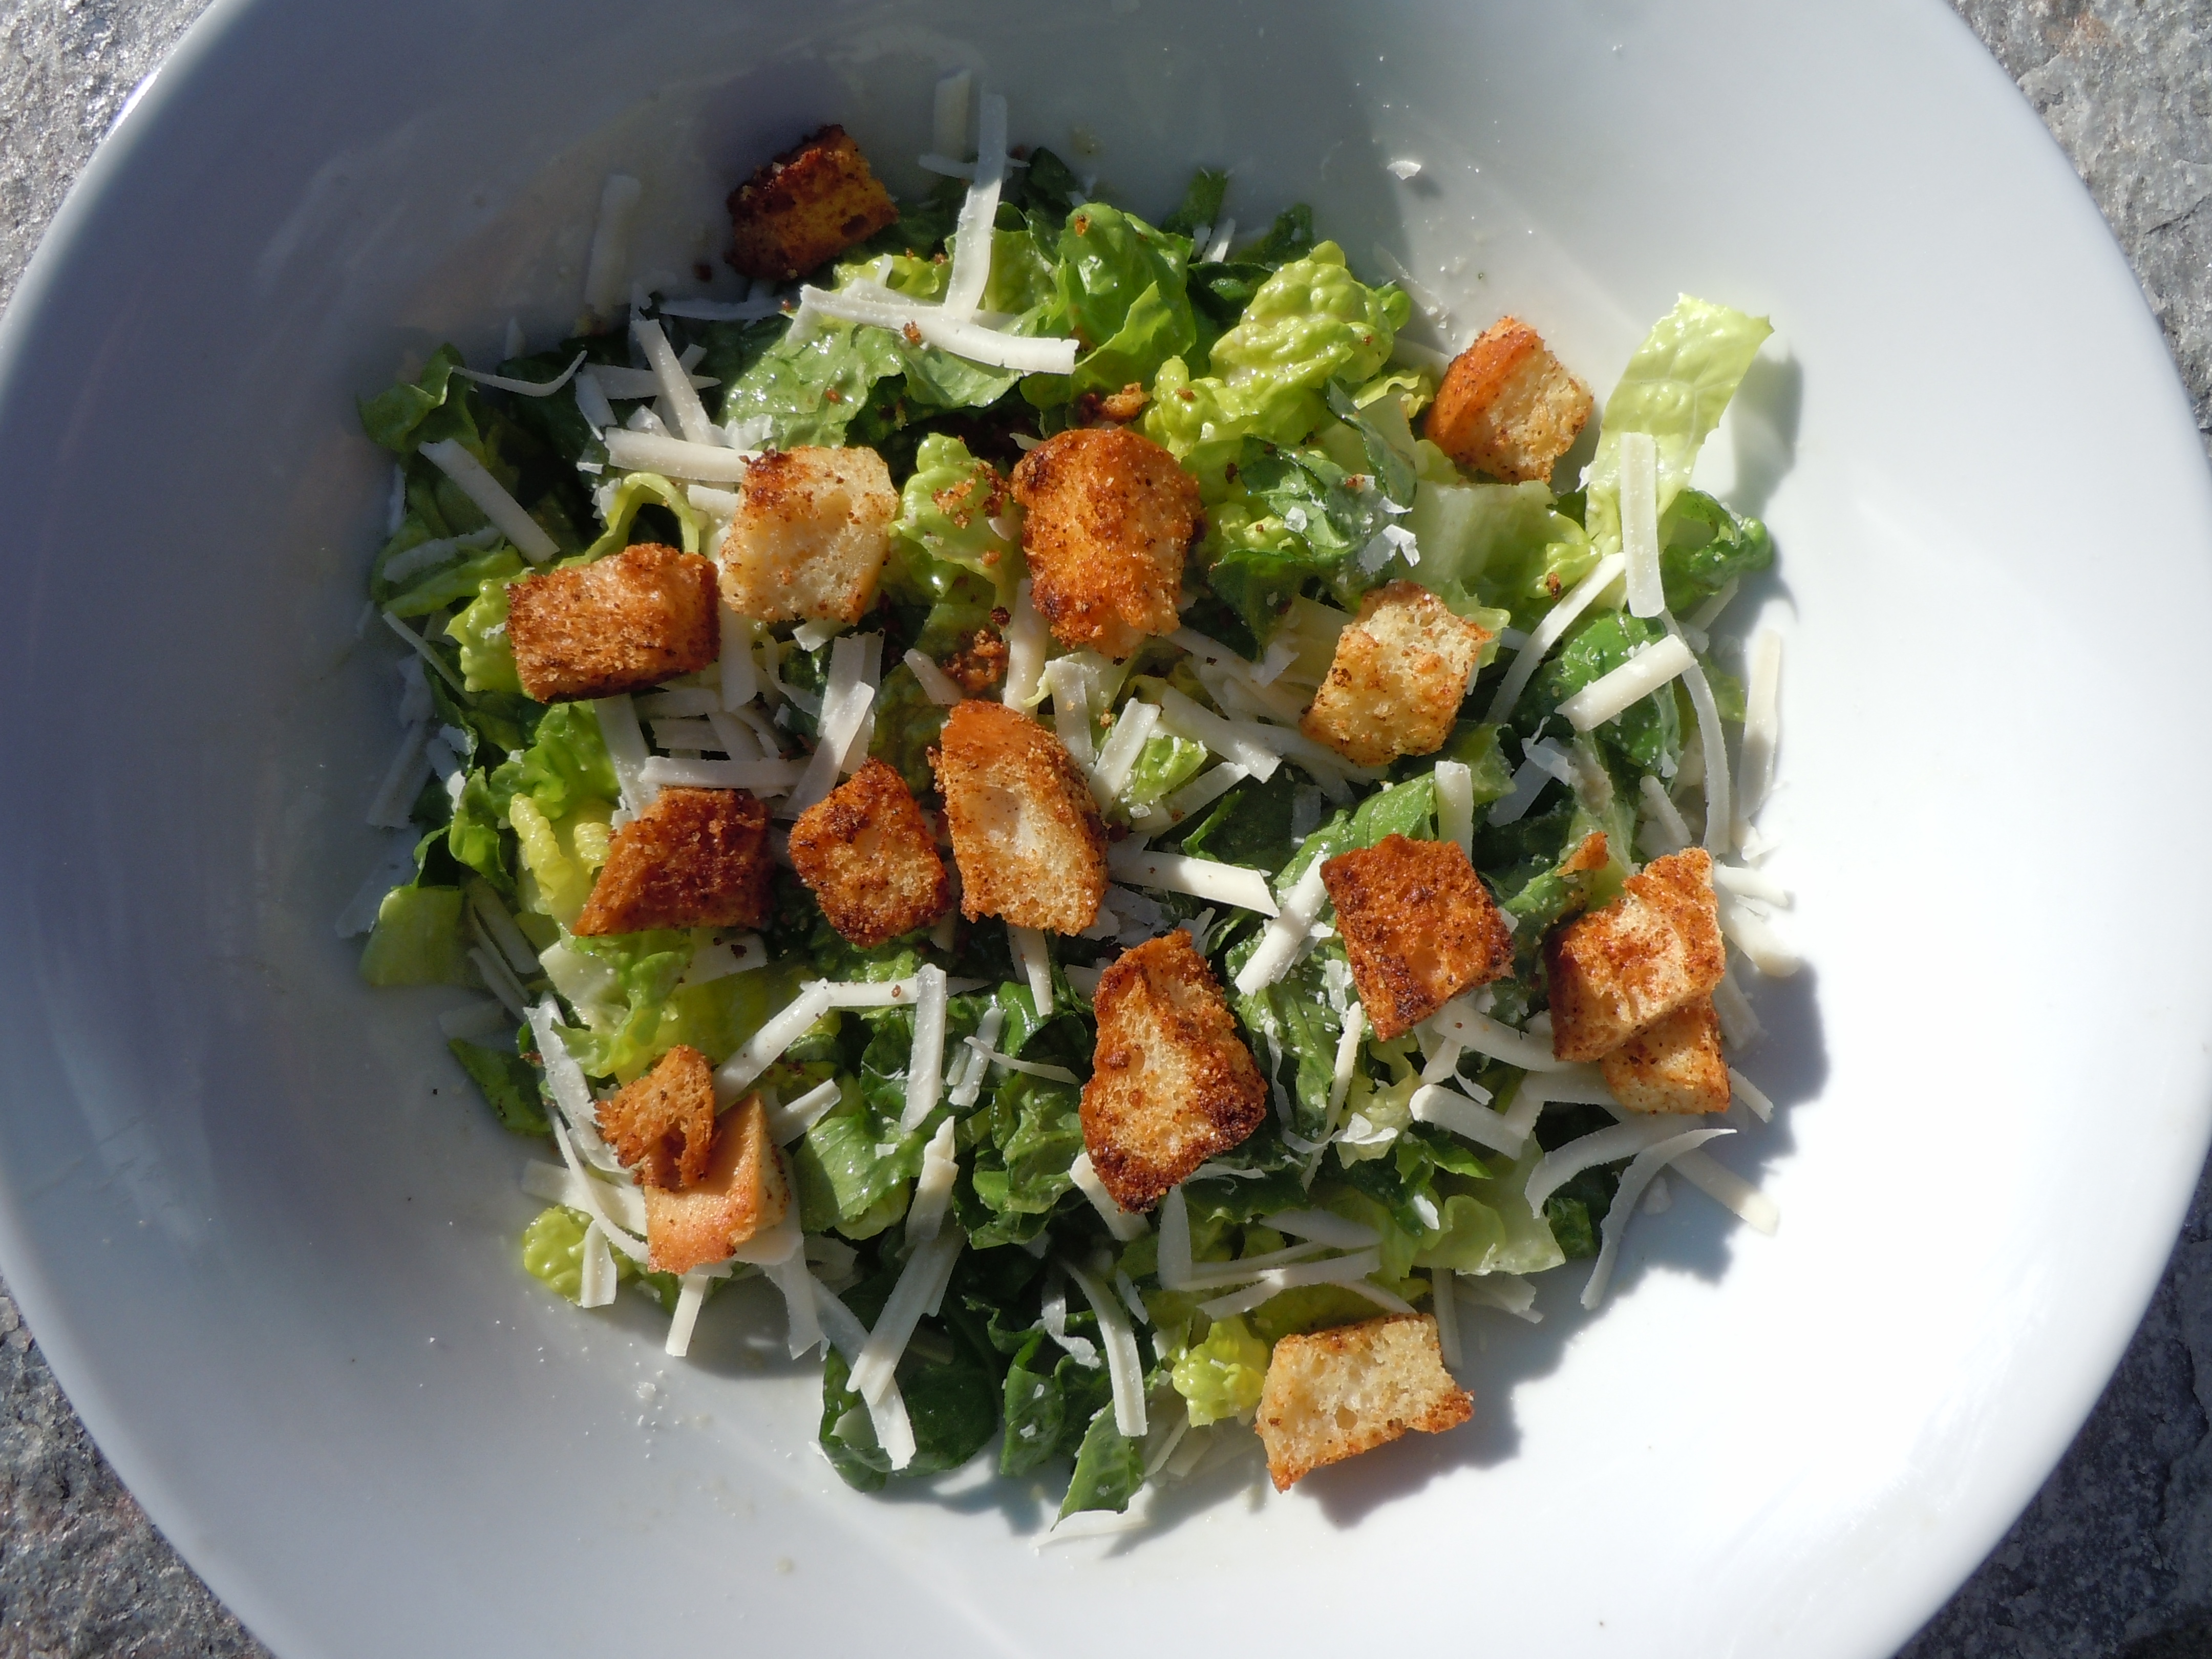
When you make this eggplant timbale for your next holiday dinner you’ll need some easy holiday appetizers like Baked Asparagus Wrapped in Prosciutto, Crostini w/Gorganzola, Tomato & Basil, and Goat Cheese, Fig Jam, Fresh Pear & Mint in Pre-Baked “Fillo” Cups! My Gourmet Caesar Salad is a must, and some Zucchini Torta would be a nice surprise for your guests also! This Chocolate Pecan Pie is to die for and don’t forget my chewy chocolate chip cookies for the kids.
NOTE: If you are making your own eggplant you can switch out the bread crumbs to flour-either way will be delish….she dips her eggplant slices in flour first, then egg and then she fries the eggplant same as in my eggplant parm recipe except she doesn’t use bread crumbs
2 cups shredded part skim or whole milk mozzarella, plus 2/3 – 1 cup for topping (use the packaged mozz. here not fresh)
2 cup whole milk ricotta cheese
2/3 cup grated Reggiano Parmesan
3 extra lg eggs whisked
8 cups tomato-basil pasta sauce(4 cups to mix in with pasta, 2 cups to top timbale and 2 cups to serve on the side for extra)
(1)- 9″ spring form pan
DIRECTIONS:
Pre-heat oven to 450º
Cook 1 lb. rigatoni pasta until ADENTE, a little firm because you will continue to cook the pasta when you bake it in the oven
Drain the aldente pasta BUT do not rinse!
Add cooked pasta to a large bowl
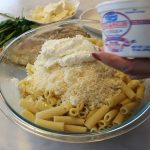
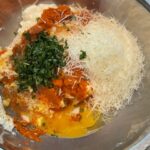
Add in whisked eggs, ricotta, mozzarella, Parmesan and mix to combine
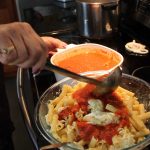
Now pour sauce in and mix gently to combine again
Add in broken up meatballs and gently mix
Spray spring form pan with Pam
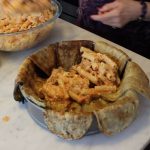
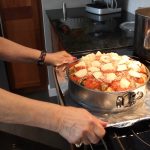
Lay prepared eggplant slices all around pan meeting in the center like a flower with edges folding back out of pan
Add pasta mixture into the center of the eggplant drapped spring form pan
Fold over the eggplant slices covering the pasta filling
Add the last 9th piece of eggplant to cover the opening in the middle where the eggplant doesn’t reach
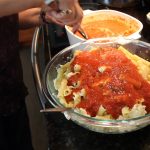
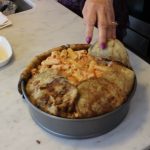
Pour 2 cups sauce over the top of the eggplant timbale, sprinkle with parm & then 2/3 – 1 cup sliced mozzarella
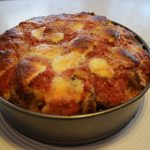
Put timbale into pre-heated 450º oven and bake 5 minutes
Turn oven down to 400º and bake 20 minutes more until bubbly
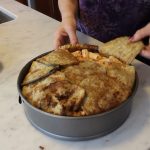
Take out and let sit 15 minutes…very important to do this
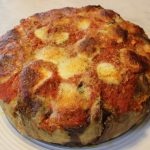
After 15 minutes release spring-form pan from eggplant
Carefully slice timbale and serve with a sprinkle of Parmesan and a side gravy boat for extra sauce
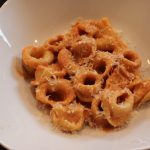
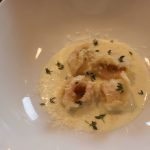
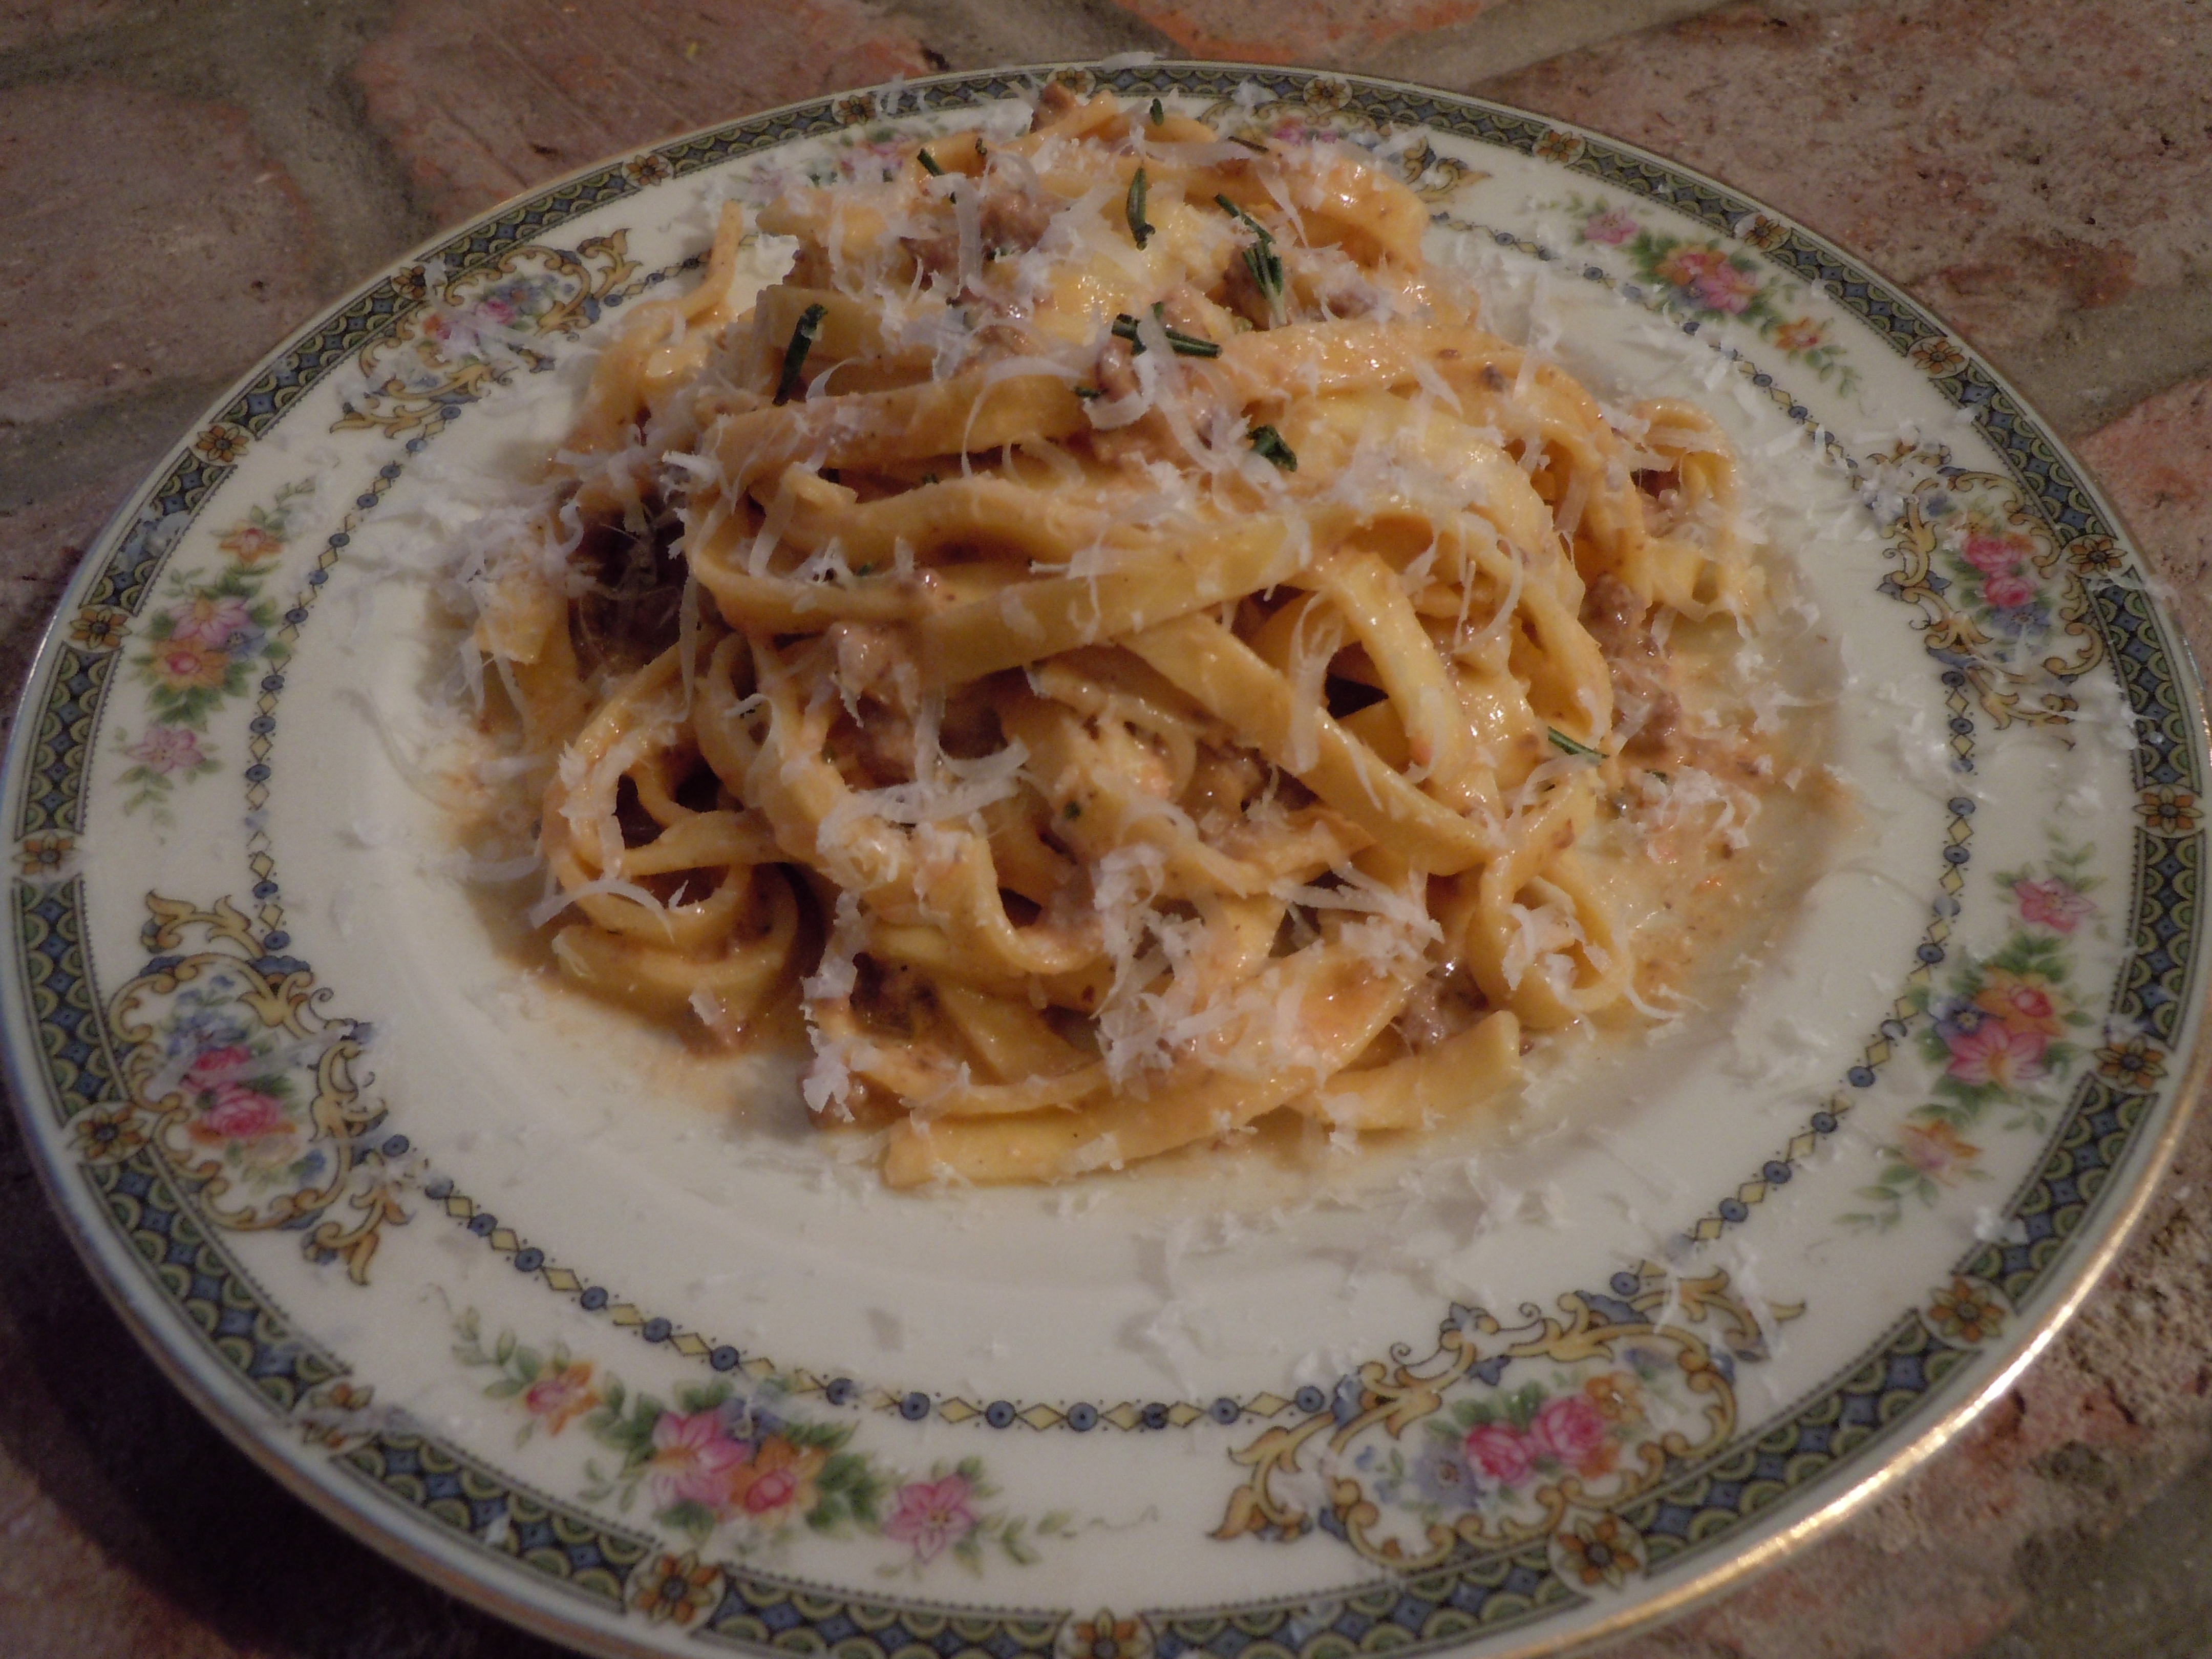
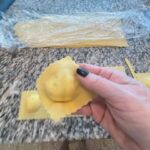
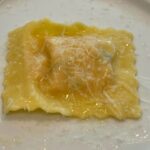
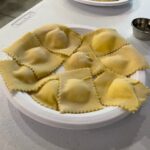
You know this labor of love is so worth the effort when you taste how tender and flavorful these homemade tortellini are! The delicate, circular shaped pasta are stuffed with a purée of sundried tomato, mozzarella, and Reggiano Parmesan and served in one of my all time favorites, a tomato-cream sauce. I introduced Steve to another easy and scrumptious sauce, Gorganzola Dolce-Cream Saucethat’s garnishedwith fresh thyme and a drizzle of truffle oil!
This past weekend I was at The Gulla’s house with Steve and his son Maximo making their homemade tortellini. Steve dedicates a few hours every Christmas Eve making these little gourmet bites for his family’s Christmas dinner. Making these tortellini is definitely a labor of love because you are creating each little amazing folded bundle of pasta by hand.
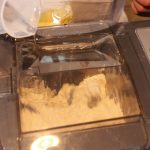
Having a Smart pasta machine like Steve’s really cuts down on the labor of making tortellini as the pasta comes out of the machine in long ready-made sheets in mere minutes. It’s a very cool process putting out smooth sheets of pasta in 3 minutes flat but you can also learn to make Steve’s tortellini using homemade pasta too if you don’t own an Smart pasta machine. I have a homemade pastarecipe below for all of us without a pasta machine who don’t want to miss out on learning how to make these incredible tortellini.
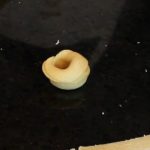
As Italian legend goes on how the shape of the tortellini came about dates back to the days when Venus, the Goddess of Love, was traveling to a small town in Italy between Modena and Bologna. She was staying at a tavern where the Innkeeper was so taken by her beauty he peeked thru the key to her room one night and got a glimse of her navel. He rushed to the kitchen and created a pasta in the likeness of her belly button. And that’s how the shape of the tortellini came about, the belly button pasta! Who Knew?
INGRDIENTS for making PASTA in The Smart Pasta Machine:
3 parts flour
1 part semolina
180 ml OR 3/4 cup of water for 2 lbs flour in pasta machine
1 egg and 1 tsp water whisked in a small bowl – set aside until ready to form tortellini
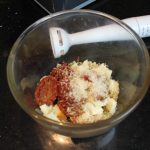
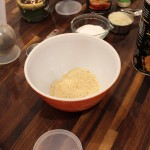
INGREDIENTS for Sun-dried Tomato FILLING: NOTE: THIS FILLING IS UNBELIEVEABLY DELICIOUS!…try it on crostini OR on crusty bread!
1/2 cup sun dried tomatoes
1/2 cup mozzarella – whole milk or part skim
1/4 cup grated Reggiano Parmesan
2-3 tbsp olive oil
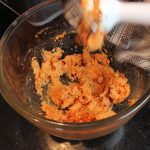
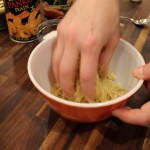
Purée these ingredients with an immersion blender or add to food processor and pulse. Start with 2 tbsp of olive oil and add a little extra if needed to purée til smooth texture
DIRECTIONS FOR FORMING THE TORTELLINI WITH SHEETS OF PASTA MADE FROM THE PASTA MACHINE:
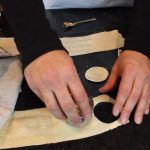
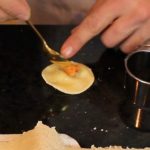
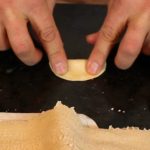
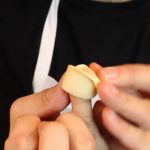
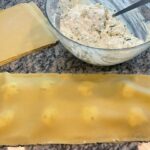
Begin to cut 2″ circles with your cookie cutter out of the machine made sheets of pasta
Brush top 1/2 of the circle edge with a whisked egg
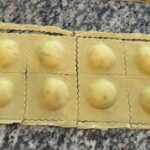
Place 1/4 tsp of sun dried tomato filling in the middle of the circle pasta
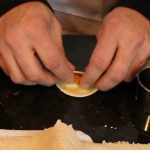
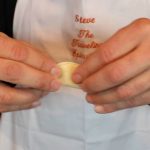
Fold the circle in 1/2
Press to SEAL the 1/2 circle of pasta…VERY IMPORTANT to SEAL this edge!
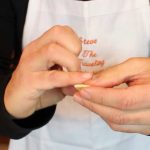
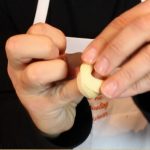
Take 1/2 circle and wrap around your pinky having each end meet
Press these two ends together to seal and form one continous circular shape
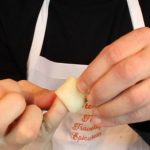
Fold down top of circular pasta to form tortellini
Place in a bowl as you finish each one until you gone thru all the pasta sheets
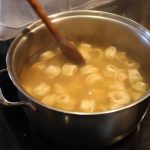
Bring large pan of salted water to a boil and add fresh pasta
Cook pasta for 8 minutes, test pieces of pasta for proper doneness
Serve with tomato-cream sauce or Gorganzola Dolce-cream sauce, garnish with thyme and truffle oil … mmm!
INGREDIENTS FOR TOMATO-CREAM SAUCE:
2 cloves finely chopped garlic
1/2 tsp salt
1/4 tsp dried oregano
3 1/4 cup POMI “strained tomaotes” – 1 med box – 26 oz.
2 cups heavy cream
2 tbsp olive oil
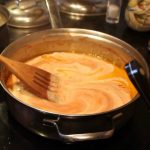
Sauté finely chopped garlic in 2 tbsp olive oil for 3 minutes, add in POMI strained tomatoes, salt & oregano and simmer for 15 minutes. Add in 2 cups of heavy cream to tomato sauce. Bring to a simmer for 15 miutes more. Serve with cooked tortellini, garnish with fresh thyme (and truffle oil.
INGREDIENTS FOR GORGANZOLA DOLCE-CREAM SAUCE:
2 cups heavy cream
1/4 cup Gorganzola Dolce cheese
1/4 cup dry vermouth
fresh thyme leaves
truffle oil
Add heavy cream, Gorganzola, and vermouth to a small sauce pan and bring to a simmer. When it comes to a simmer whisk the melted cheese into the cream and simmer 10 minutes. Serve with tortellini, garnish with a sprinkle of fresh thyme leaves and a drizzle of truffle oil.
INGREDIENTS for Easy Homemade-Handmade Pasta- (Recipe from “Pasta at Vin’s“)
2 1/2 cups all purpose flour
1/4 cup olive oil
4 1/2 – 5 lg eggs
1/4 tsp salt
DIRECTIONS:
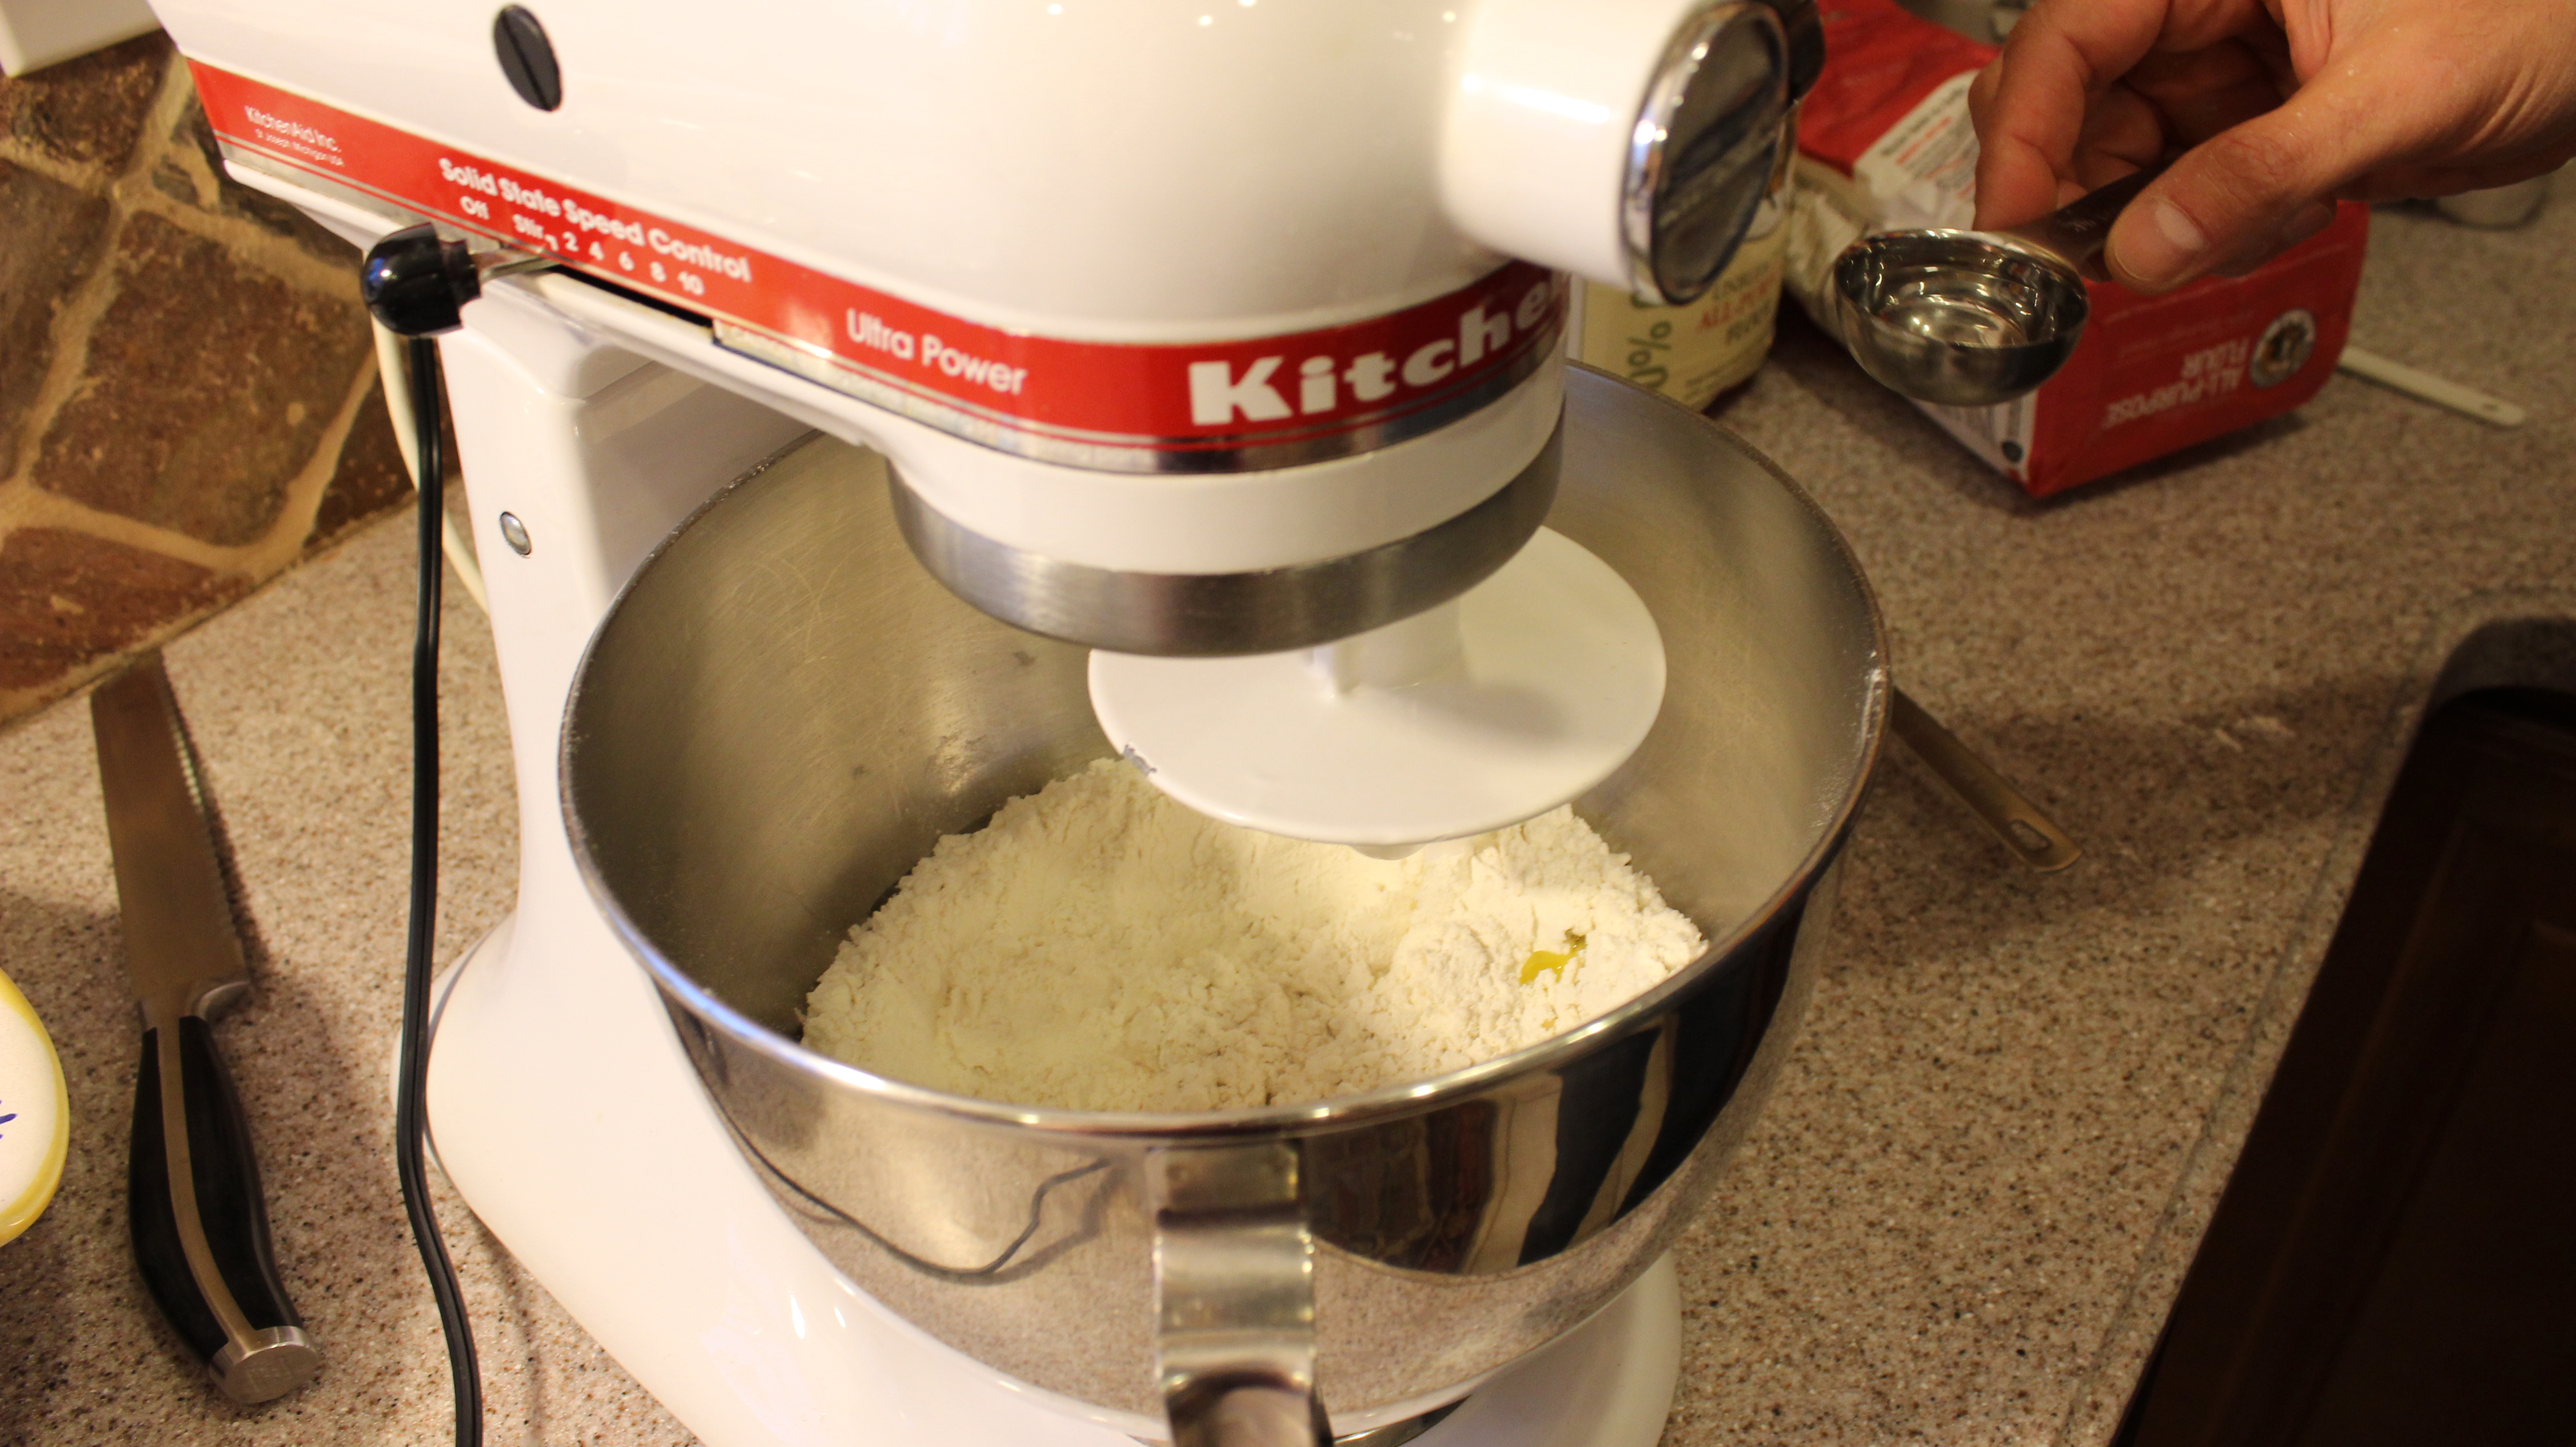
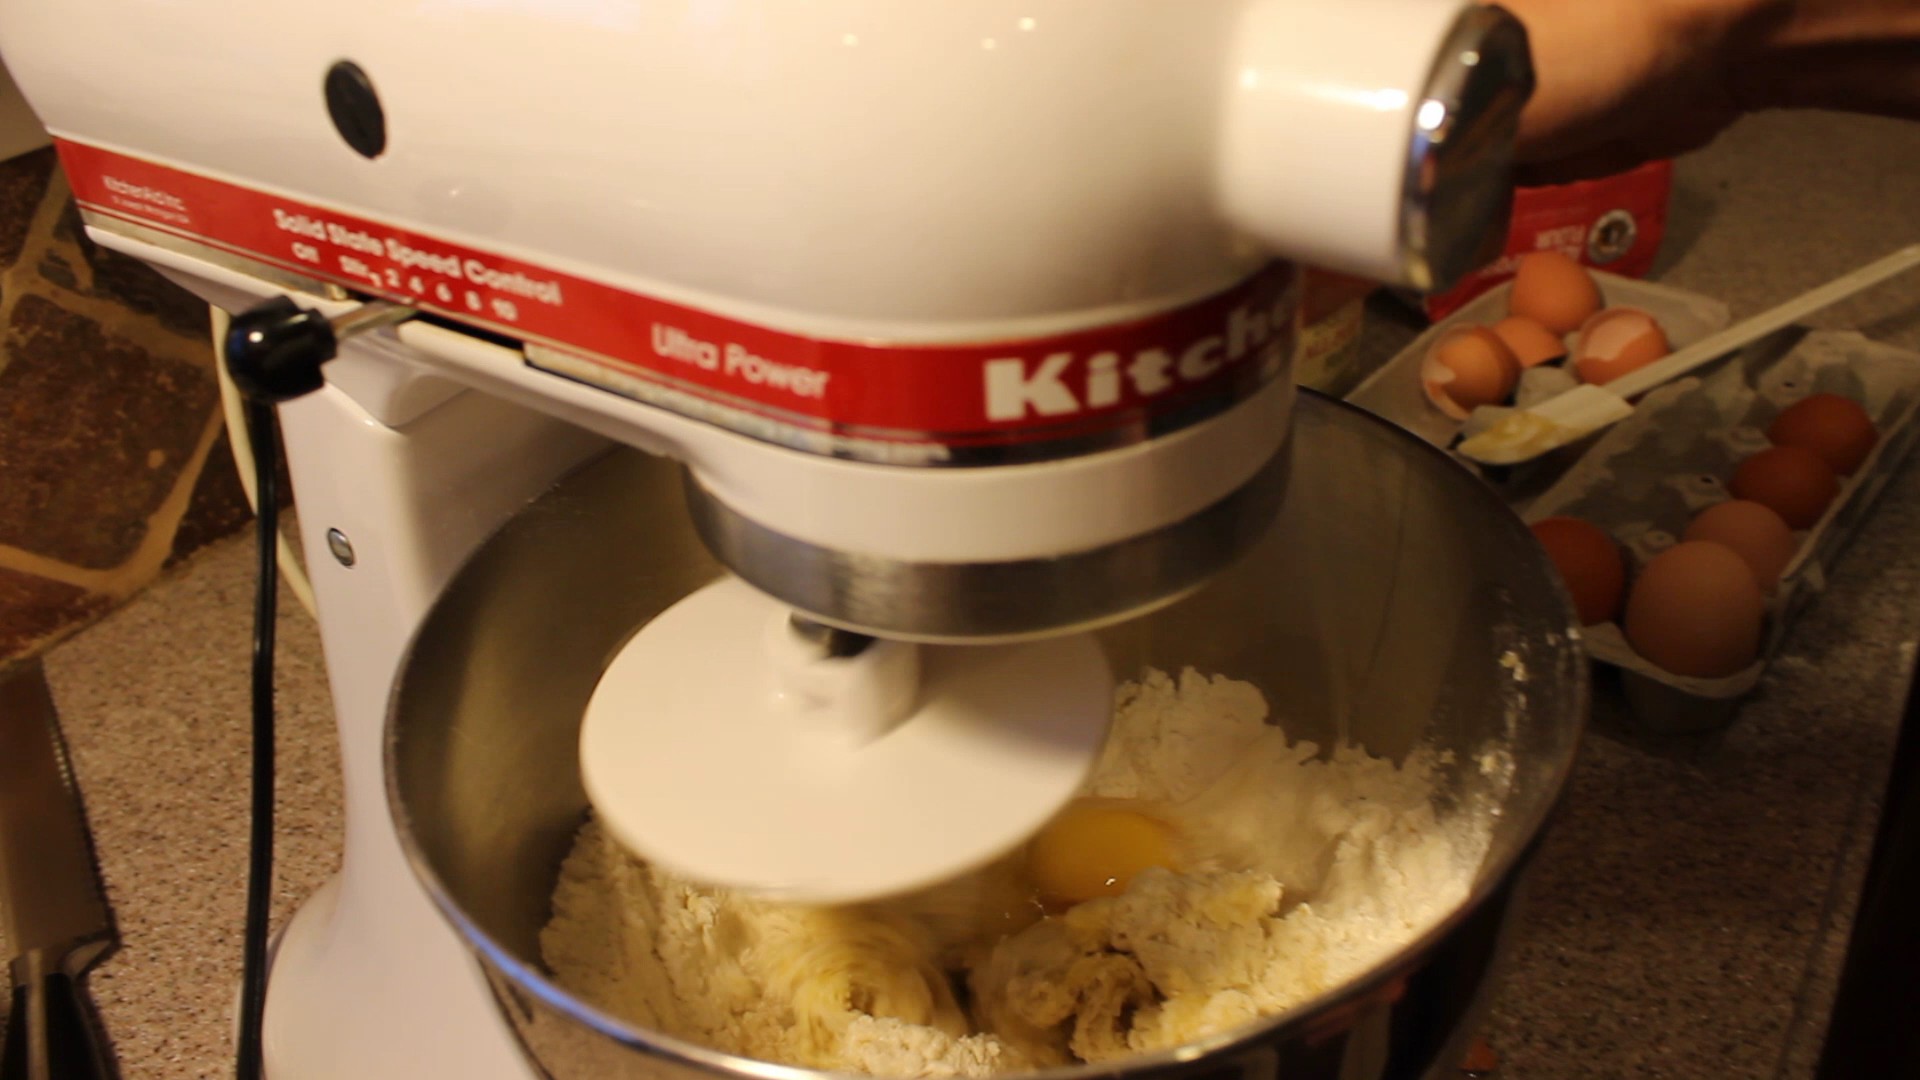
Put the kneading attachment on your food processor and add the flour
Add the salt and olive oil
Turn on the food processor to slow
Add in 1 tbsp of water
Begin adding in 1 egg at a time with the processor still on slow
Add in the rest of the eggs
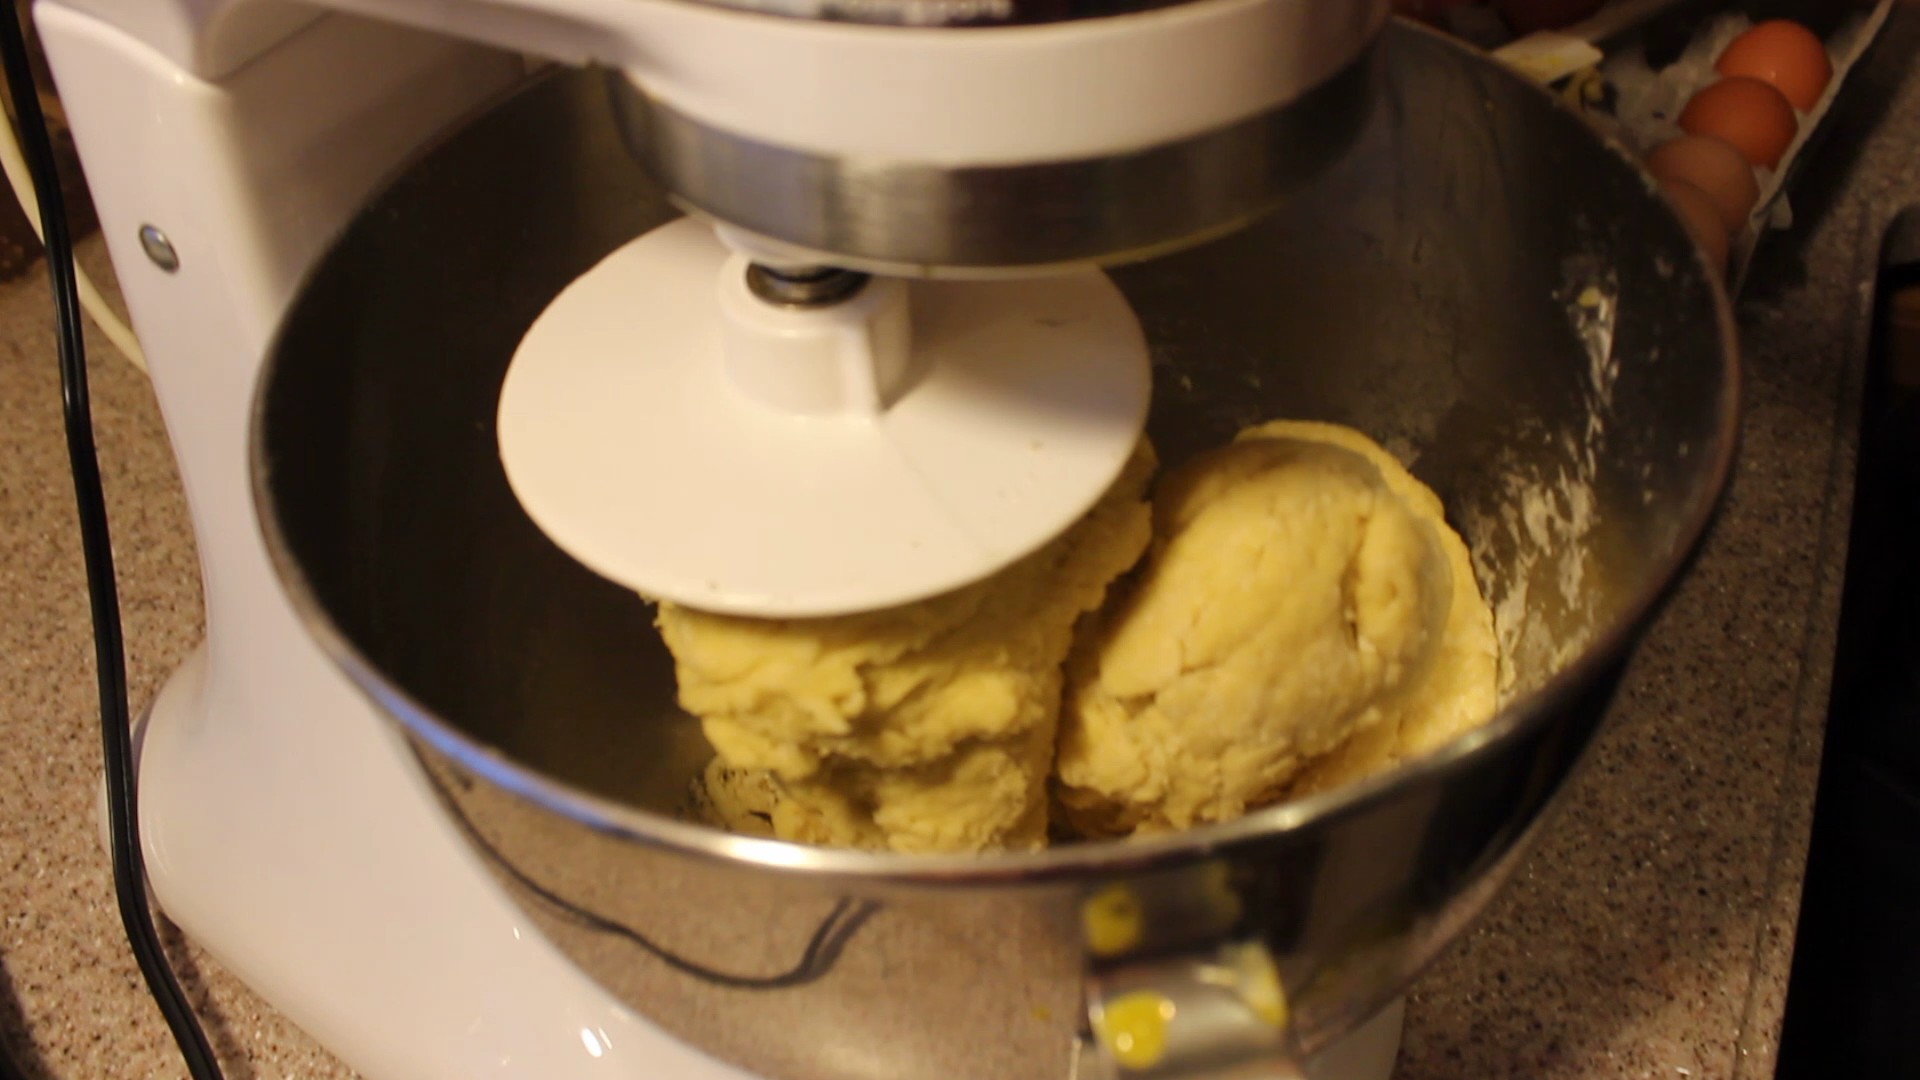
Keep the food processor going on medium speed to begin kneading the dough
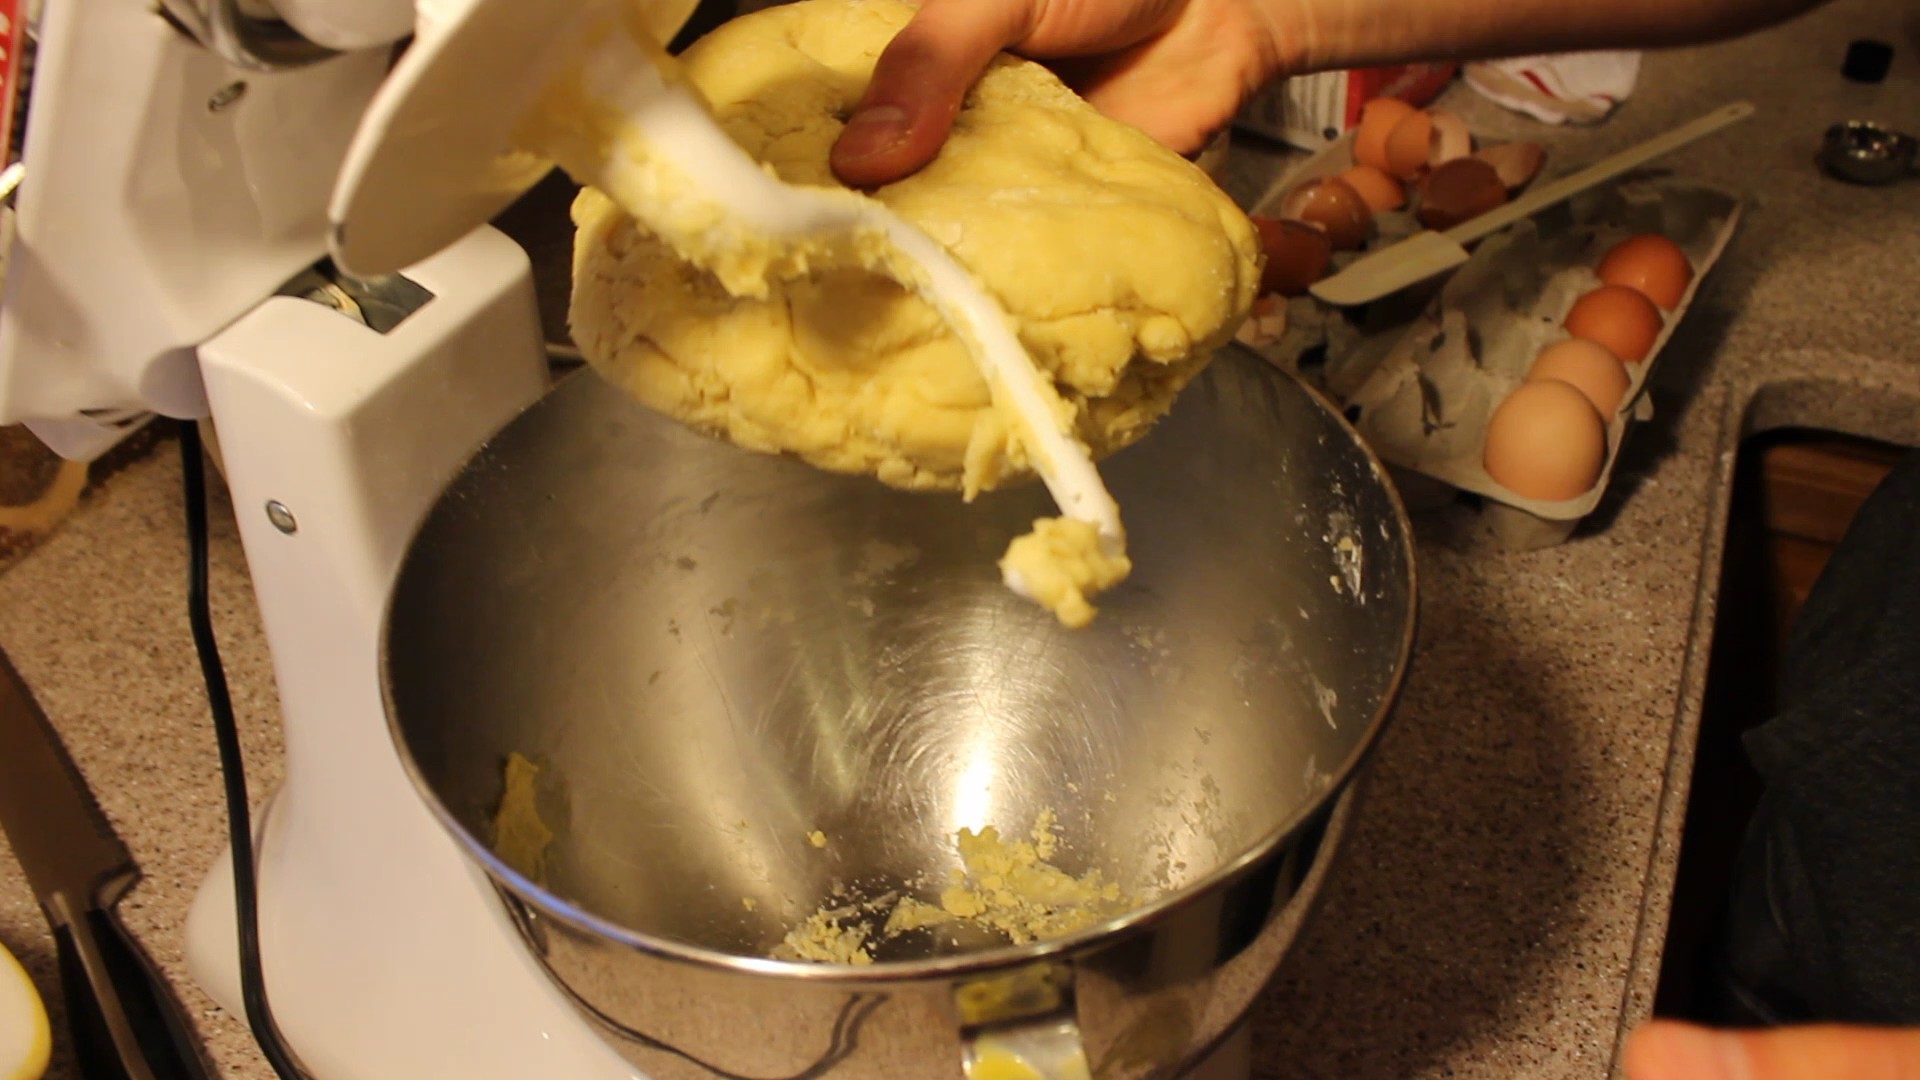
Let knead for about 8 minutes until the texture turns into a smooth consistency
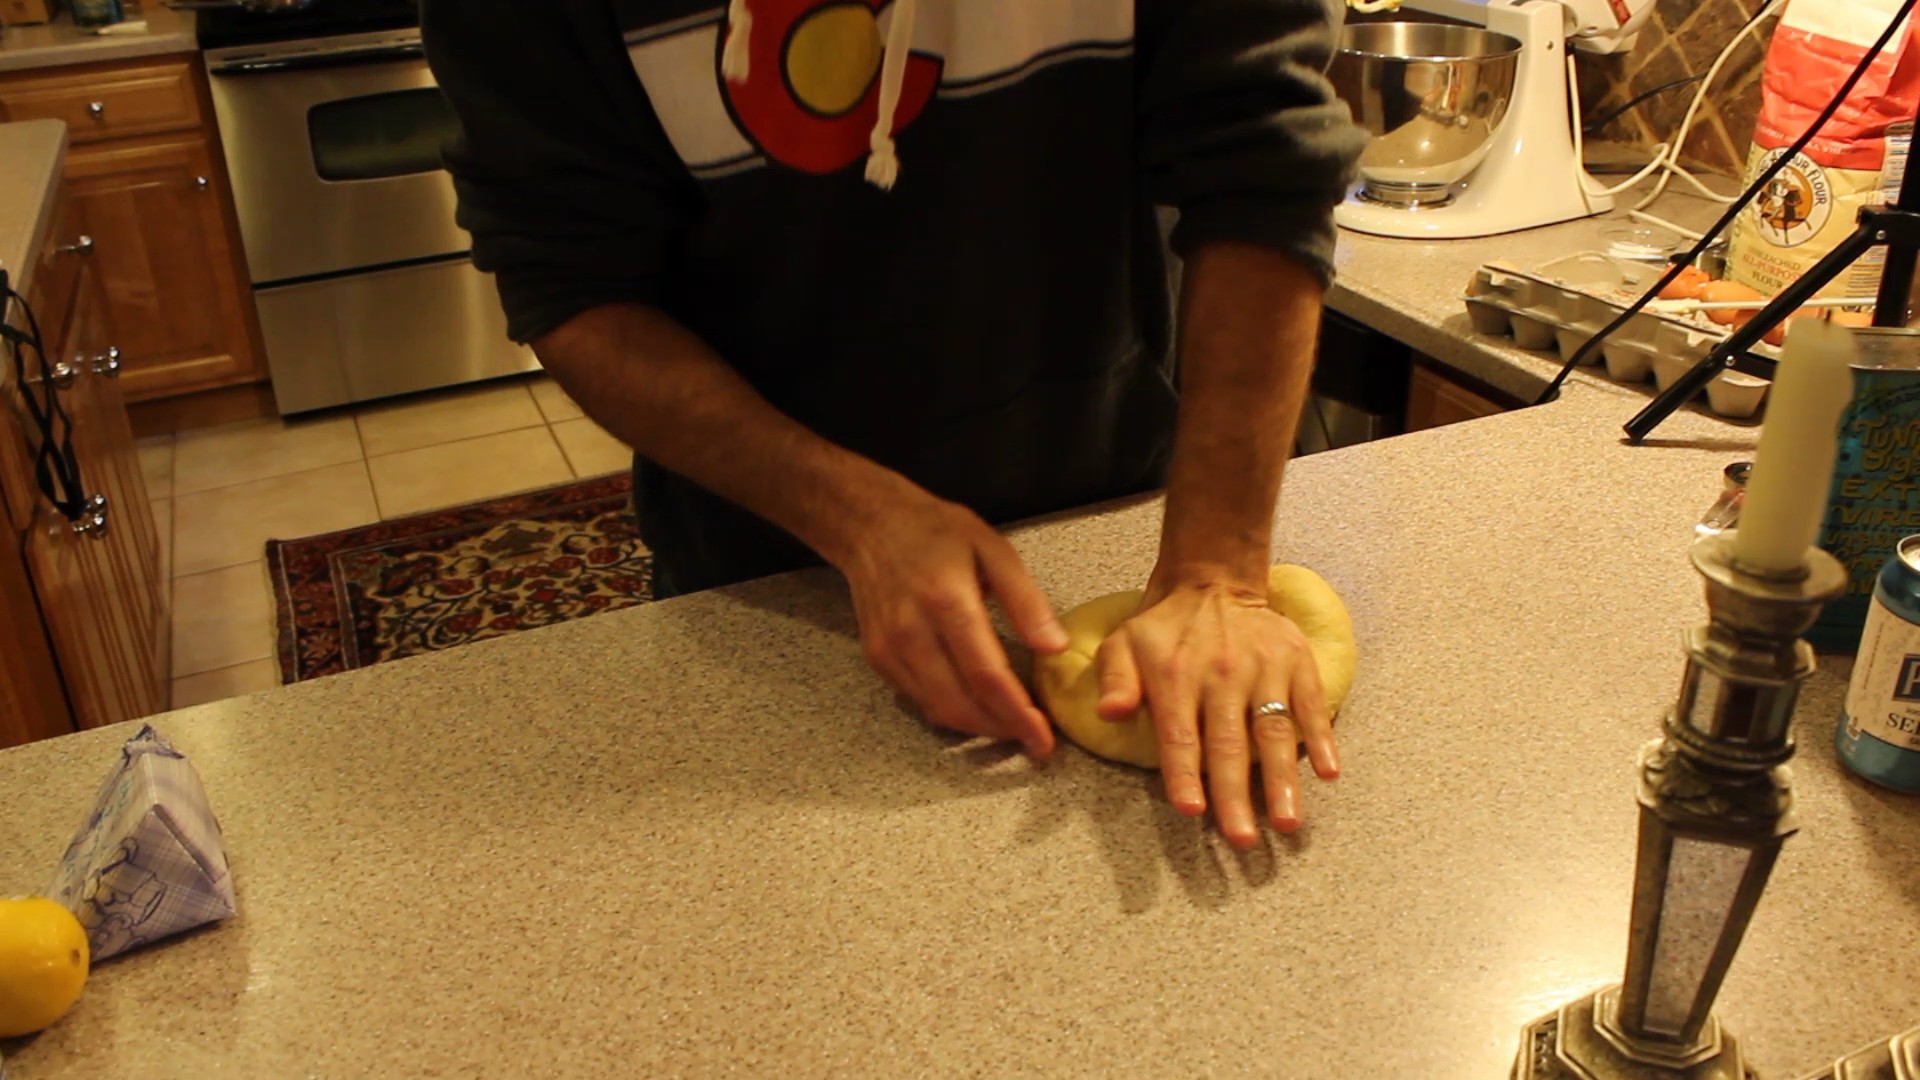
Remove the pasta dough and place onto the counter
Knead briefly with your hands and let sit for 1/2 hr.
NOTE: Vin does not cover his pasta dough while it sits for the 1/2 so it can begin to dry out a little bit
Sprinkle some flour onto the counter or work surface and cut pasta dough into 8 pieces
Begin to roll out each piece of dough to your desired thickness, into long lasagna-like sheets
Sprinkle more flour on top of each thinly rolled out pasta piece and begin to cut out 2″ circles with your cookie cutter
Brush top 1/2 of the circle edge with a whisked egg
Place 1/4 tsp of sun dried tomato filling in the middle of the circle pasta
Fold the circle in 1/2
Press to SEAL the 1/2 circle of pasta…VERY IMPORTANT to SEAL this edge!
Take 1/2 circle and wrap around your pinky having each end meet
Press these two ends together to seal and form one continous circular shape
Fold down top of circular pasta to form tortellini
Place in a bowl as you finish each one until you gone thru all the pasta sheets
Bring large pan of salted water to a boil and add fresh pasta
Cook pasta for 8 minutes, test pieces of pasta for proper doneness
Serve with tomato-cream sauce or Gorganzola Dolce-cream sauce, garnish with thyme and truffle oil … mmm!
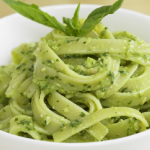
No doubt about it once you try this feta-basil pesto you will be hook! The creamy, French sheep’s milk feta pushes this pesto into a whole new arena! Combined with the fresh, floral basil leaves, Italian Reggiano Parmeggiano, extra-virgin olive oil and garlic are a creation that’s just born to go together! Done in mere minutes in a food processor there’s no excuse not to make this delectable sauce bursting with flavor every chance you get!
Making fresh feta-basil pesto can’t be any easier then the convenience of your food processor! There’s no need whatsoever lugging out the ole mortar and pestle making a huge project out of something that literally take’s 2 minutes to make. No cooking, no baking, no washing, NO FUSS, just load up the food processor and pulse. Voilà, you have a gourmet sauce that turns around any dish you add it to into gourmet.
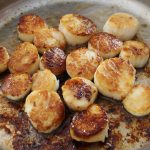
One of the appetizer’s I like to make with feta-basil pesto are Crostini with Fresh Mozzarella and Roasted tomatoes. Let’s not forget to try the feta-basil pesto on seared Scallops, Swordfishor even Sweet Potato Fries! And then there’s the obvious, top EASY PEASY pasta or Zucchini spaghettiwith the feta-basil pesto and you feel like a king. Any way you look at it this feta-basil pesto is a no brainer, a win-win situation! So get on it! lol … xoxo
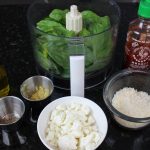
Ingredients:
1/2 sheep’s milk feta cheese – from local cheese shop if you can! It’s the star of the show!
2 packed cups – fresh basil leaves
1/4 packed Reggiano Parmasan – freshly grated if you can
1 extra lg OR 2 medium garlic cloves put thru garlic press
1/4 cup PLUS 1 tbsp extra-virgin olive oil
salt and pepper to taste
a few dashes of your fav hot sauce
Directions:
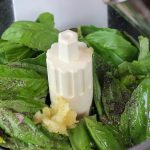
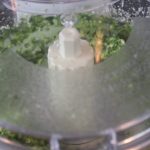
Place 2 packed cups of basil, 2 tbsp of olive oil, garlic thru garlic press, a sprinkle of s & p in food processor and pulse 6x
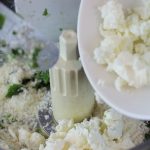
Scrape down sides and add in Reggiano Parmesan and sheep’s milk feta and pulse 4x more
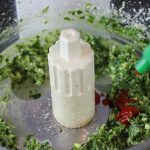
Scrape down sides and add in a few dashes of hot sauce
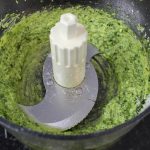
Drizzle in thru top opening of food processor 3 more tbsp of extra-virgin olive oil and pulse 3x more …voila you have feta-basil pesto! It’s as easy as that! 🙂
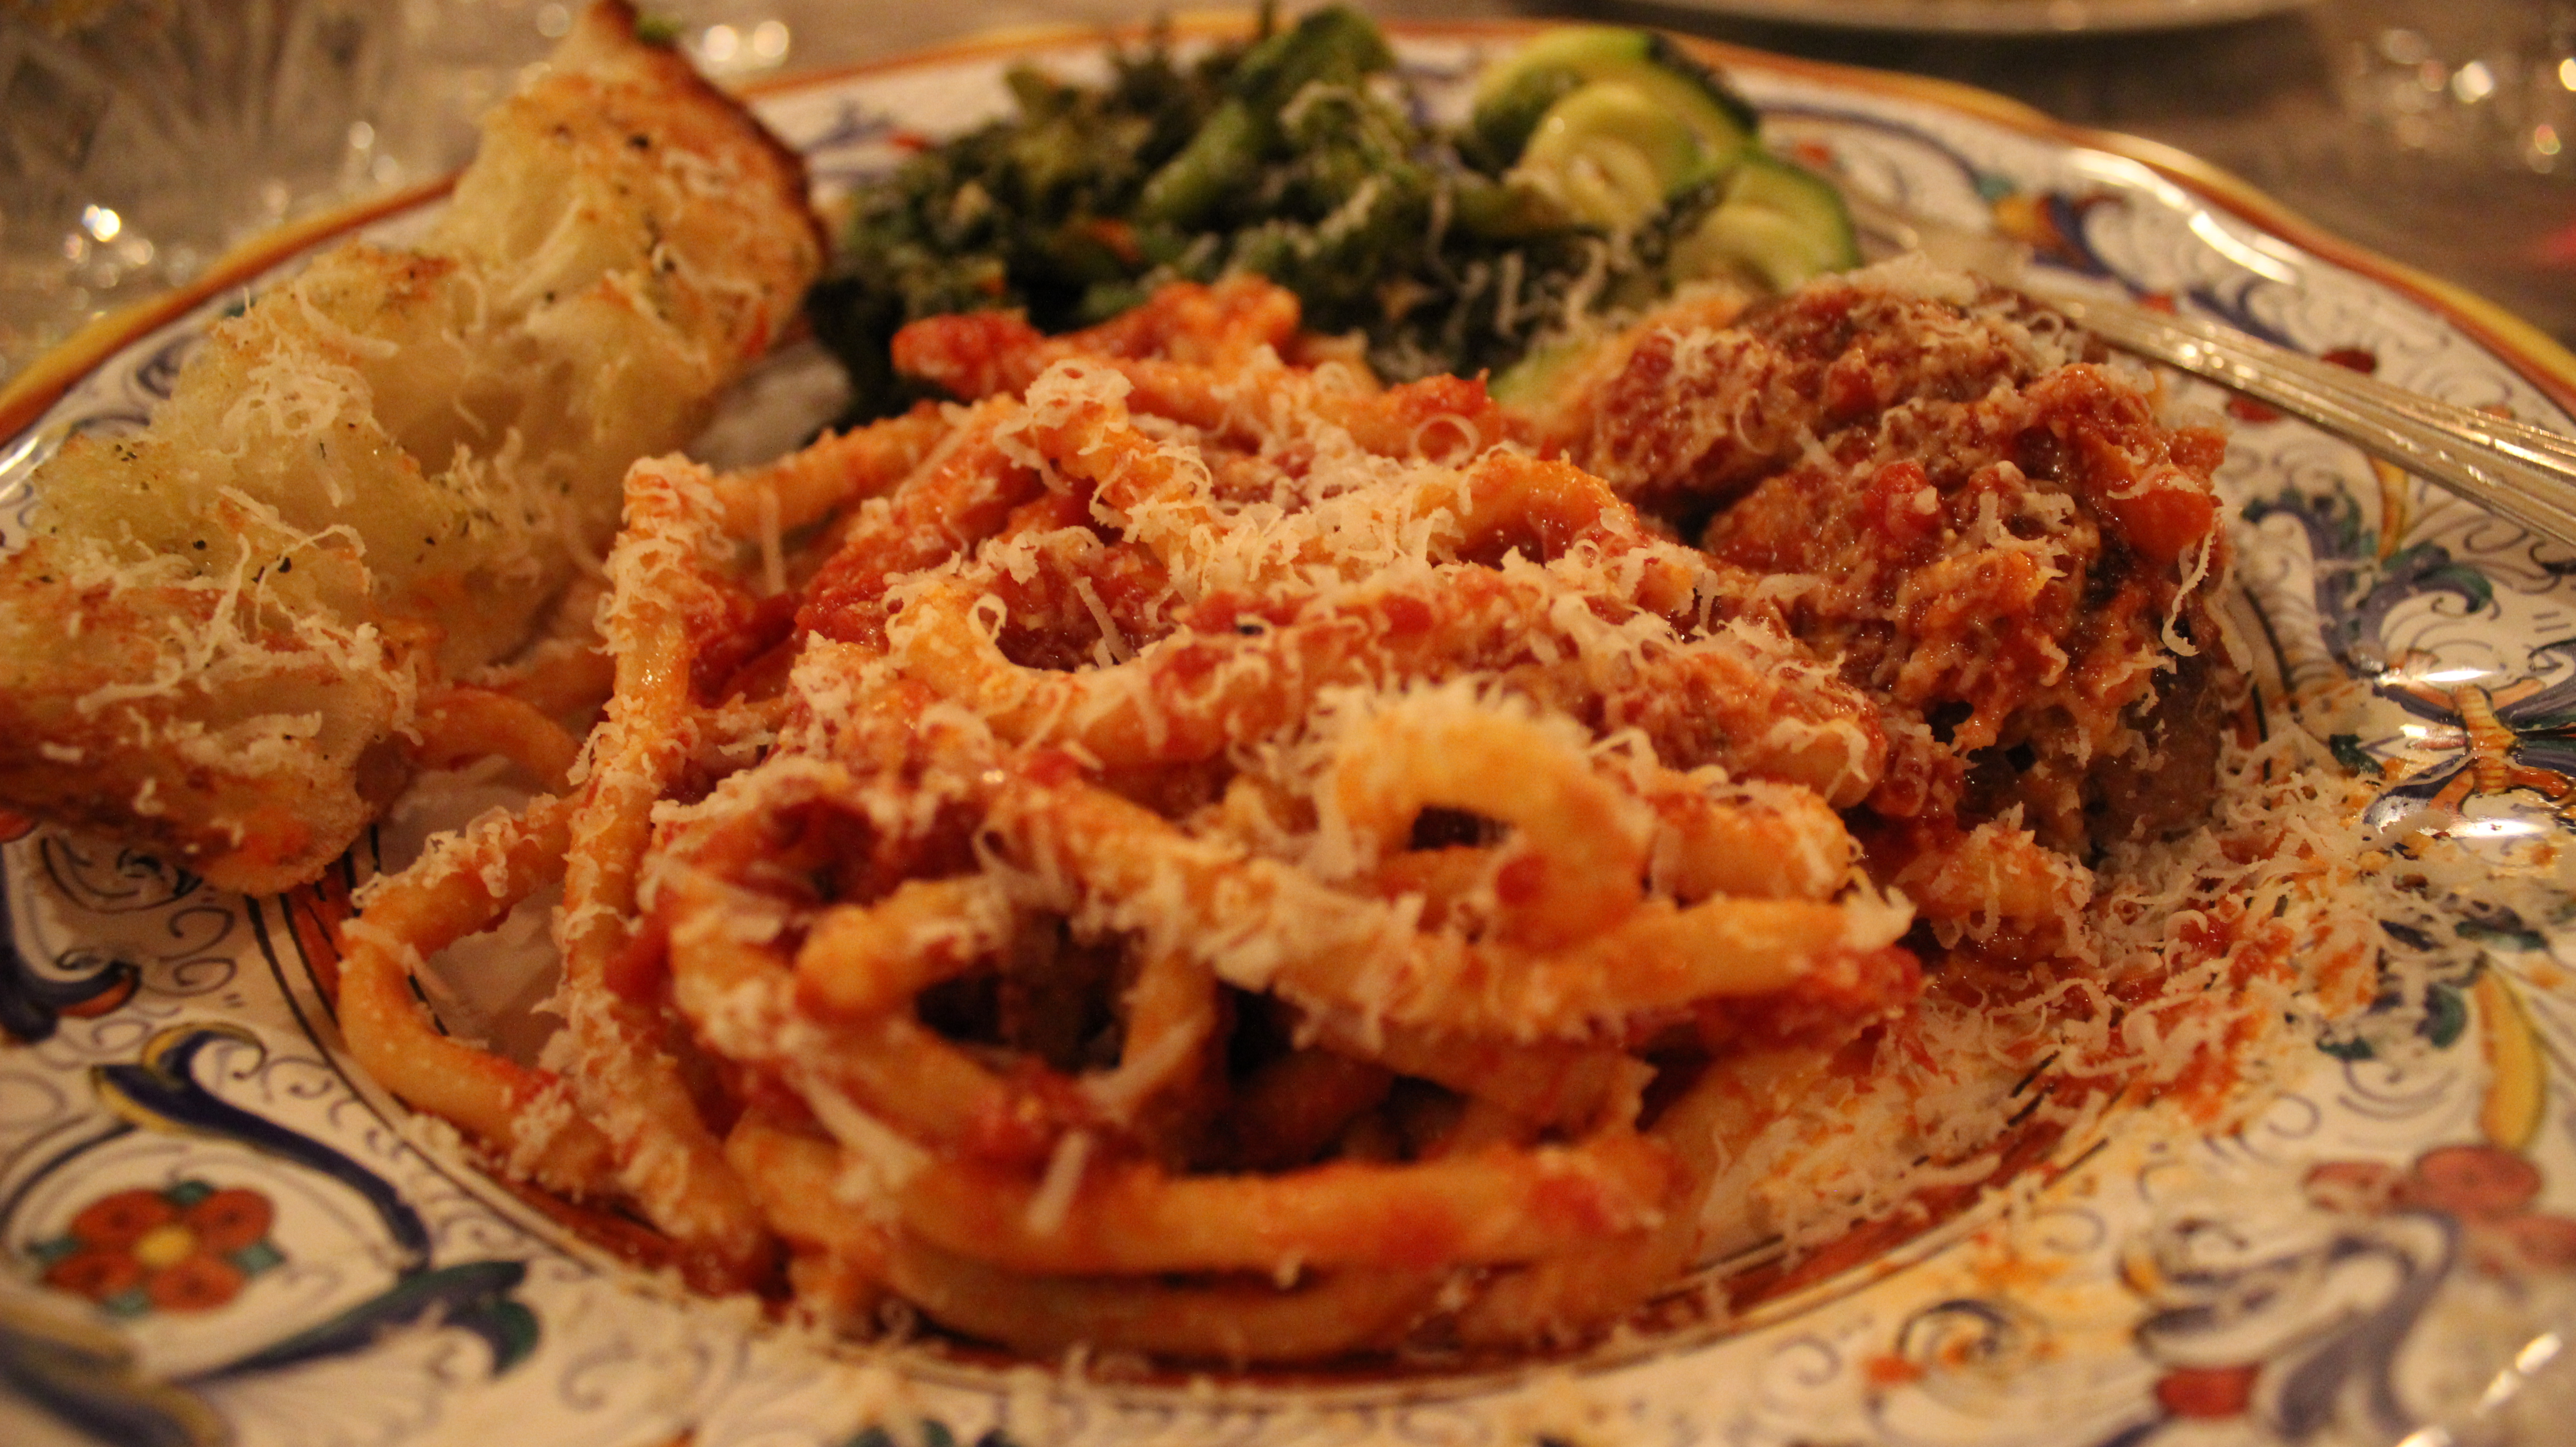
Making Braciole for dinner or the holidays is one of those authentic comfort foods that’s so delicious it could easily become a tradition for you and your family, even if you are not Italian. Some of you may be asking yourself what is braciole? Well, it’s thinly sliced flank steak that’s rolled up and stuffed with Reggiano Parmigiano, Asiago, and fresh herbs. The braciole is sautéed in olive oil and garlic cloves and then simmered in a tomato-basil sauce for a couple of hours until tender and juicy. And I tell you it’s even better when re-heated the next day!
The Italians aren’t the only ones who have come up with this fun and creative idea of rolling up and stuffing thinly sliced beef then simmering or braising in a gravy until tender. There’s a German dish that I absolutely love that’s just as flavorful as braciole called beef rouladen. German beef rouladen is made up of thinly sliced top or bottom round stuffed with mustard, onions, bacon and pickles, then sautéed and braised in the oven with veggies in a beef and wine gravy until tender. It’s serve with sautéed red cabbage and spaetzle or potatoes and ooh is that scrumptious too! That will have to be another show I will put together for you!
Now that I have you in the mood for some creativity in the kitchen …get to work! lol You will be very happy to expand that recipe repertoire of yours after making this wonderful Italian braciole for dinner. Make sure to serve up your sliced braciole with a dollop of ricotta cheese on top of the pasta to give it that unexpected extra flavor and creaminess. I will get working on the German beef rouladen show for you:)
1 cup red wine or white (I actually prefer to deglaze here with red)
1 lb rigatoni
Directions:
Start sautéing the veggies for thetomato-basil sauce and use the same pan for sautéing the braciole logs
Slice or have your butcher slice the 2 lb piece of flank steak into 3 horizontal layers
Then cut those pieces in half so you now have 6 semi-equal pieces
Sprinkle 1 tbsp each of Reggiano and Asiago on each piece
Lay whole basil leaves or chop basil and parsley and sprinkle onto flank slices
Roll up starting at the small end
Cut approx 40″ of cotton string and tie a knot at one of the ends
Then keep wrapping string all around the length of the rolled up flank til you are at the other end
Now come back tucking under each row of string going across like shown in the video til you get to the end and tie off a knot with the original piece of string you started with
Add 2 tbsp of olive oil a large pan and a few large cloves of garlic kept whole for extra flavor and sauté 3 rolled up pieces of braciole at a time
Brown on all sides on medium/high heat about 3-4 minutes each side (remove the garlic coves when golden and smear on a baguette and dip into the tomato-basil sauce when you start to simmer with braciole…YUM!)
After browning the second batch of (3) braciole add back in the first 3 and de-glaze with red wine (I used white in the show but prefer to use red here)
Add in puréed tomatoes and simmer for 1 1/2 – 2 hours
Take braciole rolls out and slice 3/8″-1/2″ thick
Serve with pasta (rigatoni) and a dollop of ricotta on top with a few slices of braciole and grated Reggiano…mangia, mangia.
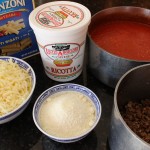
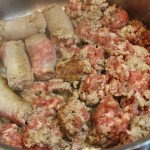
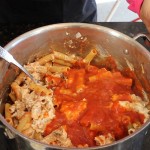
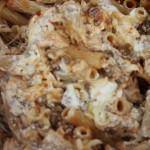
This world’s best lazy-man’s lasagna is the ultimate pasta dish because there is no fussing, layering or baking. It has all the ingredients and flavors of a traditional lasagna but without all the work! It’s done all-in-one pot and takes two minutes to put together after the ground meat is browned. It’s made with a tomato-basilsauce, homemade or store bought for convenience, rigatoni pasta, ricotta, mozzarella and a sautéed ground meat of your choice. The hardest part here is browning the meat, then it’s easy peasy from there on in.
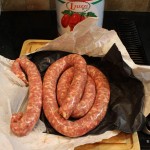
When I first had this lazy-man’s lasagna it was made with ground beef. That’s the beauty of this pasta dinner you can customize it by browning up what ever your favorite meat is. I’ve actually made it with ground turkey, beef, Italian sausage and even a meatloaf mix of meats. What ever you decide I promise you it’s going to be delicious! In the show I used my favorite sweet Italian fennel sausage from Liuzzi Cheeses in North Haven, CT. I took the the sausage out of the casing and then browned it.
Usually, I serve up this lazy-man’s lasagna immediately after I combine all those yummy ingredients. Although, you can easily pour it out into a baking dish and top with one cup of shredded mozzarella to bake immediately or cover with foil and into the frig until you are ready. Granted, I do love to put together a tray of layered lasagna for the holidays but for those in between days when you want those gourmet flavors but don’t want to go through all the work this world’s best lazy-man’s lasagna is your dream come true.
You can check out my Live TV Cooking Segment on “CT STYLE”, WTNH – Channel 8 where I make Lazy-Man’s Lasagna in The Bender Kitchen with hosts Teresa Dufour and Ryan Kristafer!
2 lbs ground meat OR 3 cups after browned of: ground beef, turkey, veal, pork, meatloaf mix, or sweet fennel sausage (Liuzzi makes my favorite sweet and spicy Italian fennel sausage)
1 lb. whole milk ricotta (really easy to make your OWN HOMEMADE – check it out!)
2 cups shredded mozzarella – 2 cups to mix into the lazy-man’s lasagna plus additional 1 cup to sprinkle on top if you are going to put the pasta into a baking dish to bake later
grated Parmesan
fresh basil
Directions:
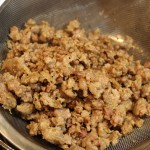
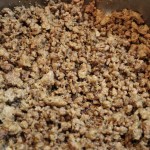
Brown the ground meat in a sauce pan on medium high heat
Drain the meat to remove excess oil in a small strainer over a bowl
Put the meat back into the pan on medium high heat add 1/3 cup of red wine to de-glaze the sauce pan scrapping up the little brown bits stuck the bottom of the pan
Keep the browned meat on warm
Heat tomato-basil sauce through – you want it hot to melt the mozzarella
Cook the pasta in salted water until al dente …(Having a pinch of firmness to it so it’s not overly cooked)
Drain the pasta and put it back into the same pan
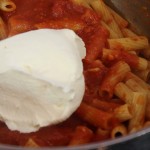
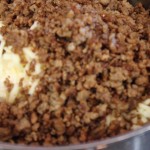
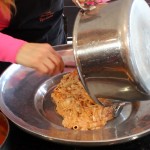
Immediately add 2 cups of hot tomato-basil sauce, 1 lb. of ricotta, 2 cups of mozzarella, 3 cups of browned meat and begin to stir
Add another 1-1 1/2 cups of tomato-basil sauce
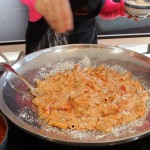
Mix ingredients until combined and pour out into a serving platter
Sprinkle with Parmesan and julienne fresh basil…mangia mangia 🙂
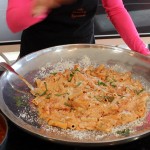
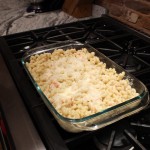
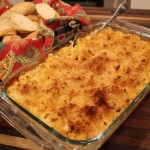
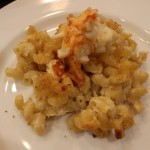
With this homemade gourmet lobster mac & cheese at David & Eileen’s you get the best of both worlds! Two of my very favorite things to eat all in the same dish! What more could you ask for? What, did someone say “smoked Gouda, please”? The Lobster goes with out saying and for those of you who appreciate that slightly salty, yet sweet and rich in every meaty bite know what I’m talking about. Then to add this succulent lobster to pasta that’s covered in a delicate, smokey, cheesy sauce put’s it right over the top!
When my dear friends David and Eileen suggested making lobster mac & cheese for my cooking show it was like bells went off. I thought it was a great idea. David had discussed the idea with our other foodie friend, Marco, who offered up his recipe to David. Marco and his wife, Sheryl, own an Inn near by called Lathrop Manorwhere Marco cooks up a five course gourmet breakfast if you’re a guest there. Marco was also the chef in my“Salmon BLT Sliders at Marco’s Show”from this past summer. Needless to say, our group here loves to cook, eat and have fun. Even frequenting the Farm and Vine Dinner’s at The Ocean Housetogether.
Sharing family recipes, like Dave and Laurie did with their yummy “Caruso Salad” and the amazing lobster mac & cheese recipe between Marco and David is what brings friends together. Cooking, eating, laughing and enjoying each other’s company is the foundation of life in all cultures around the world . I am grateful to have such wonderful family and friends to do this with.
I hope you enjoy this homemade “Lobster Mac & Cheese at David & Eileen’s” show as much as we did making it! Have fun with this recipe. You may also want to check out myCaesar Salad for a side dish or someArancini Reuben Balls,stuffed mushrooms ,or baked asparagus wrapped in Prosciuttofor an appetizer. Although , we don’t have David’s incredible chocolate meringue pie recipeyet,you could check out achocolate pecan pierecipe that’s to die for.
Ingredients for Lobster Mac & Cheese at David and Eileen’s:
2 tsp lobster base OR Lobster SHELLS- OPTIONAL it gives a wonderful flavor to the dish… we did forget to add the base in the show and the lobster mac & cheese was still delicioso!
2 bay leaves
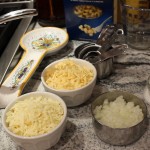
1 1/2 cups smoked Gouda
1 1/2 cups white Cabot cheddar
1 cup mozzarella (I added in the mozzarella)
1/4 cup grated Parmesan
1 lb. cellentani pasta or elbow
s&p
2 tbsp rm temp butter for coating the baking dish
Topping Ingredients:
1/4 cup panko breadcrumbs
1/2 cup grated Parmesan
1/4 tsp garlic granules
1/4 tsp onion granules
1 tbsp olive oil
1 tbsp melted butter
4 pieces cooked and chopped bacon – Bacon OPTIONAL (DO NOT use Maple Flavored Bacon)
Directions for Lobster Mac & Cheese at David and Eileen’s:
Per-Heat oven to 350º on CONVECTION (convection helps to toast the bread crumbs without overbaking and curdling the cheese sauce)
Coat the baking dish with 2 tbsp rm temp butter and set aside
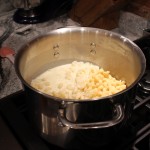
Cook Pasta til firm in salted water, al-dente, 5 minutes
Drain and rinse to cool pasta and set back in the same pan
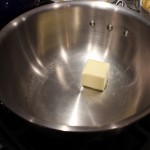
Melt butter in sauté pan
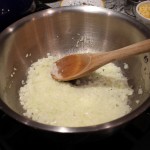
Sauté the chopped onion until soft and translucent
Add a s&p
Add flour to onions to make a roux
Continue on stove stirring mixture for 1 minute to cook out raw flour flavor
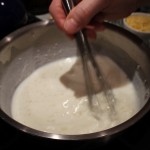
Slowly add milk & cream to roux while continuing to whisk so as not to get lumps
Add in bay leaves
Cook over medium heat while stirring until sauce thickens
Taste here to see if you need more salt and pepper
Add in 1/4 cup Dry Sherry
OPTIONAL: Add in lobster base OR LOBSTER SHELLS and simmer for 10 minutes
Remove the shells if you added them and discard
Turn heat to low and add in smoked Gouda, cheddar & mozzarella while whisking for 30 seconds ONLY, then remove from heat immediately and continue to whisk until all the cheese is melted
Sauce should have consistency of heavy cream
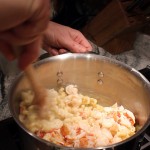
Stir lobster meat into the sauce to infuse flavors
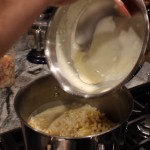
Then pour lobster sauce over al-dente pasta and mix until combined
Transfer to an oven safe baking dish
Sprinkle in 1/4 cup Parmesan and mix gently
Make the breadcrumbs by combining breadcrumbs, parmesan, onion and garlic granules, olive oil & butter and bacon
Mix with your hands or a spoon and sprinkle evenly over the lobster mac & cheese
Bake in a 350º oven for 25-30 minutes until slightly bubbly on the edges
NOTE: DO NOT OVER BAKED OR CHEESE SAUCE WILL CURDLE!!!!
NOTE: The pasta will absorb a lot of liquid in the beginning when you first mix it, AND then when you bake it, AND as it sits, AND then as it cools, so it’s a good thing to have a little extra sauce in the beginning …it will keep absorbing -you don’t want a dry lobster mac and cheese sauce 🙂
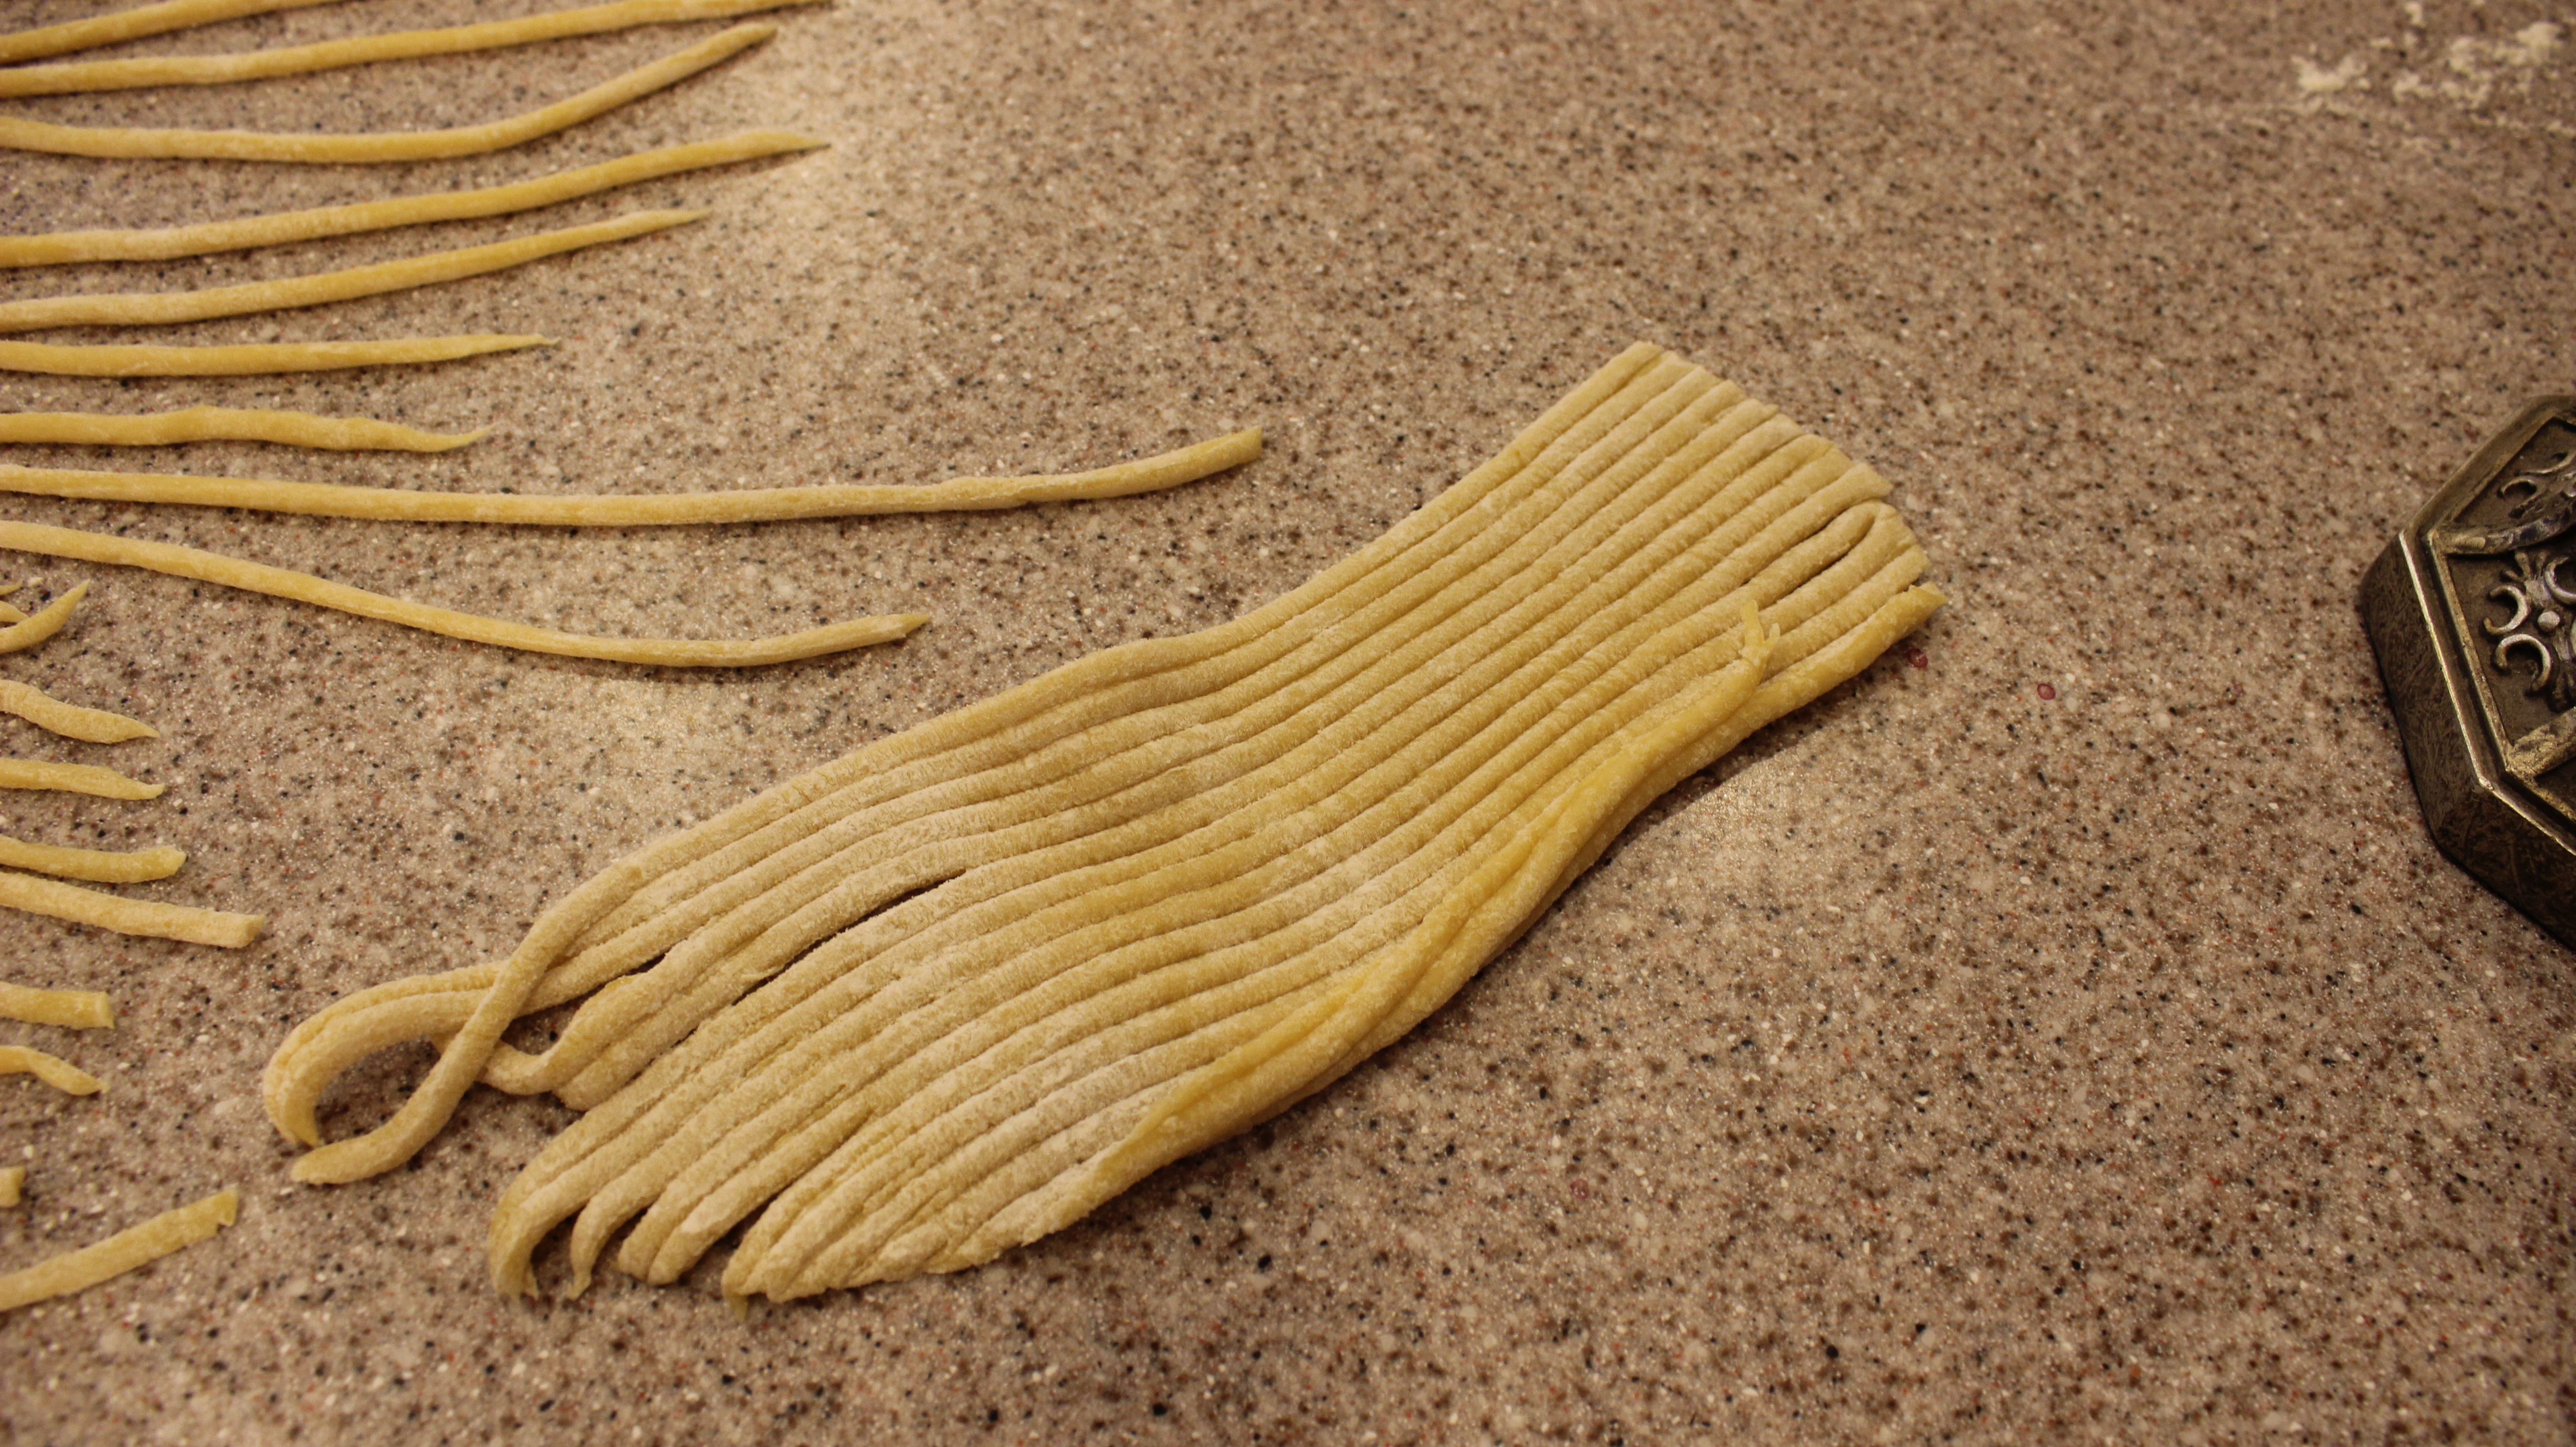
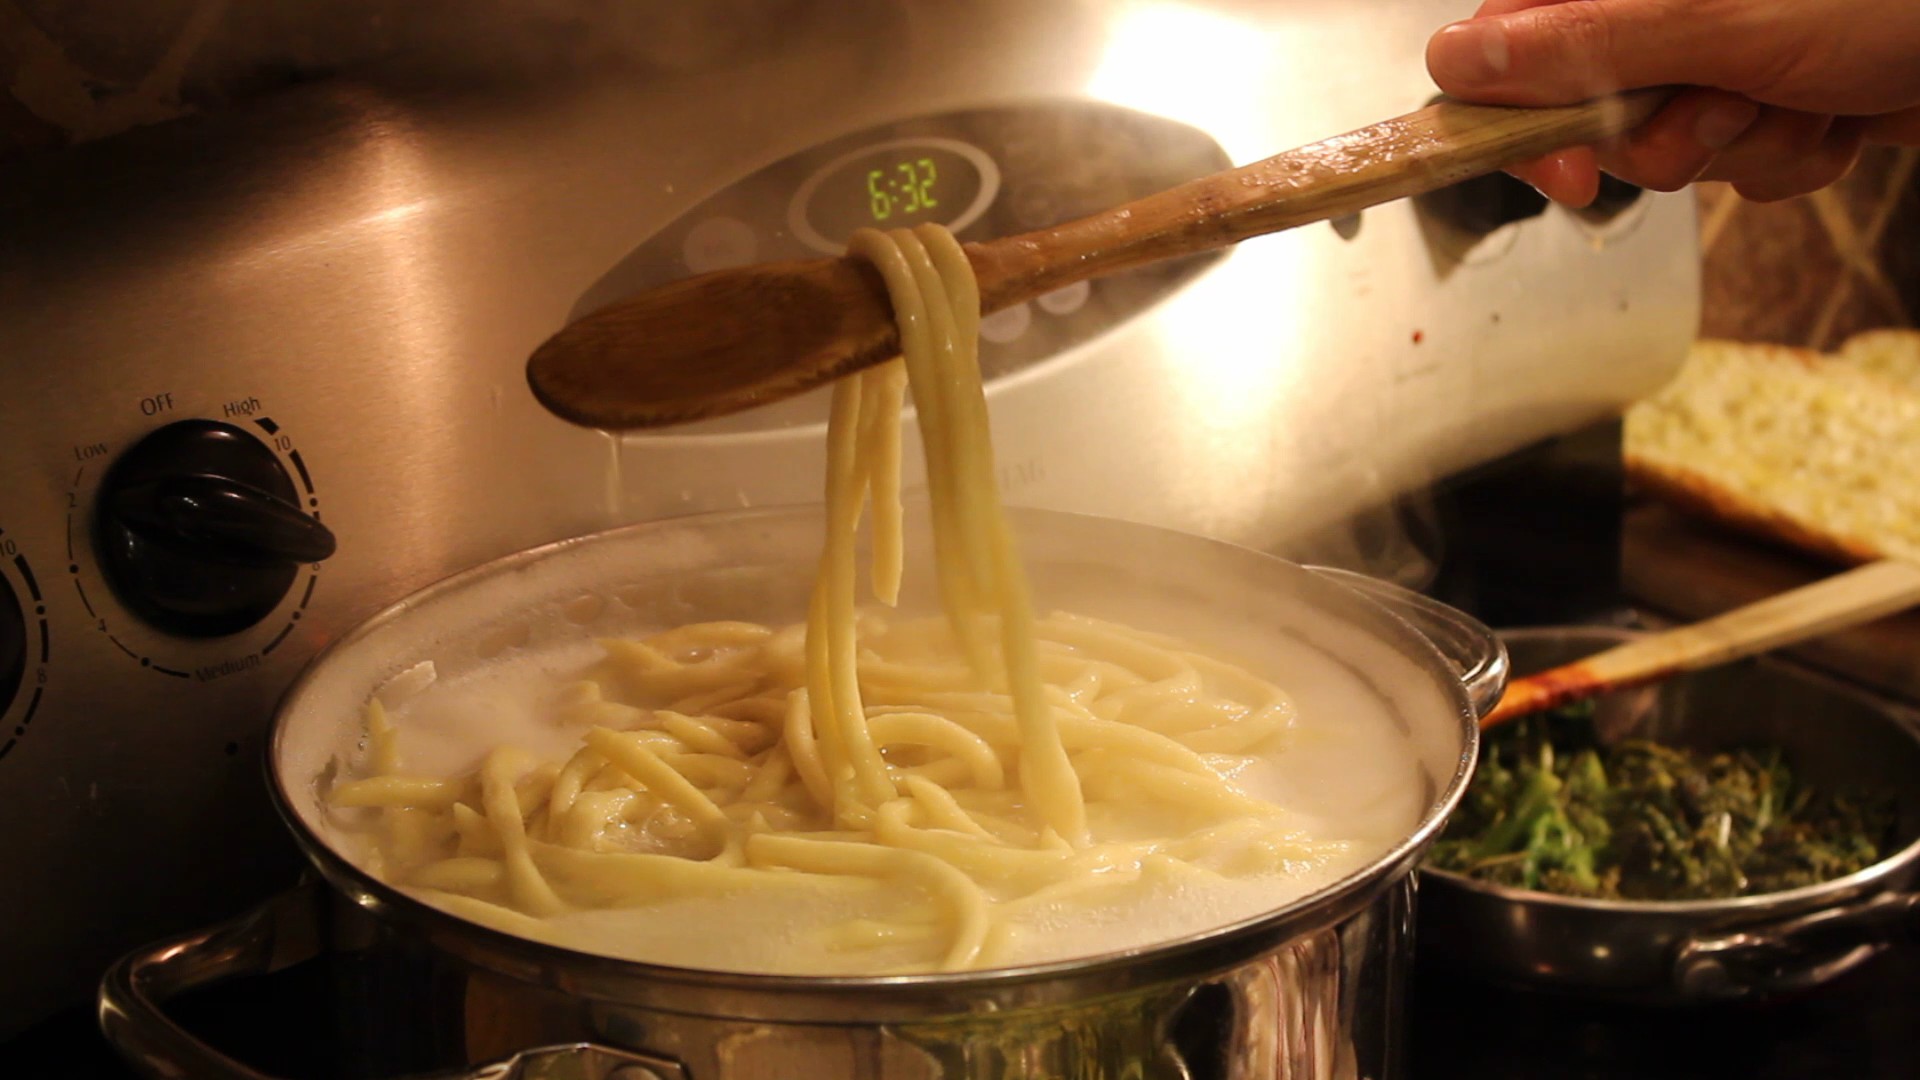
Homemade pasta is something you have to try at least once in your life! You’ll see how satisfying it is when you taste the tender, slightly chewy texture of the fresh pasta. Making pasta has been a part of my life ever since I was young making homemade manicottiwith my mother for the holidays. At my Aunt Pasqualina’s, the counters were always covered with fresh pasta drying out on dish towels.
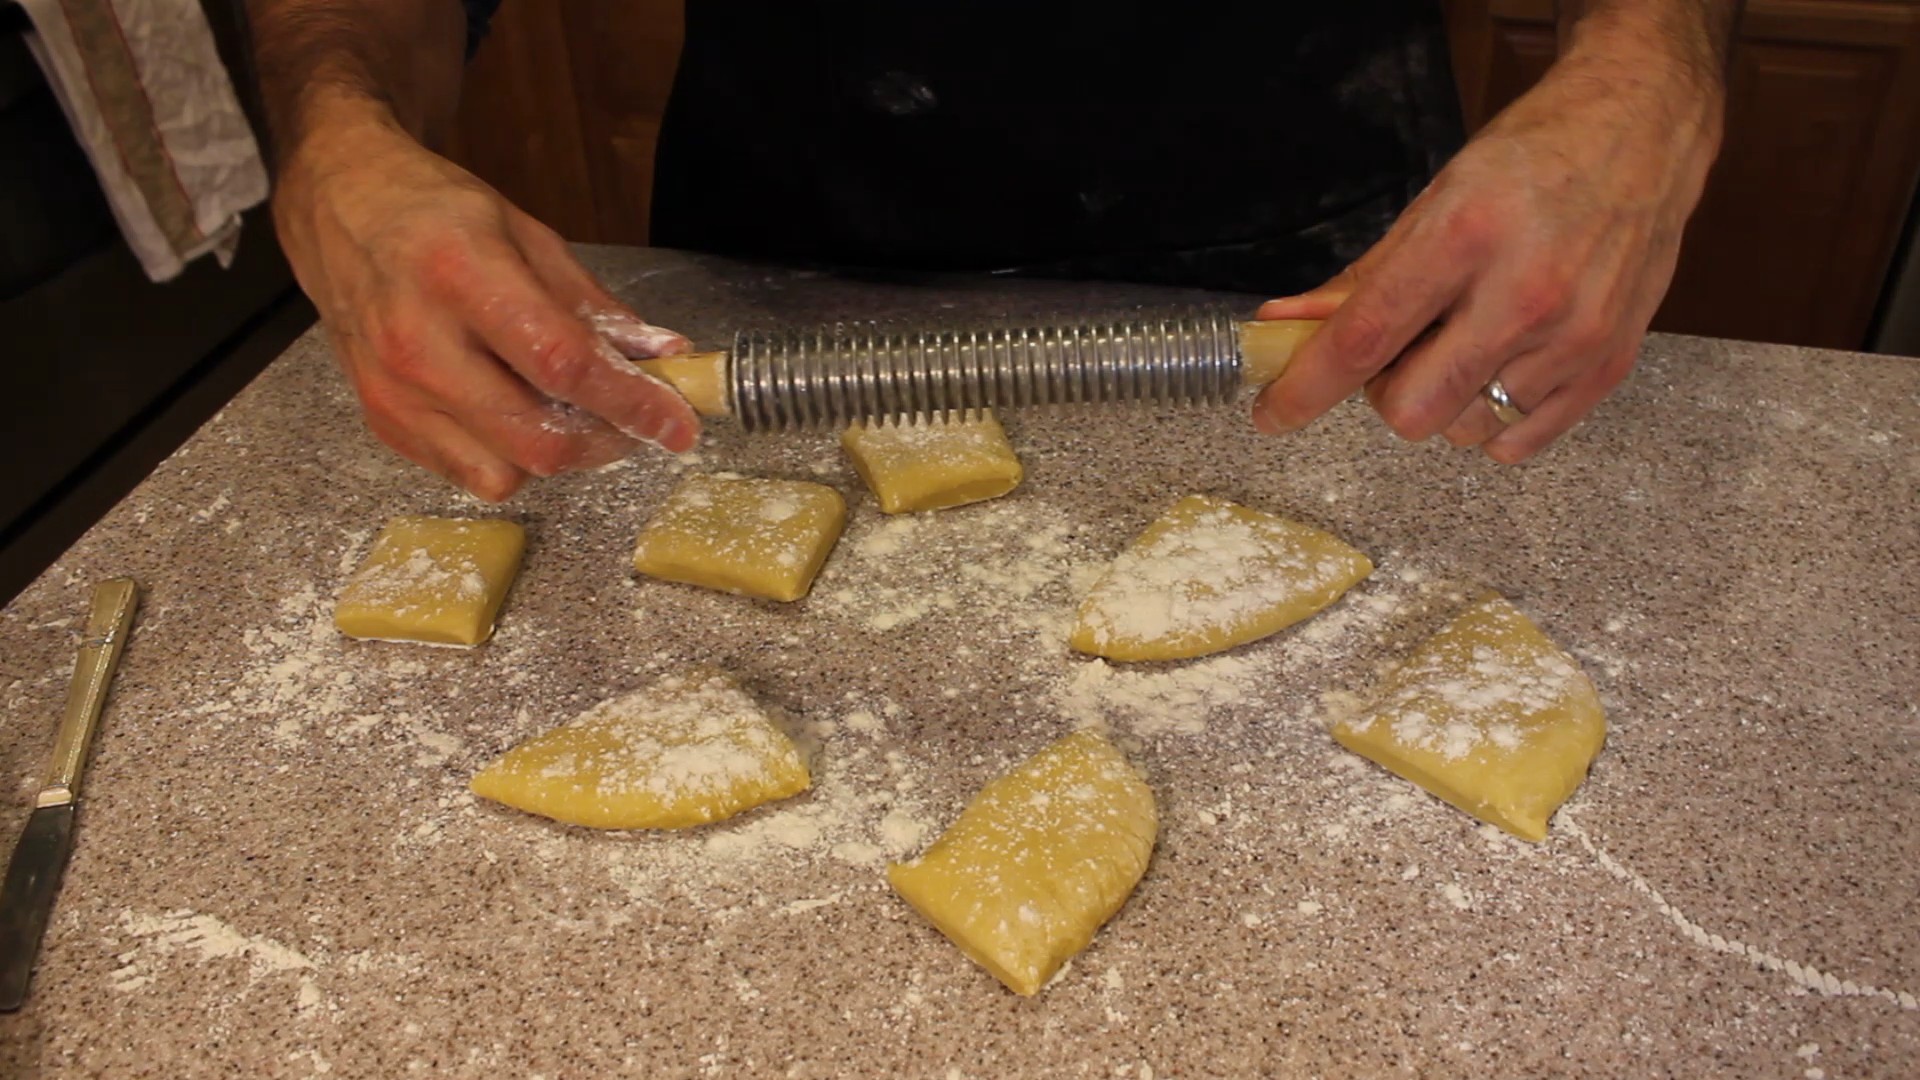
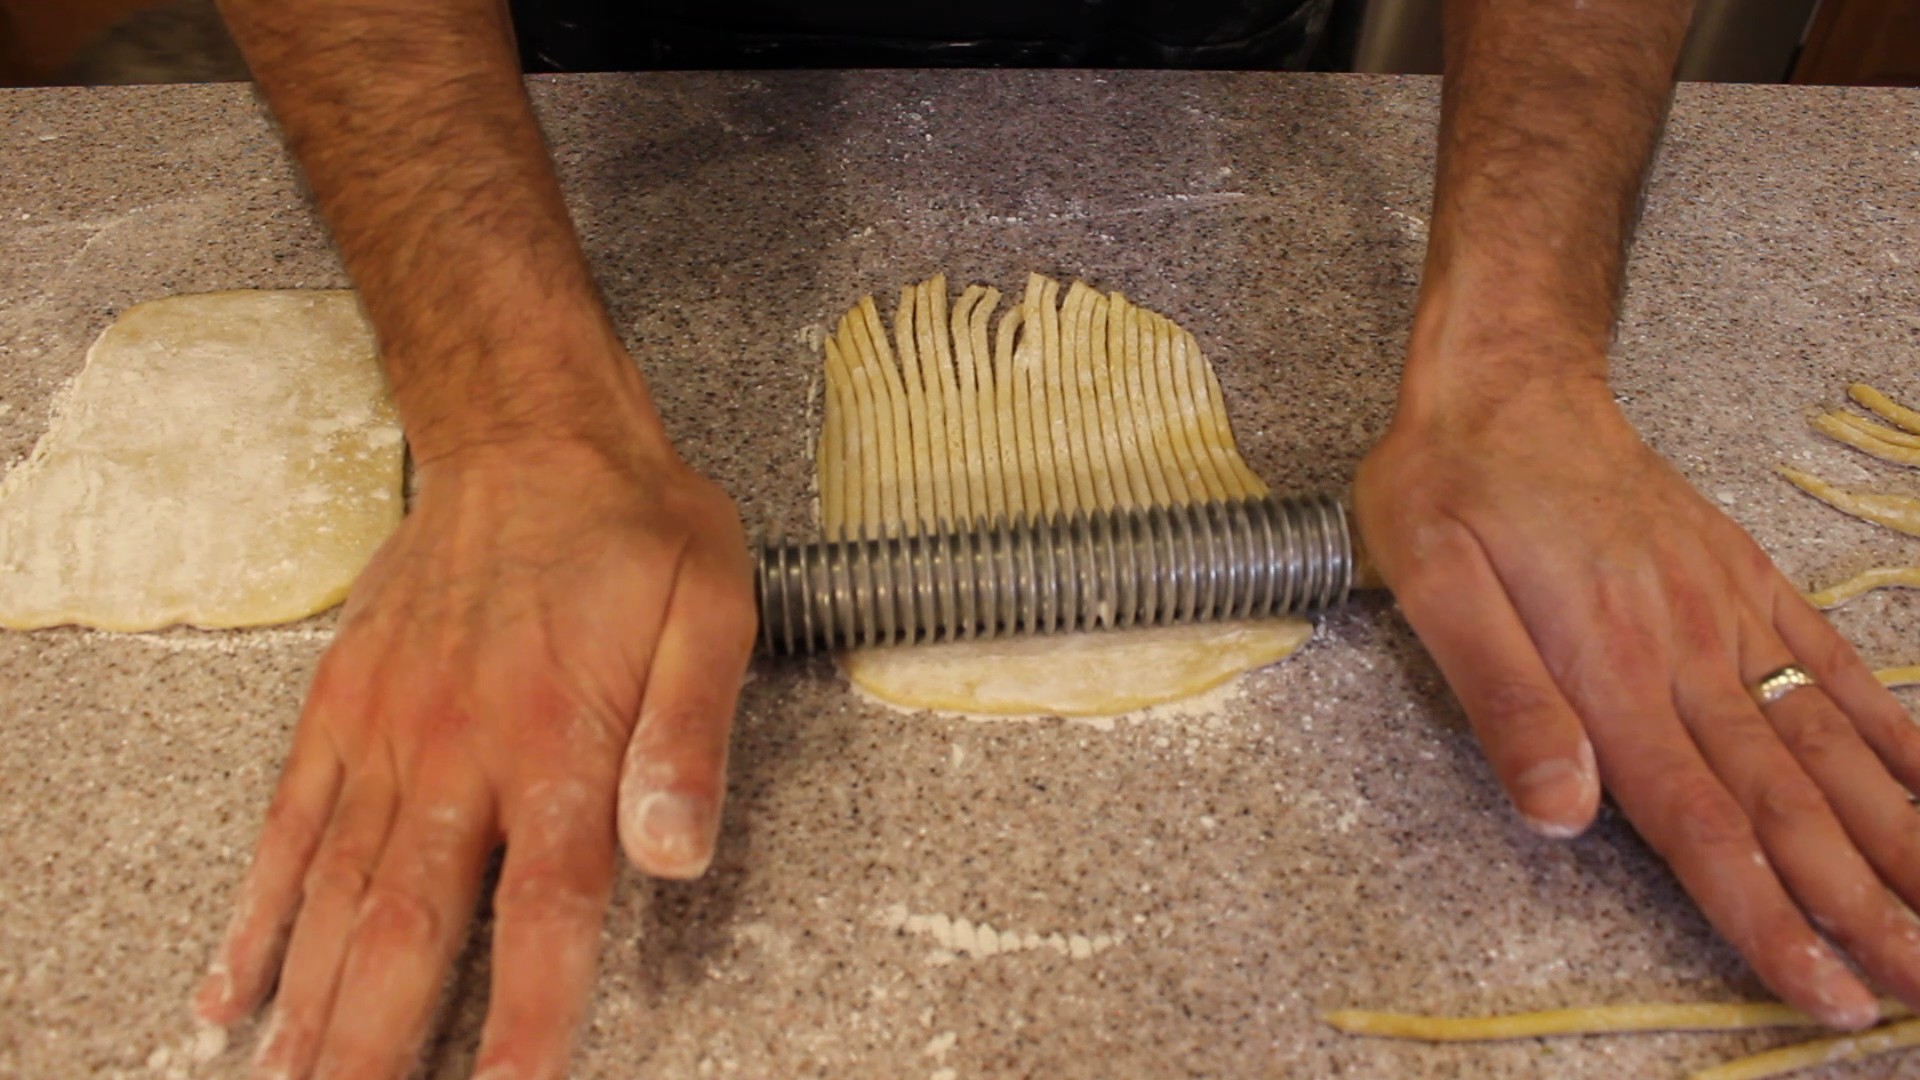
This past weekend, my friends Lisa and Vin, graciously agreed to share their grandfather’s secret family pasta recipe with me. I had the opportunity to try out, first hand, a pasta tool that belonged to Vin’s grandfather which he called the “trucal iron”. It’s a special pasta cutting tool, a roller, made years ago from medal and wood that was eventually passed on down to Vin. The center spiral part of this “trucal Iron”, made of medal, does the cutting as you roll out the pasta. It has Wooden handles which he said his grandfather glued back on a couple of times. Vin also has a newer version of this “trucal iron”, one made of all wood but the wood spirals have begun to chip away from wear and tear. They don’t make some things like they used to. Vinnie also shared some precious memories of his grandfather and father making this homemade pasta for Sunday dinners growing up where his grandfather would creatively hang the pasta noodles from atop the kitchen cabinet doors to dry out.
There’s nothing like an evening with special friends making homemade pasta! This night of homemade pasta making at Lisa and Vin’s reminded me of how much I really love to do this. Everyone has their own way of making pasta and that’s part of what makes this experience so fun. Now as for this “trucal iron”, there are other pasta tools out there that mimic what Vin’s special pasta tool does like the ones below from Amazon. I have to say, I haven’t used any of those tools from Amazon because I use my KitchenAid pasta attachment which is another great option for cutting the kneaded pasta dough. You could even cut your thinly rolled out pasta into strips by hand with a sharp knife to get the stands of fettuccine, spaghetti, or what ever thickness you might like.
Put the kneading attachment on your food processor and add the flour
Add the salt and olive oil
Turn on the food processor to slow
Add in 1 tbsp of water
Begin adding in 1 egg at a time with the processor still on slow
Add in the rest of the eggs
Keep the food processor going on medium speed to begin kneading the dough
Let knead for about 8 minutes until the texture turns into a smooth consistency
Remove the pasta dough and place onto the counter
Knead briefly with your hands and let sit for 1/2 hr.
NOTE: Vin does not cover his pasta dough while it sits for the 1/2 so it can begin to dry out a little bit
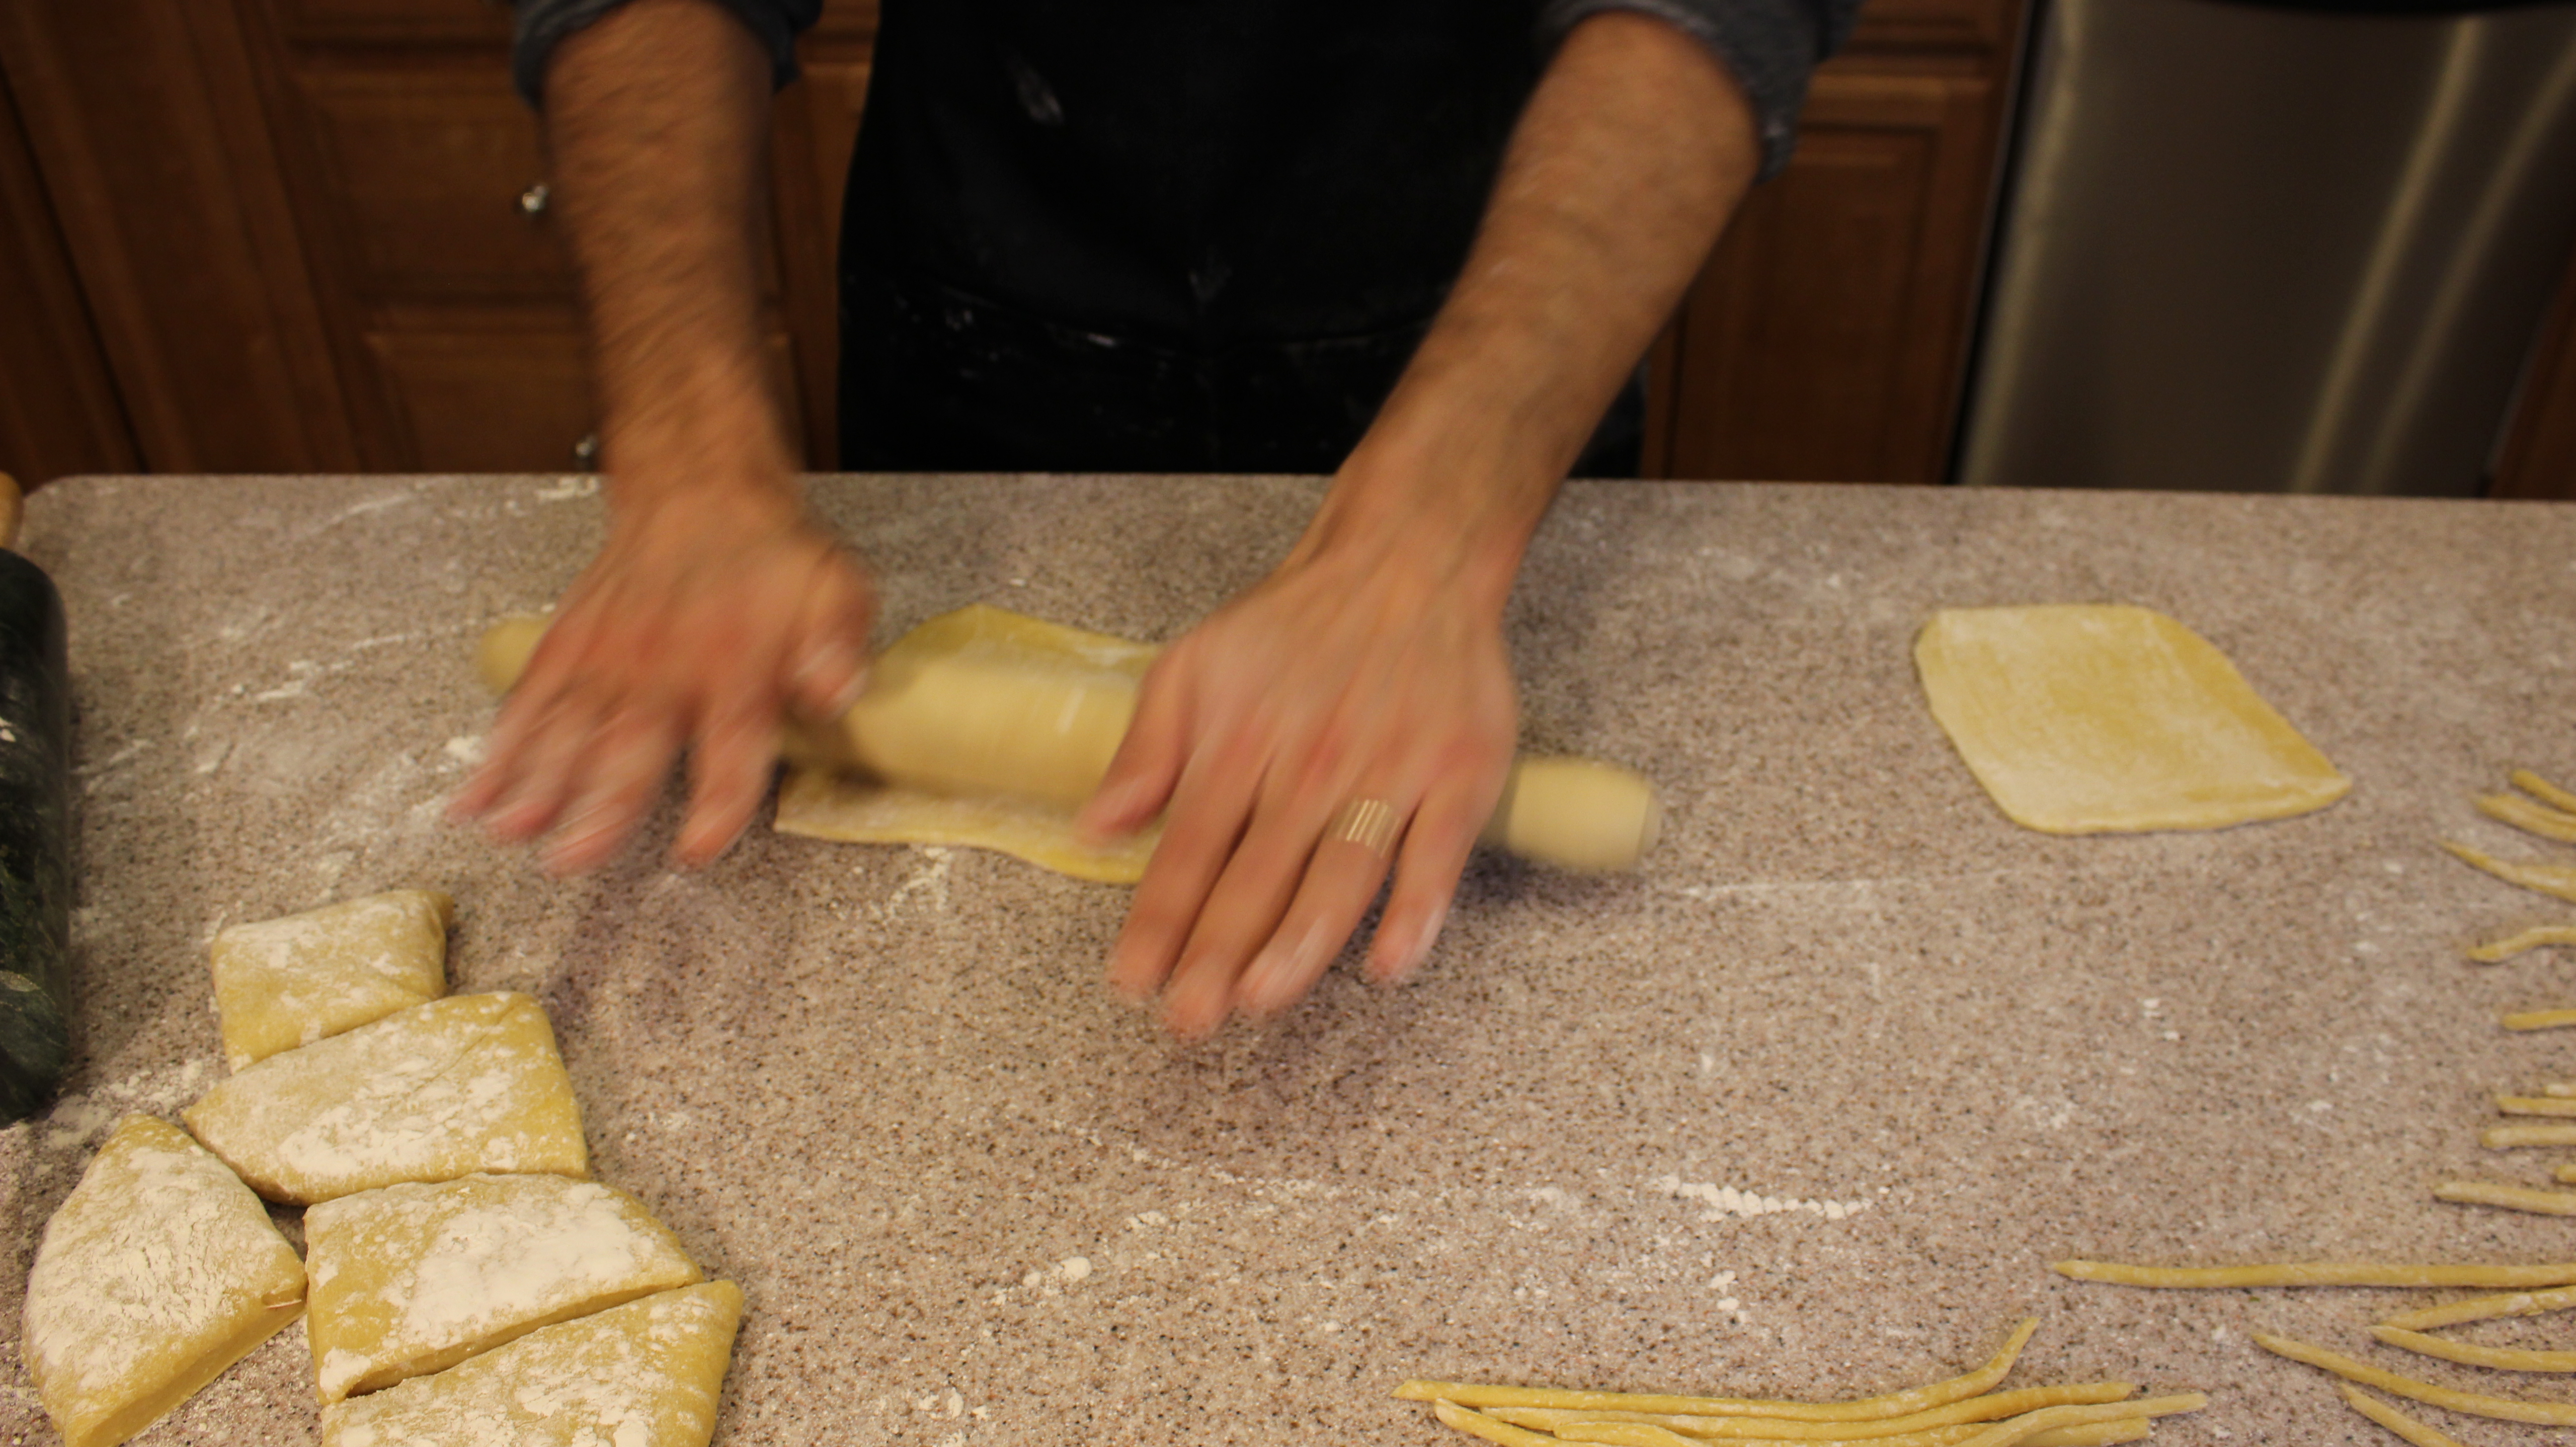
Sprinkle some flour onto the counter or work surface and cut pasta dough into 8 pieces
Begin to roll out each piece of dough to your desired thickness
Sprinkle more flour on top of each thinly rolled out pasta piece and use the roll cutter below or a sharp knife or a KitchenAid Pasta attachment to get desired pasta strips
Bring large pan of salted water to a boil and add fresh pasta
Depending on the thickness, cook pasta for 4-8 minutes, test pieces of pasta for proper doneness
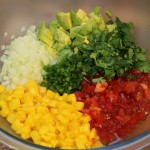
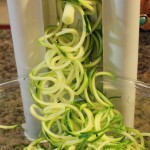
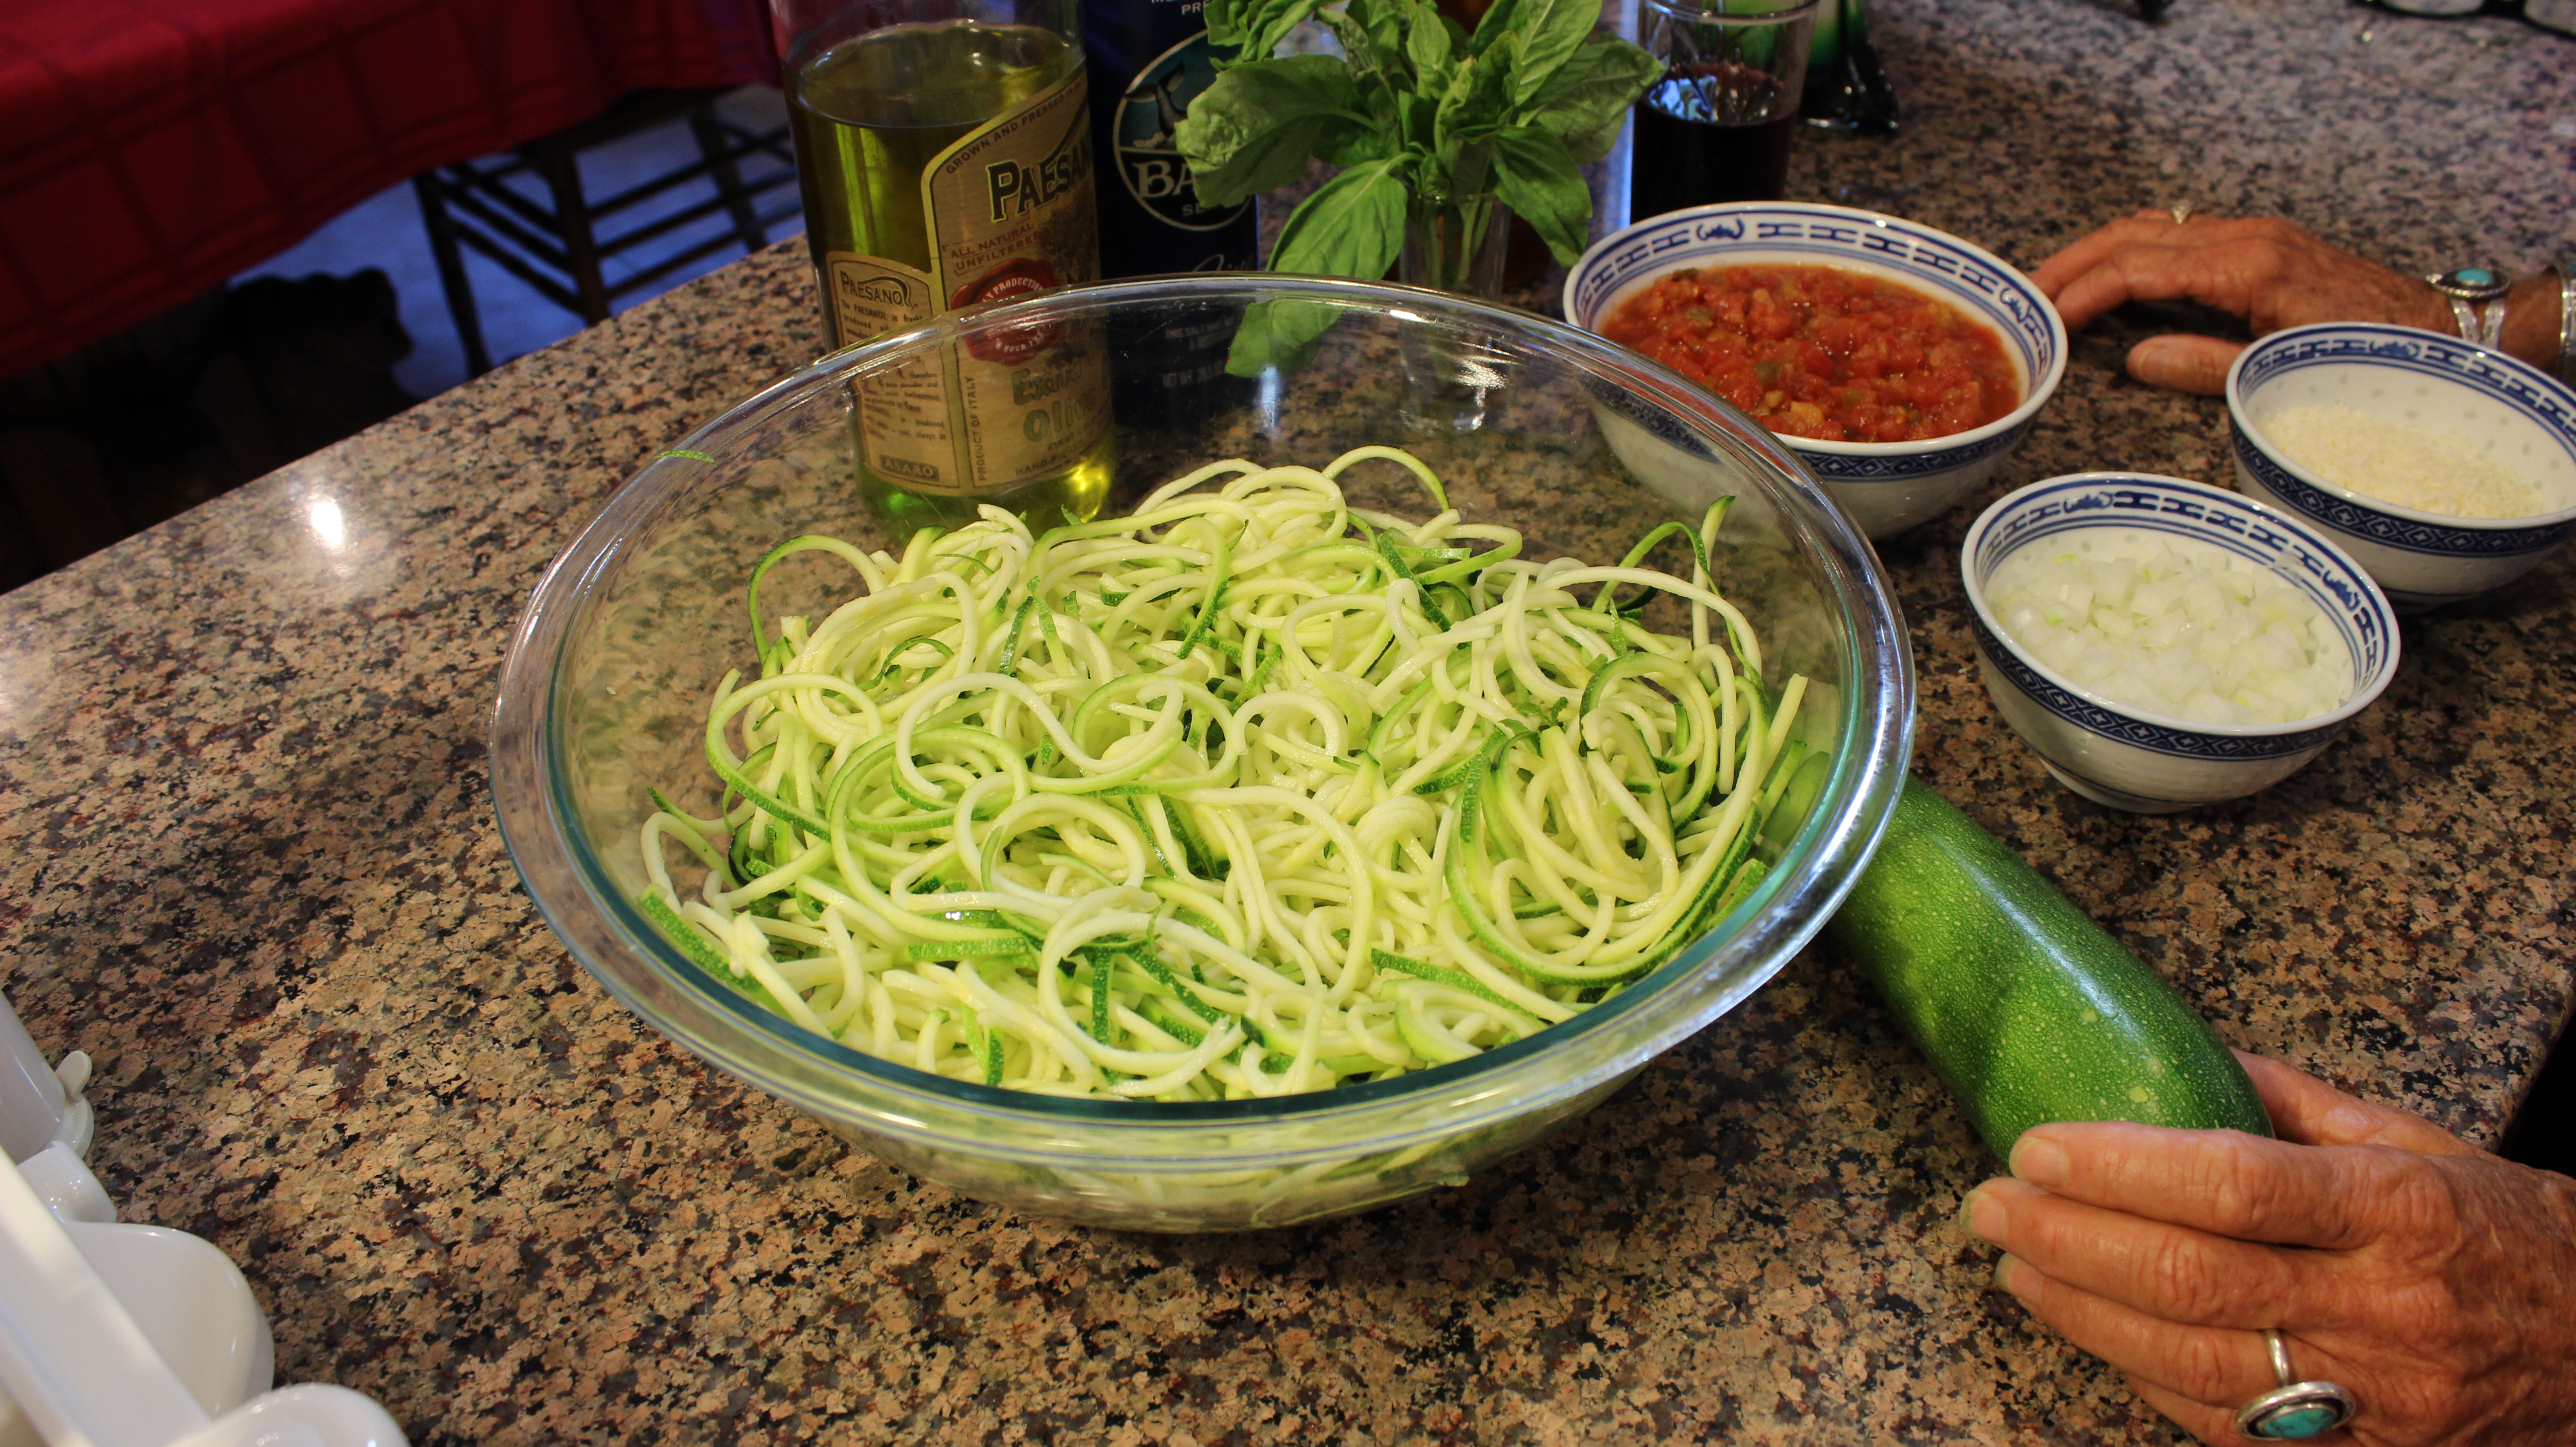
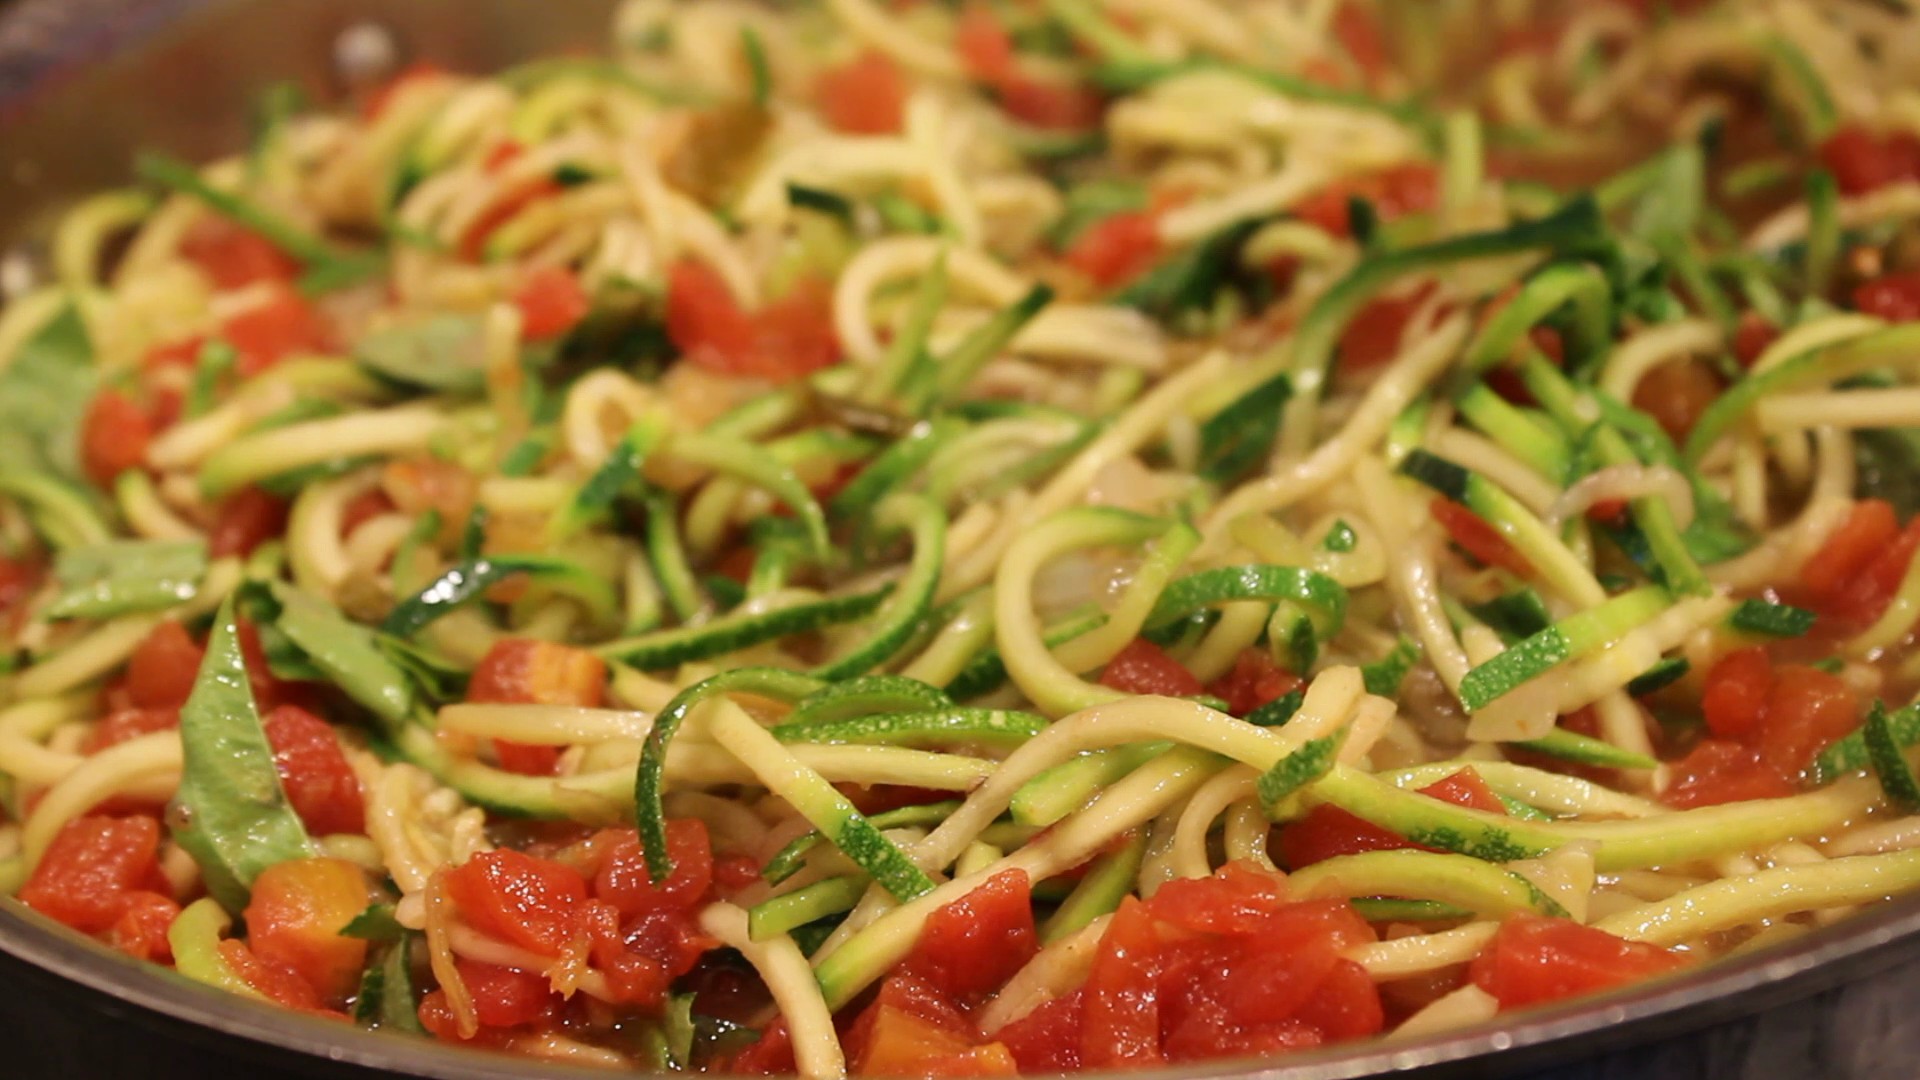
Wow! Zucchini spaghetti…who would have ever thought? A gluten free dish full of nutrients that taste’s amazing and looks as gorgeous as does is the perfect path to healthy eating! Bringing you this zucchini spaghetti simmering with tomato, basil and red wine at Jaynee’s has inspired me to put together future recipes and shows like this one.
Jaynee and I cook the zucchini spaghetti in this recipe so that it’s al dente. For those of you who might not know what Al dente means it’s an Italian term meaning to have some tooth or bite to it where the texture isn’t too soft. This is kind of ironic because that’s exactly how I like to cook my wheat pasta. I can’t think of anything worse than pasta that is fully cooked to a soft texture.
It is really exciting all the different things you can do with these creative veggie noodles! From Thai themes where raw zucchini noodles are dressed with a citrus dressing made from puréed mangoes, cilantro, fresh lime juice, and avocado’s to tahini sauce puréed with green onions, coconut meat, ginger and fresh lemons. Not only are these dressings packed with anti-oxidants and exotic flavors but the citrus partially cooks the zucchini getting results similar to ceviche. The citrus actually softens the texture of the vegetable giving you a softer mouth feel crunch rather than a harsh raw bite.
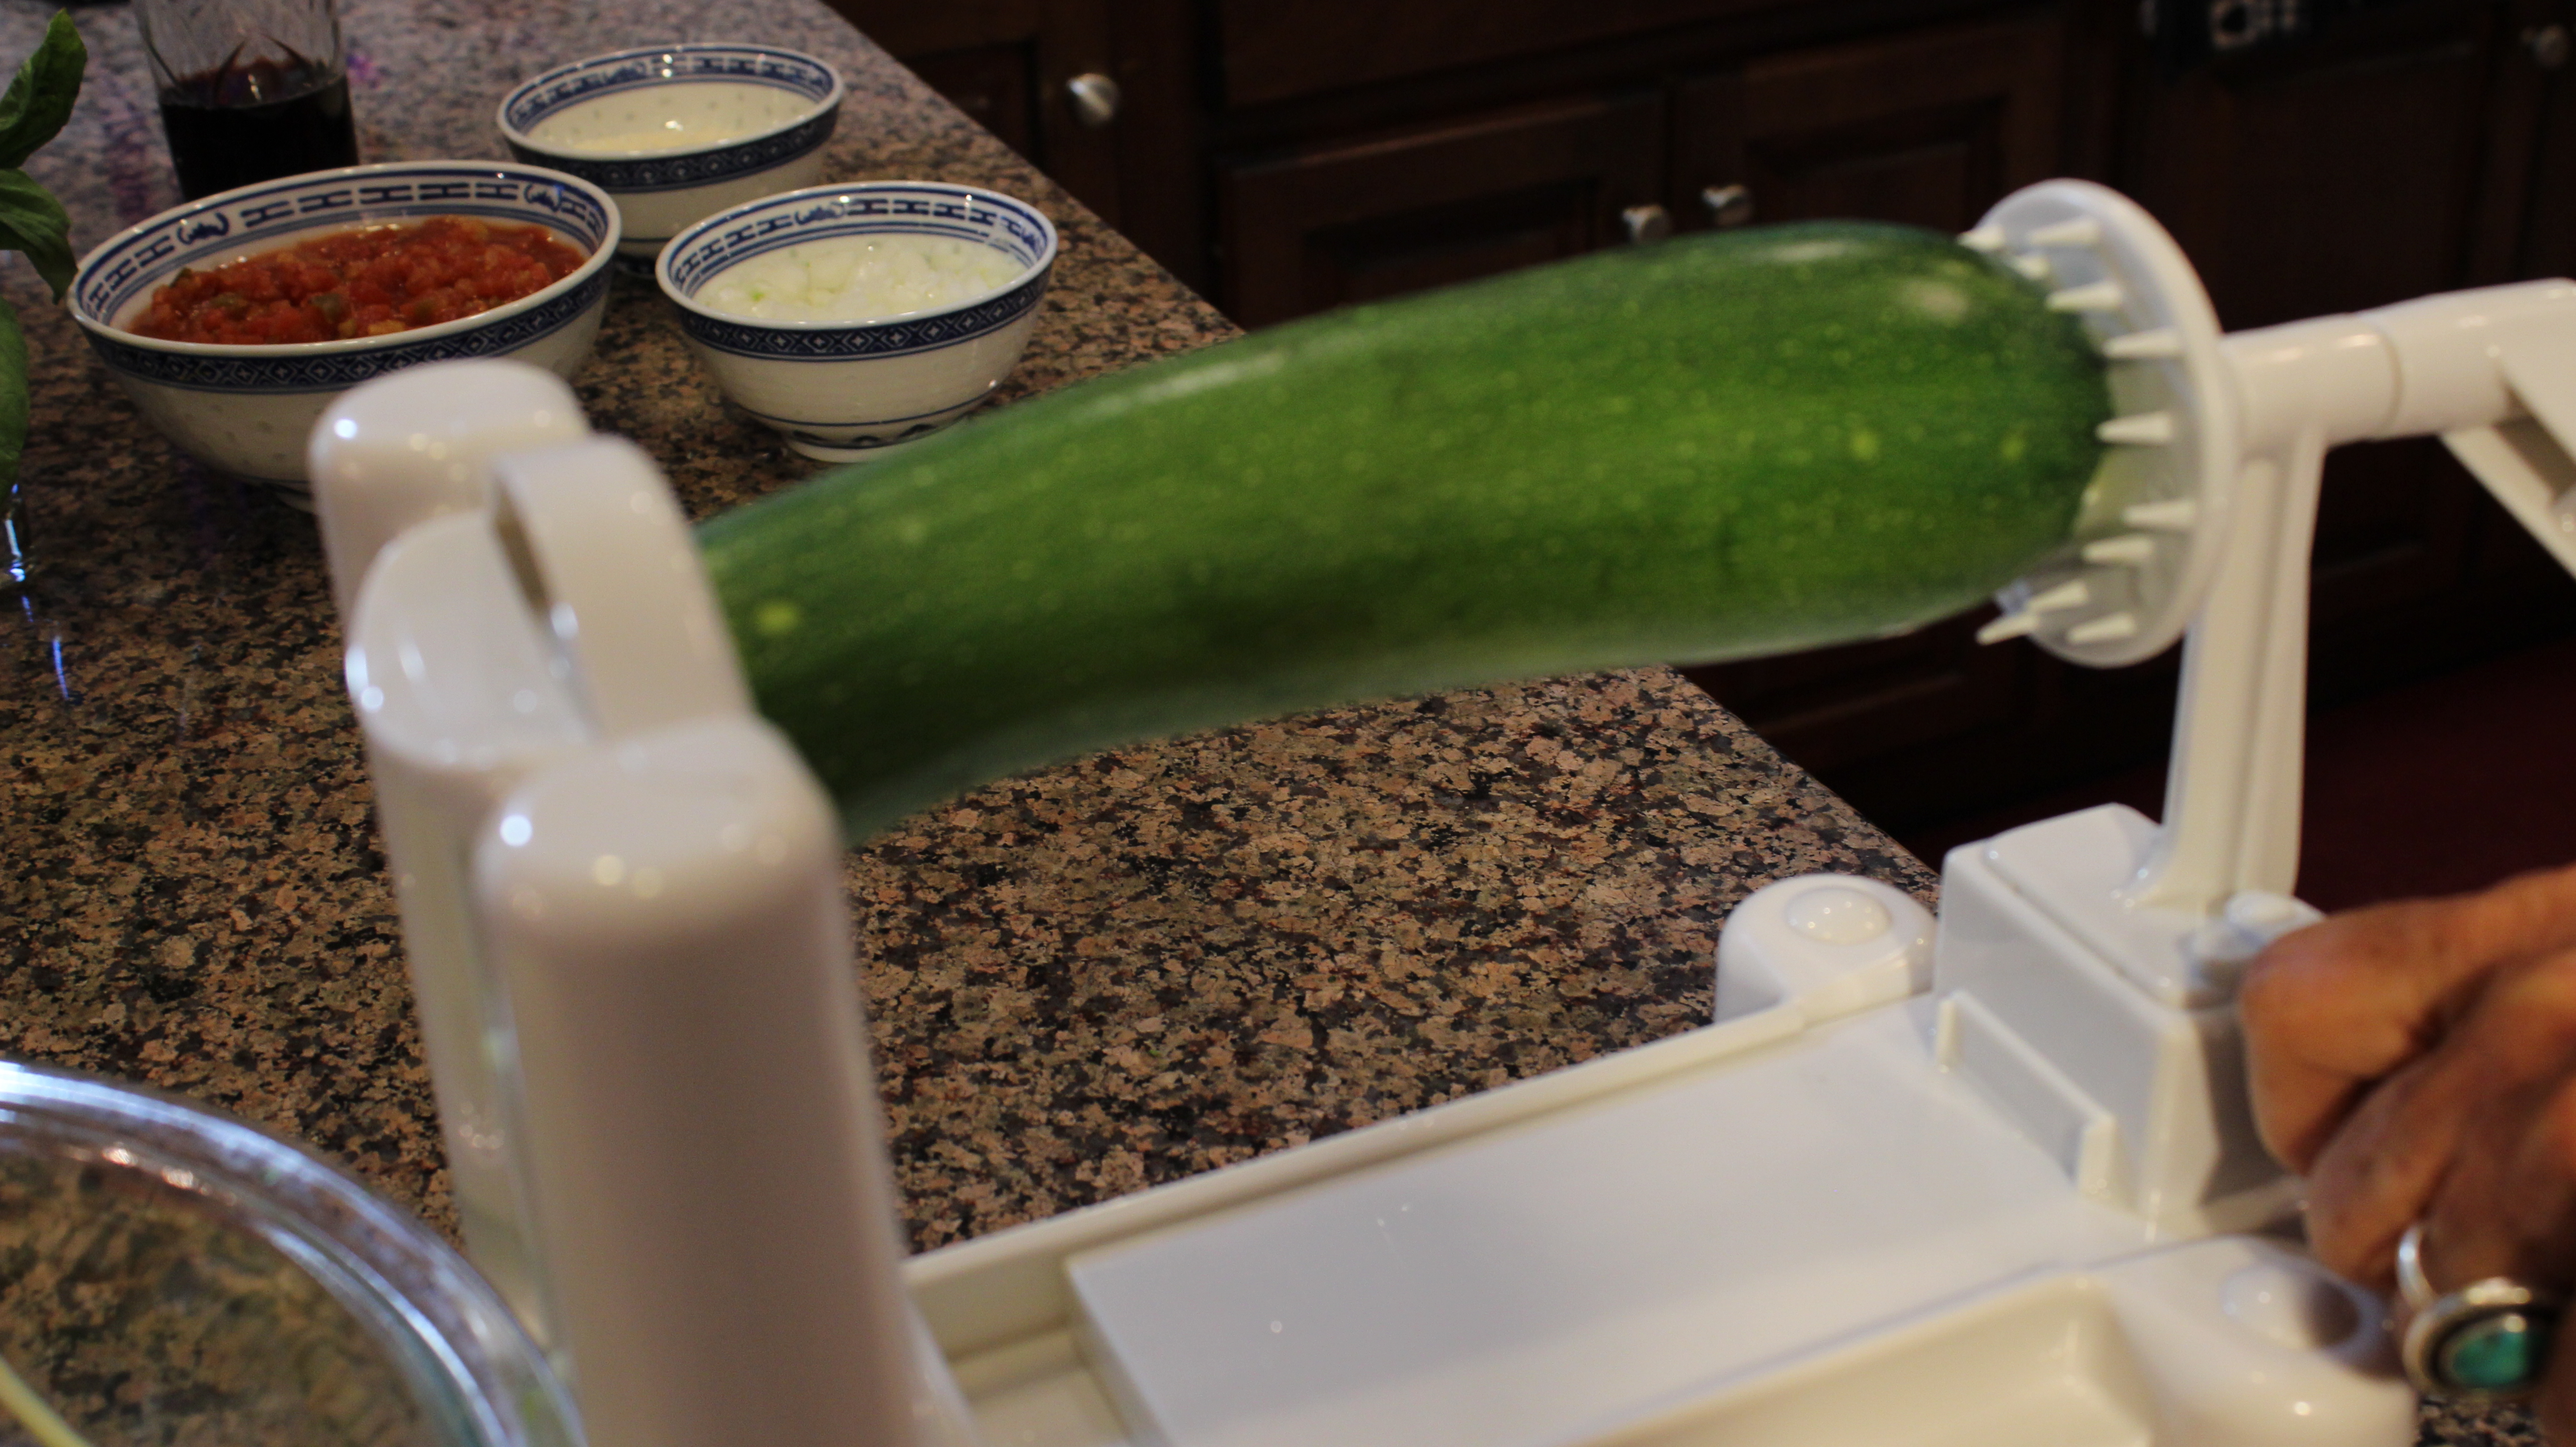
It couldn’t get any easier to make these spiral veggie noodles with the new-fangled devices available out there. I purchased my Spiralizer at William Sonoma Outlet in Westbrook on a 30% off sale with an additional 20% off if I gave them my email. Can’t go wrong there. Here is the Spiralizer Amazon link offering a great deal too! Can’t wait for you to venture off into veggie noodle land. You will be amazed how fun and delicious it is to make this recipe. Hope you enjoy the show and keep a look out for future veggie noodle recipes 🙂
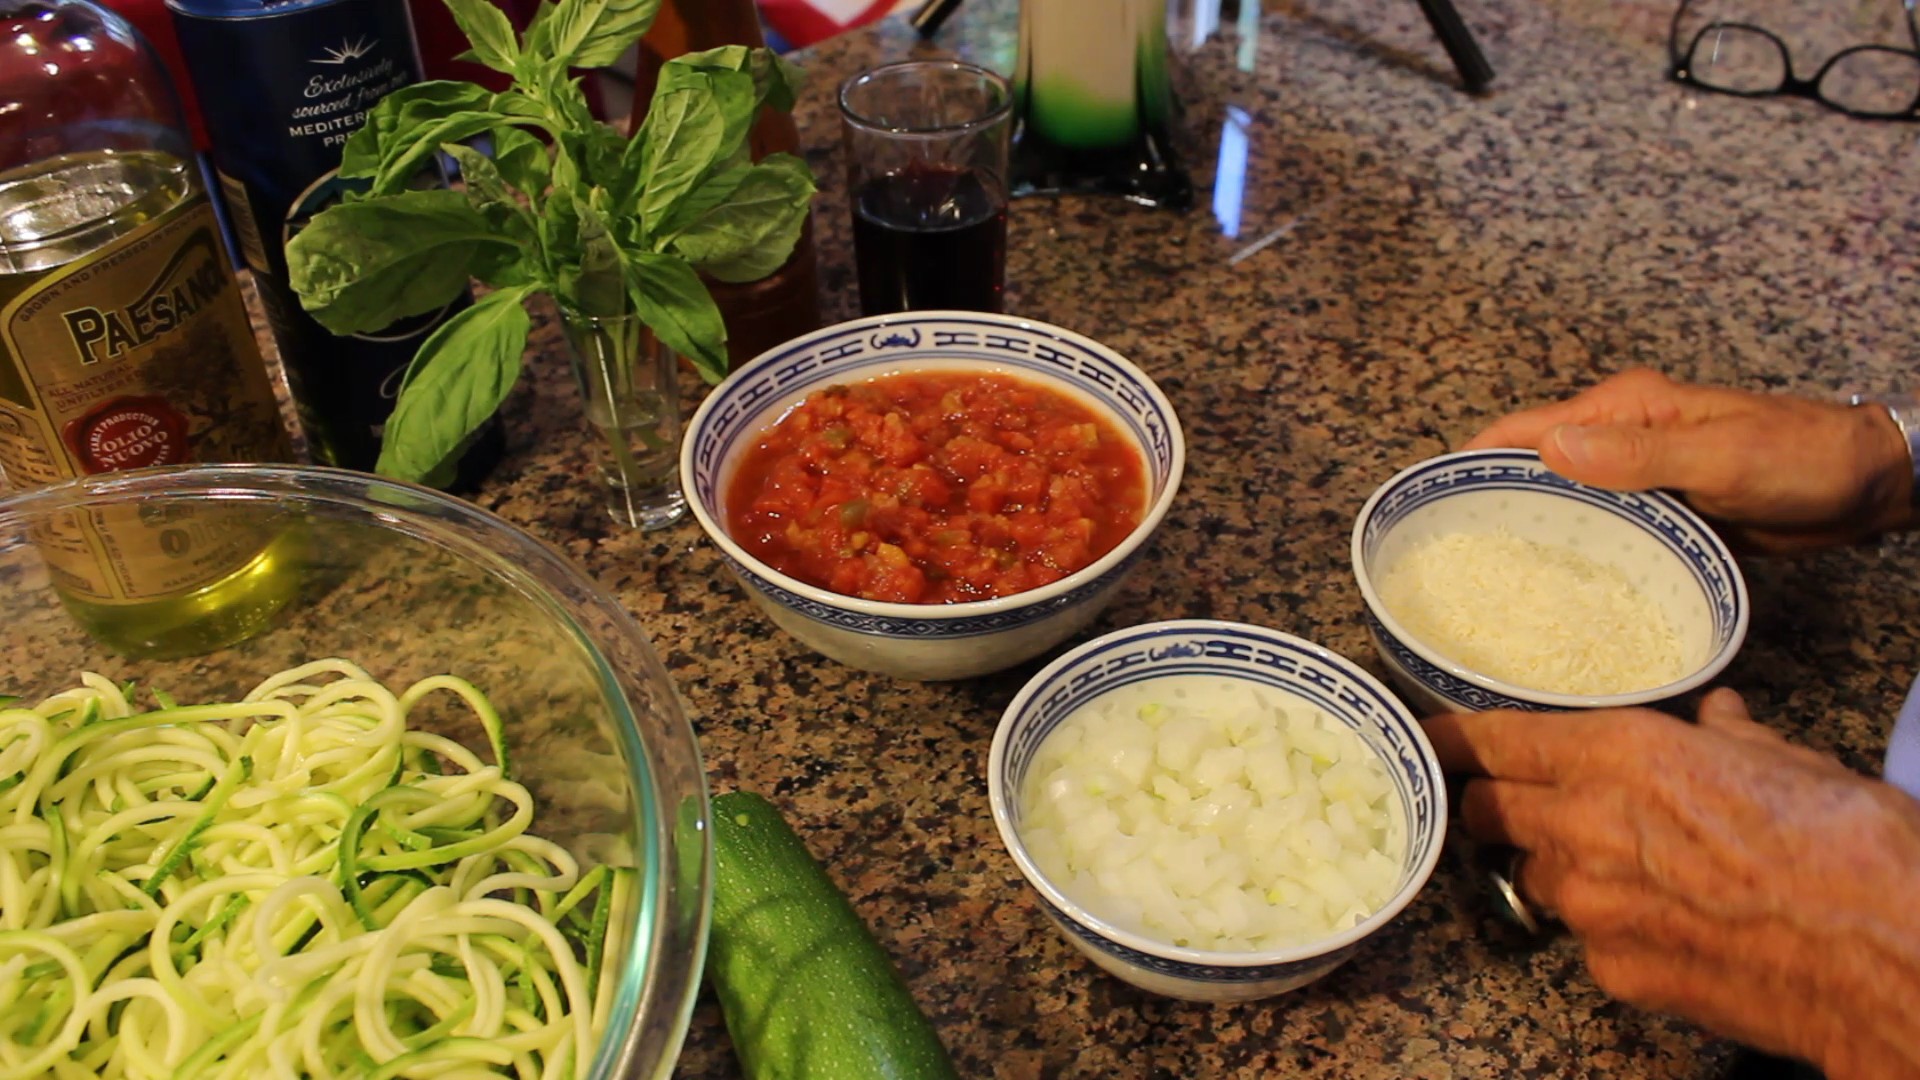
Ingredients: Need “Spiralizer” or similar to make zucchini spaghetti
4 med/lg zucchini
1 small vadalia (sweet) onion chopped
OPTIONAL: 2 finely chopped garlic cloves – If you love garlic as I do
1 14 oz. can of diced tomatoes flavored with onion, garlic, celery and or green peppers OR your favorite can of peeled tomatoes in your cabinet (just need to add in 1/4 cup chopped peppers in addition to the onion/garlic above – chop up the whole peeled tomatoes as well to add in after you sauté veggies)
NOTE: If you use “whole peeled” tomatoes DO NOT use the juice too, tomatoes only, because the zucchini renders out a lot of water all on its own.
1/4 cup red wine
3 tbsn olive oil
1 bunch fresh basil
1/2 tsp salt
S & P to taste
OPTIONAL: 1 small container of fresh ricotta to garnish at the end with the Parmesan
Directions:
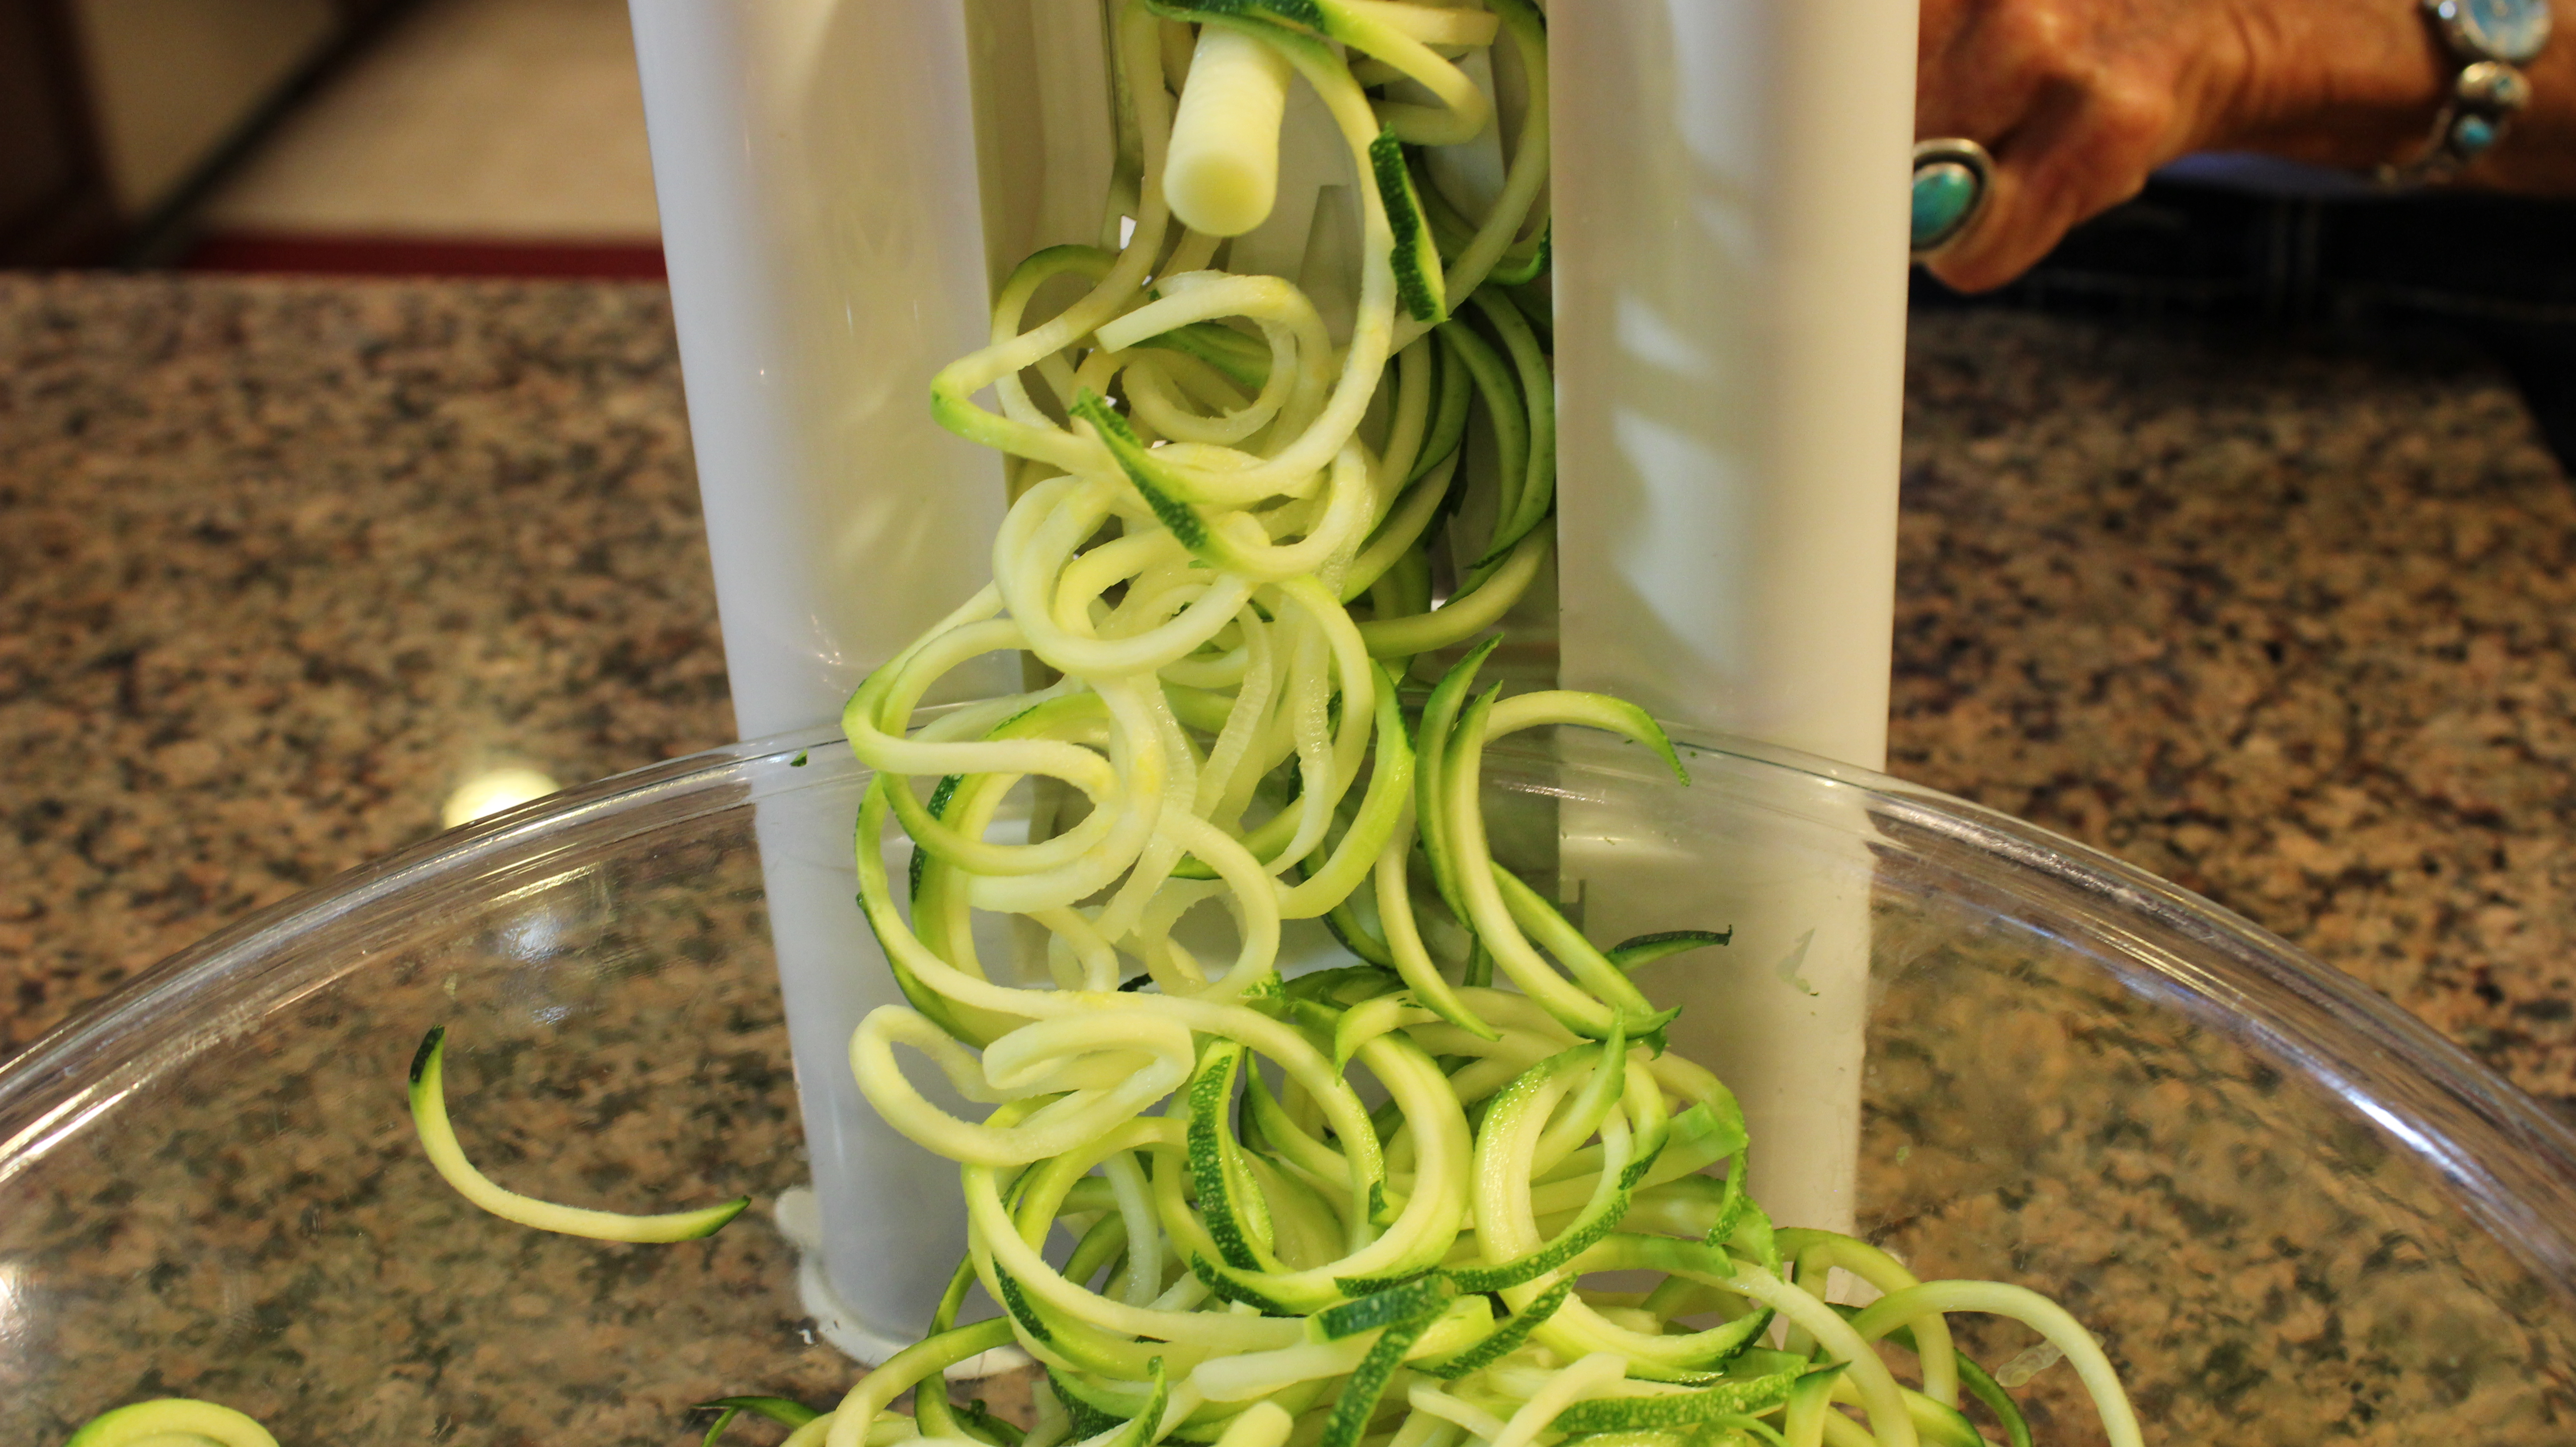
Spiralize all 4 zucchini and place in a lg bowl
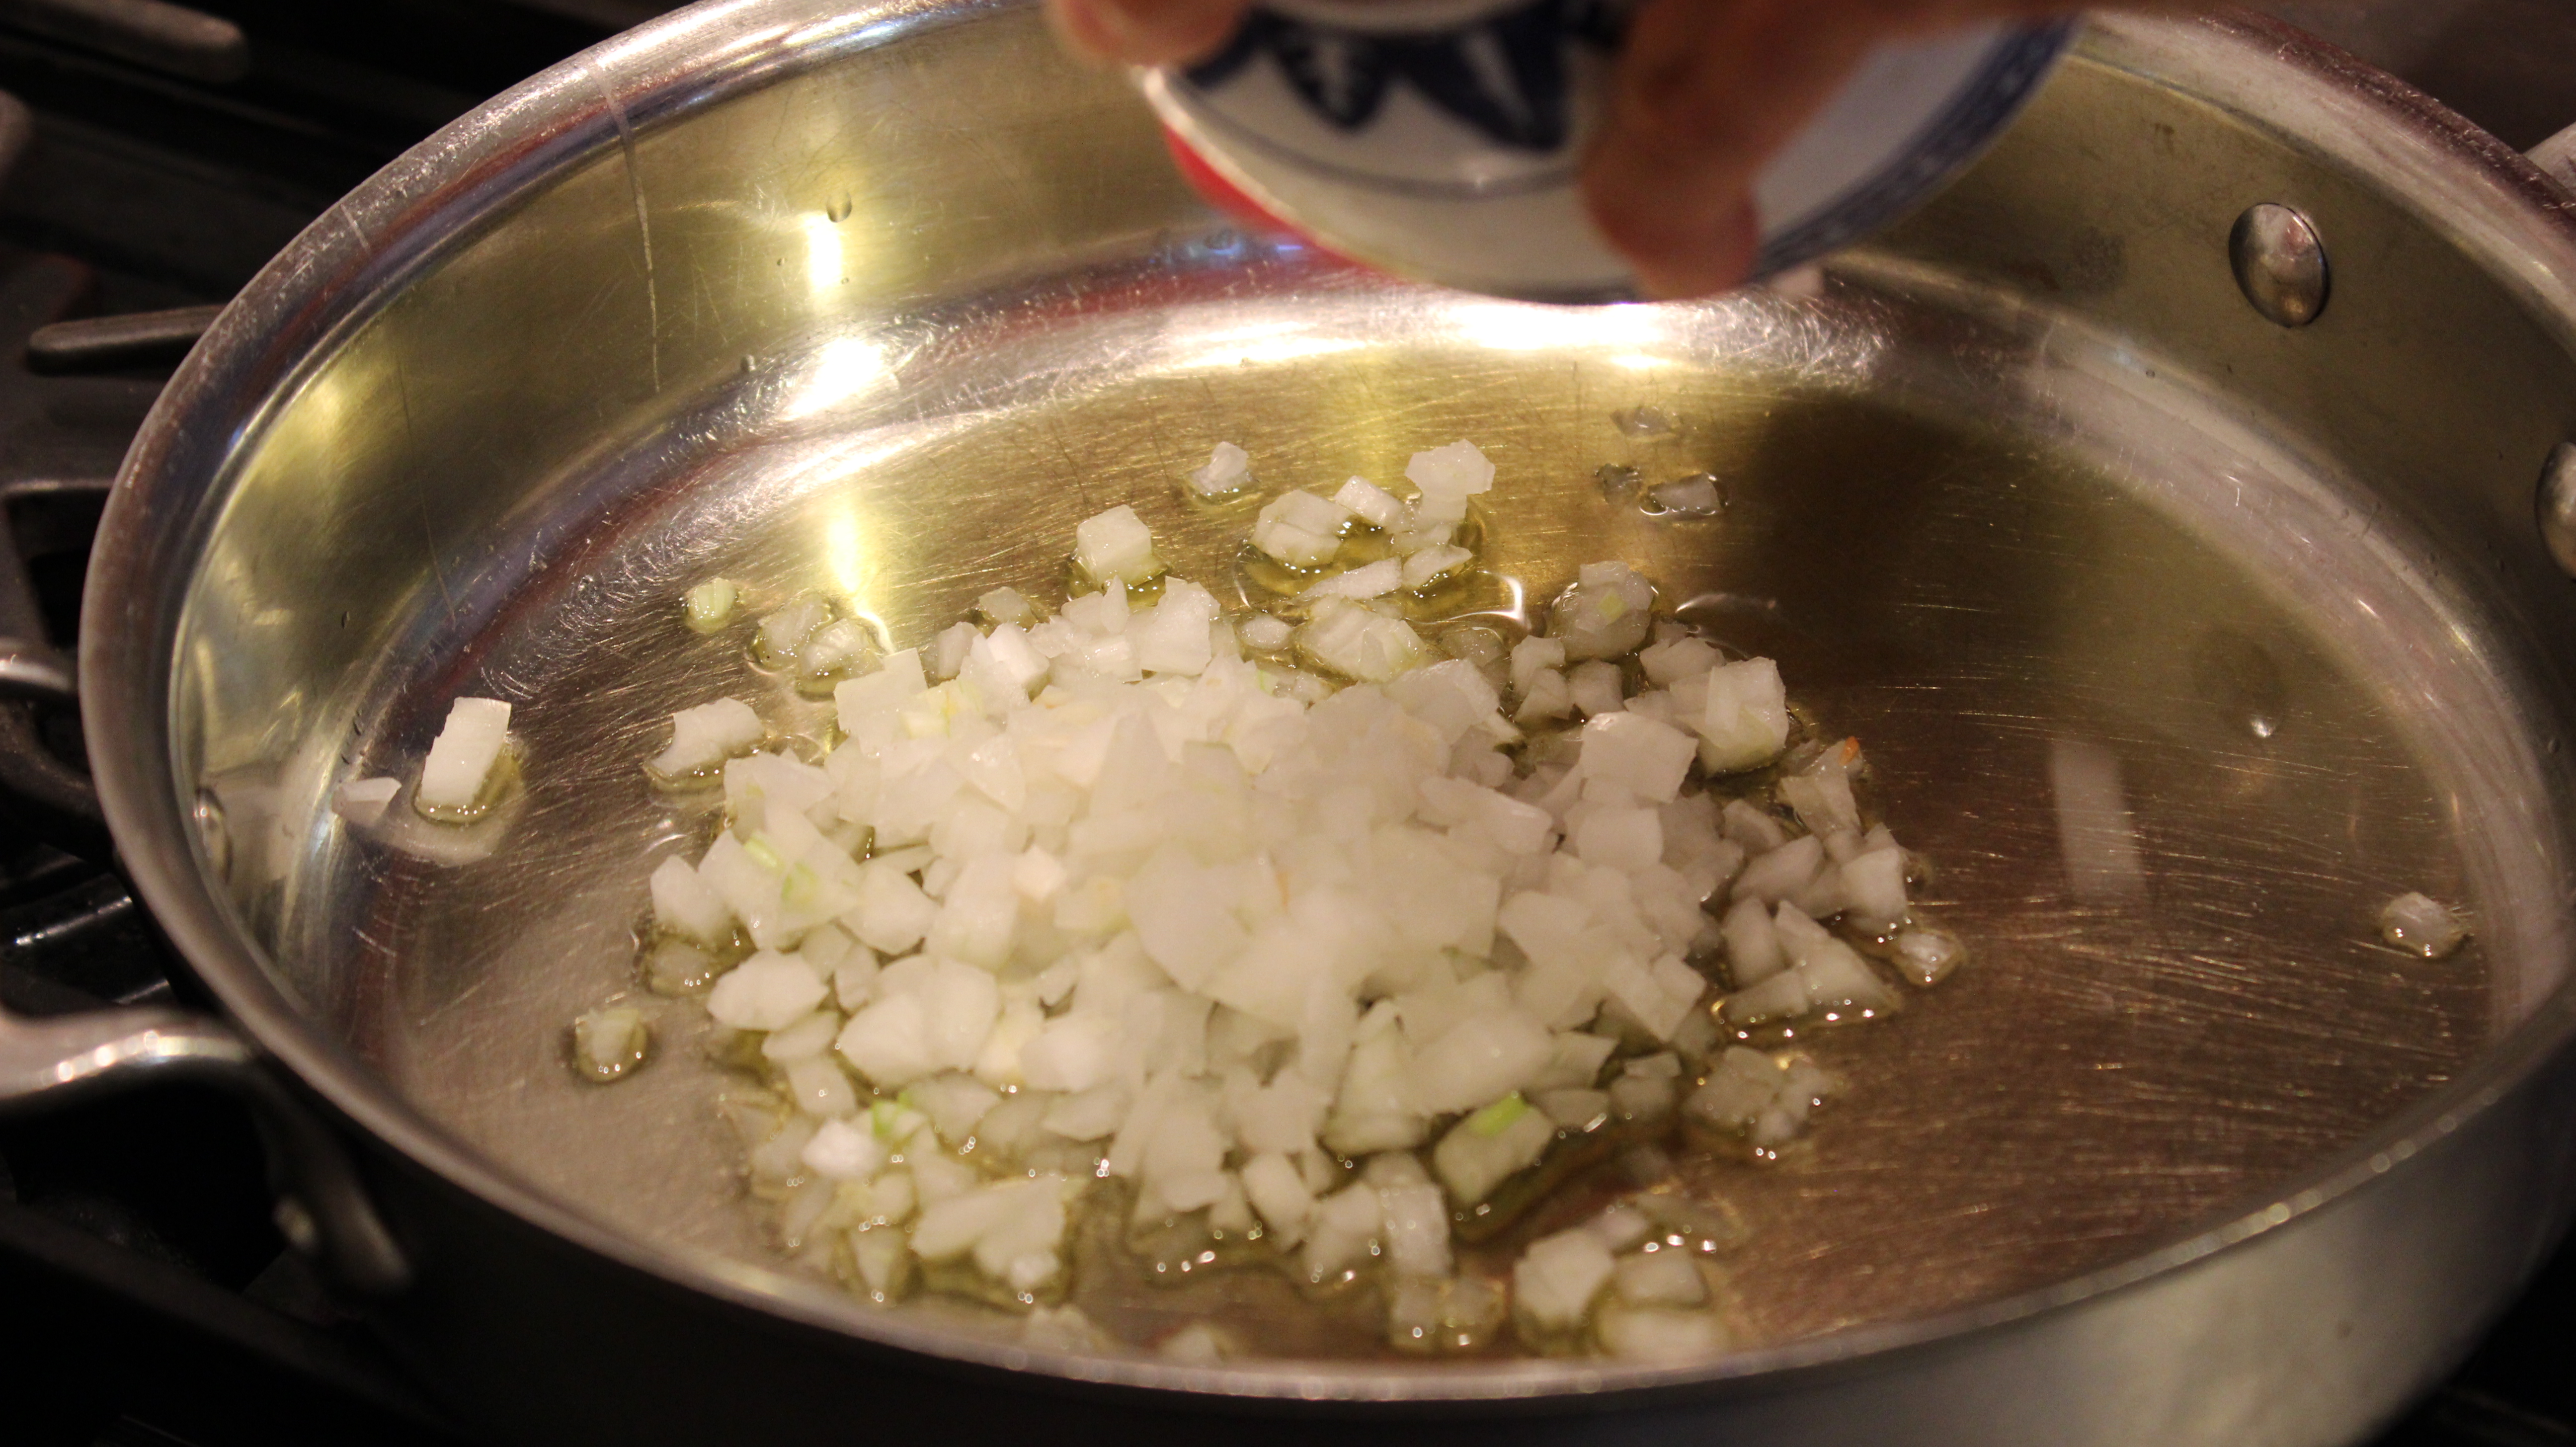
Add chopped onion to 3 tbsp olive oil in a large fry pan on medium heat
Sauté for 5 minutes til soft
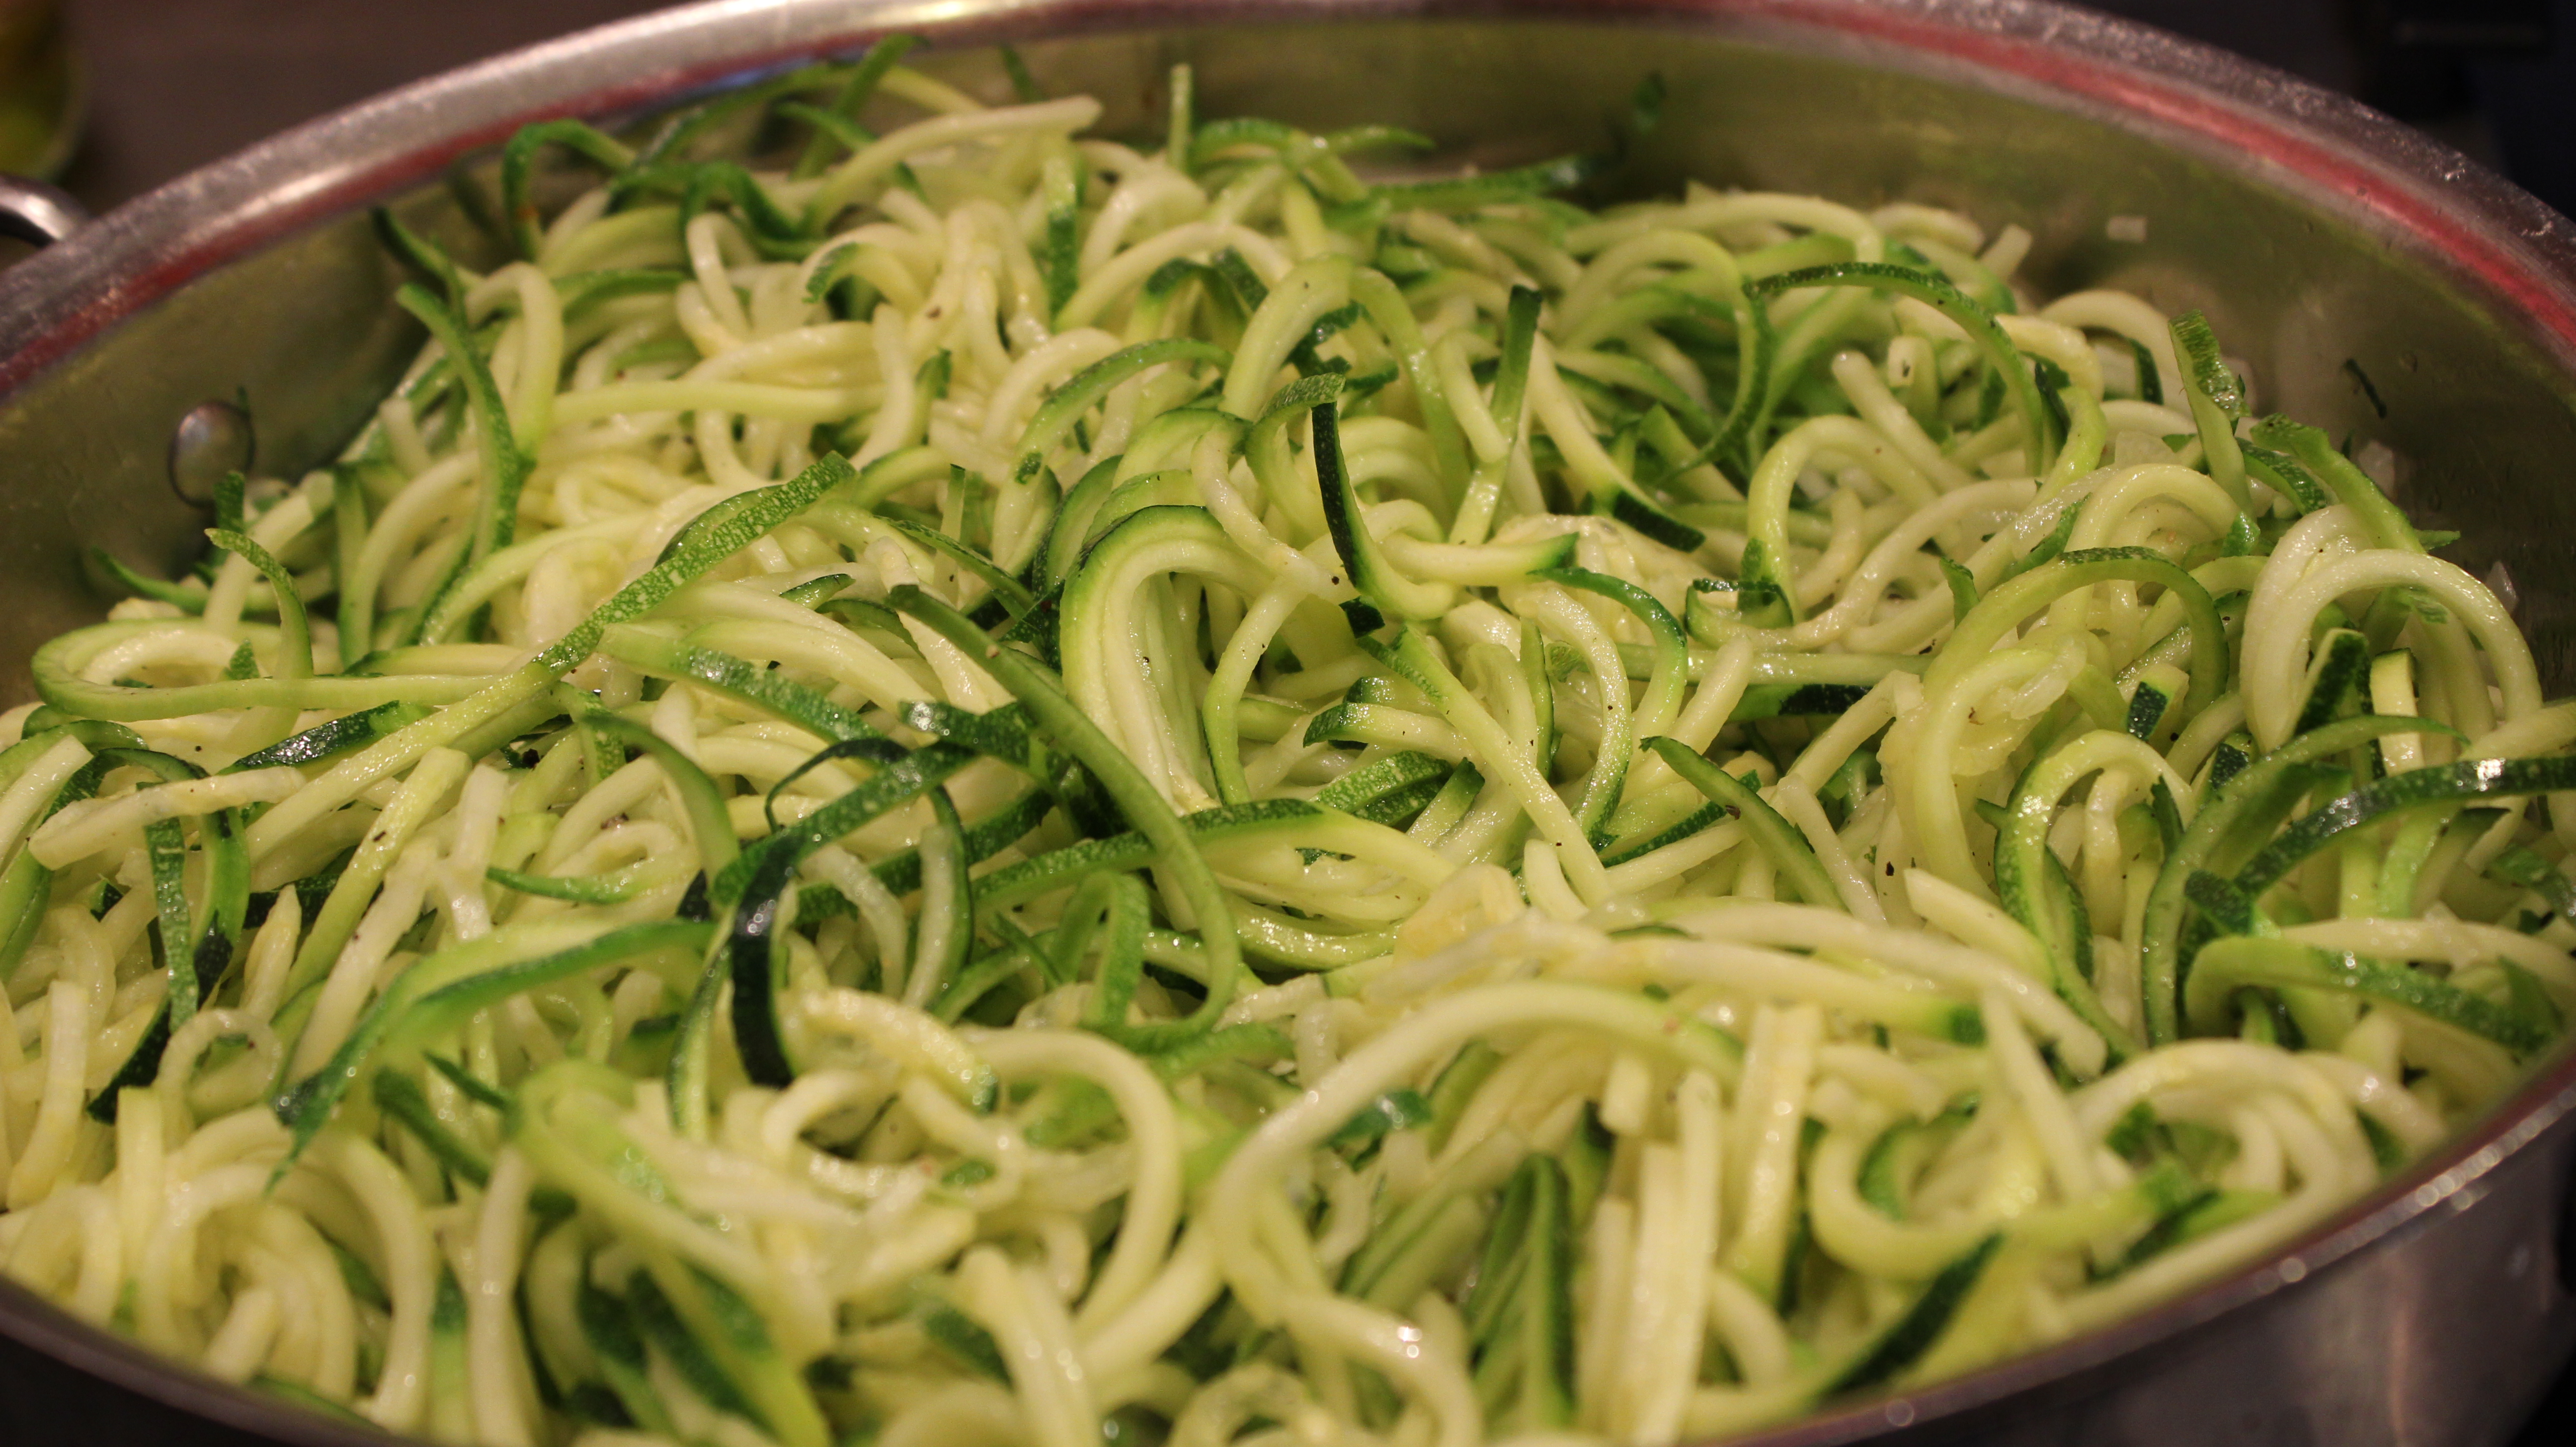
Add in Spiralized zucchini with 1/2 tsp salt and sauté 5 minutes on med/high heat- Make sure to stir a couple of times to help it from not sticking. Sautéing on med/high will help to evaporate some of that liquid rendering out of the zucchini while sautéing– (If you saute on low it will just simmer in all the water, you will then have to drain a little of the water out of the pan)
Add in tomatoes, red wine, s & p to taste and simmer 5 more minutes
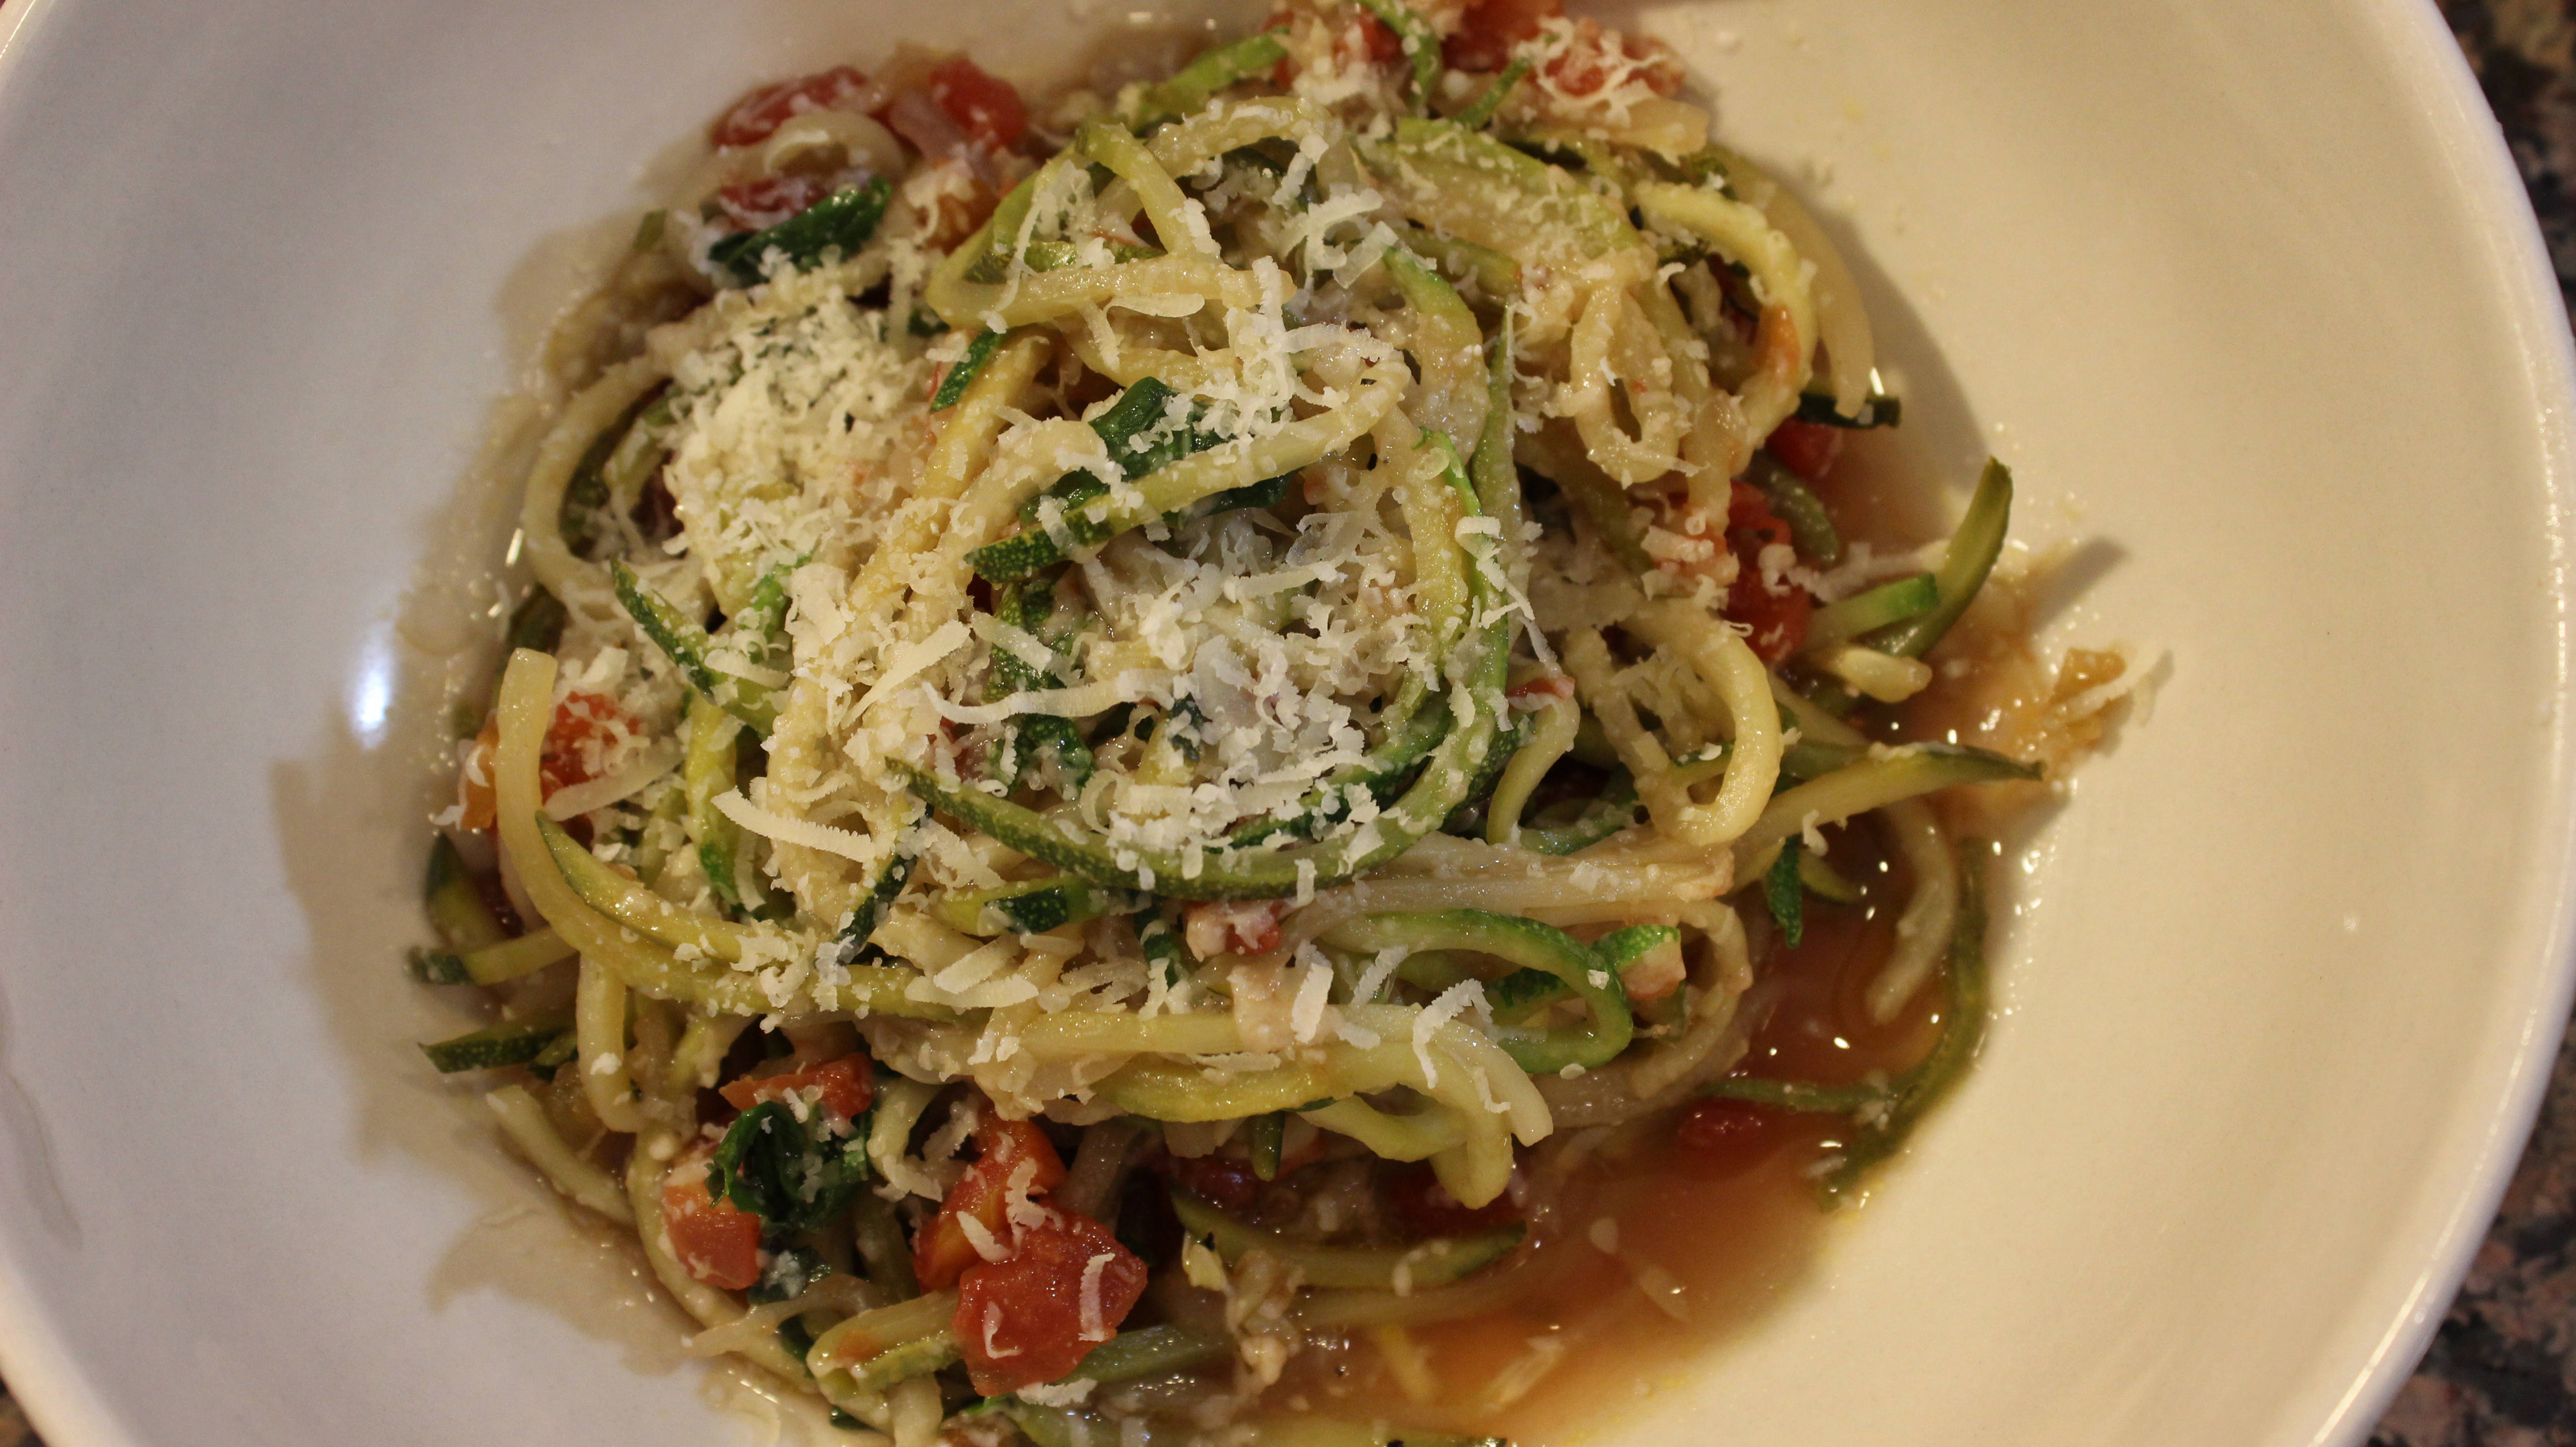
Plate up and top with your favorite grated Parmesan cheese
OPTIONAL: Top with dollops of fresh ricotta and grated Parmesan


 Spring is in the air and family gatherings for graduations are right around the corner so I wanted to share my recipe for
  Italian Braciole is traditionally made with flank steak but you can also use top round or bottom sliced thinly and pounded out a little. Simmering these beef bundles in Tomato-Basil Sauce for a couple of hours makes for a very tender and flavorful braciole. I like to serve them with rigatoni pasta and a dollop of ricotta. I’m certain that Italian Braciole will become one of your favorite dishes too!