New England Clam Chowder – My Secret Ingredients!
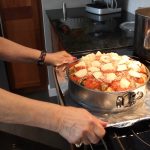
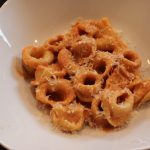
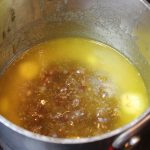
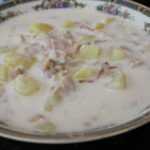
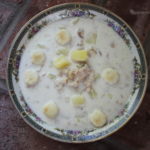
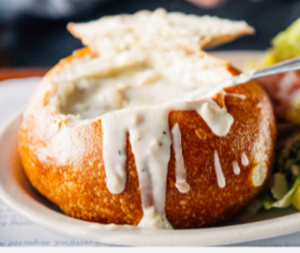
 This Creamy New England Clam Chowder is bursting with clam broth flavor, tender clams, melt in your mouth potatoes and a hint of smokey from the bacon and best of all, I can make it 12 months of the year! My secret ingredients in this homemade New England Clam Chowder push it right over the top! My mother was whipping up creamy New England clam chowder when I was little so making homemade soups just comes naturally to me. My New England clam chowder recipe reminds me of my no-nonsense crab cake recipe, no extra fillers! Topped with a little dollop of butter, a few dashes of tabasco and some oyster crackers brings me to chowda heaven!
My first secret ingredient in this New England Clam Chowder is dry cream sherry. De-glazing and simmering with dry sherry brings it to a whole new level. It really gives the chowder that extra something special everyone will be trying to figure out! If you have the time you really ought to pick up the Savory & James Medium 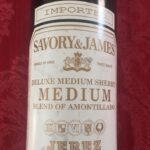 Dry Sherry-Blend of Amontillado for only $11 a bottle. It will last a while in your cupboard and help you to create amazing dishes. I would never not think of putting a big splash of dry sherry into my chowder! You will understand why once you try it this way …you’ll never go back to sherry-less chowder!
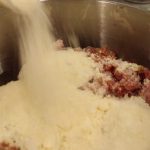
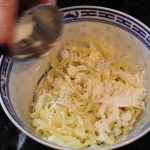
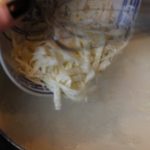
My second secret ingredient is Wondra Quick-Mixing Flour, it’s a godsend. You don’t have to bother with a roux and worrying about lumps in your soup, sauce or gravy ever. It will change the way you cook! You can add the Wondra at any time during the creation of your dish and it magically dissolves. Sometimes we need a roux, like for making a gumbo when you want to develop that nutty flavor working it into a dark golden color but we don’t need that in New England Clam Chowder!
How wonderful if it’s the right time of the year and you’ve set aside time to find and buy fresh whole clams for your chowder but my recipe can be made at the snap of your fingers, 12 months of the year. It tastes like restaurant quality chowder and it’s easy to do. I always stock my cabinets with snows clams and broth for chowder or linguine and clam sauce!
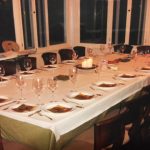
This New England Clam Chowder is especially great for parties like Memorial Day, which is right around the corner! Another great party dish you may want to add is Buffalo Chicken Dip, BEST Guacamole Ever, Salsa 101, Homemade Sweet & Tangy BBQ Sauce, or a gorgeous and most delicious Pavlova for dessert!


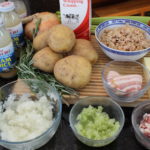


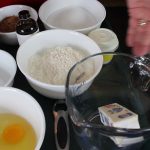
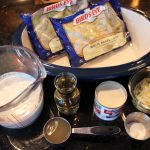
Ingredients (NOTE- Quantities can easily be halfed OR quartered …it’s still delicious!):
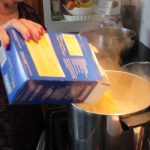
- 6 cans “Snows” clams – 5 “chopped” clams & 1 “minced”
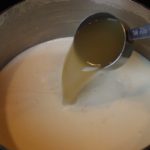
- 5 Bottles “Snows Clam Broth = 6 cups broth (5 cups bottle + 1 cup comes from the cans after you drain the clams)
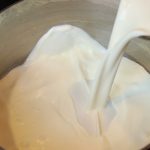
- 2 cups heavy cream
- 1 cup half and half
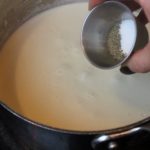
- 3/4 cup good dry cream sherry -(the pink one) Savory & James Medium Dry Sherry -“Amontillado” is one of my favorites (1/4 cup to de-glaze onion/celery and 1/2 cup to simmer with broth base)
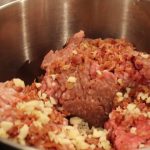
- 2 slices minced bacon (smokey flavor ONLY not maple)
- 3 extra lg potatoes or 4 small diced to 1/2″ size
- 2 celery stalk finely diced
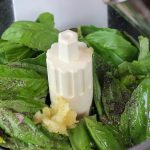
- 1 whole sweet onion finely diced
- 1 bunch rosemary tied with string … just a flavor bundle – to be removed
- 1 large bay leaf
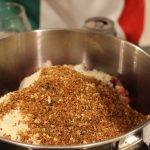
- 1 tsp salt
- 1/2 tsp finely ground pepper
- 3 sprinkles of “Wondra-Quick Dissolving Flour”
Directions:
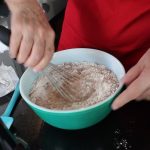
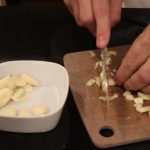
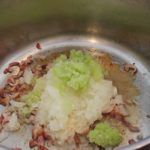
- Finely chop 1 whole onion
- Finely chop 2 celery stalks
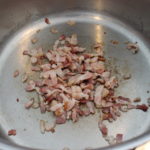
- Slice 3 slice of smoked bacon, then dice that
- Add diced bacon to large pot and begin to sauté on low, just want the bacon to become slightly crispy
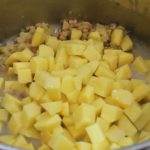
- Add in chopped onion and celery and sauté until lightly golden
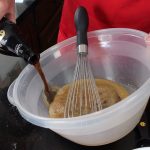
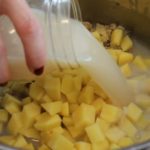
- De-glaze with 1/4 cup dry cream sherry
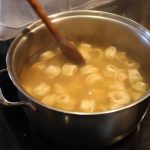
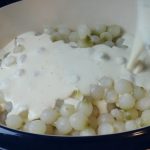
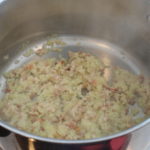
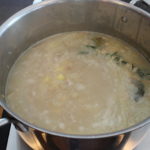
- In 1 minute add in diced Yukon potatoes and all the clam broth from cans and bottles and 2 bay leaves and 1 tsp salt
- Bring to a simmer and cook for 12-15 minutes until the potatoes are tender but FIRM because the potatoes will continue to cook even after you take them off the heat
- Tie off a bundle of fresh rosemary with cotton string
- At the 5 minute mark of simmering the potatoes ADD in the rosemary bundle and 1/2 cup of dry cream sherry and bring back to a low simmer
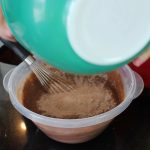
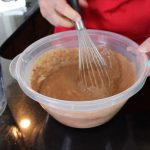
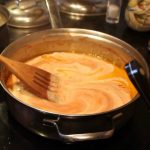
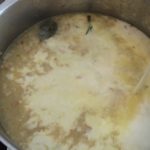
- At the last 2 minutes of simmering the potatoes ADD in 3 cups of heavy cream, 1/4 tsp finely ground blk pepper and possibly 1 tsp more of salt (you need to taste here to see if your chowder needs this addition of salt) and bring back to a low simmer
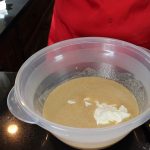
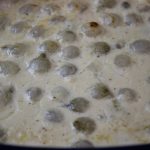
- Take the New England Clam Chowder base off the heat and gently stir in all the clams
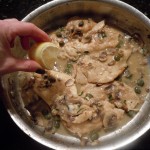
- Remove the the rosemary bundle and the bay leaves and serve with Tabasco and oyster crackers
- If this is for the following day cool chowder completely at room temp allowing space with the cover for the soup to evaporate, place in frig
- When re-heat the soup watch carefully not to bring to a boil…just heat thru…mmm! Enjoy!
Shop Ingredients HERE!

Cutiset 20 Ounces ceramic bowls set with handles for chowder, set of 4
San Francisco Boudin Bakery Sourdough Rounds 16 oz (2 Bread Rounds)

Baking Serving Ceramic Red 16 Oz Soup Bowls with Handles – Set of Four – Stoneware Chowder Bisque Pot Pie Crocks

SNOW’S BY BUMBLE BEE Chopped Clams, 6.5 Ounce Can (Case of 12), Canned Clams, Gluten Free, High Protein, Keto Food, Keto Snacks, Paleo Diet Food, Canned Food


2-Ounce Premium Whole Bay Leaves

Tabasco Original Flavor Pepper Sauce 2 oz (Pack of 4)

Wondra All Purpose Quick-Mixing Sauce ‘N Gravy Flour (Pack of 2) 13.5 oz Size by Gold Medal

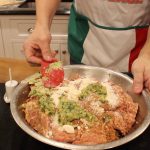
 With Easter right around the corner I was excited to be back on CT Style in The Bender Kitchen with Ryan and Teresa so I could share with you my family’s secret recipe for
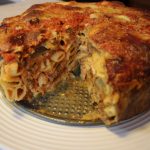
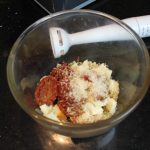
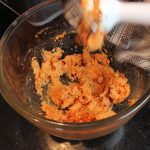
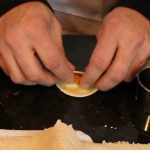
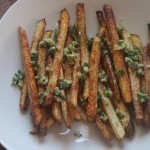
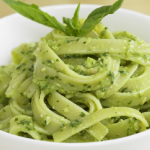
  Italian tradition always includes a yummy side dish to go along with the ham, leg of lamb, turkey, salmon or tenderlion like manicotti, lasagna, eggplant rollatini or parmesan. Comfort food bringing it all together, an Italian side dish makes such a nice compliment to what ever meat or fish you choose.

 You are definitely going to want to try these Guinness Chocolate Cupcakes with the Viennese Chocolate Frosting and the timing couldn’t be more perfect with St. Patrick’s Day right around the corner. Looks like you may need a super awesome appetizer that will make use of that left over corned beef too like my