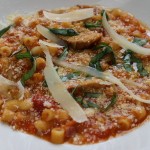
Tortellini at The Gulla’s
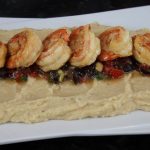
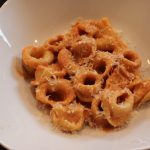
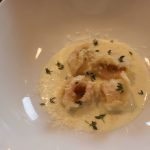
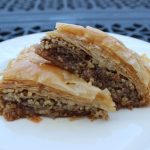
You know this labor of love is so worth the effort when you taste how tender and flavorful these homemade tortellini are! The delicate, circular shaped pasta are stuffed with a purée of sundried tomato, mozzarella, and Reggiano Parmesan and served in one of my all time favorites, a tomato-cream sauce. I introduced Steve to another easy and scrumptious sauce, Gorganzola Dolce-Cream Sauce that’s garnished with fresh thyme and a drizzle of truffle oil!
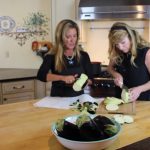
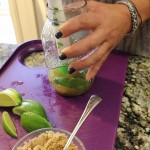
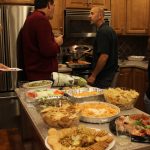
This past weekend I was at The Gulla’s house with Steve and his son Maximo making their homemade tortellini. Steve dedicates a few hours every Christmas Eve making these little gourmet bites for his family’s Christmas dinner. Making these tortellini is definitely a labor of love because you are creating each little amazing folded bundle of pasta by hand.
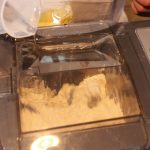
Having a Smart pasta machine like Steve’s really cuts down on the labor of making tortellini as the pasta comes out of the machine in long ready-made sheets in mere minutes. It’s a very cool process putting out smooth sheets of pasta in 3 minutes flat but you can also learn to make Steve’s tortellini using homemade pasta too if you don’t own an Smart pasta machine. I have a homemade pasta recipe below for all of us without a pasta machine who don’t want to miss out on learning how to make these incredible tortellini.
As Italian legend goes on how the shape of the tortellini came about dates back to the days when Venus, the Goddess of Love, was traveling to a small town in Italy between Modena and Bologna. She was staying at a tavern where the Innkeeper was so taken by her beauty he peeked thru the key to her room one night and got a glimse of her navel. He rushed to the kitchen and created a pasta in the likeness of her belly button. And that’s how the shape of the tortellini came about, the belly button pasta! Who Knew?
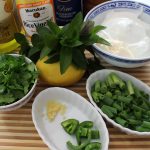
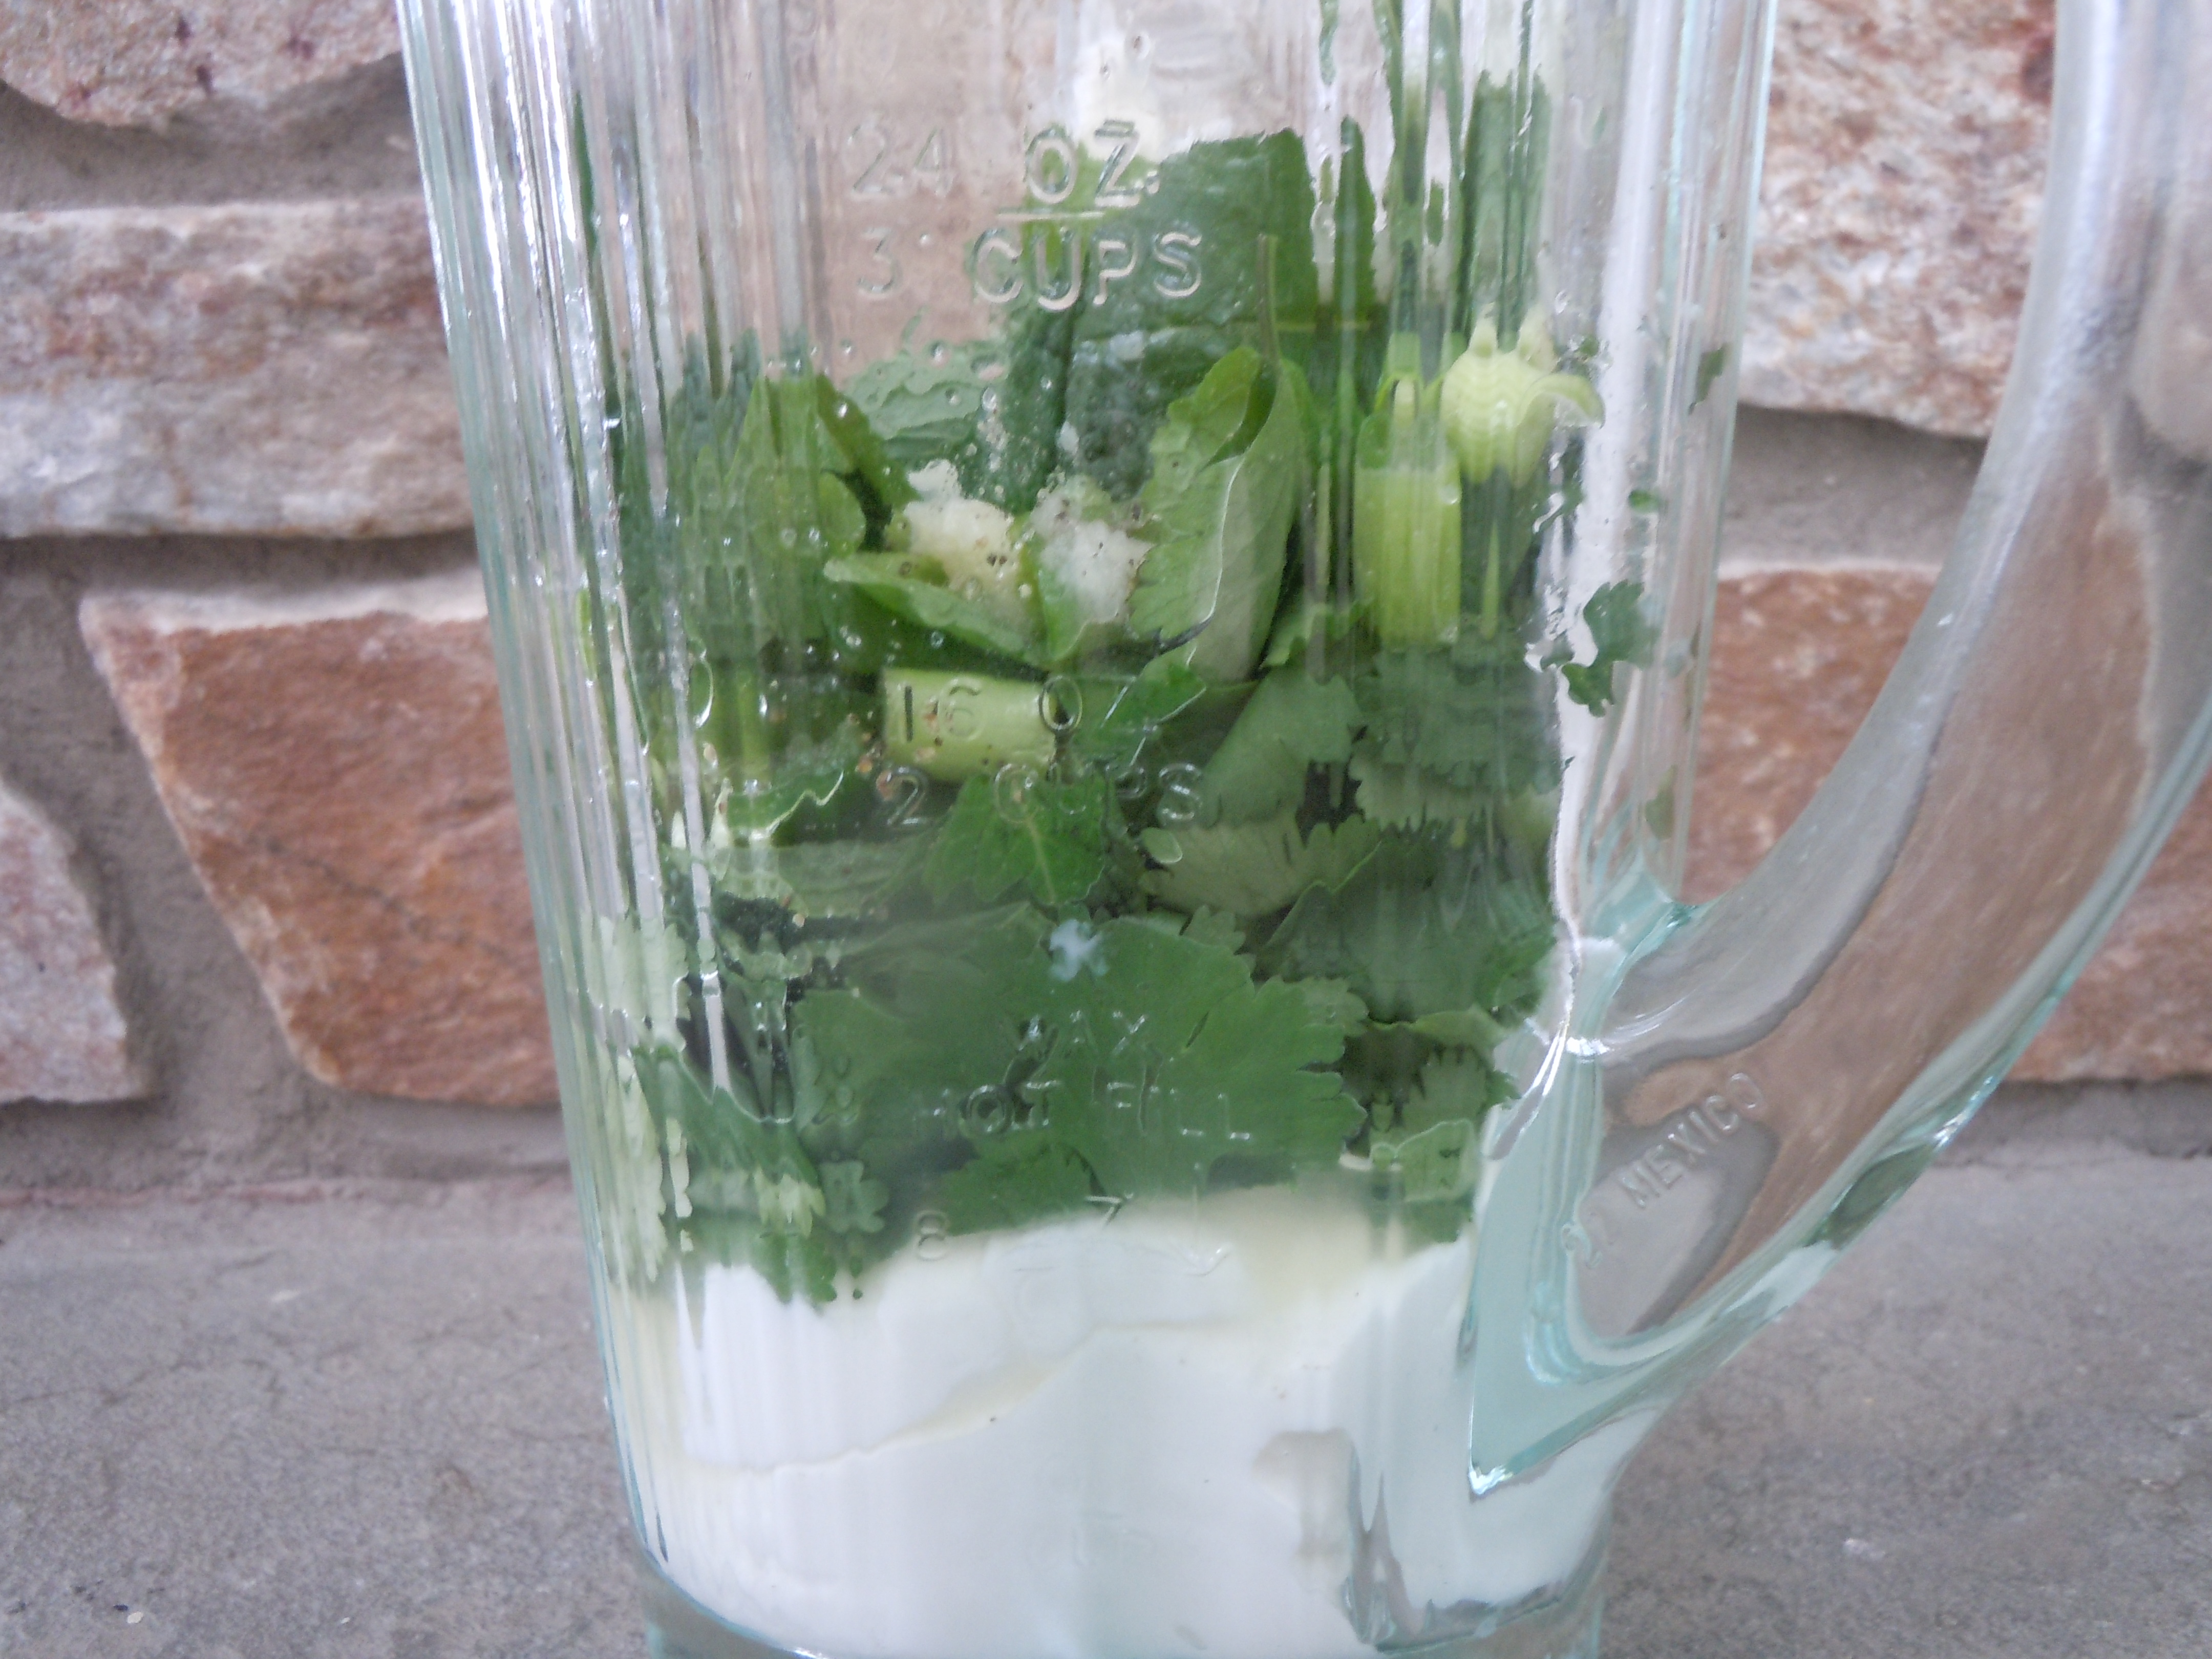
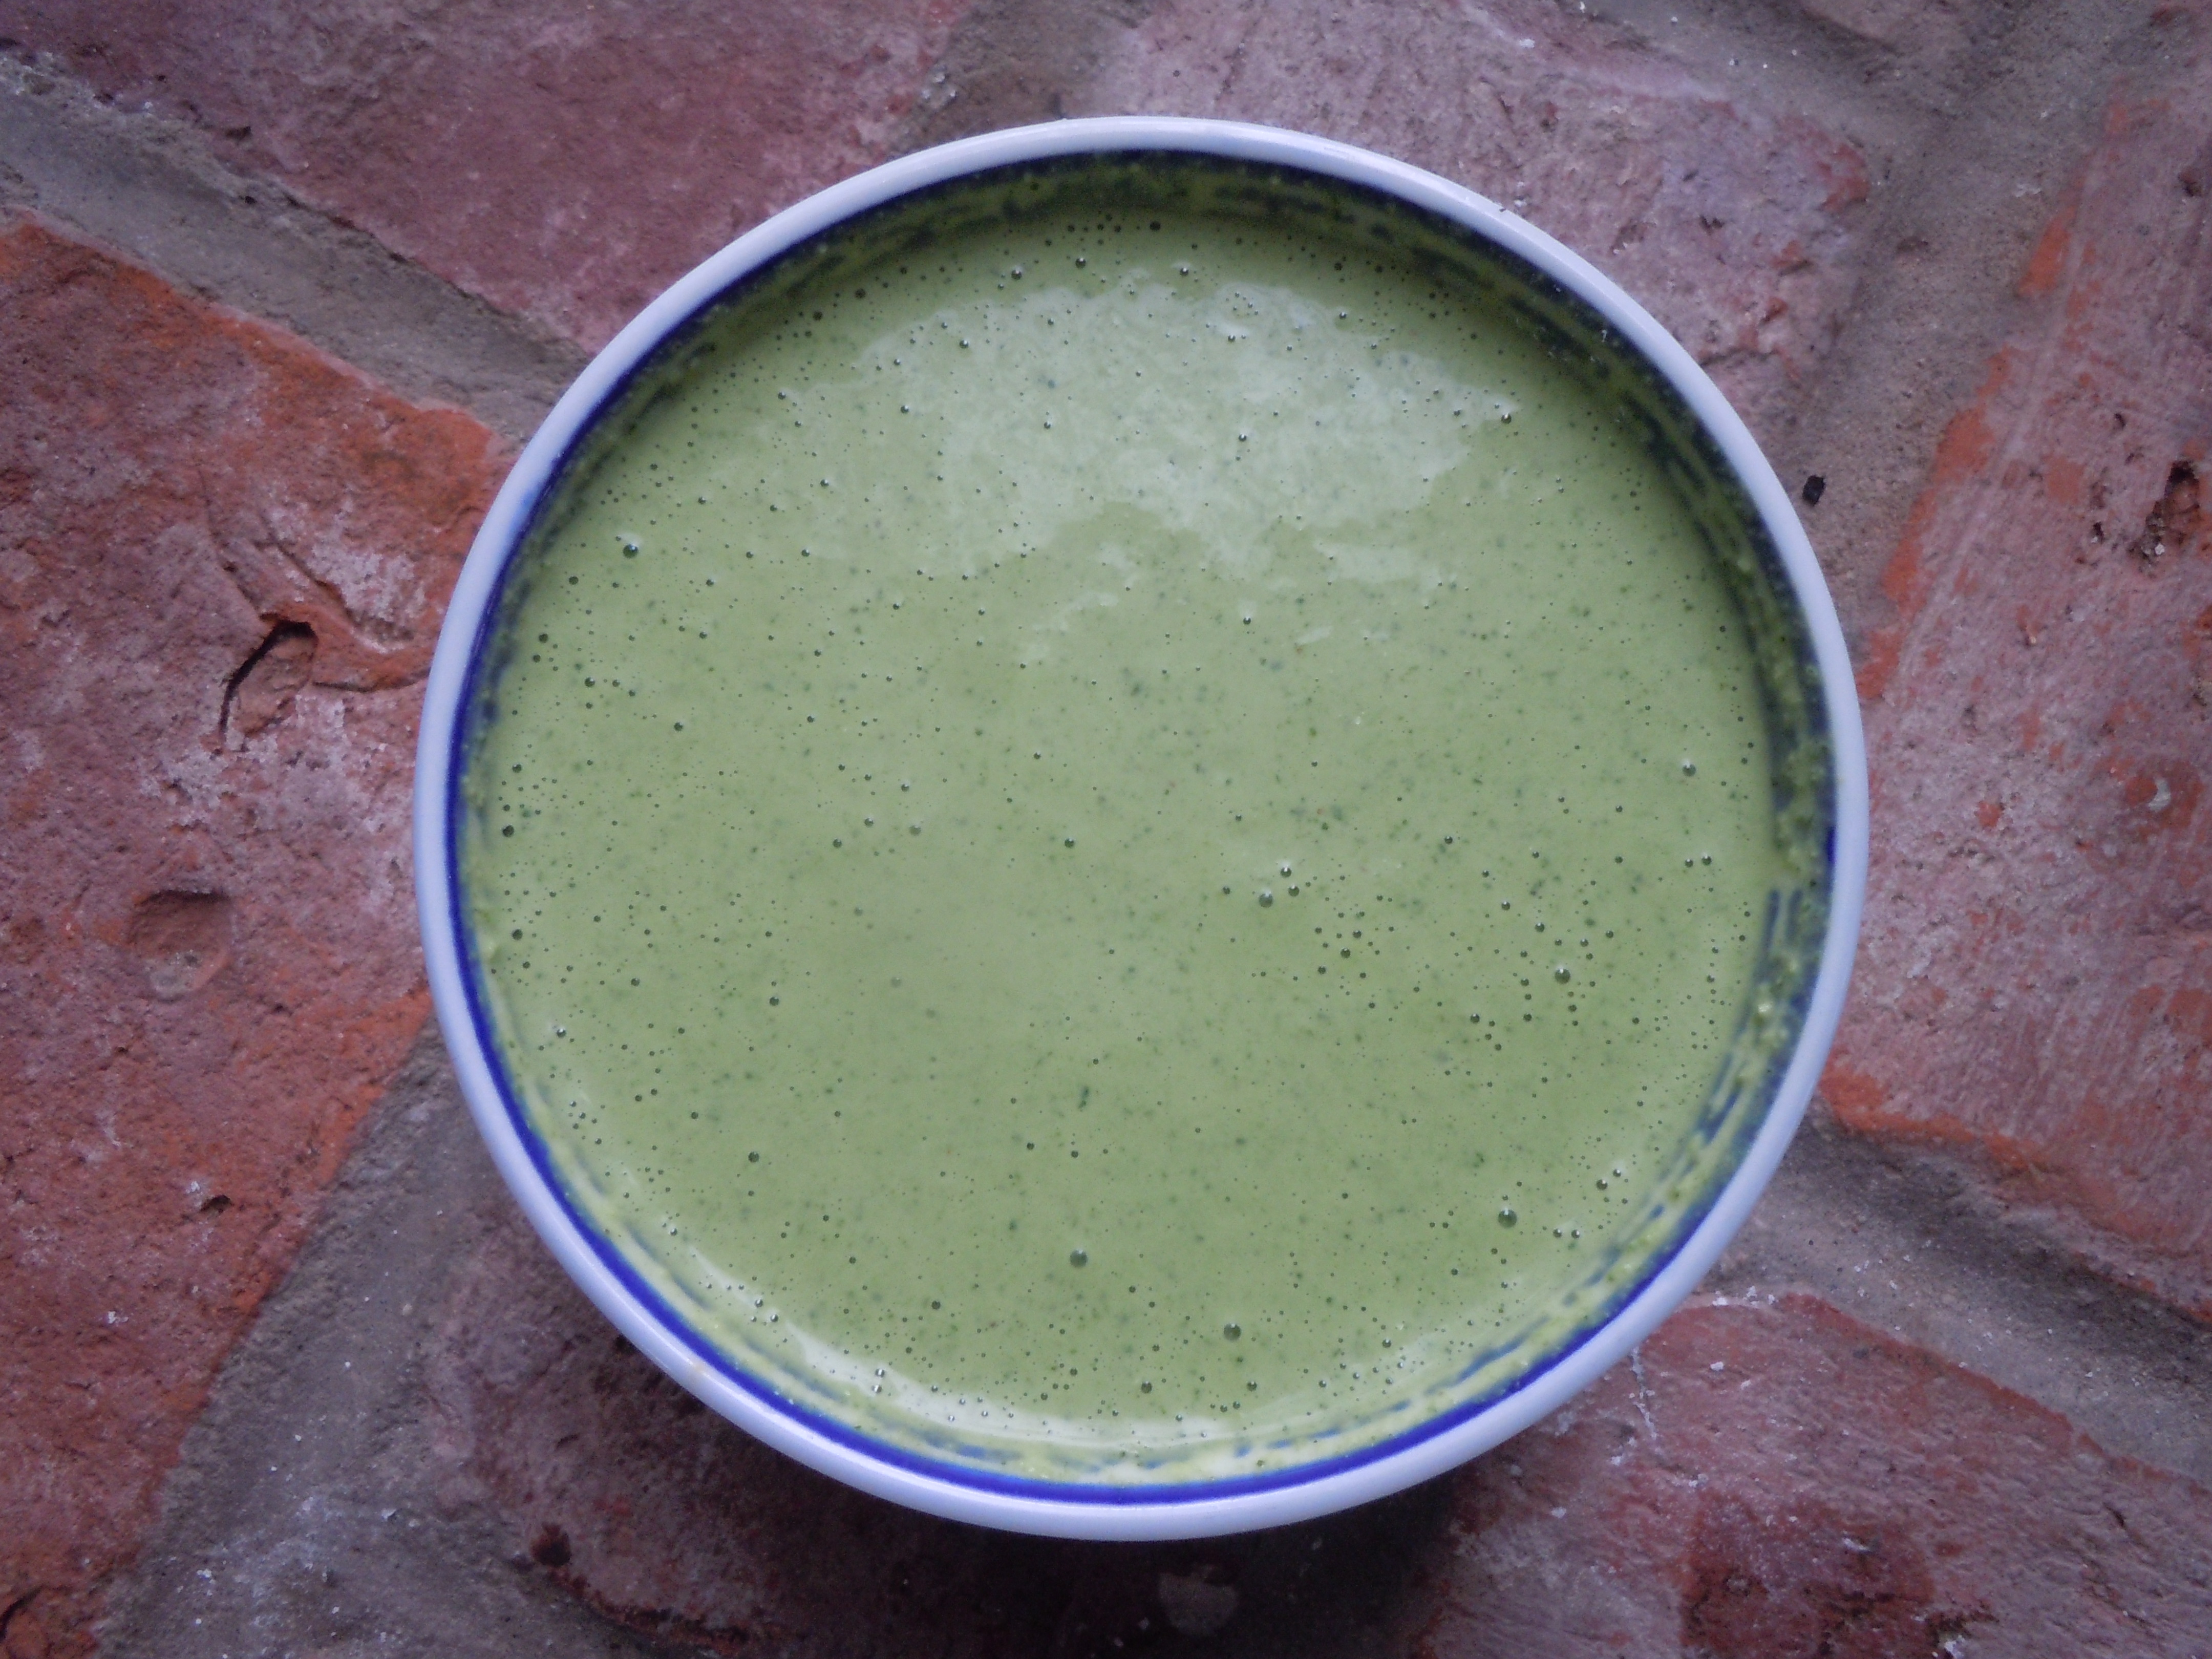
While you are working hard forming these wonderful tortellini you may need a little sip of something to get you through like a Metaxa Mojito! And for easy nibbles you can pick on some Mango Salsa, Sweet Potato Fries and Green Goddess Dip II, Best Guacamole Ever or some delicious Mediterranean Layered Dip!


INGRDIENTS for making PASTA in The Smart Pasta Machine:
- 3 parts flour
- 1 part semolina
- 180 ml OR 3/4 cup of water for 2 lbs flour in pasta machine
- 1 egg and 1 tsp water whisked in a small bowl – set aside until ready to form tortellini
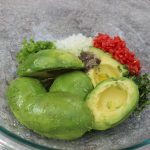
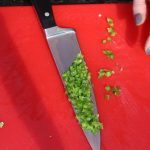
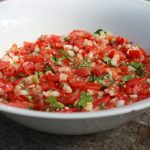
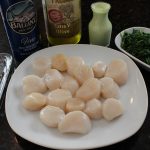
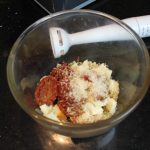
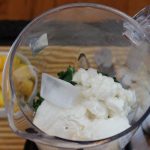
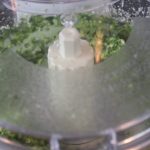
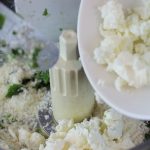
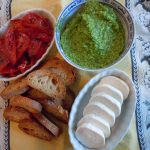
INGREDIENTS for Sun-dried Tomato FILLING: NOTE: THIS FILLING IS UNBELIEVEABLY DELICIOUS!…try it on crostini OR on crusty bread!
- 1/2 cup sun dried tomatoes
- 1/2 cup mozzarella – whole milk or part skim
- 1/4 cup grated Reggiano Parmesan
- 2-3 tbsp olive oil
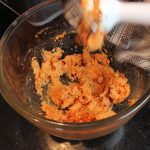
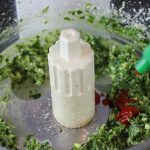
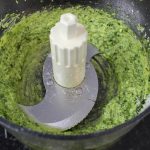
Purée these ingredients with an immersion blender or add to food processor and pulse. Start with 2 tbsp of olive oil and add a little extra if needed to purée til smooth texture
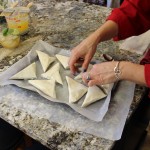
DIRECTIONS FOR FORMING THE TORTELLINI WITH SHEETS OF PASTA MADE FROM THE PASTA MACHINE:
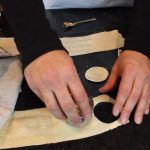
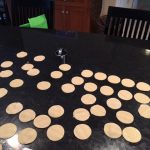
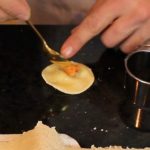
- Begin to cut 2″ circles with your cookie cutter out of the machine made sheets of pasta
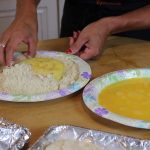
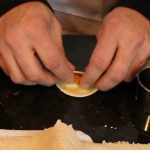
- Brush top 1/2 of the circle edge with a whisked egg
- Place 1/4 tsp of sun dried tomato filling in the middle of the circle pasta
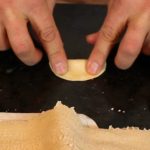
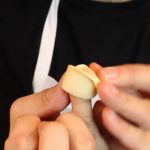
- Fold the circle in 1/2
- Press to SEAL the 1/2 circle of pasta…VERY IMPORTANT to SEAL this edge!
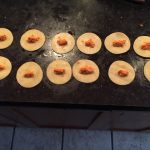
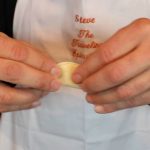
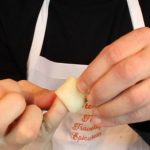
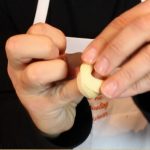
- Take 1/2 circle and wrap around your pinky having each end meet
- Press these two ends together to seal and form one continous circular shape
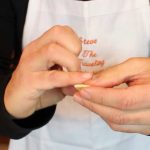
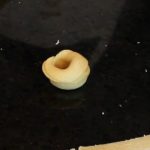
- Fold down top of circular pasta to form tortellini
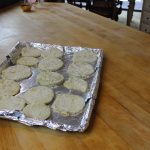
- Place in a bowl as you finish each one until you gone thru all the pasta sheets
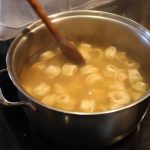
- Bring large pan of salted water to a boil and add fresh pasta
- Cook pasta for 8 minutes, test pieces of pasta for proper doneness
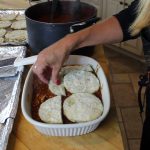
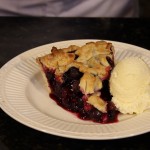
- Serve with tomato-cream sauce or Gorganzola Dolce-cream sauce, garnish with thyme and truffle oil … mmm!
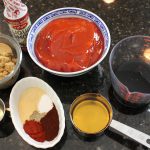
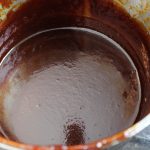
INGREDIENTS FOR TOMATO-CREAM SAUCE:
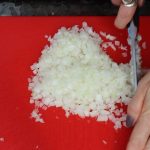
- 2 cloves finely chopped garlic
- 1/2 tsp salt
- 1/4 tsp dried oregano
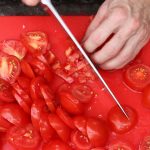
- 3 1/4 cup POMI “strained tomaotes” – 1 med box – 26 oz.
- 2 cups heavy cream
- 2 tbsp olive oil
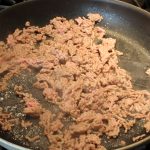
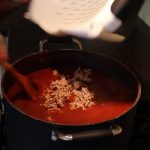
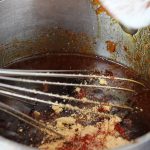
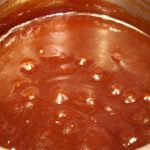
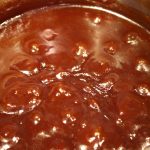
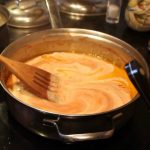
Sauté finely chopped garlic in 2 tbsp olive oil for 3 minutes, add in POMI strained tomatoes, salt & oregano and simmer for 15 minutes. Add in 2 cups of heavy cream to tomato sauce. Bring to a simmer for 15 miutes more. Serve with cooked tortellini, garnish with fresh thyme (and truffle oil.
INGREDIENTS FOR GORGANZOLA DOLCE-CREAM SAUCE:
- 2 cups heavy cream
- 1/4 cup Gorganzola Dolce cheese
- 1/4 cup dry vermouth
- fresh thyme leaves
- truffle oil
Add heavy cream, Gorganzola, and vermouth to a small sauce pan and bring to a simmer. When it comes to a simmer whisk the melted cheese into the cream and simmer 10 minutes. Serve with tortellini, garnish with a sprinkle of fresh thyme leaves and a drizzle of truffle oil.
INGREDIENTS for Easy Homemade-Handmade Pasta- (Recipe from “Pasta at Vin’s“)
- 2 1/2 cups all purpose flour
- 1/4 cup olive oil
- 4 1/2 – 5 lg eggs
- 1/4 tsp salt
DIRECTIONS:
- Put the kneading attachment on your food processor and add the flour
- Add the salt and olive oil
- Turn on the food processor to slow
- Add in 1 tbsp of water
- Begin adding in 1 egg at a time with the processor still on slow
- Add in the rest of the eggs
- Keep the food processor going on medium speed to begin kneading the dough
- Let knead for about 8 minutes until the texture turns into a smooth consistency
- Remove the pasta dough and place onto the counter
- Knead briefly with your hands and let sit for 1/2 hr.
- NOTE: Vin does not cover his pasta dough while it sits for the 1/2 so it can begin to dry out a little bit
- Sprinkle some flour onto the counter or work surface and cut pasta dough into 8 pieces
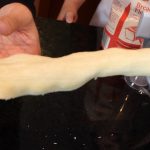
- Begin to roll out each piece of dough to your desired thickness, into long lasagna-like sheets
- Sprinkle more flour on top of each thinly rolled out pasta piece and begin to cut out 2″ circles with your cookie cutter
- Brush top 1/2 of the circle edge with a whisked egg
- Place 1/4 tsp of sun dried tomato filling in the middle of the circle pasta
- Fold the circle in 1/2
- Press to SEAL the 1/2 circle of pasta…VERY IMPORTANT to SEAL this edge!
- Take 1/2 circle and wrap around your pinky having each end meet
- Press these two ends together to seal and form one continous circular shape
- Fold down top of circular pasta to form tortellini
- Place in a bowl as you finish each one until you gone thru all the pasta sheets
- Bring large pan of salted water to a boil and add fresh pasta
- Cook pasta for 8 minutes, test pieces of pasta for proper doneness
- Serve with tomato-cream sauce or Gorganzola Dolce-cream sauce, garnish with thyme and truffle oil … mmm!


 Lisa & Vin’s 2016 Meatball Throw Down! In the mean time you can check out my


 Paleo Eggplant Lasagna at Christine’s