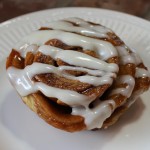
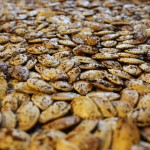
Sticky Buns at Dana’s
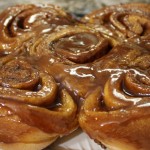
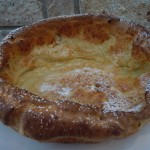
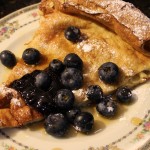
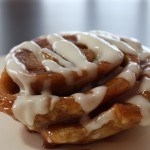 Wait until you taste these decadent sticky buns first hand! Such an easy recipe to follow making these homemade gourmet sticky buns that melt in you mouth! PERFECT for VALENTINE’S DAY morning or any occasion for that matter. The dough is light and chewy. The glaze is soft and caramel like and the cream cheese icing is the best I have ever had. The cream cheese icing has a tablespoon of lemon juice giving it the perfect balance. If you don’t have lemons you can always substitute the citrus with pineapple juice. It’s nice to have the different options with these two toppings to offer to your family and guests.
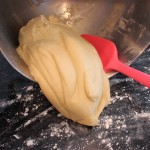
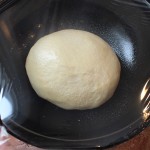
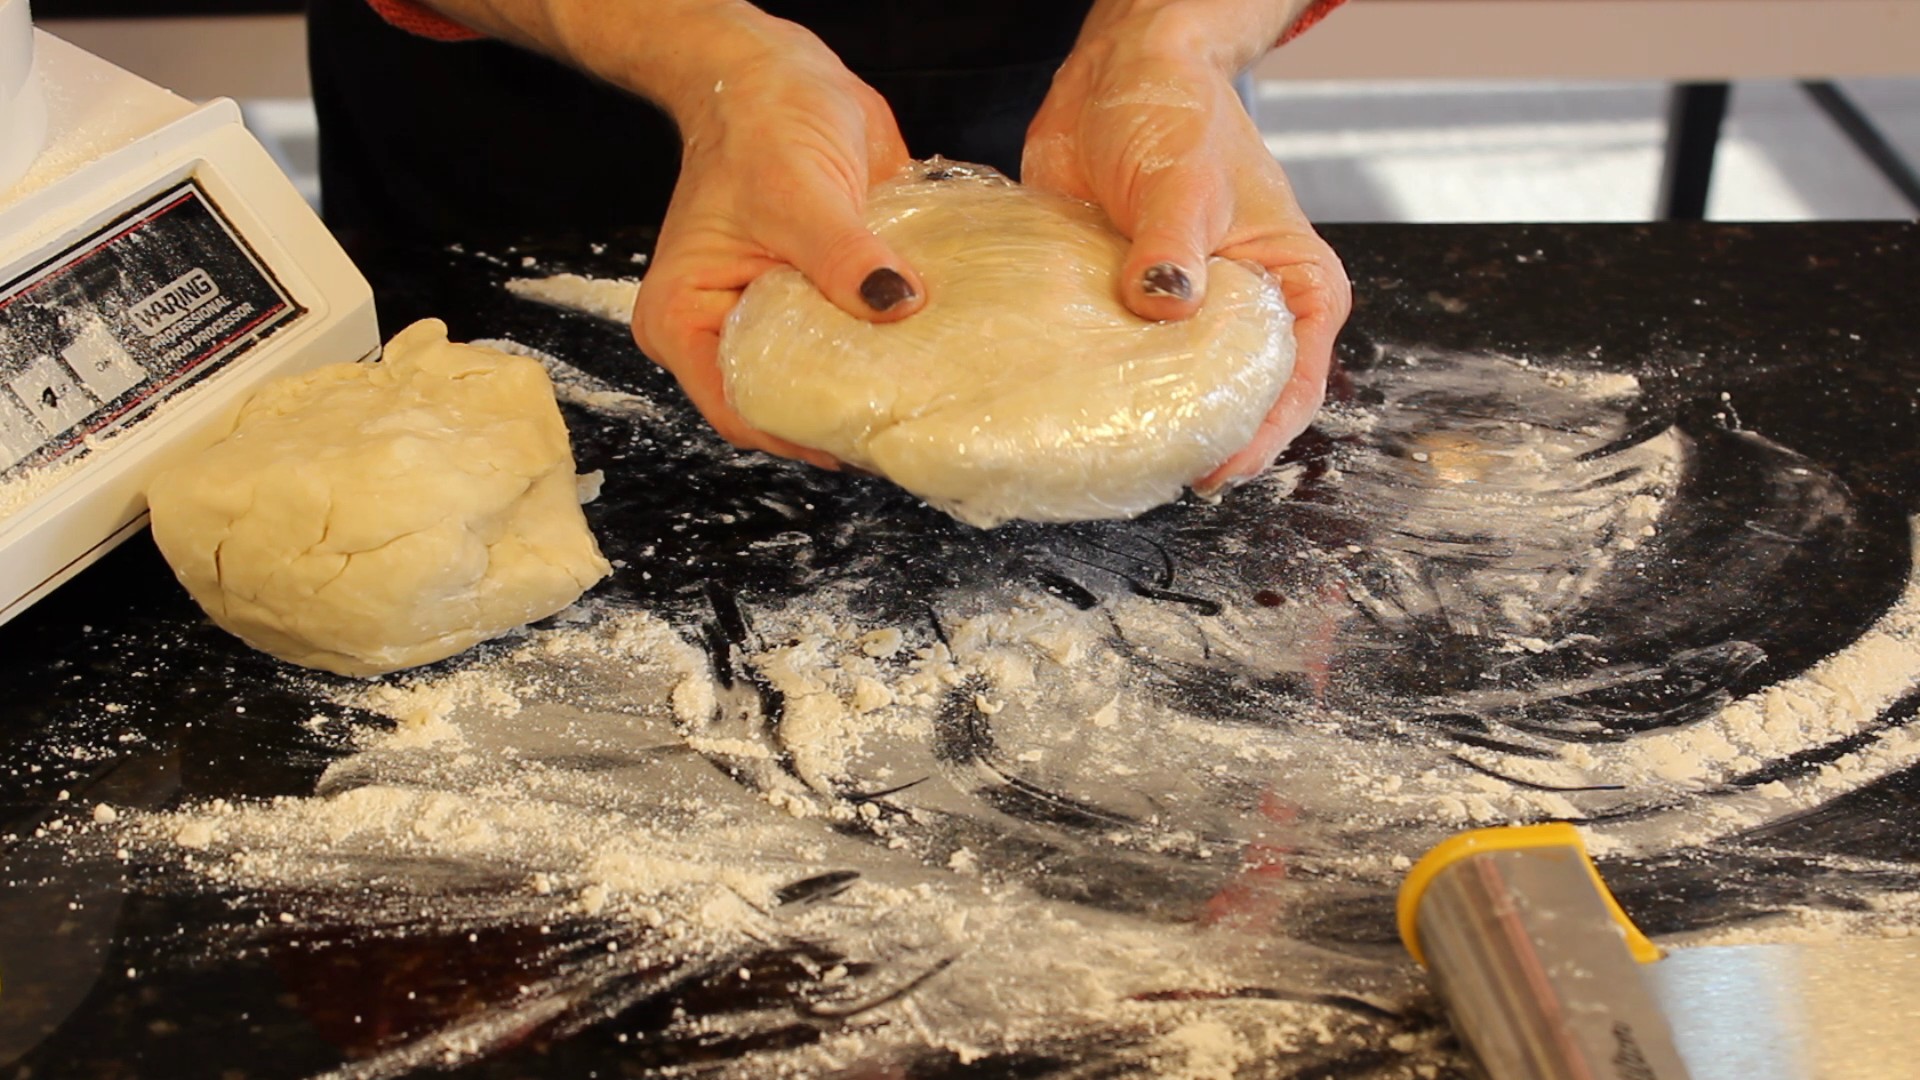
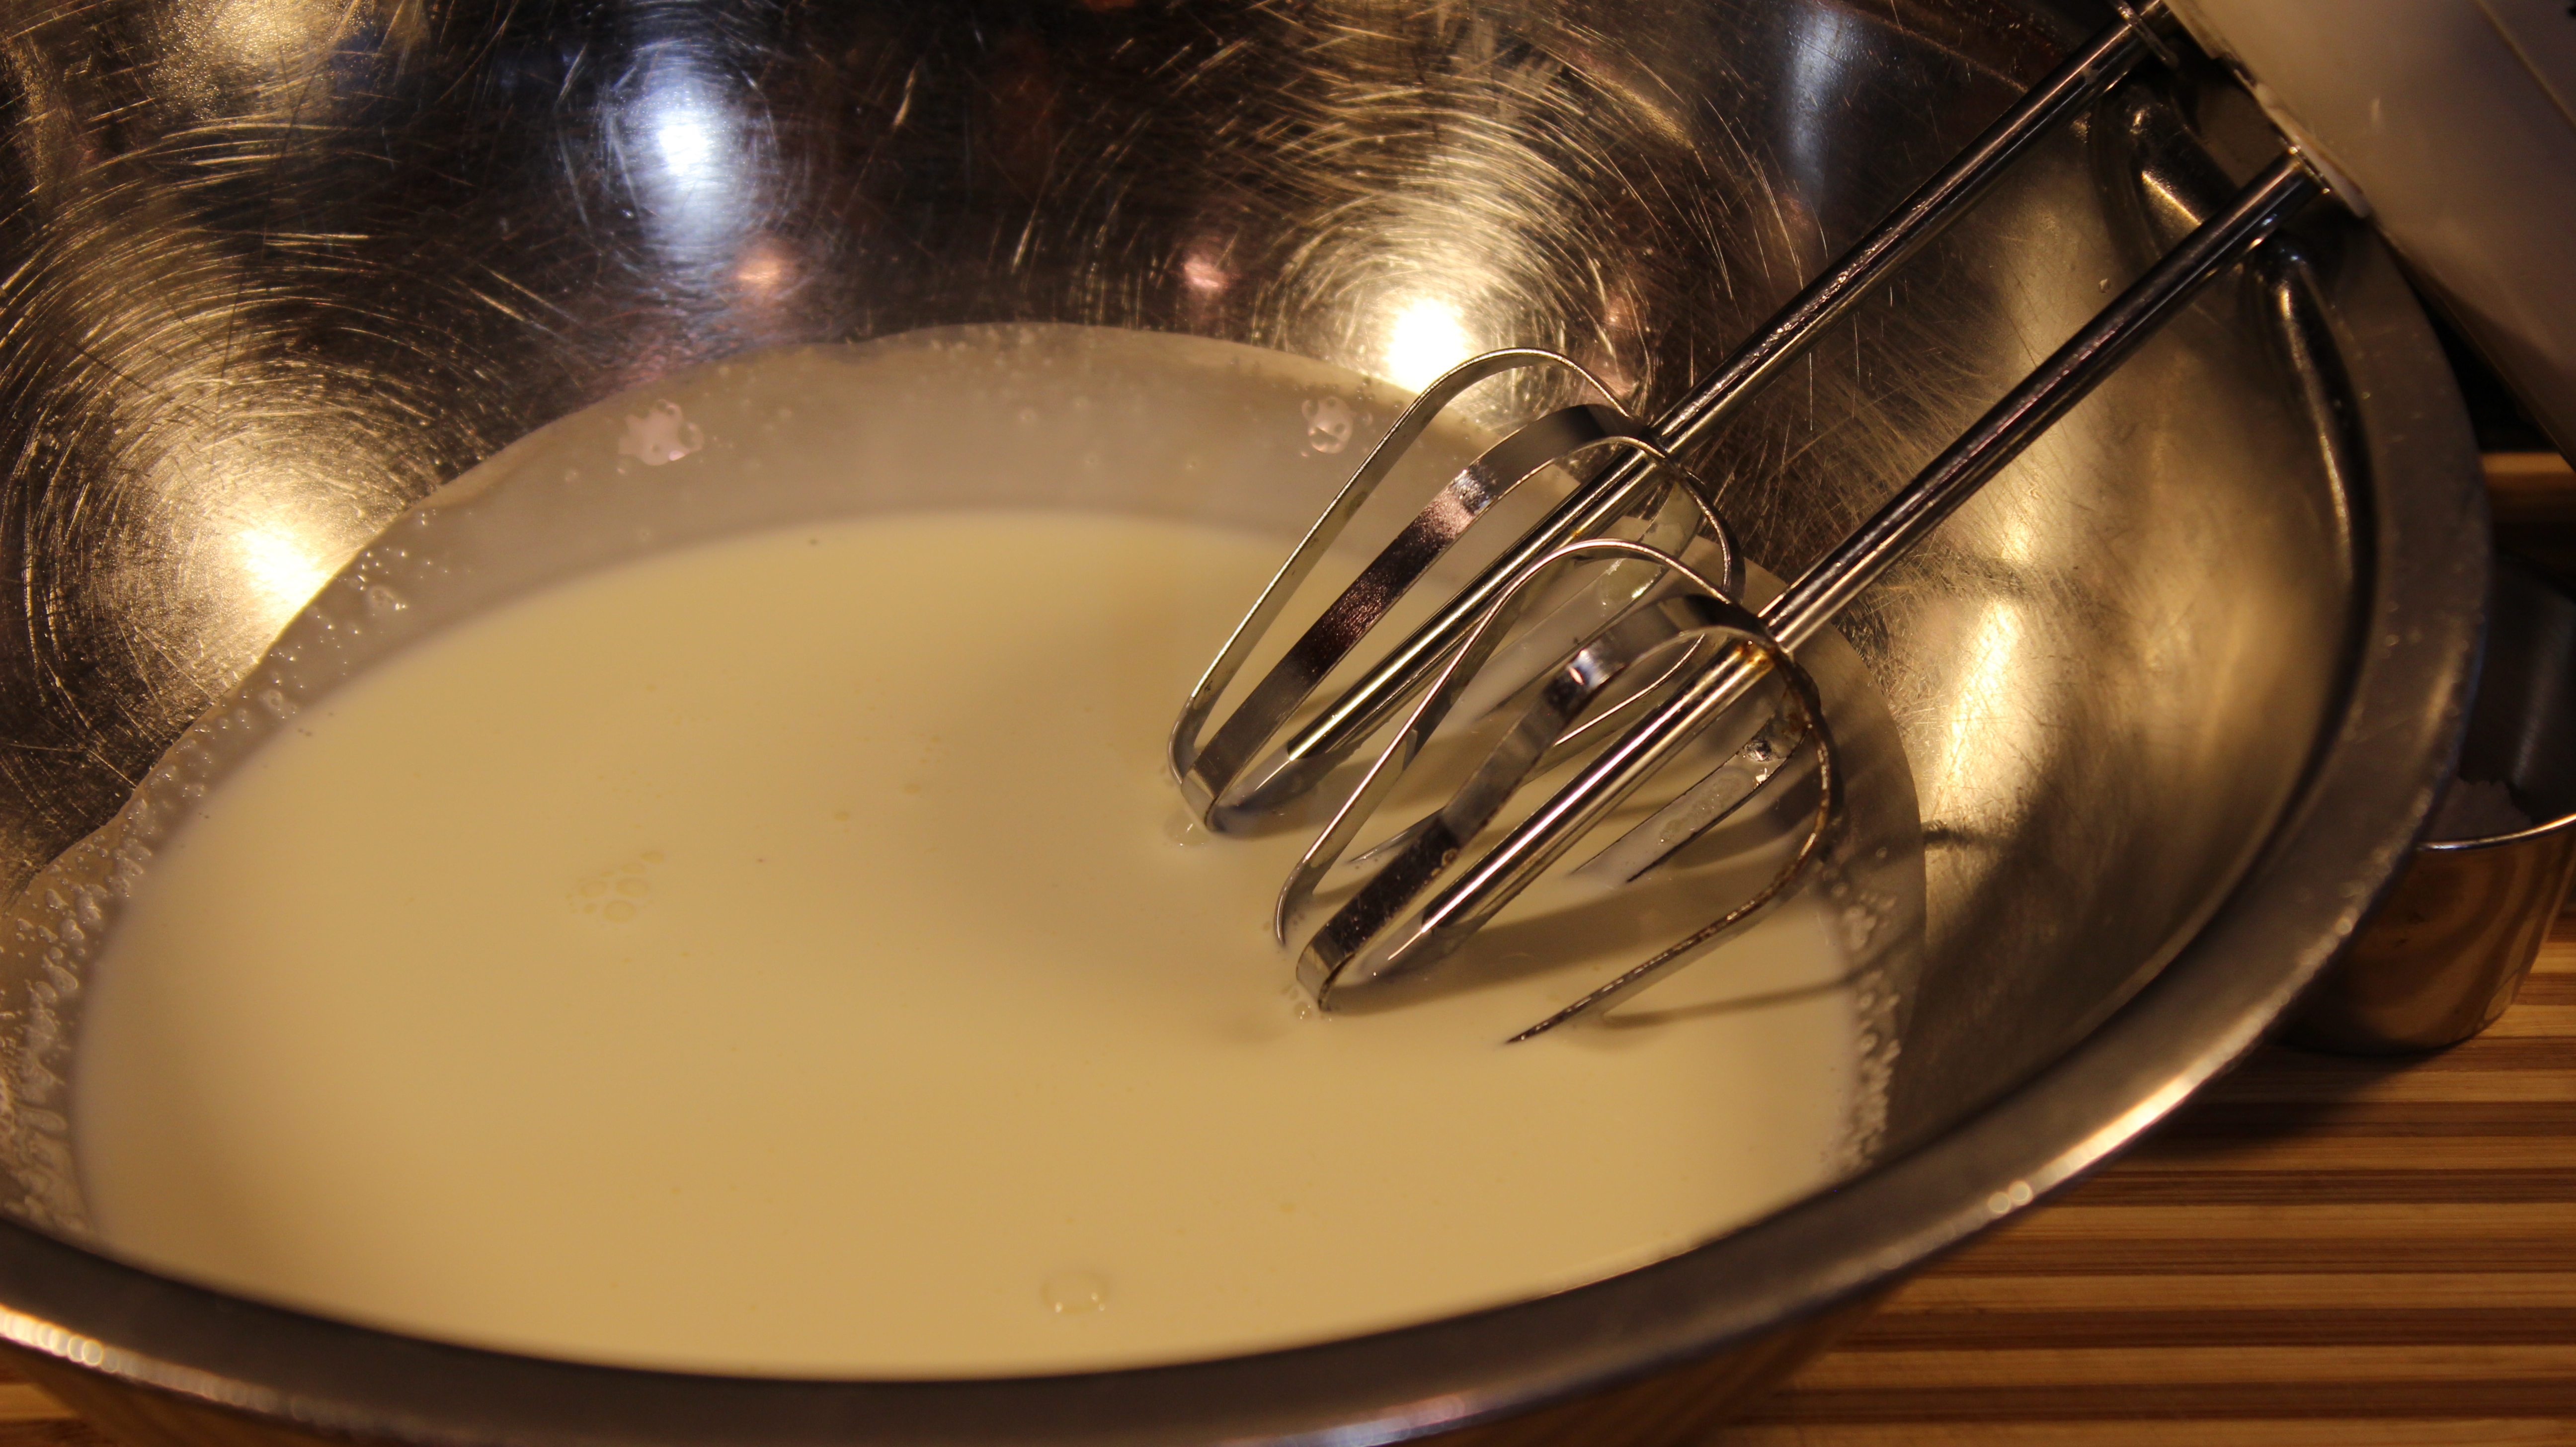
The dough recipe for these homemade gourmet sticky buns couldn’t get any easier. You can literally make it in 8 minutes including the five minutes of kneading with the dough hook. Although, you do have to wait for eggs and buttermilk to come to room temperature. There isn’t any worrying about activating the yeast in a 105º-110º because we use RAPID RISE yeast.
These sticky buns are so easy to make. The most time spent here comes with the first 2 1/2 hour proofing. The glaze and cream cheese frosting could be made a day or two ahead. Once you make these for your family and friends you will become the honorary sticky bun chef!
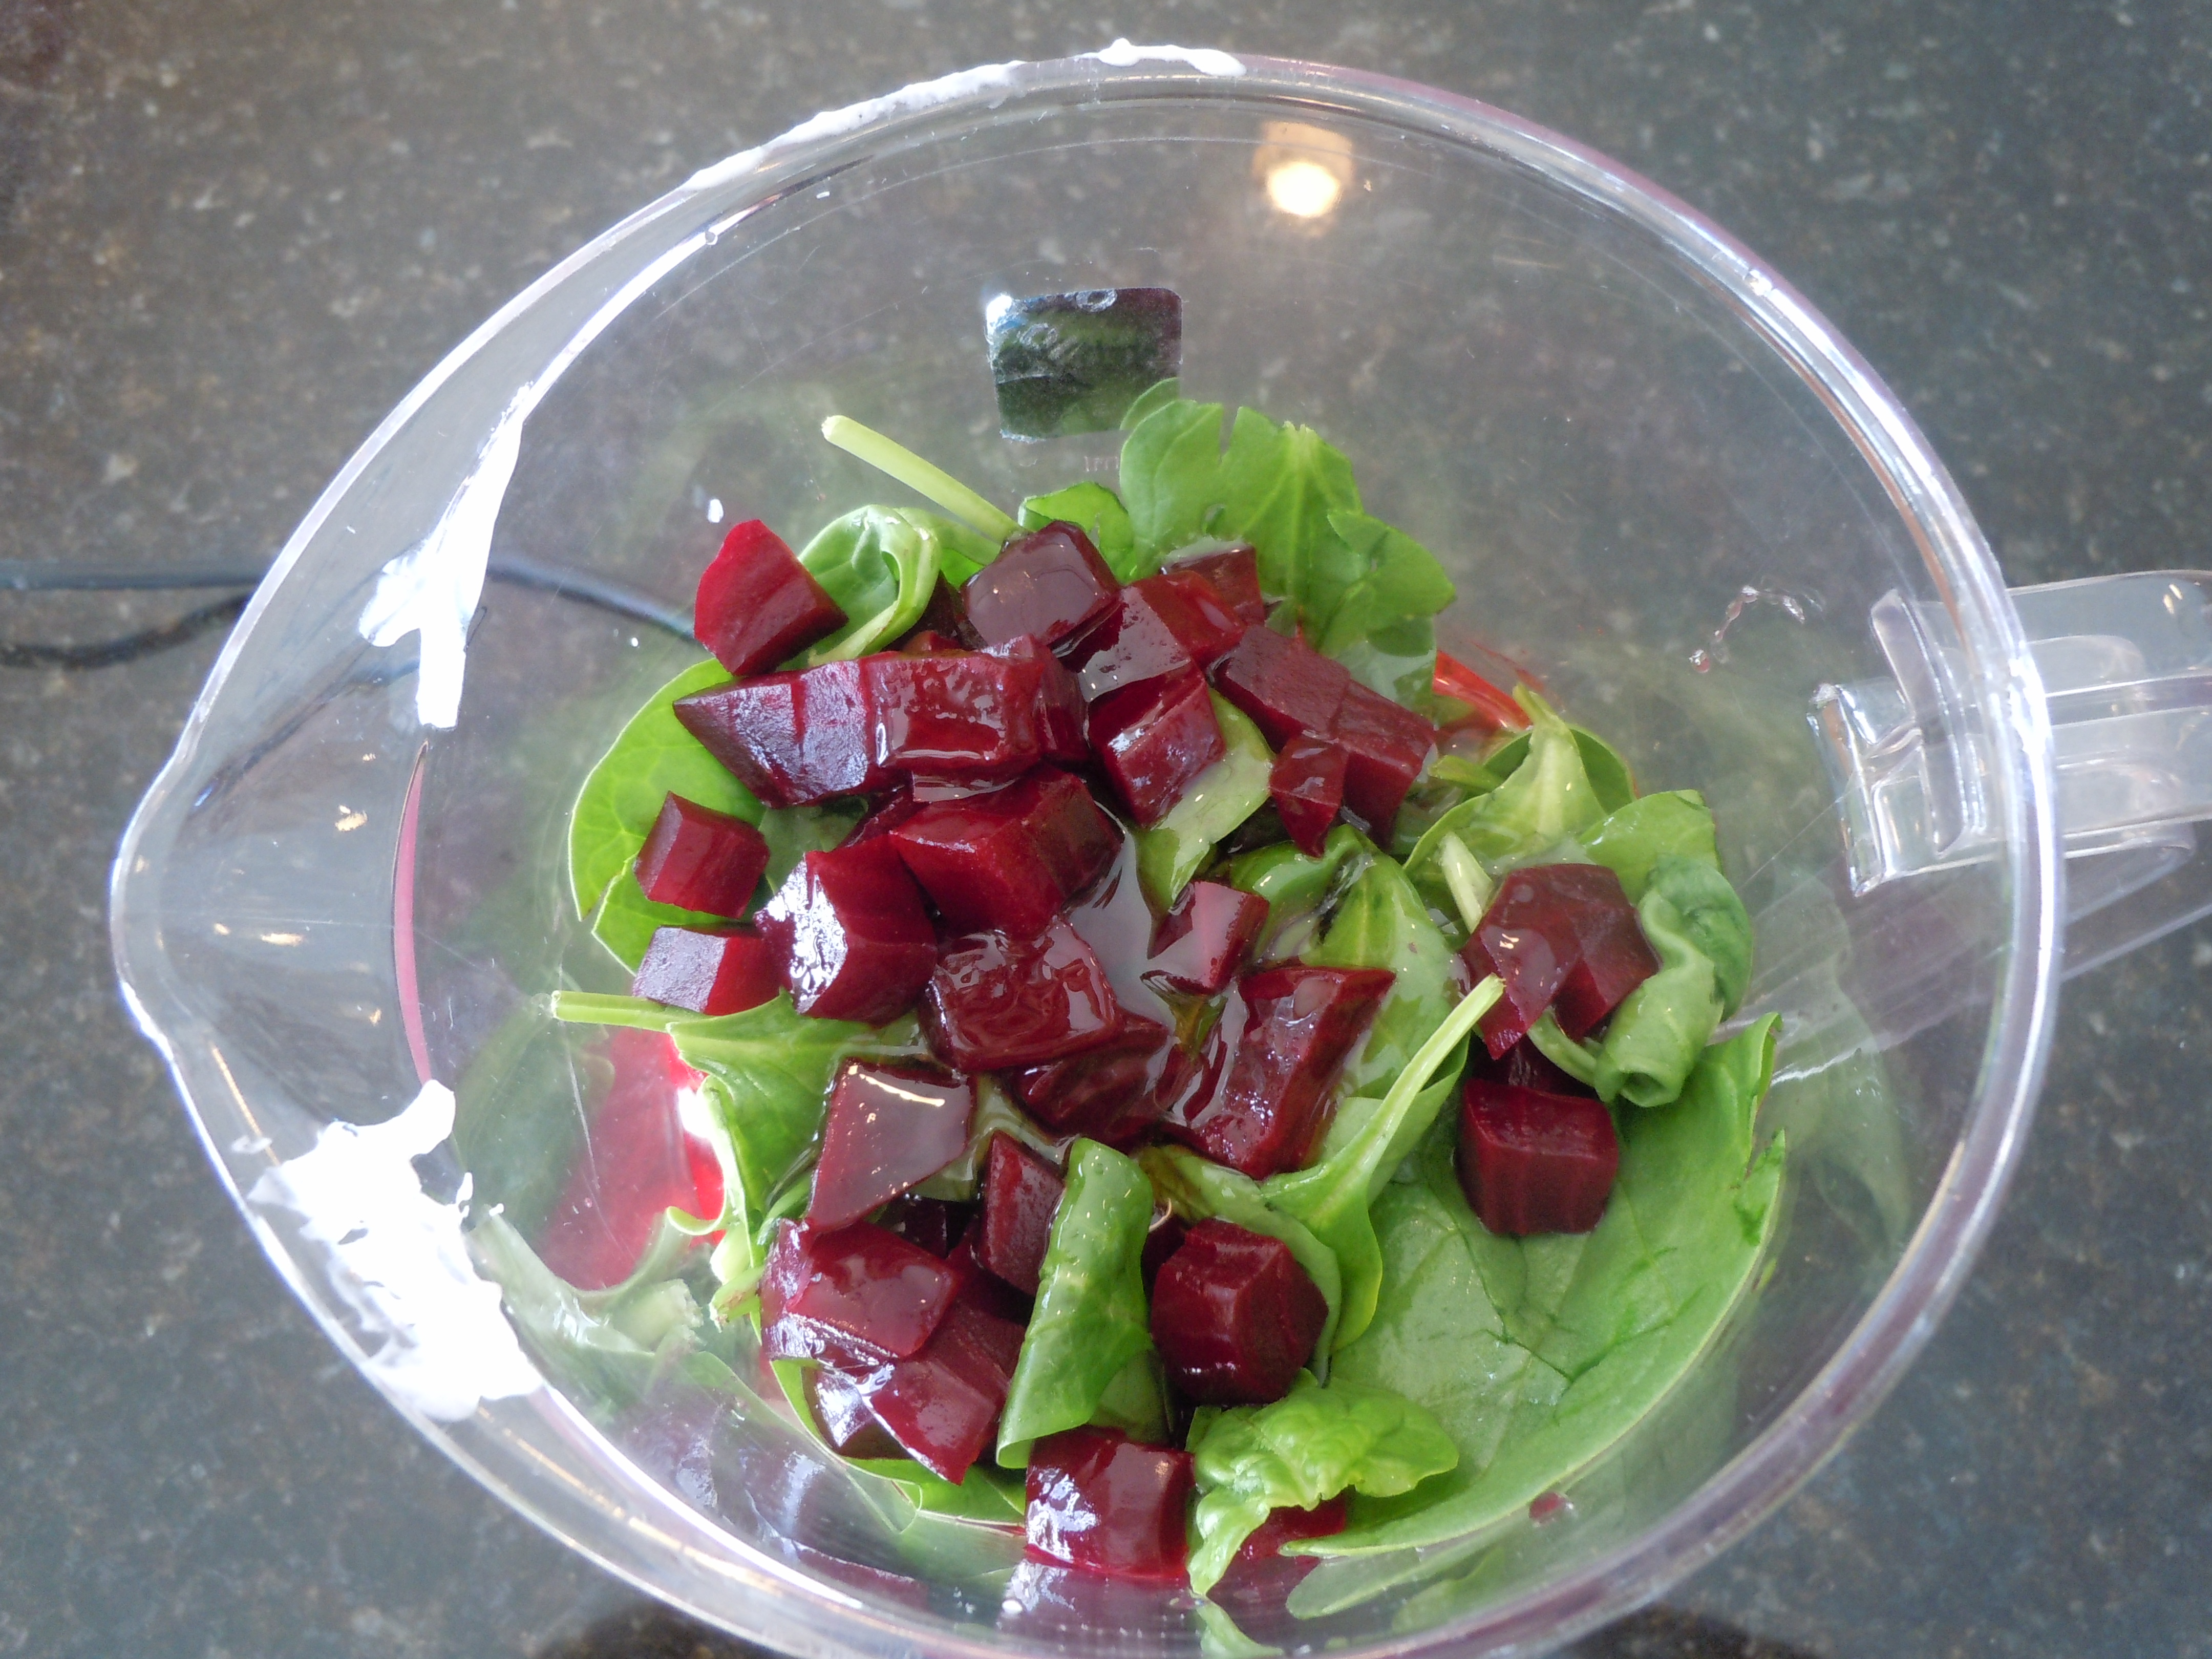
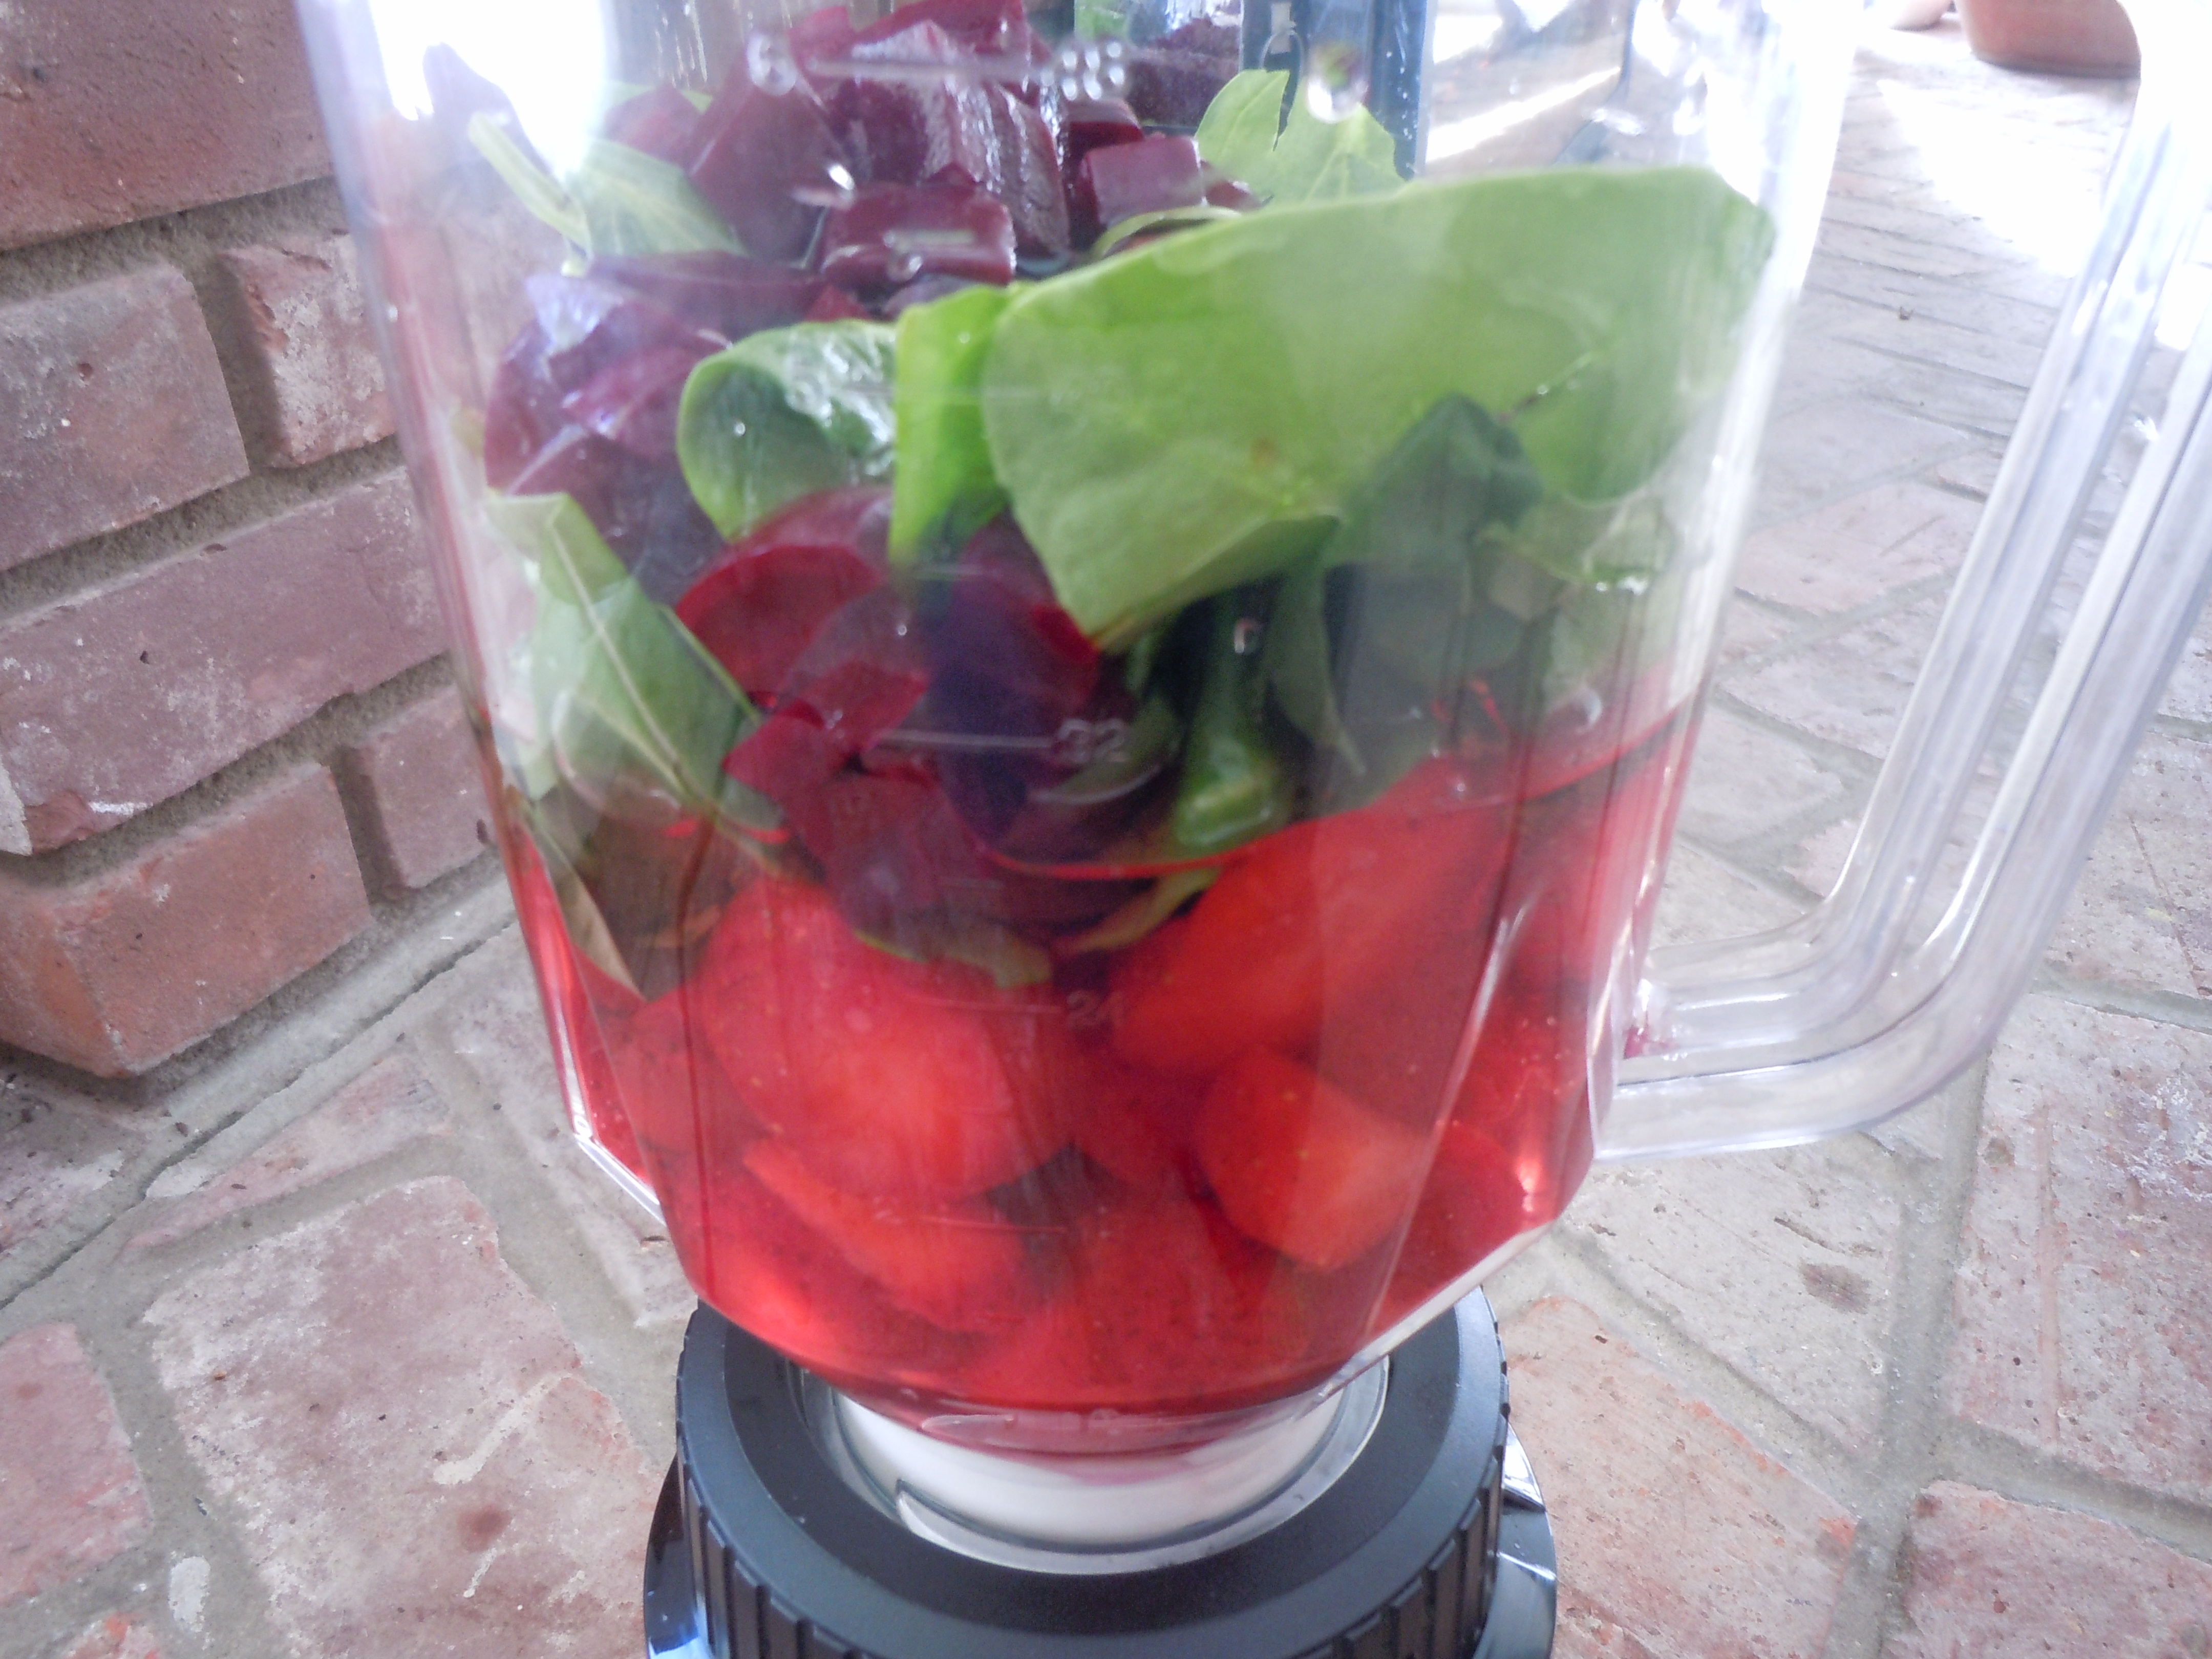
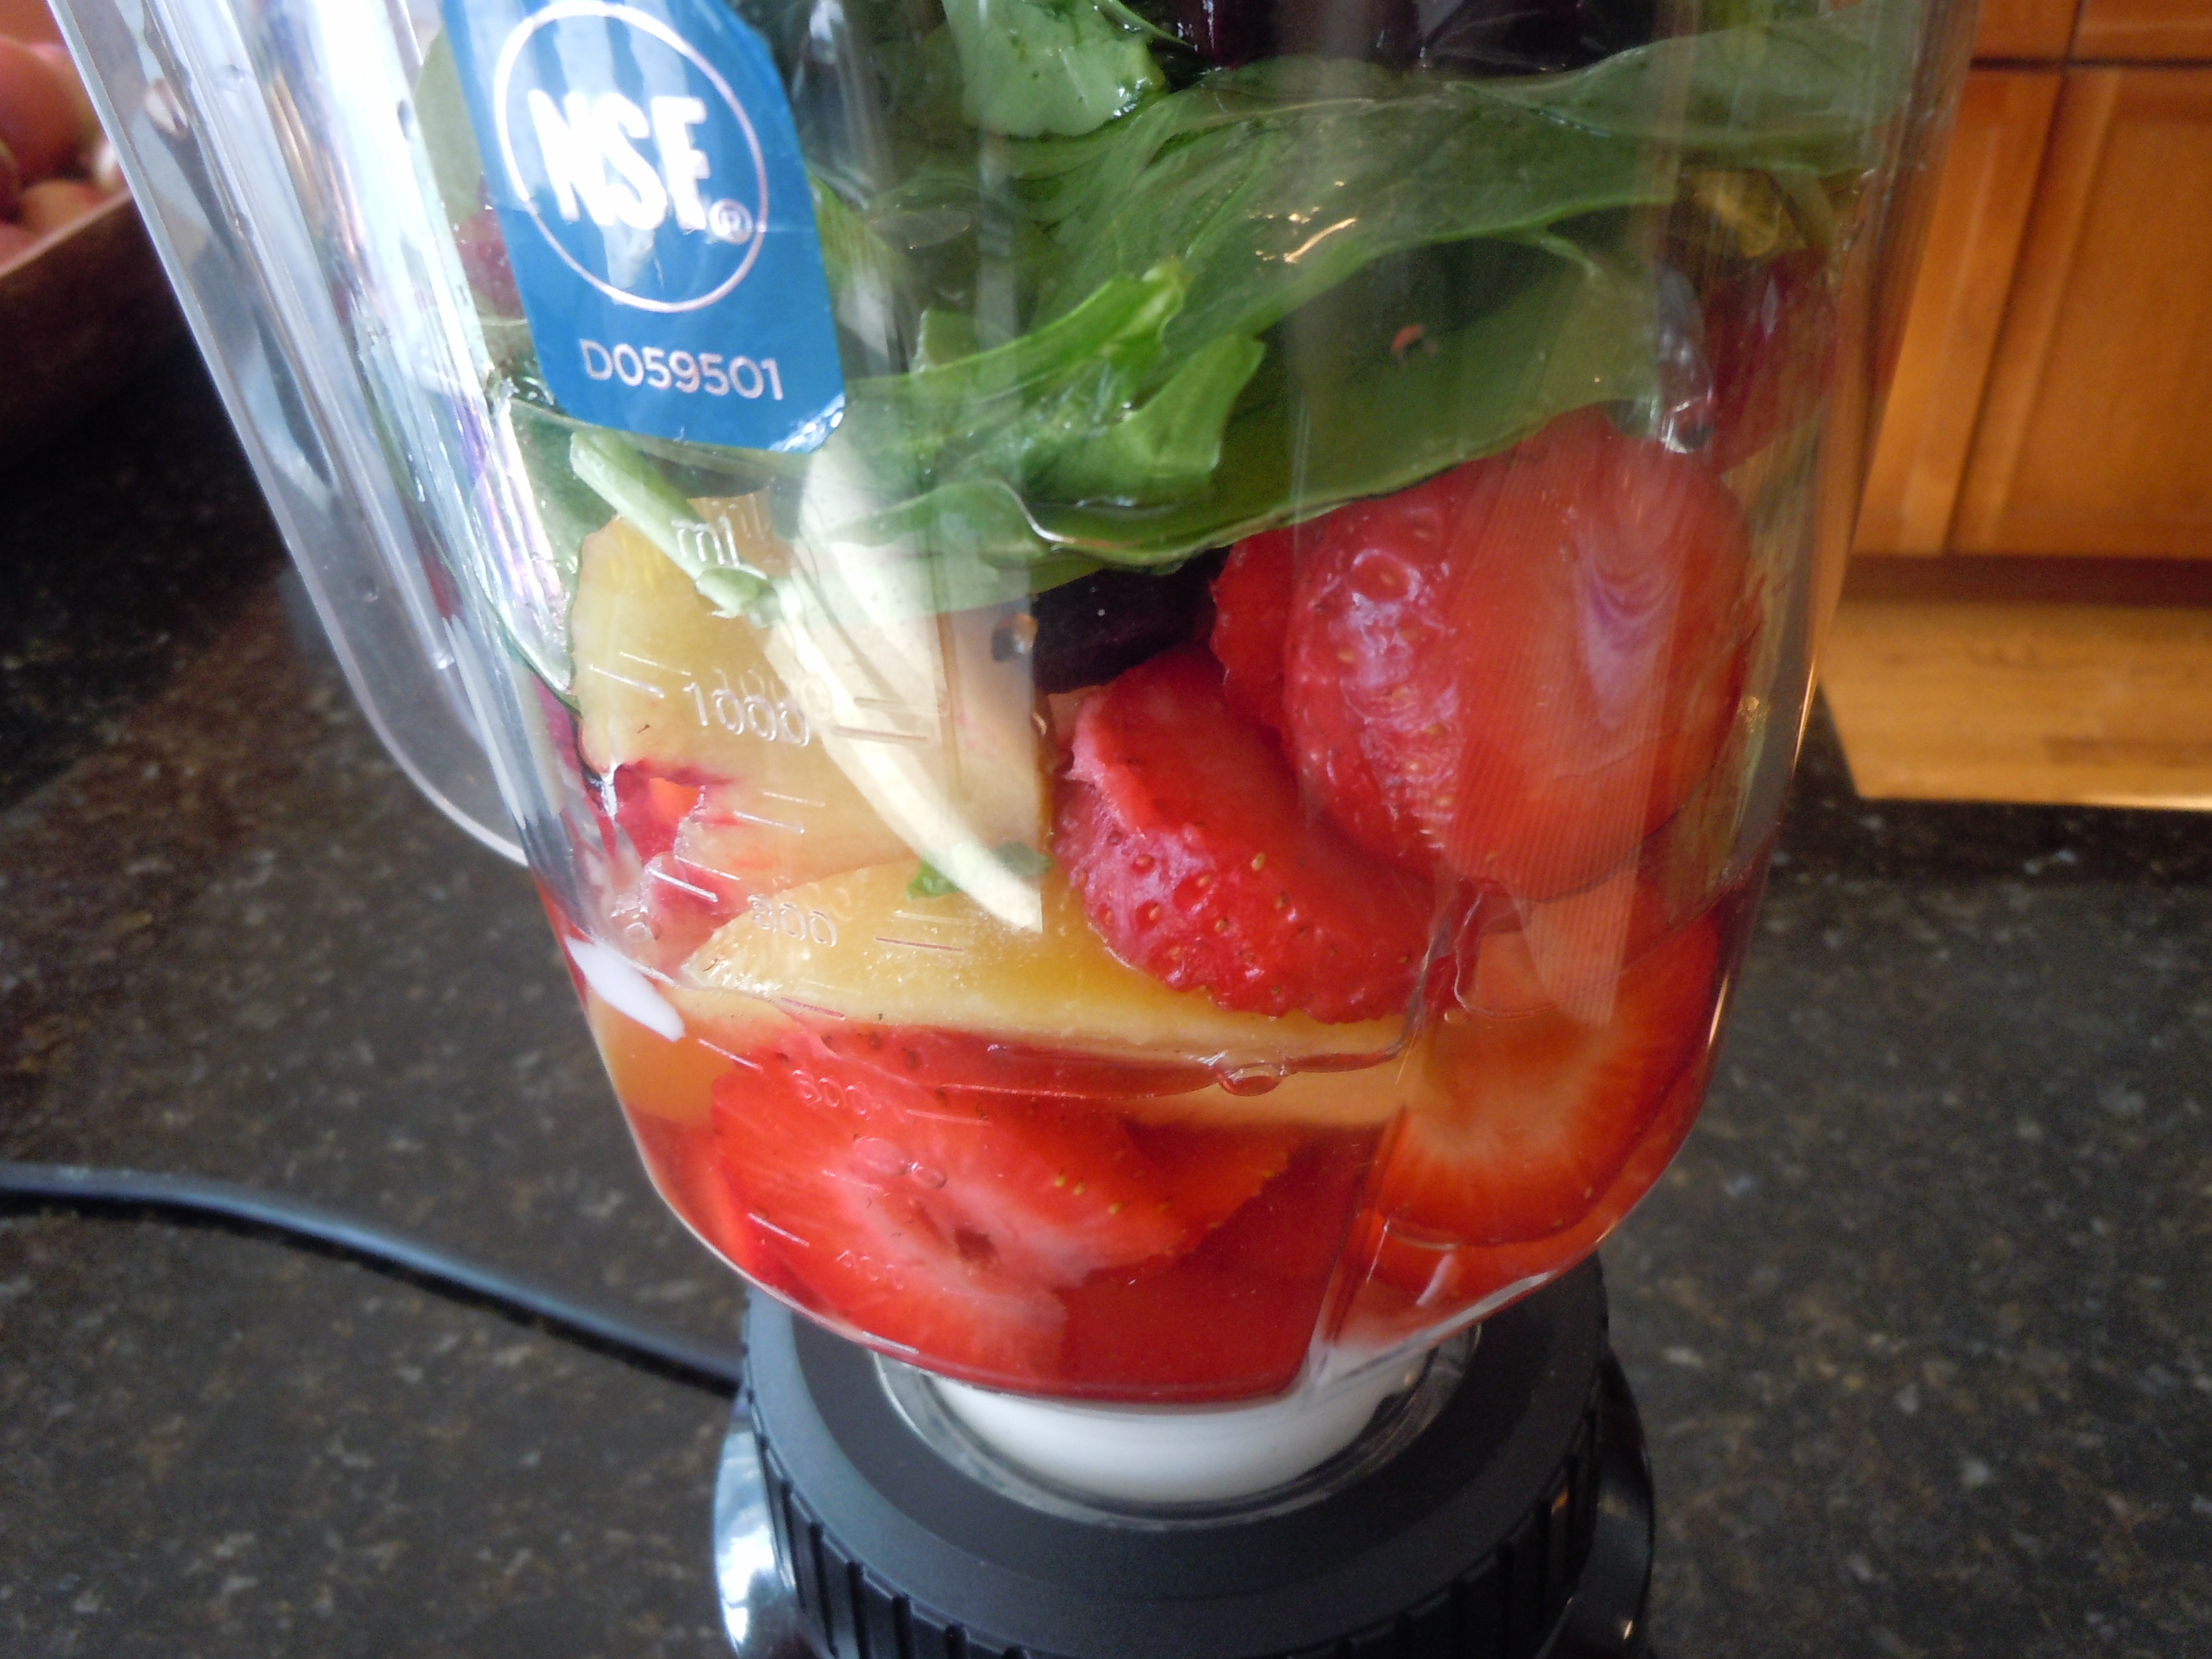
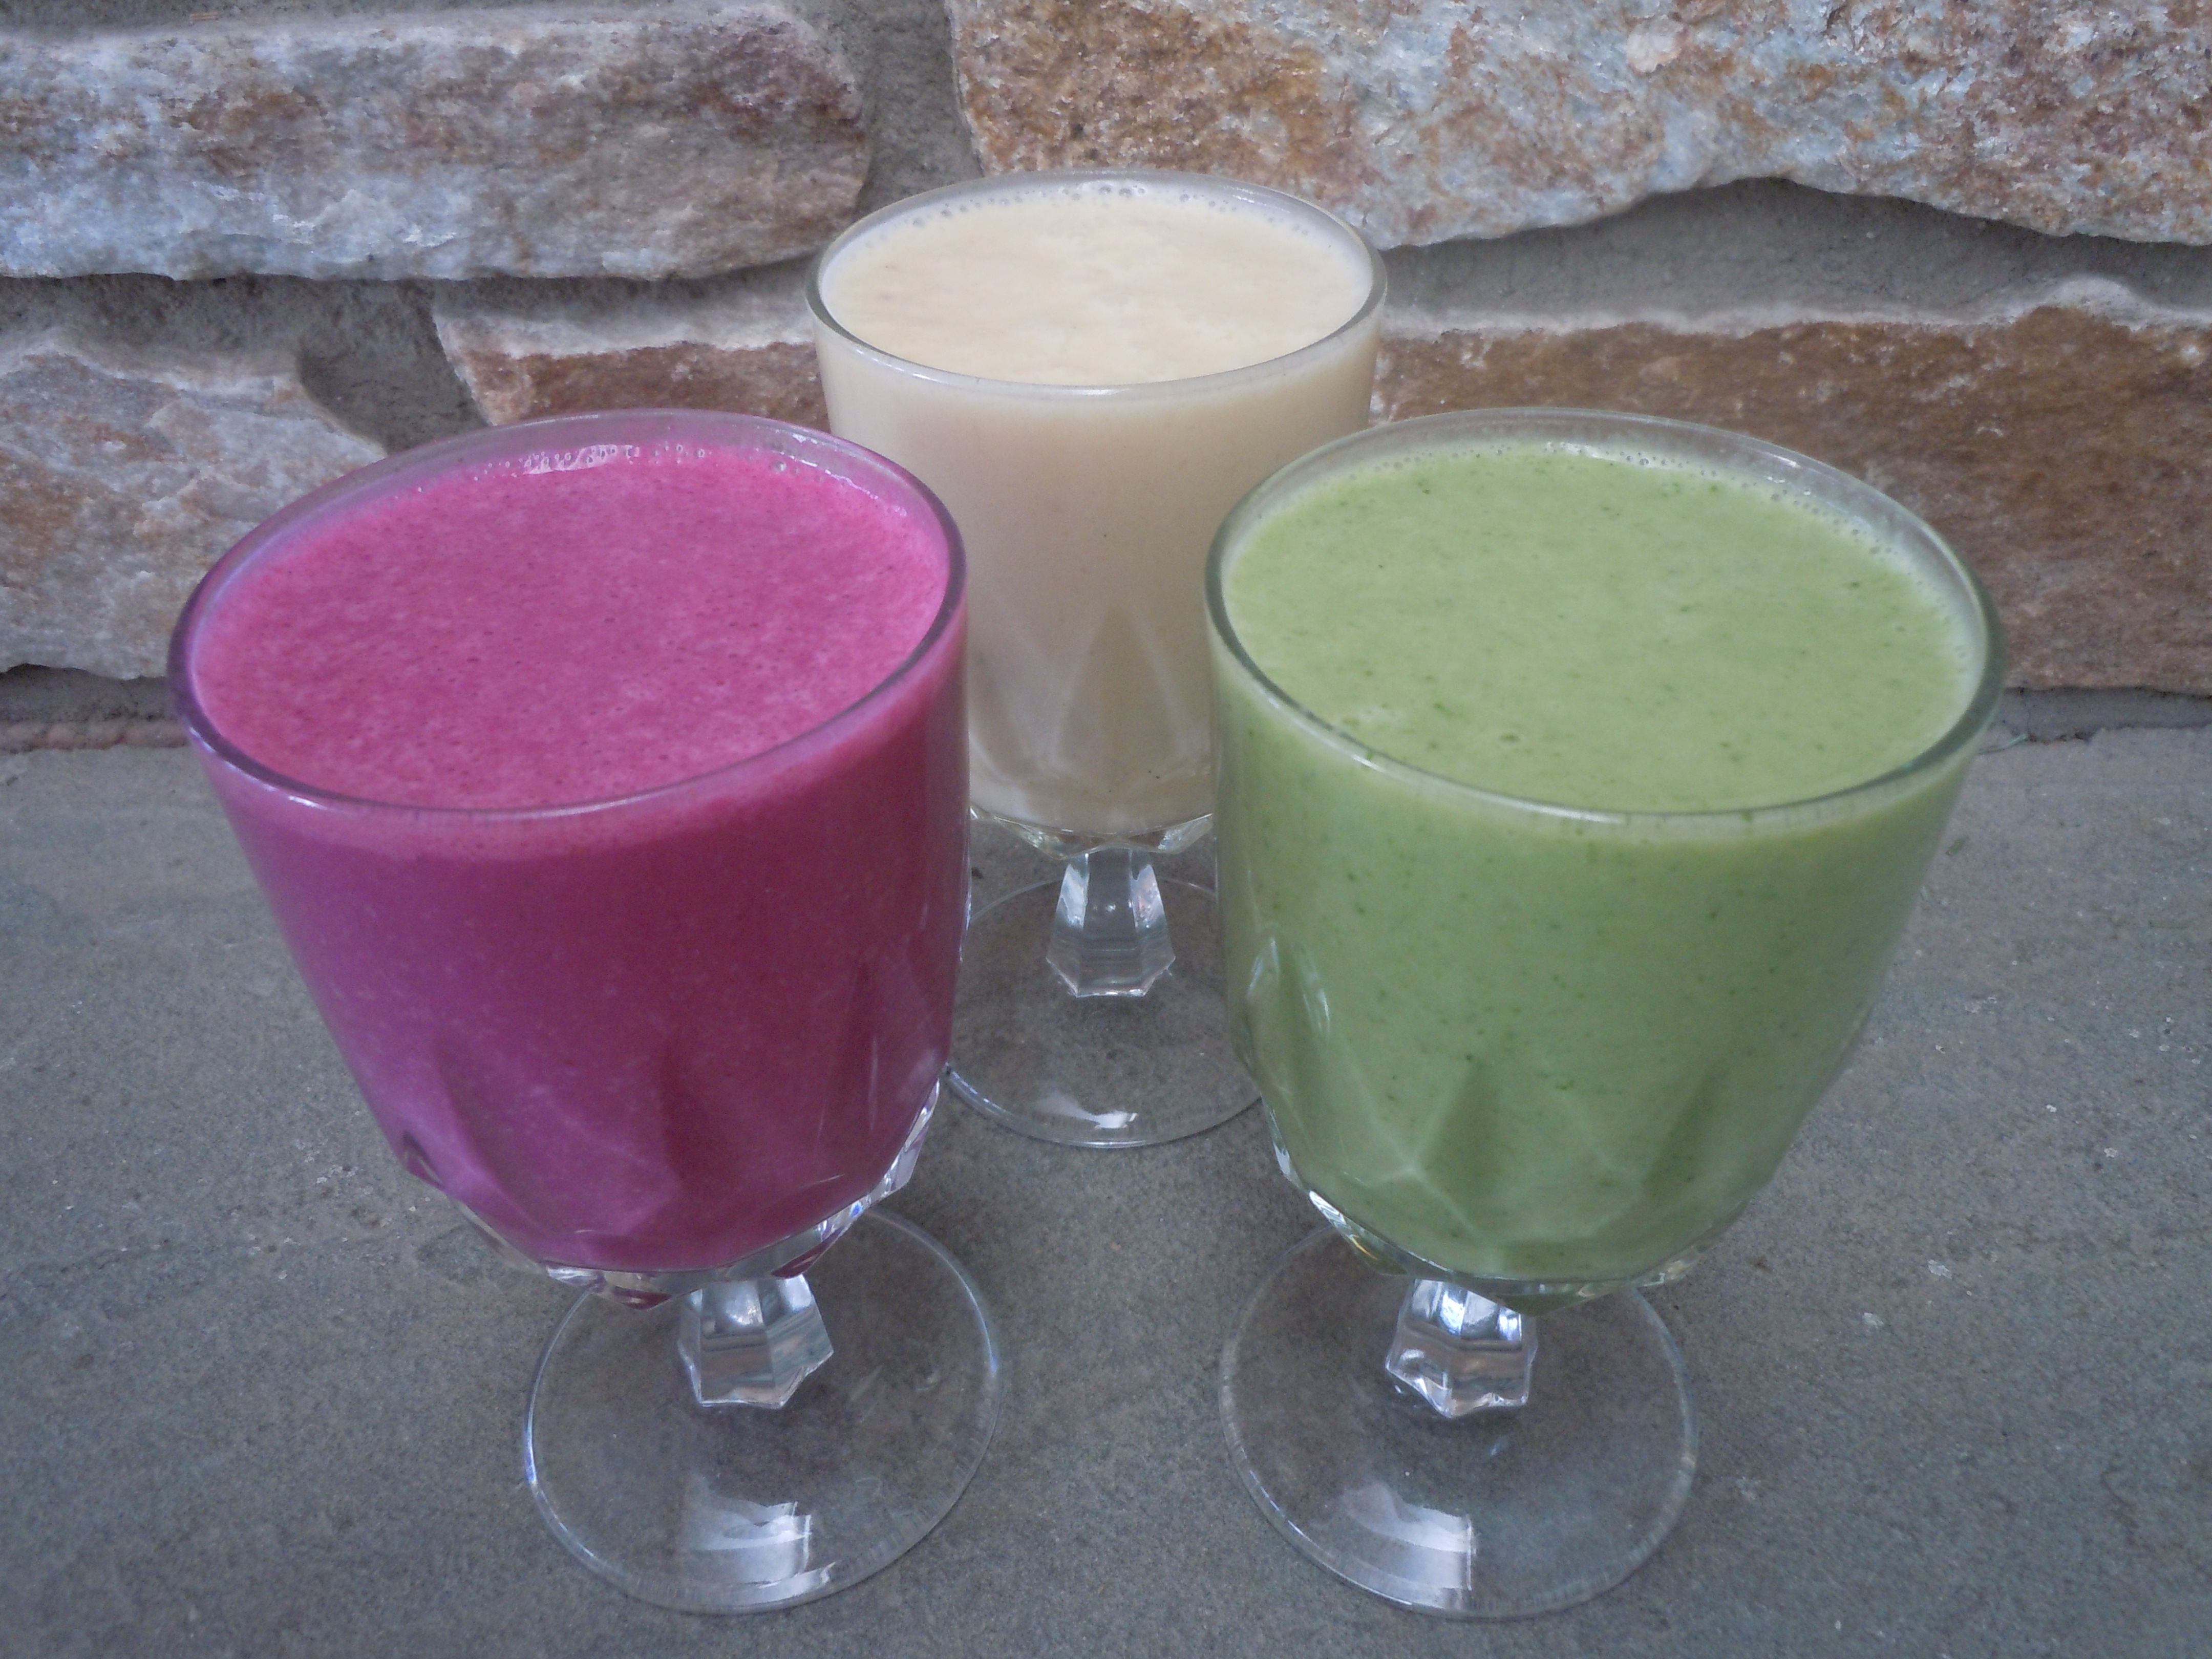
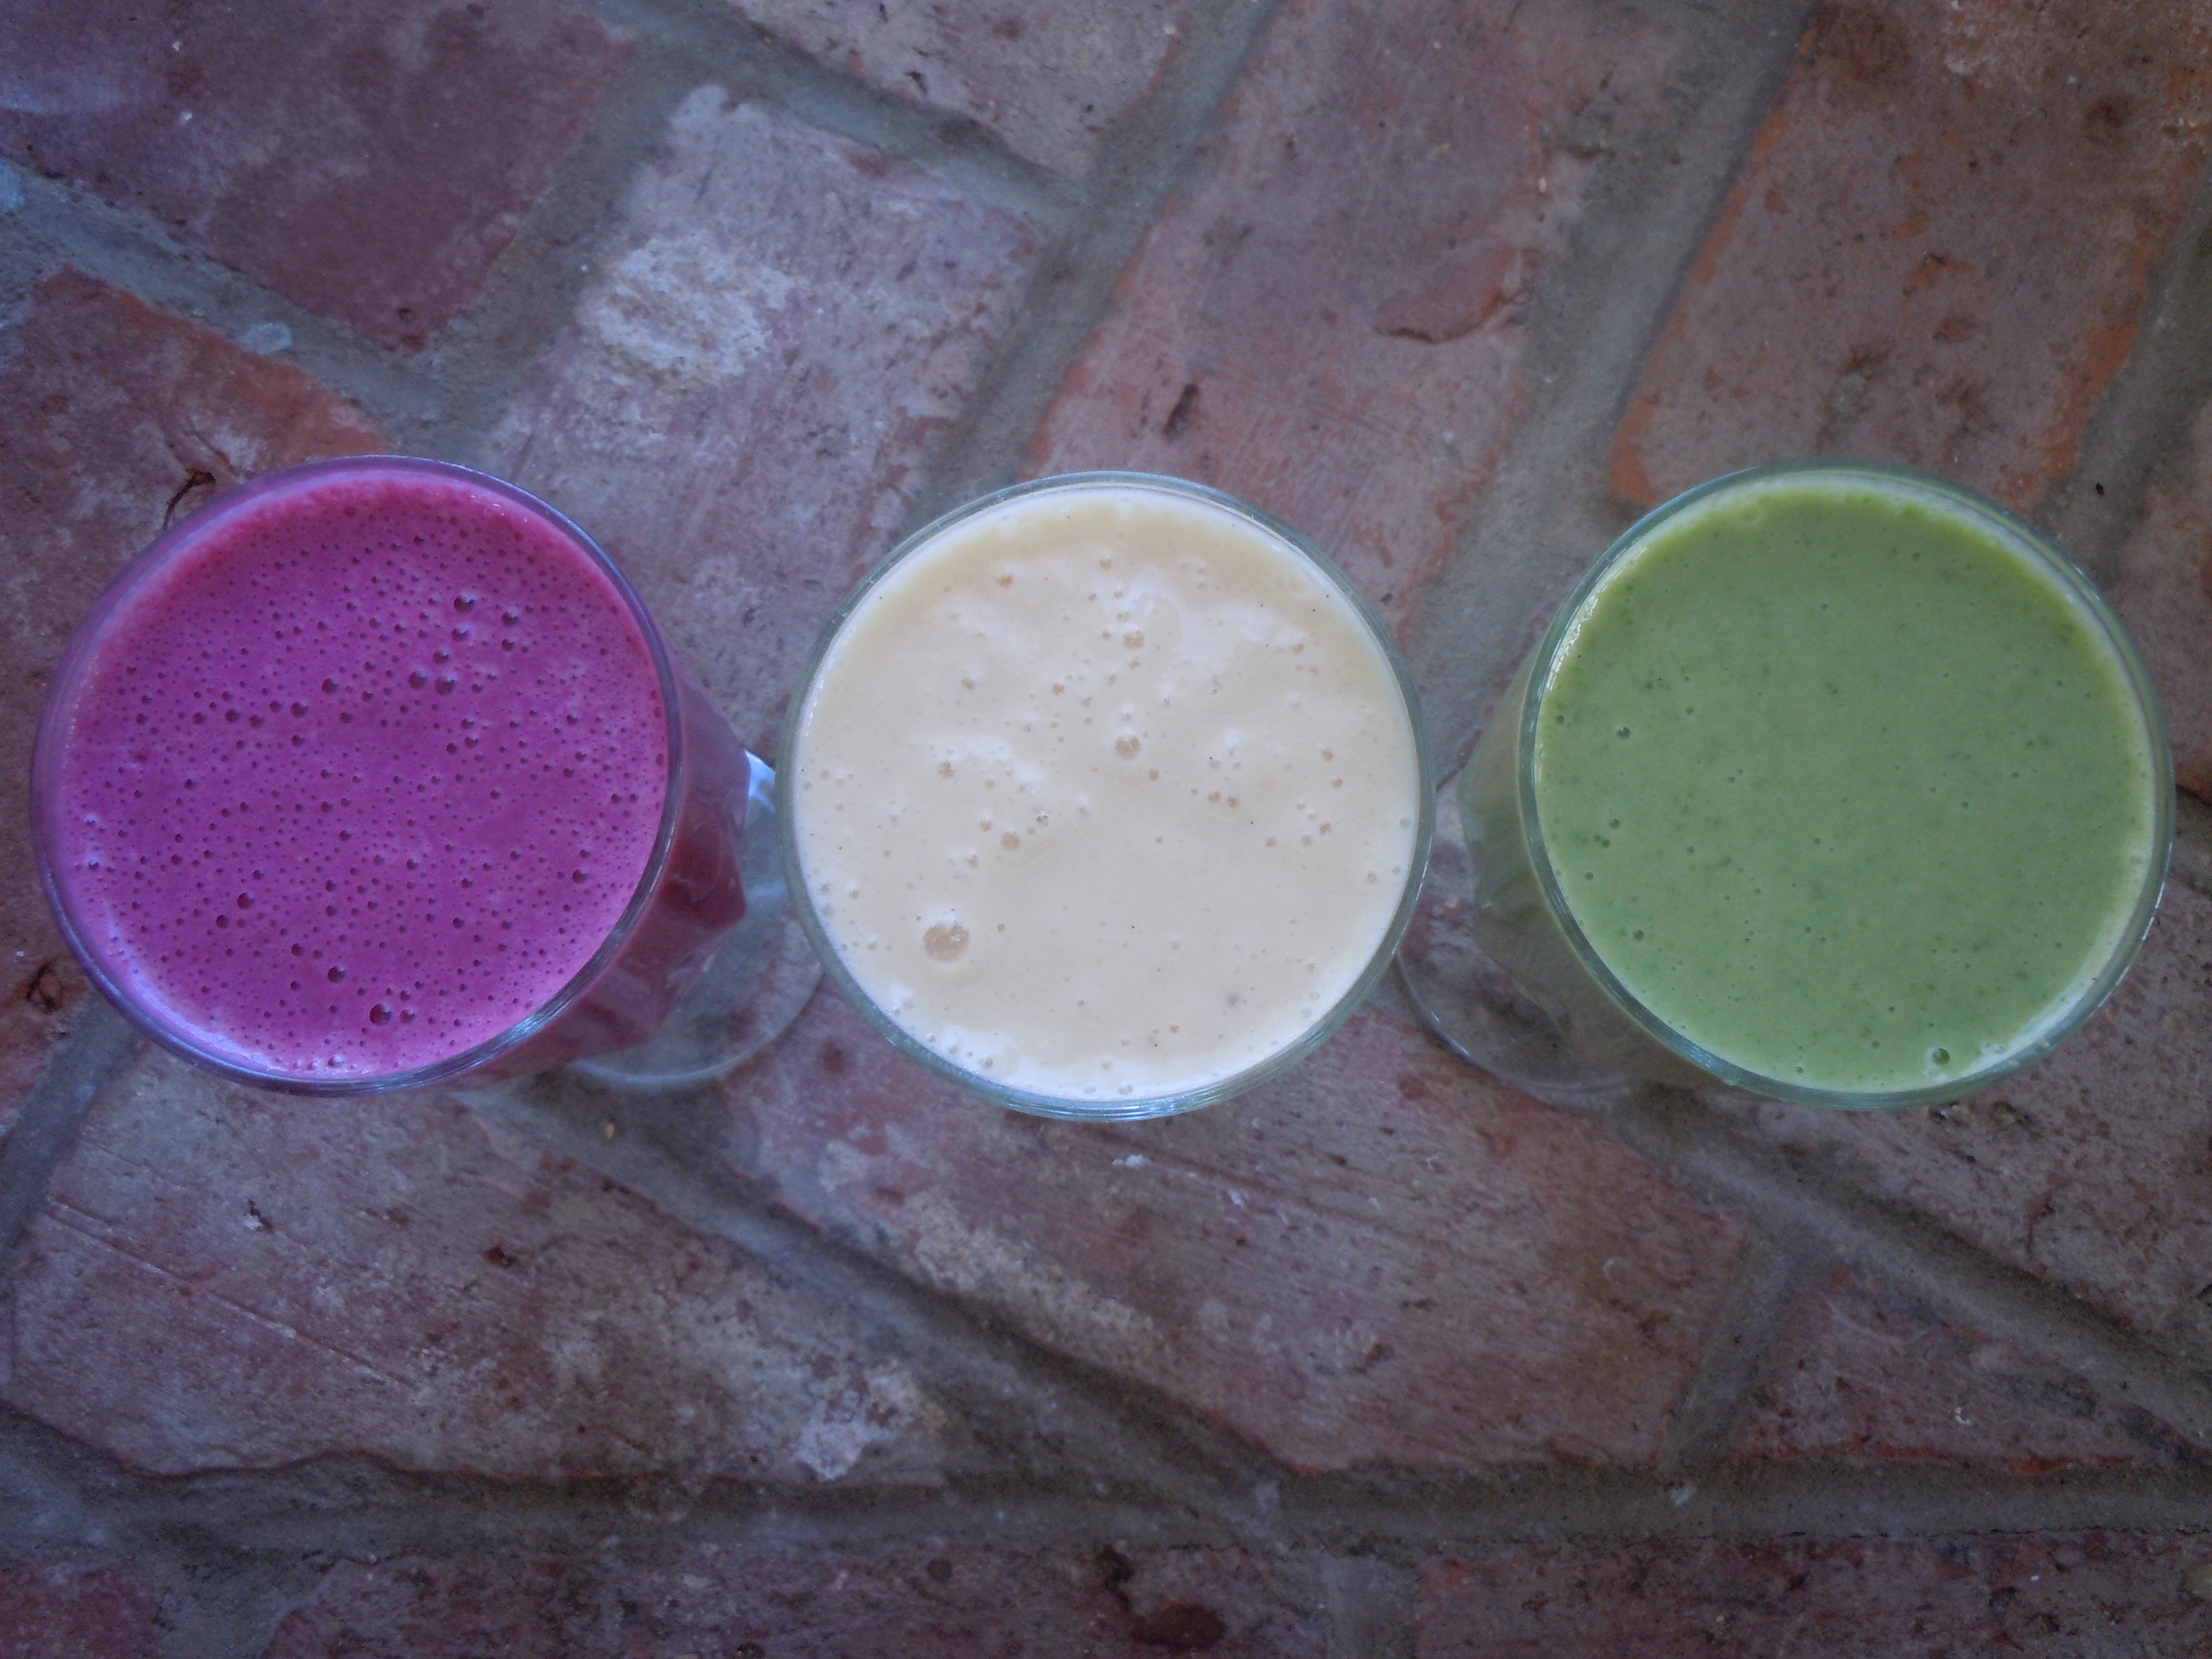
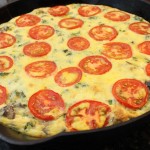
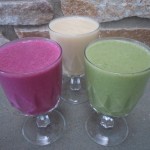
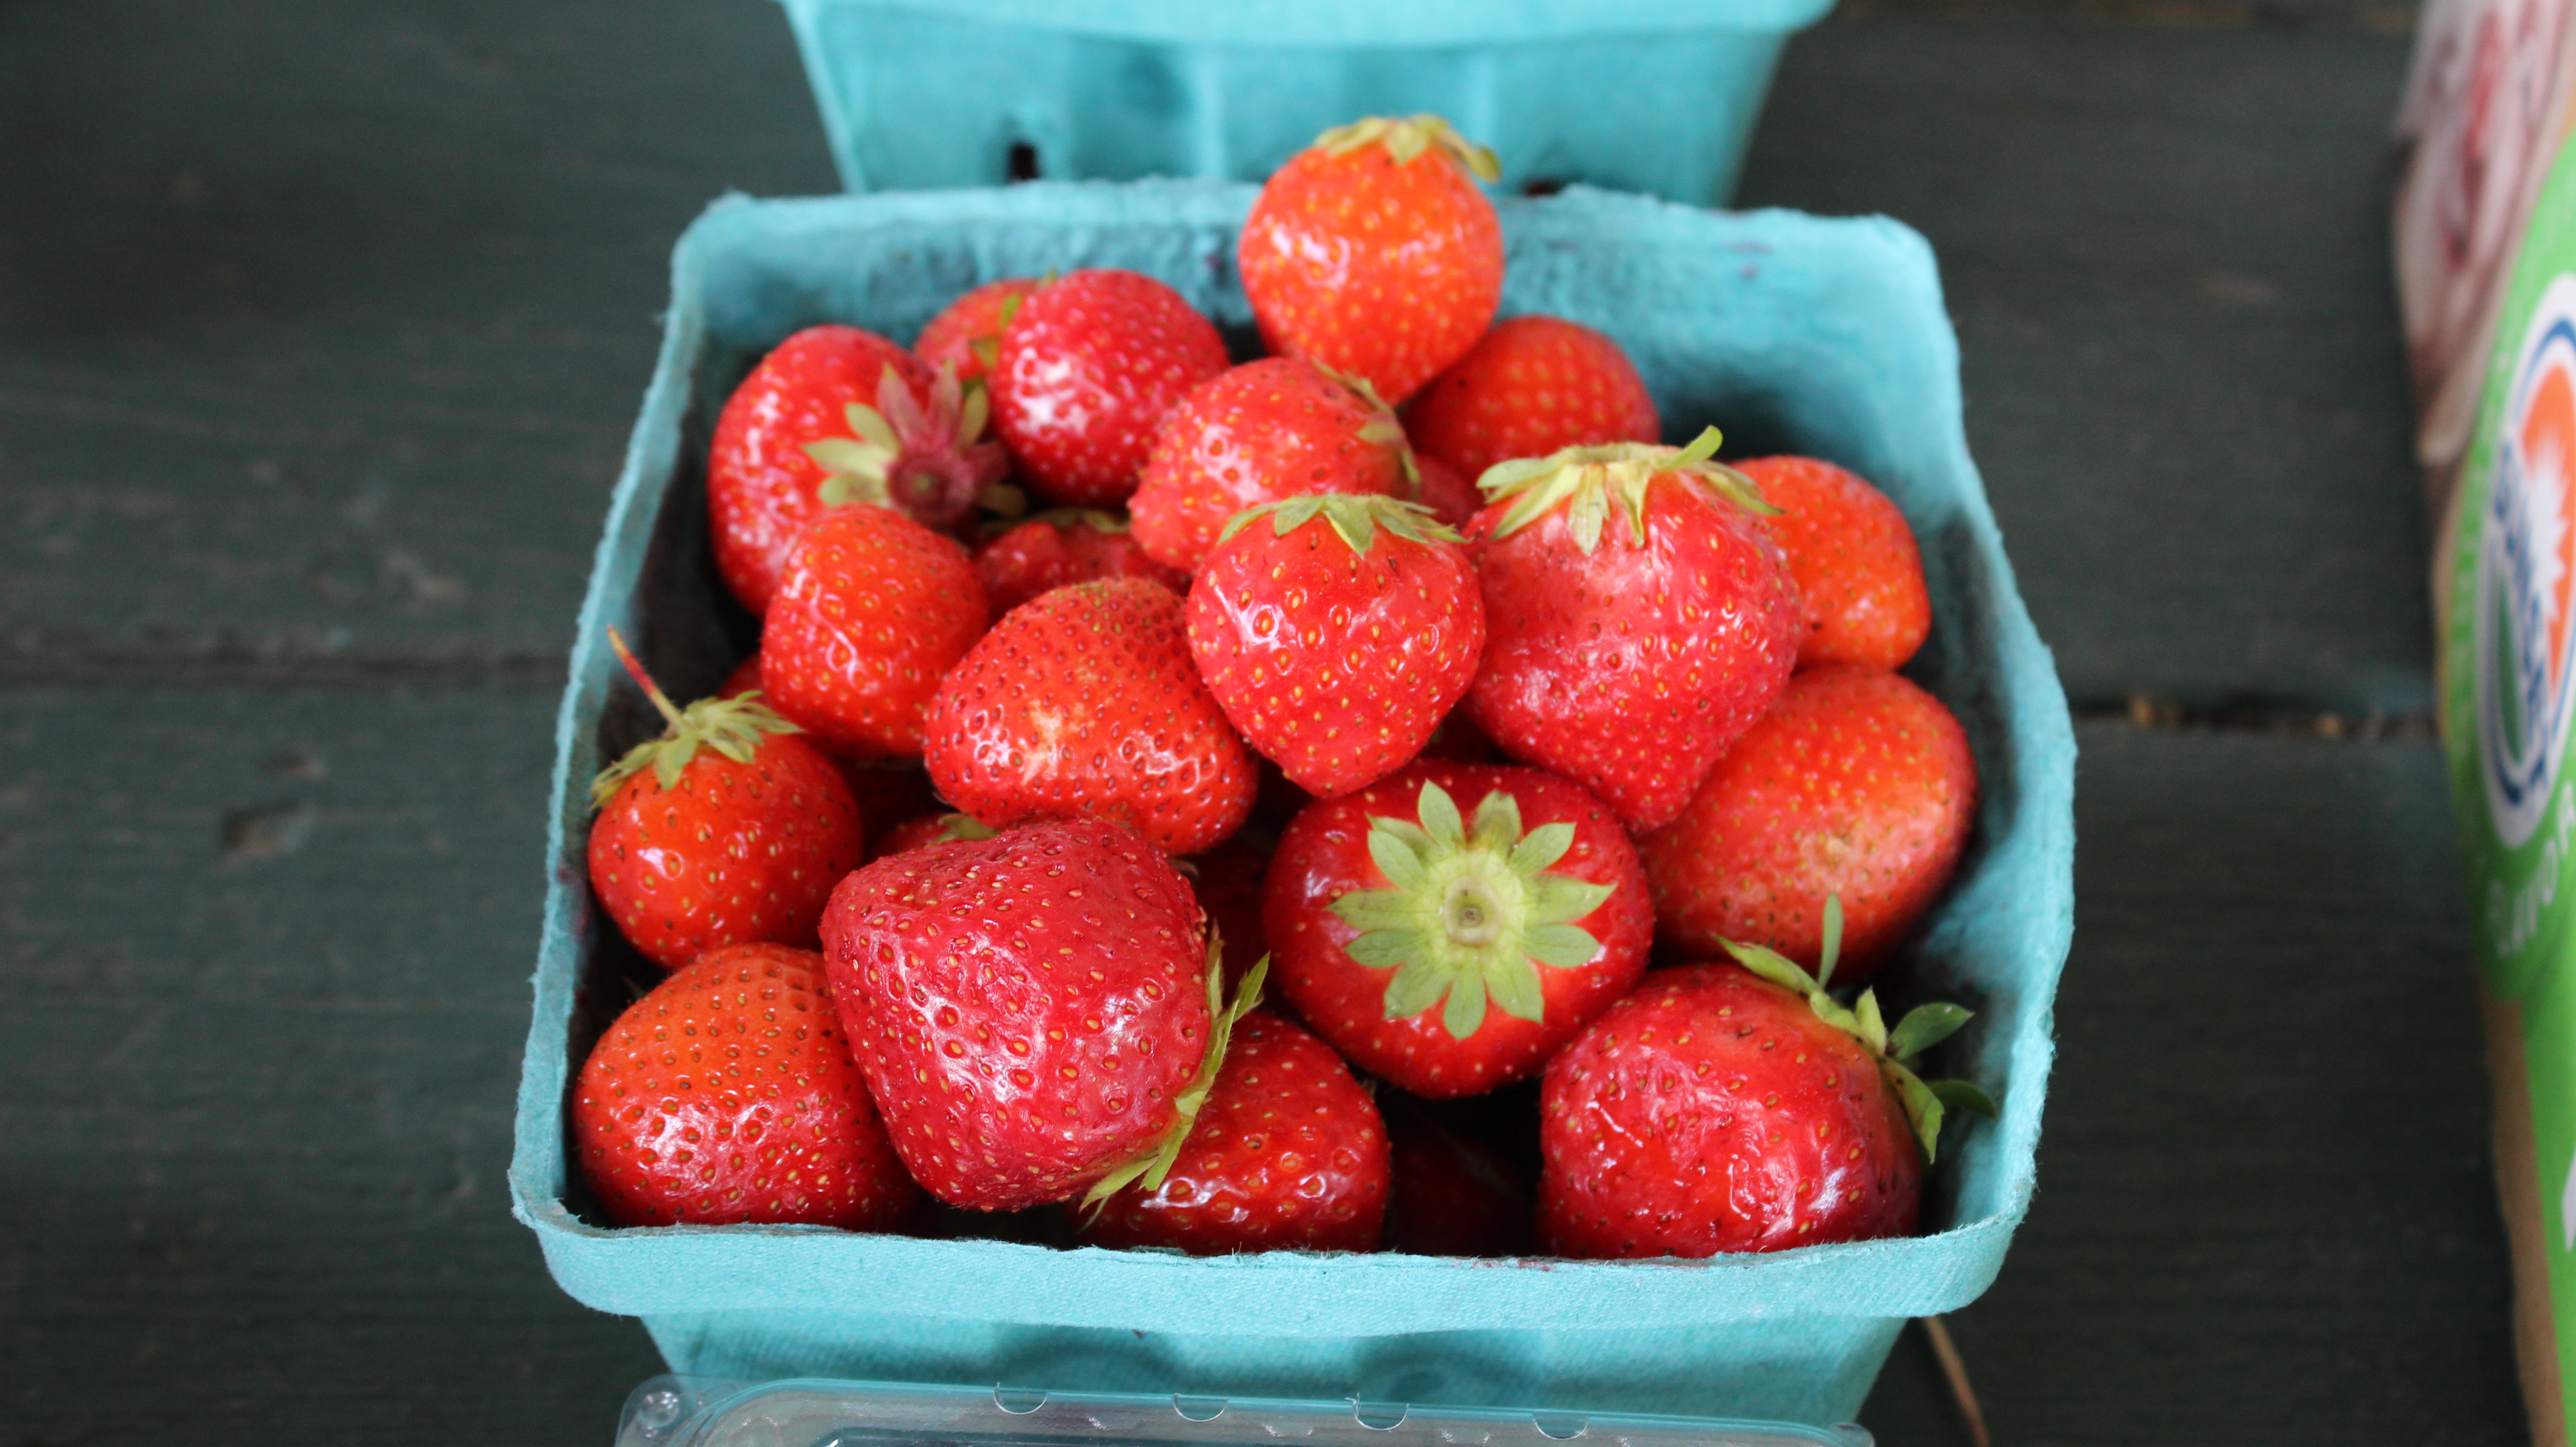
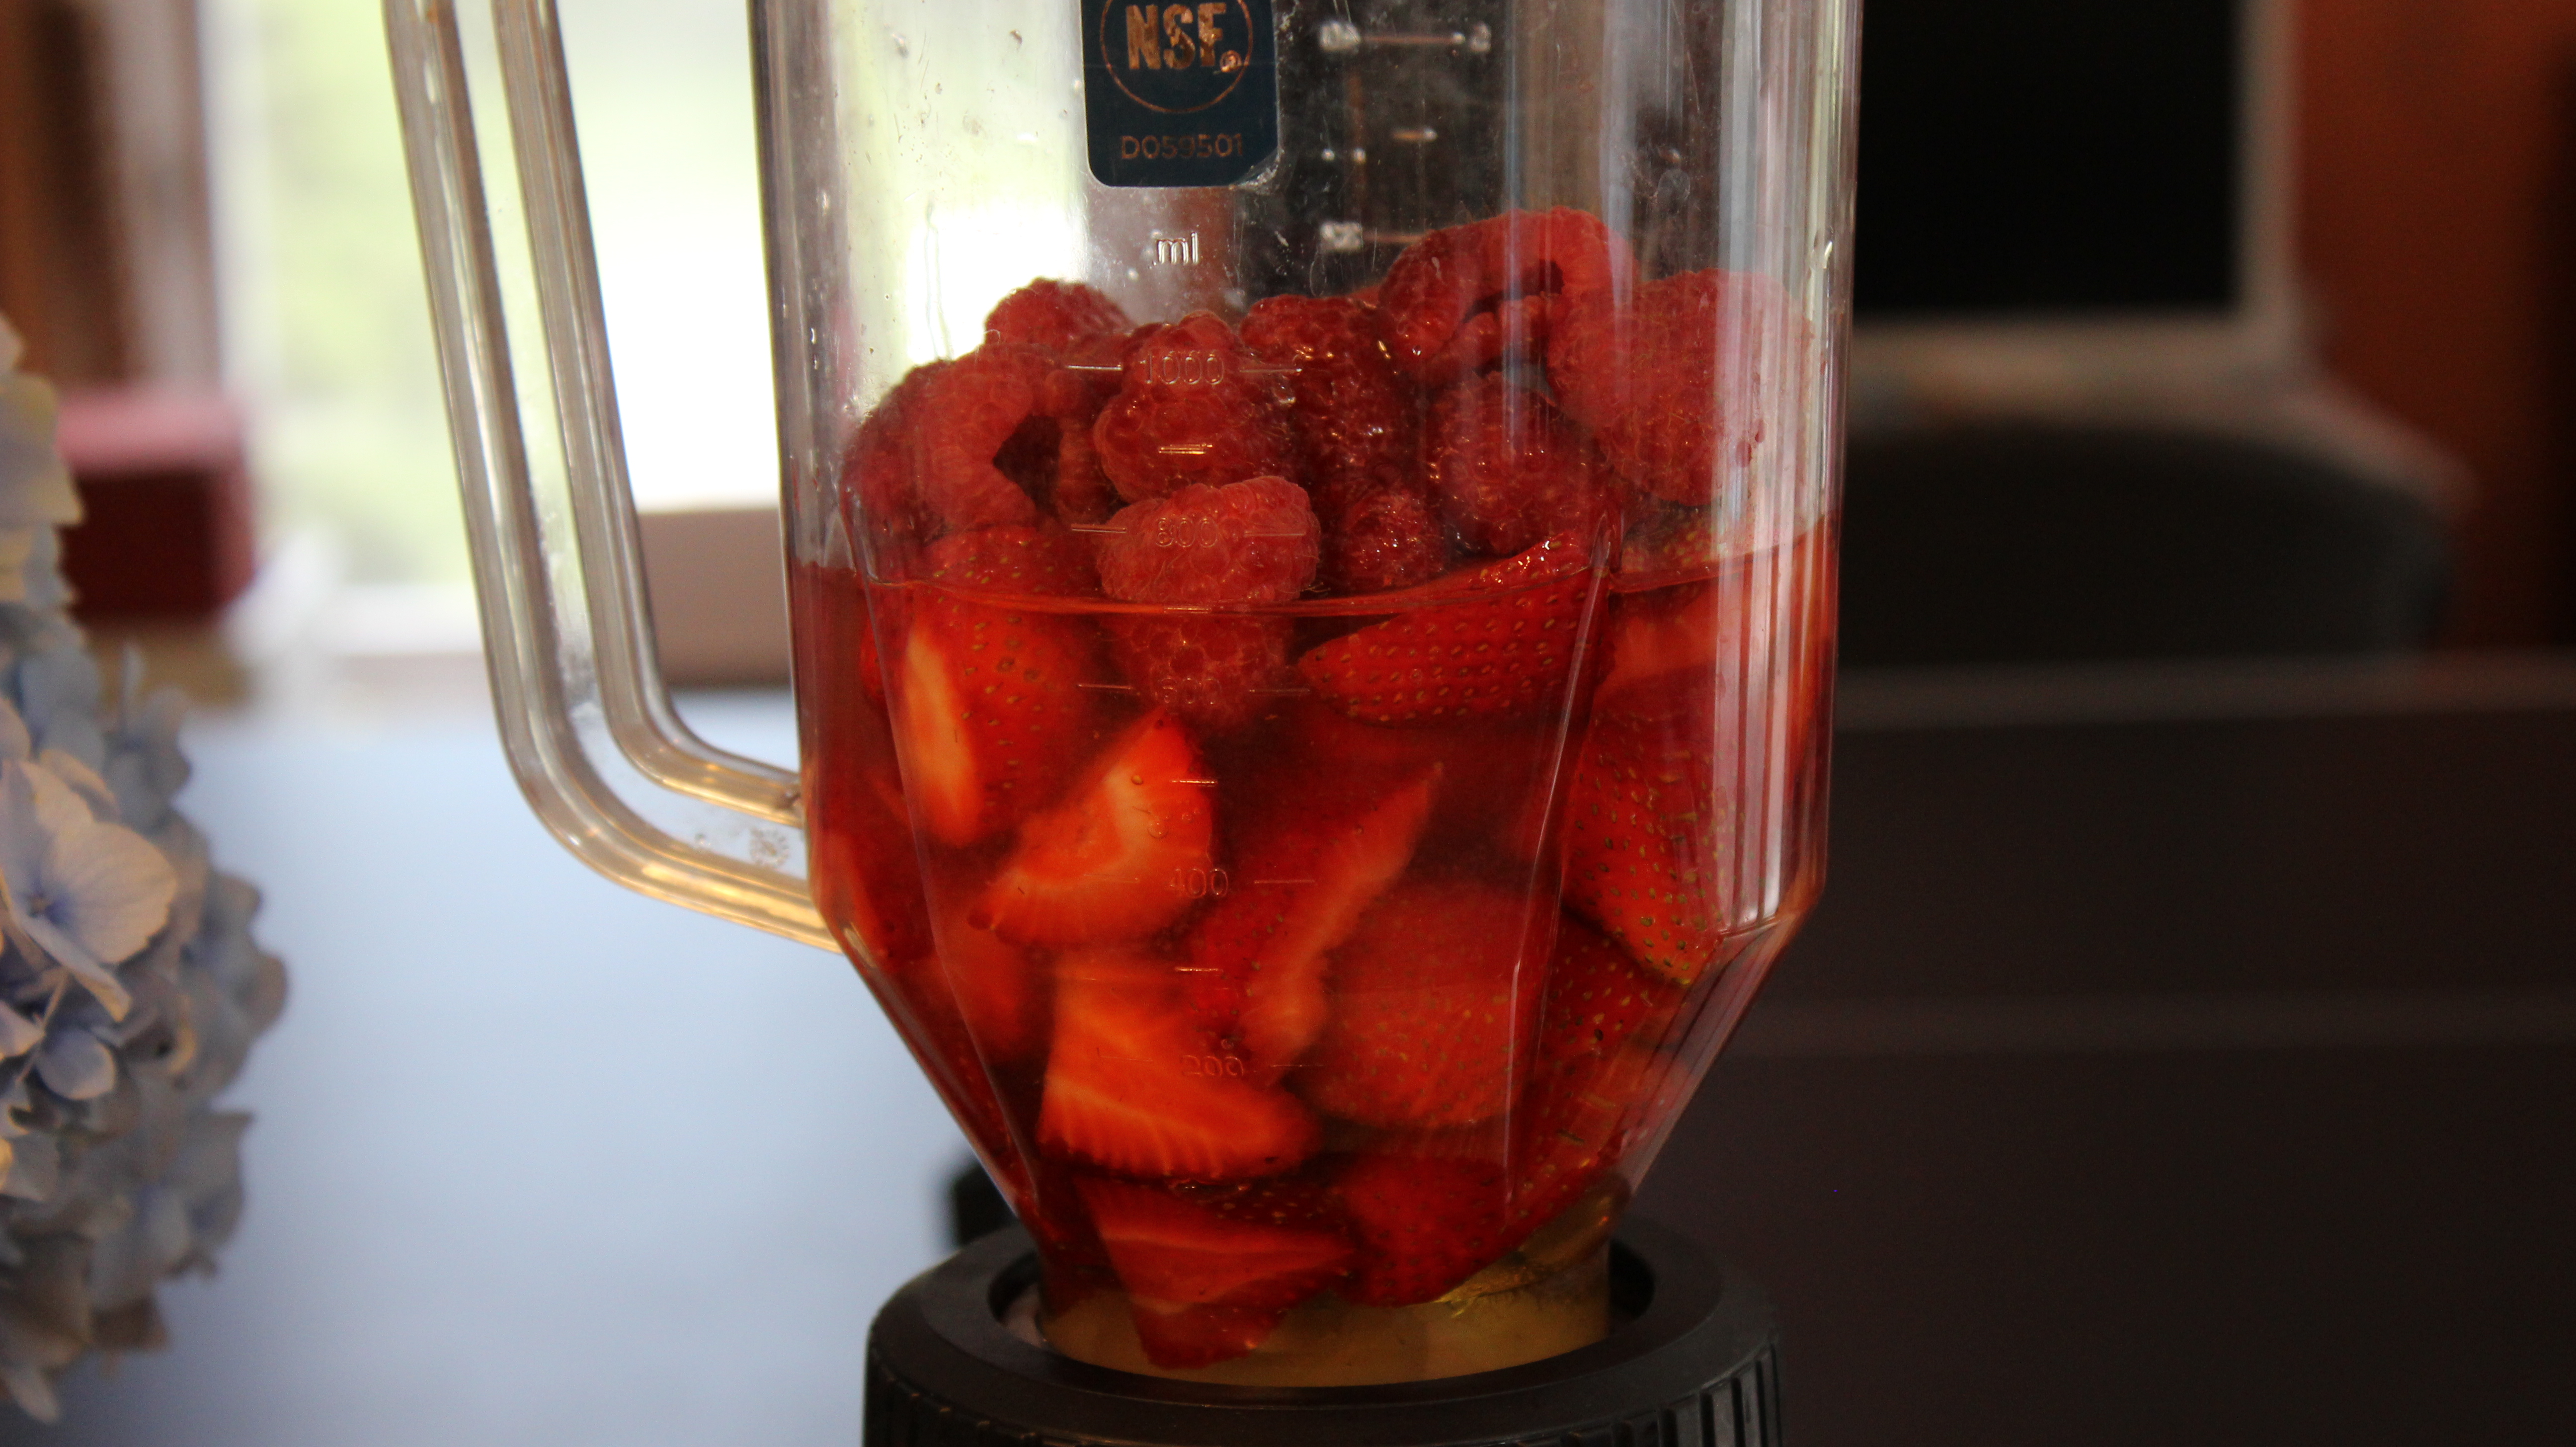
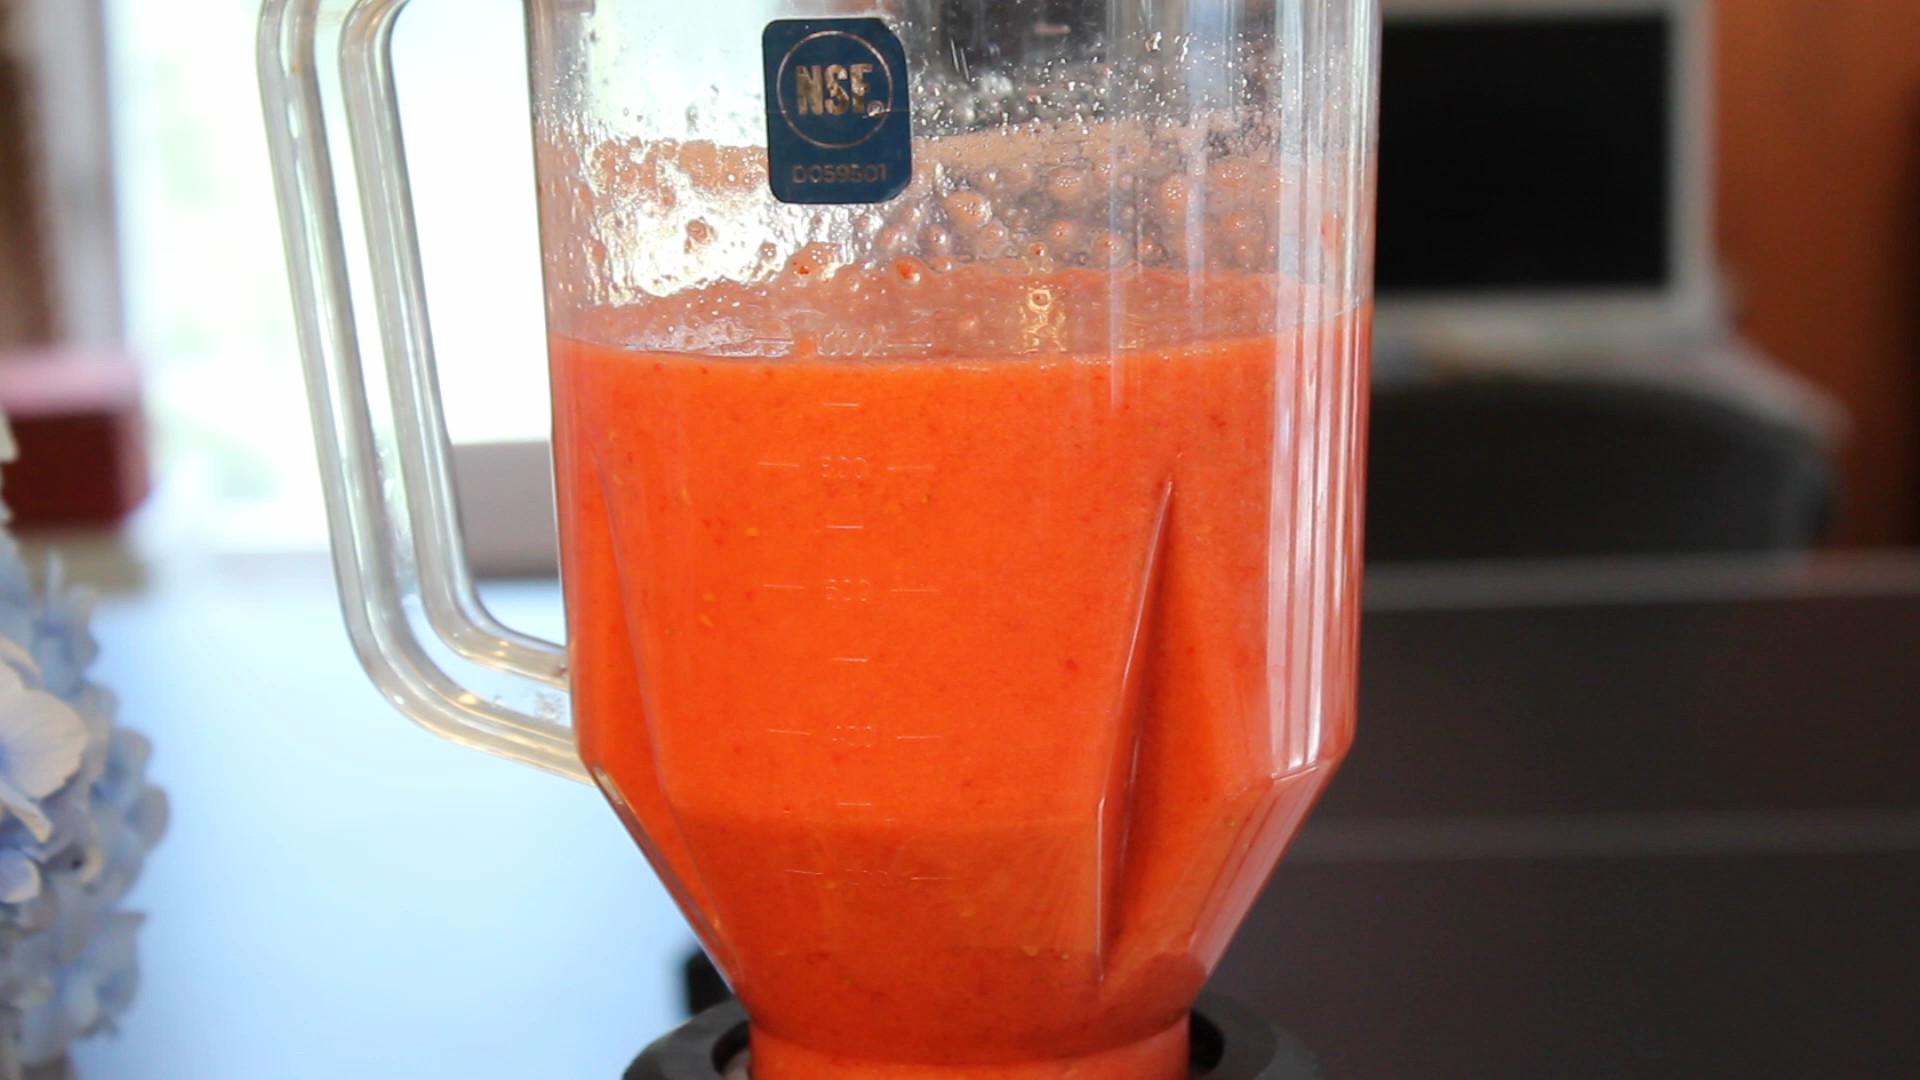
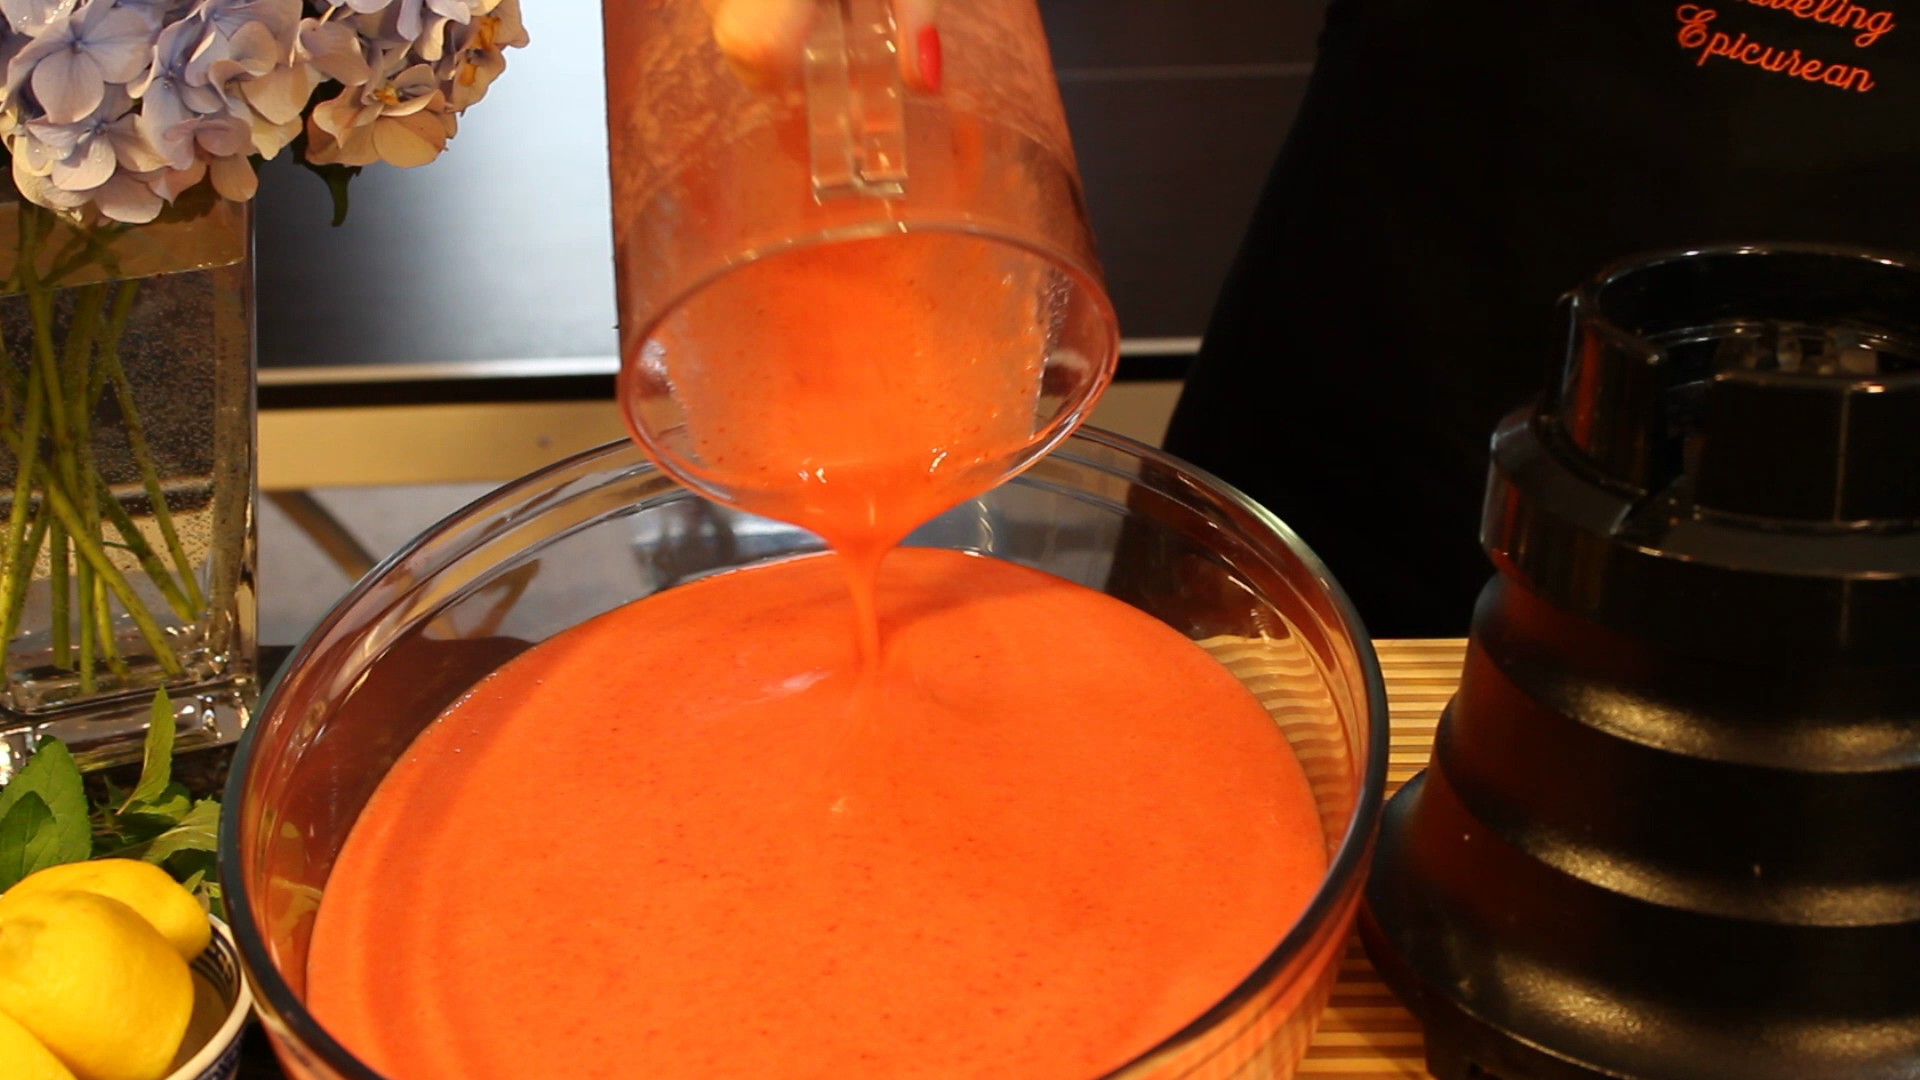
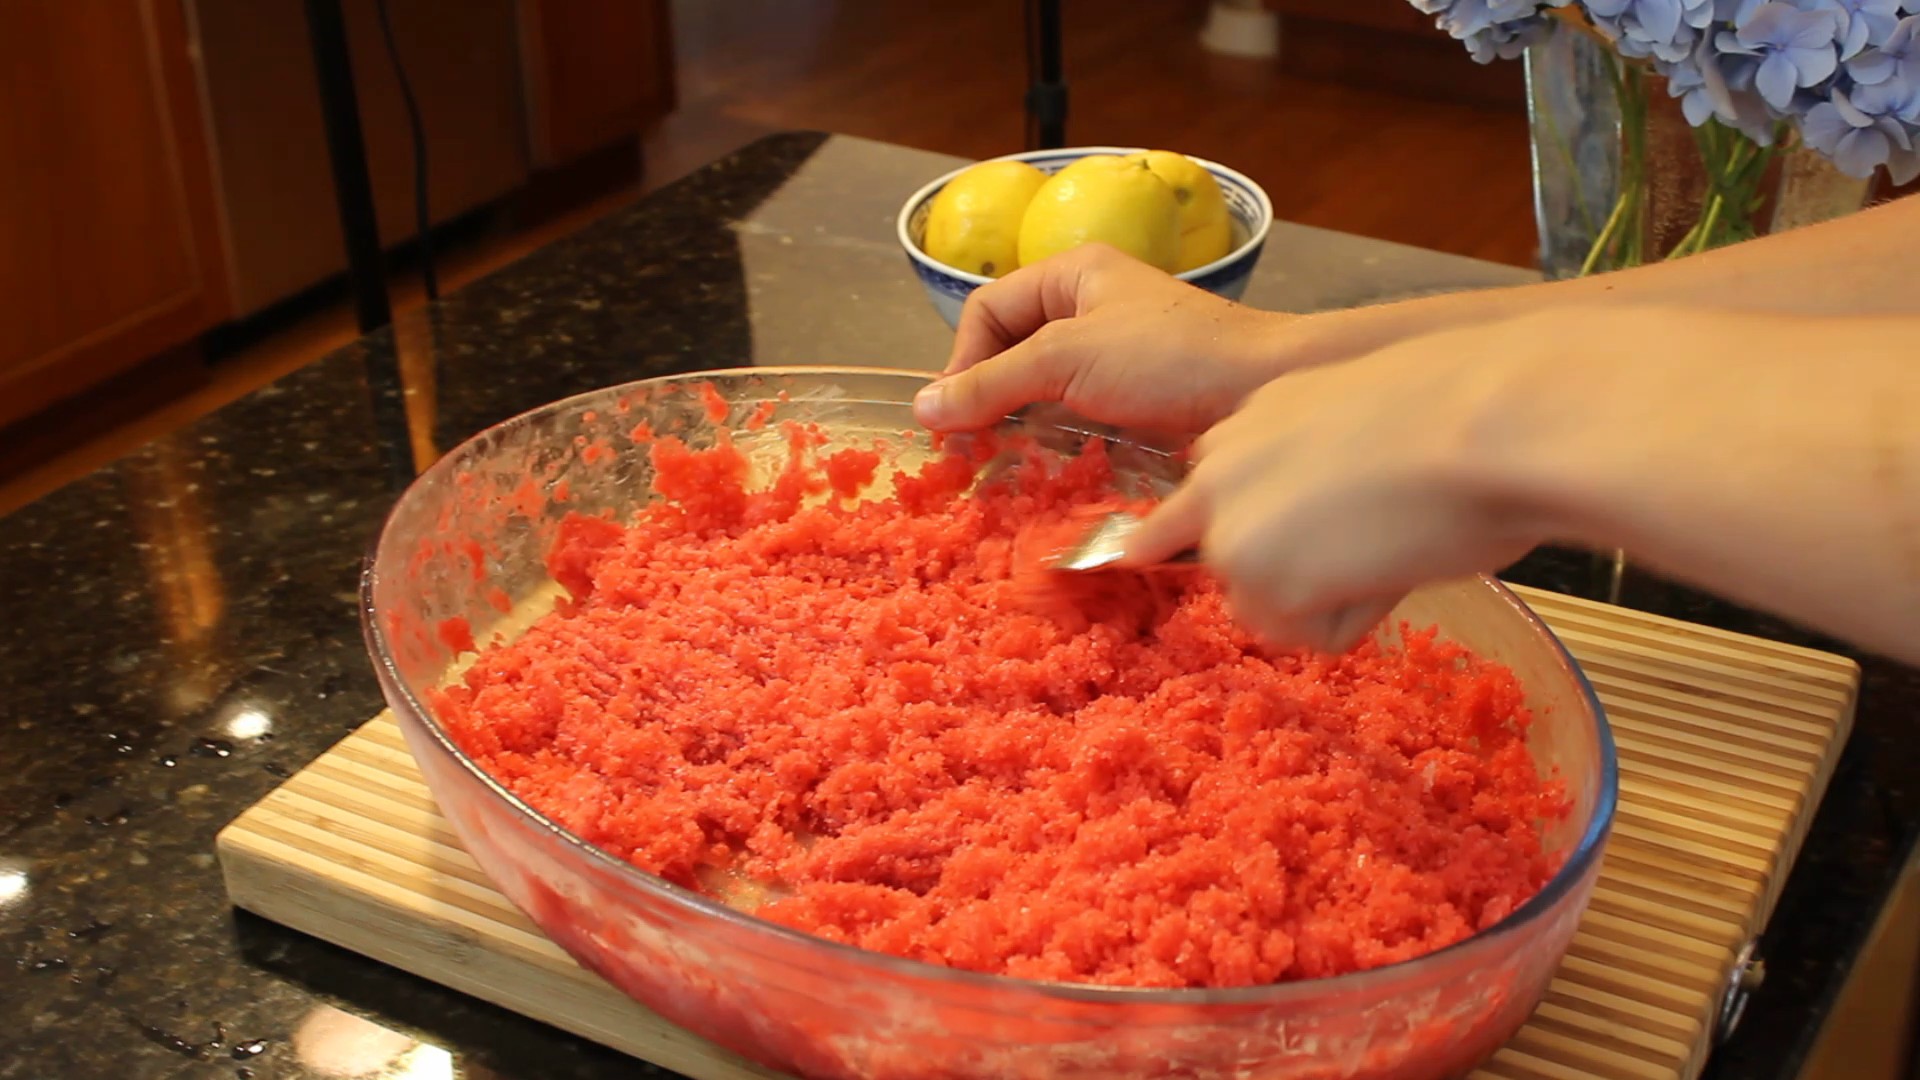
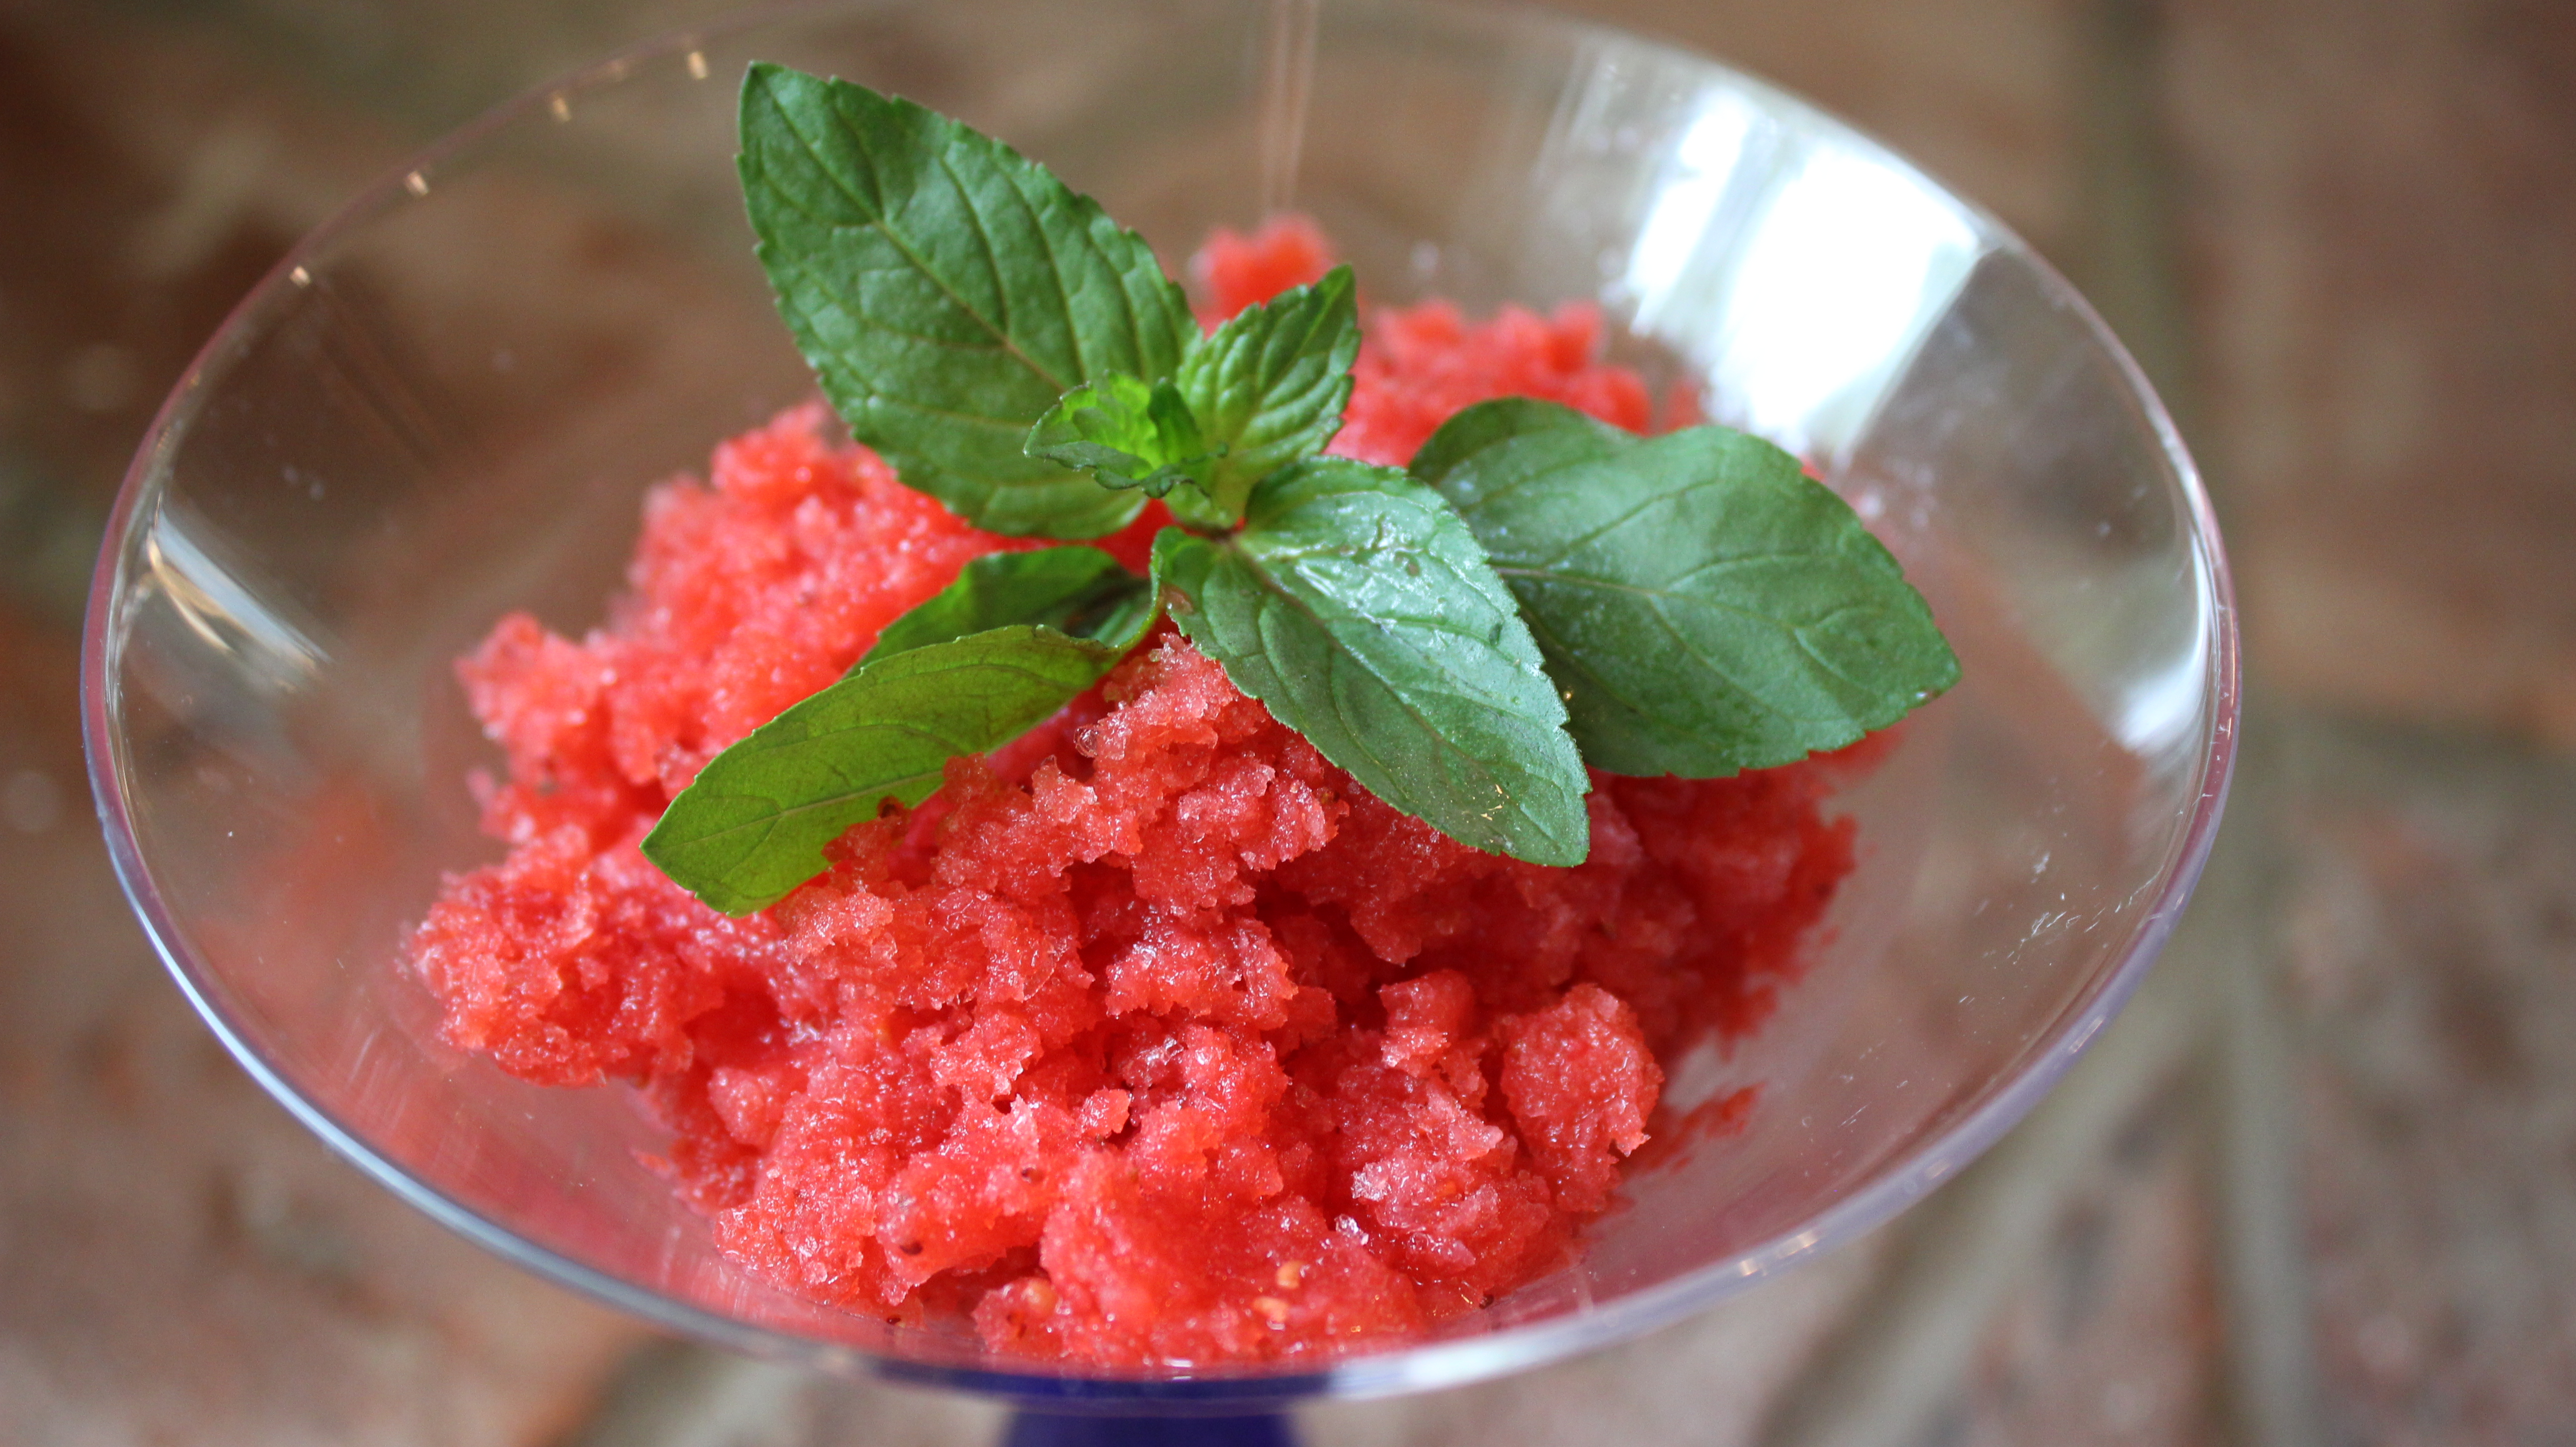
You may want to whip up some other breakfast items if you can get that homemade sticky bun dough made ahead of time and try my kale or spinach-mushroom frittata, or my energy smoothies. Then again you could always do more of a brunch theme with salmon BLT sliders, or homemade gourmet salmon gravlax! Hope you enjoy the show 🙂


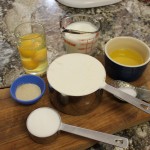

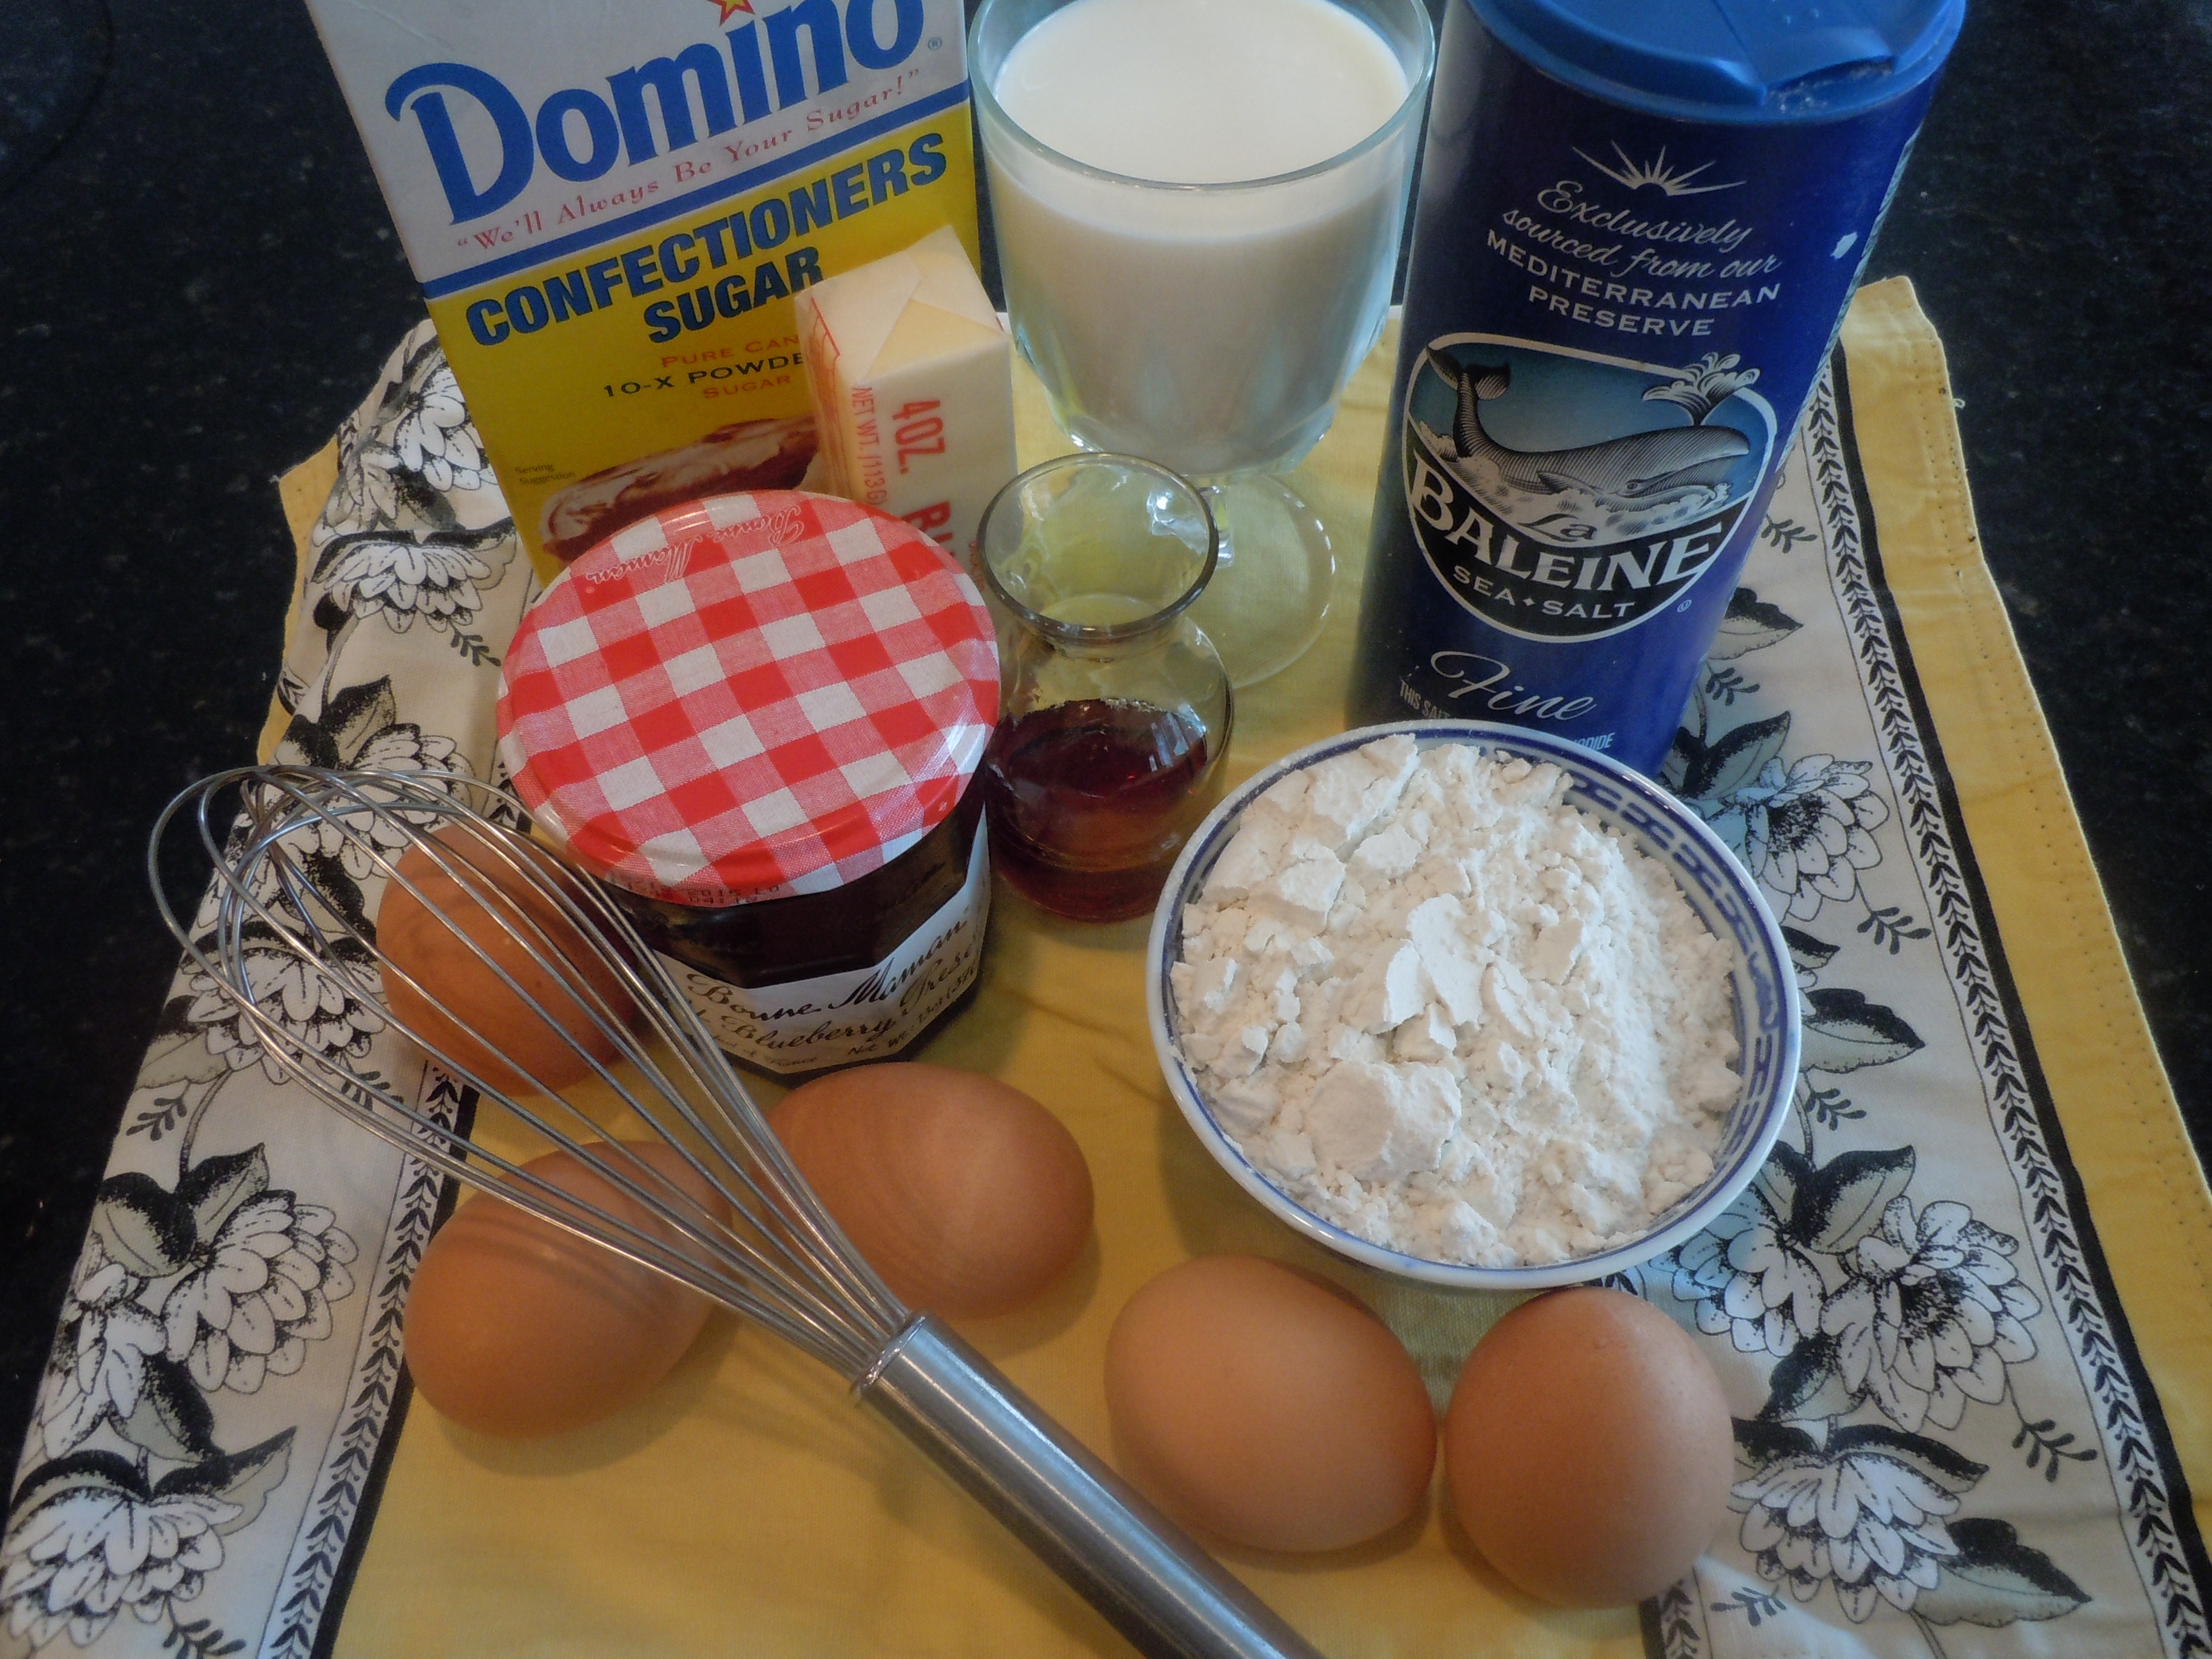
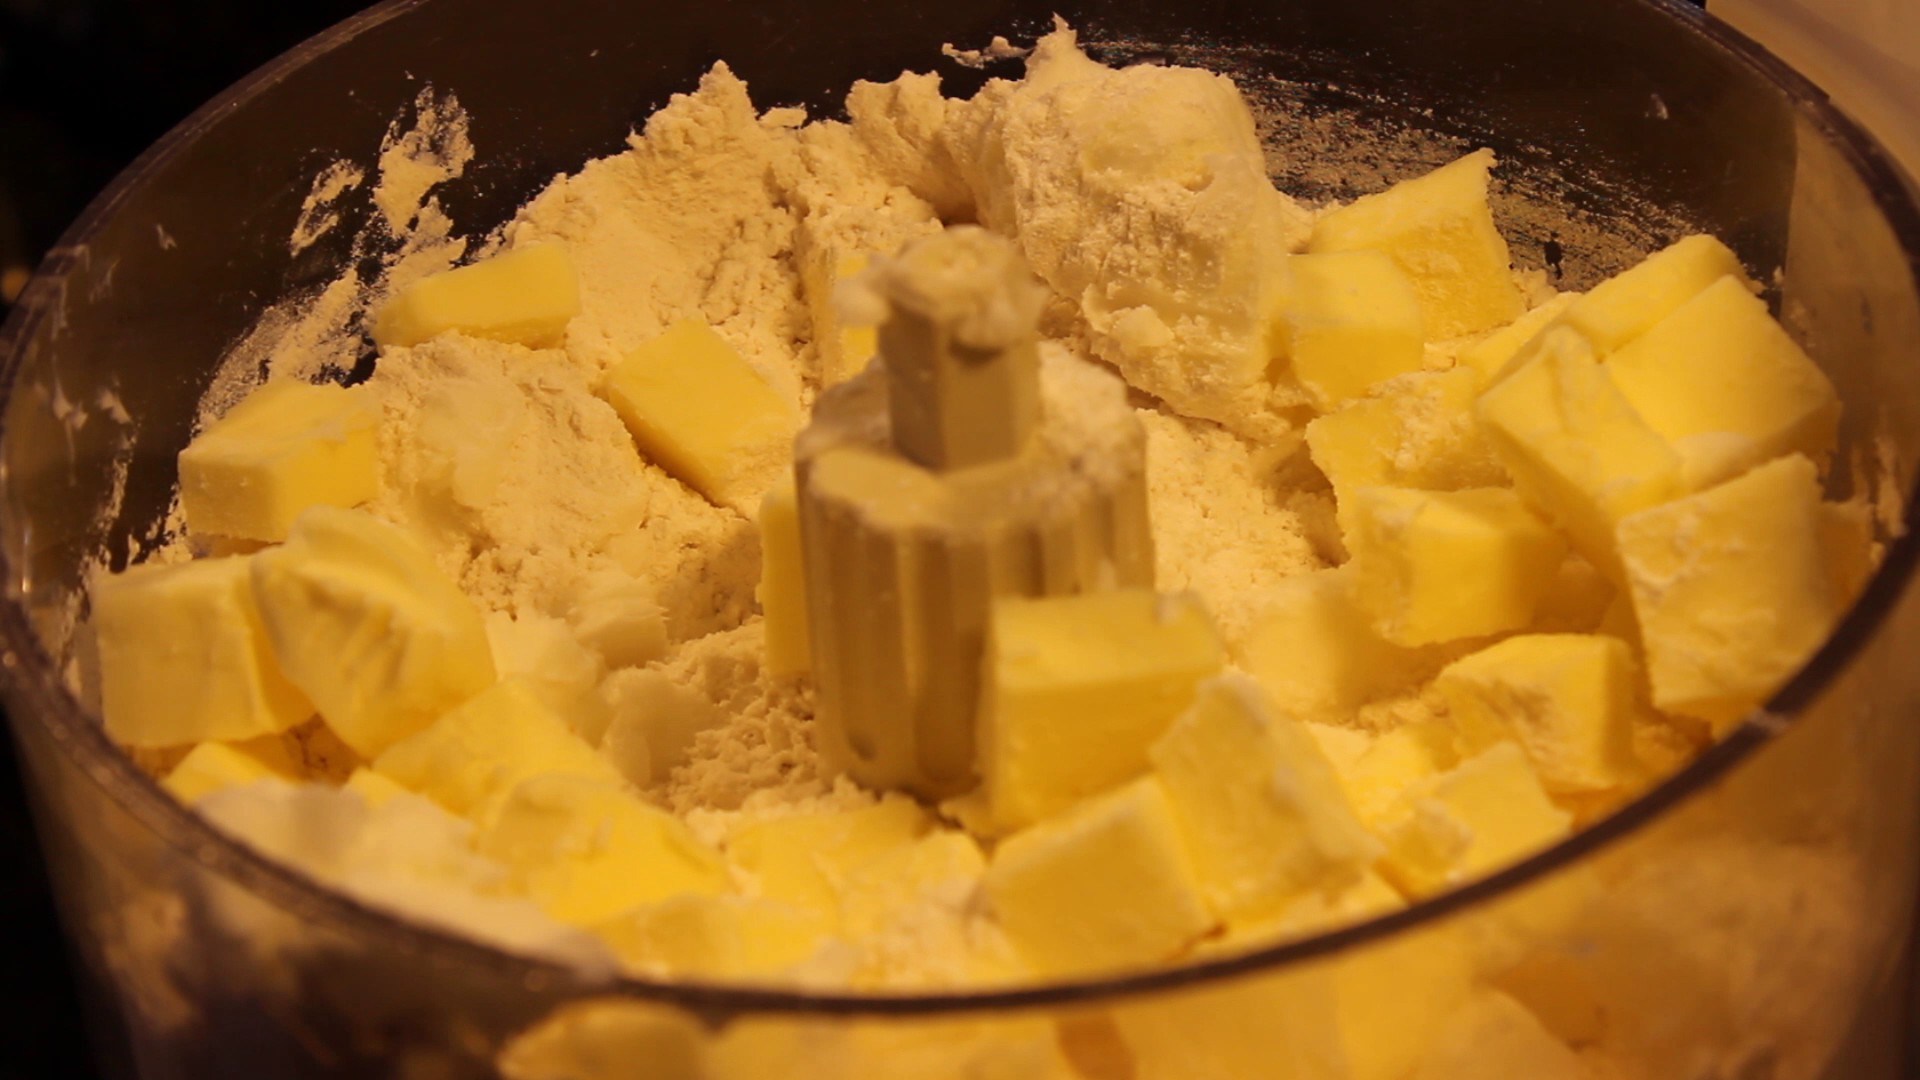
Ingredients for the Dough:
- 3 lg eggs room temp
- 3/4 cup butter milk room temp
- 1 pkt of INSTANT – RAPID RISE yeast or 2 1/2 tsp if measuring
- 1/4 cup granulated sugar
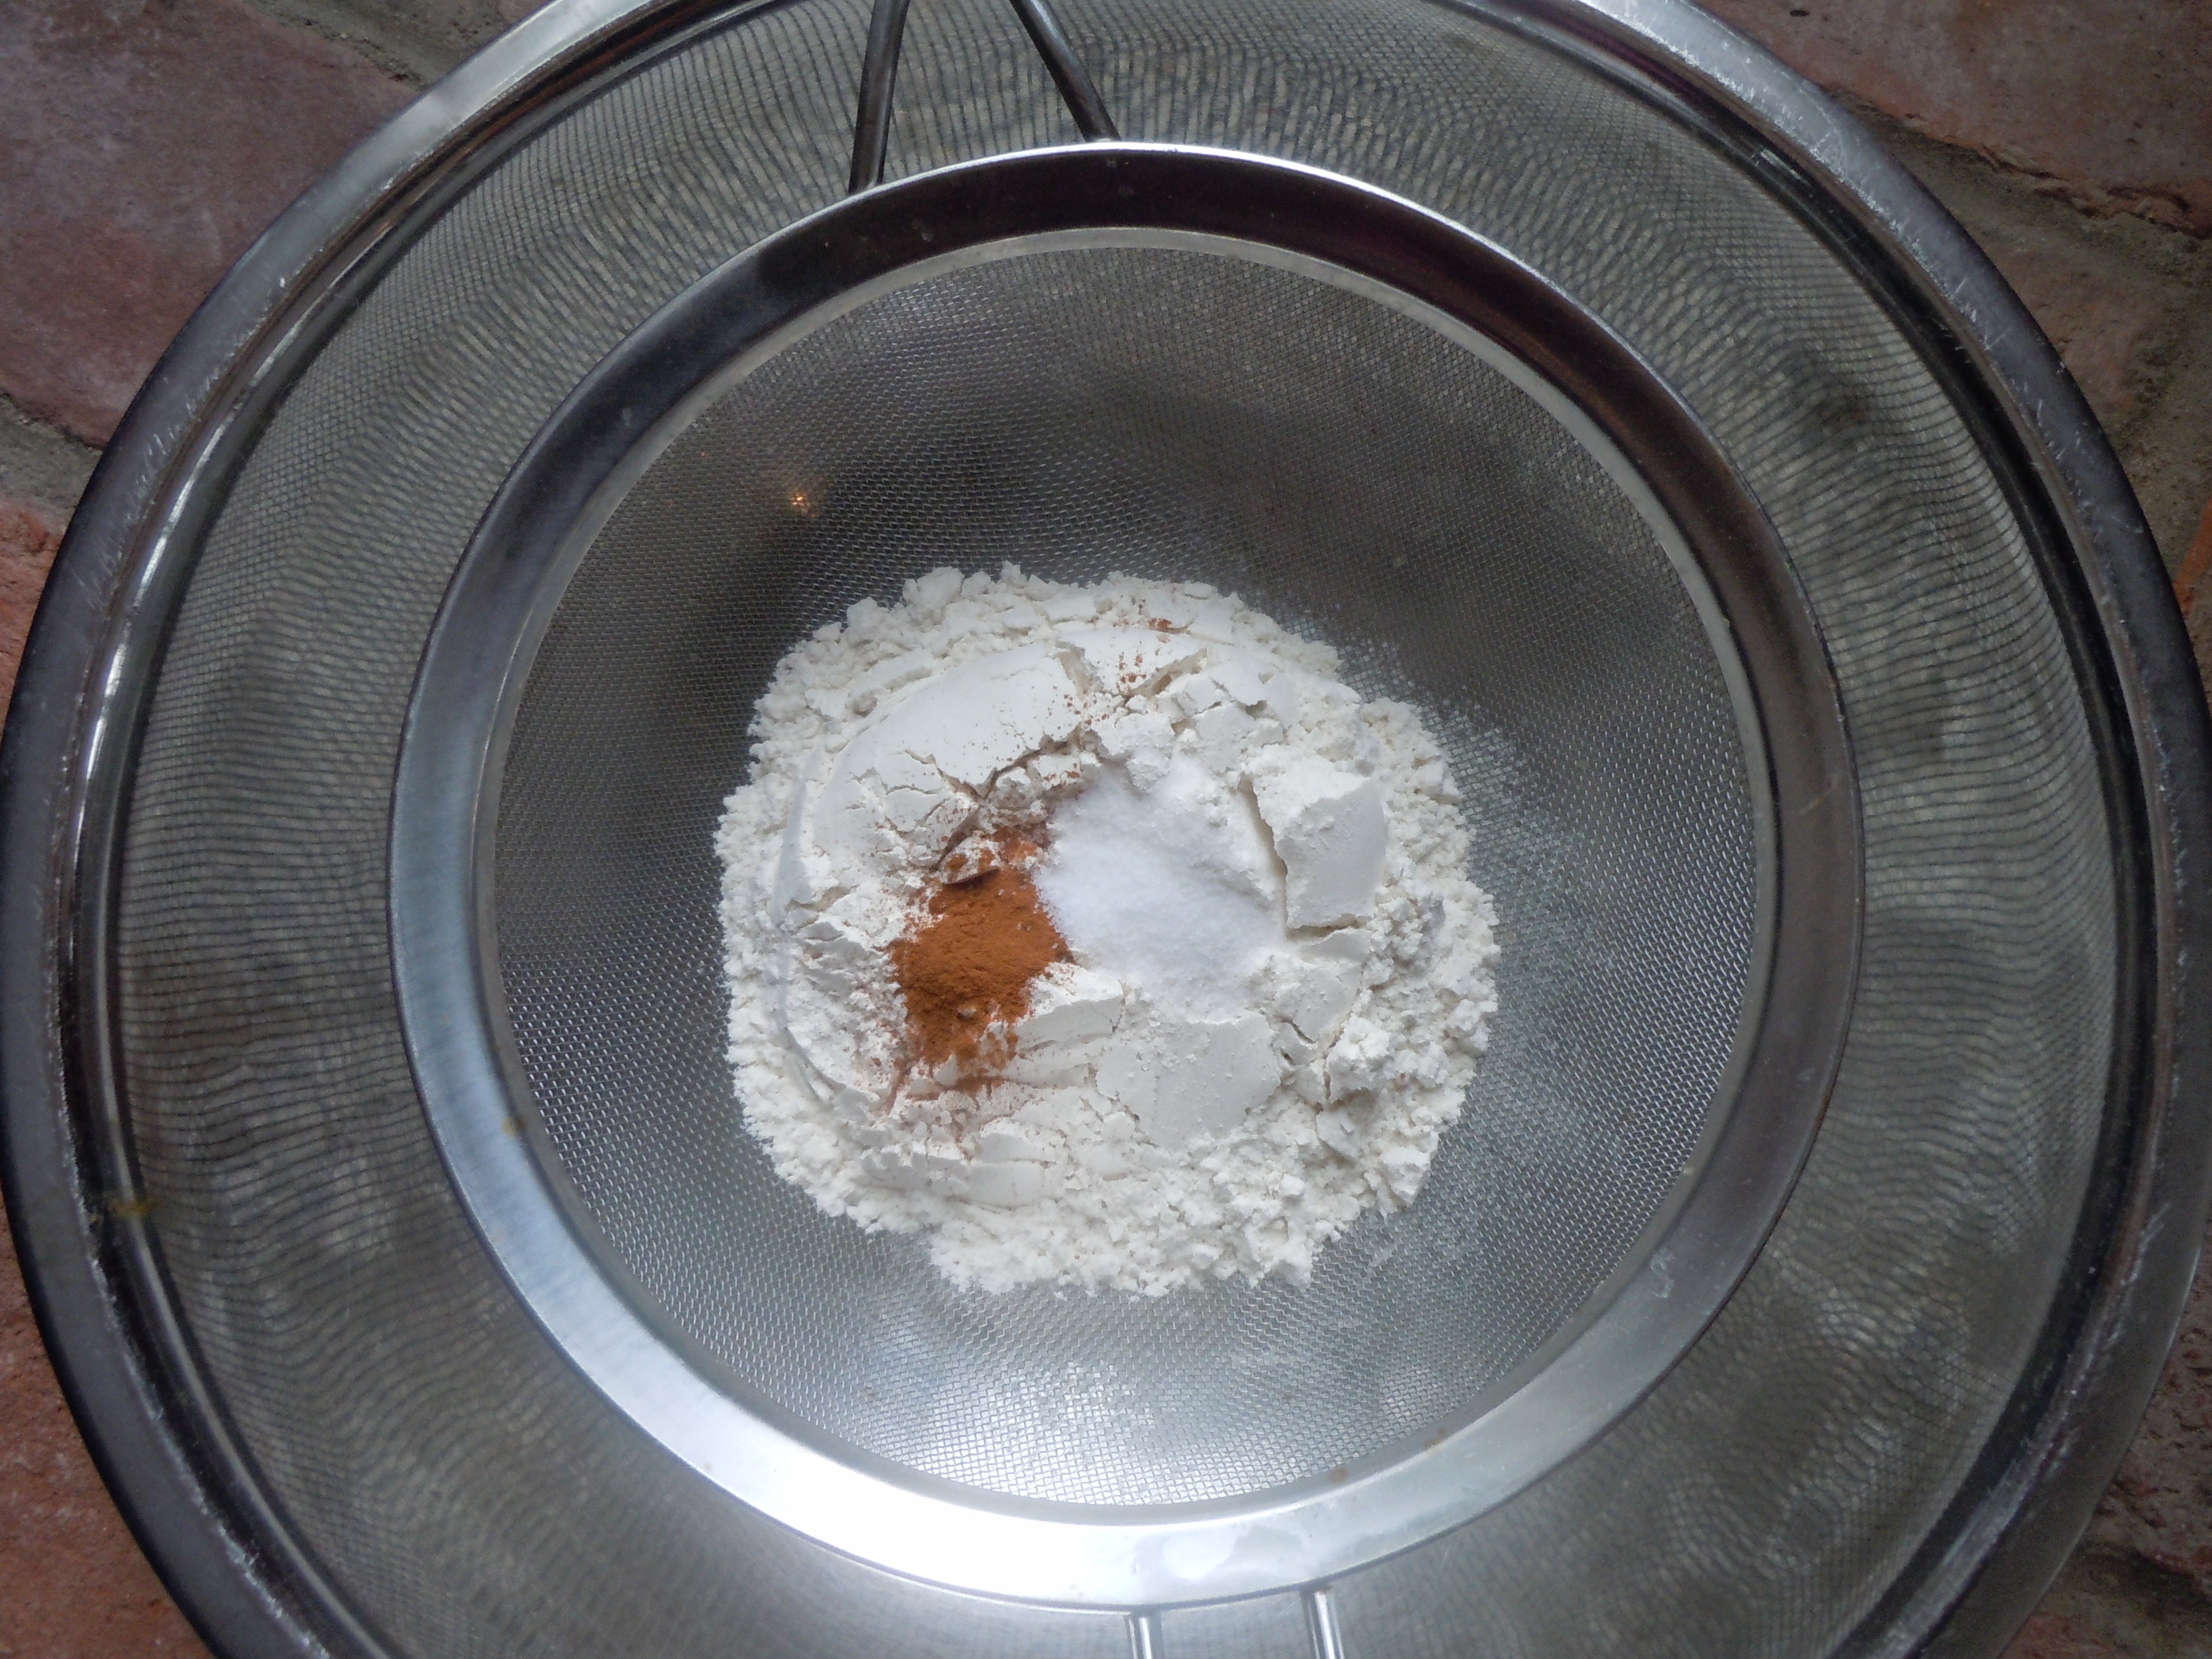
- 1 1/4 tsp salt
- 6 tbsp unsalted butter melted and cooled until WARM – not hot and not cold
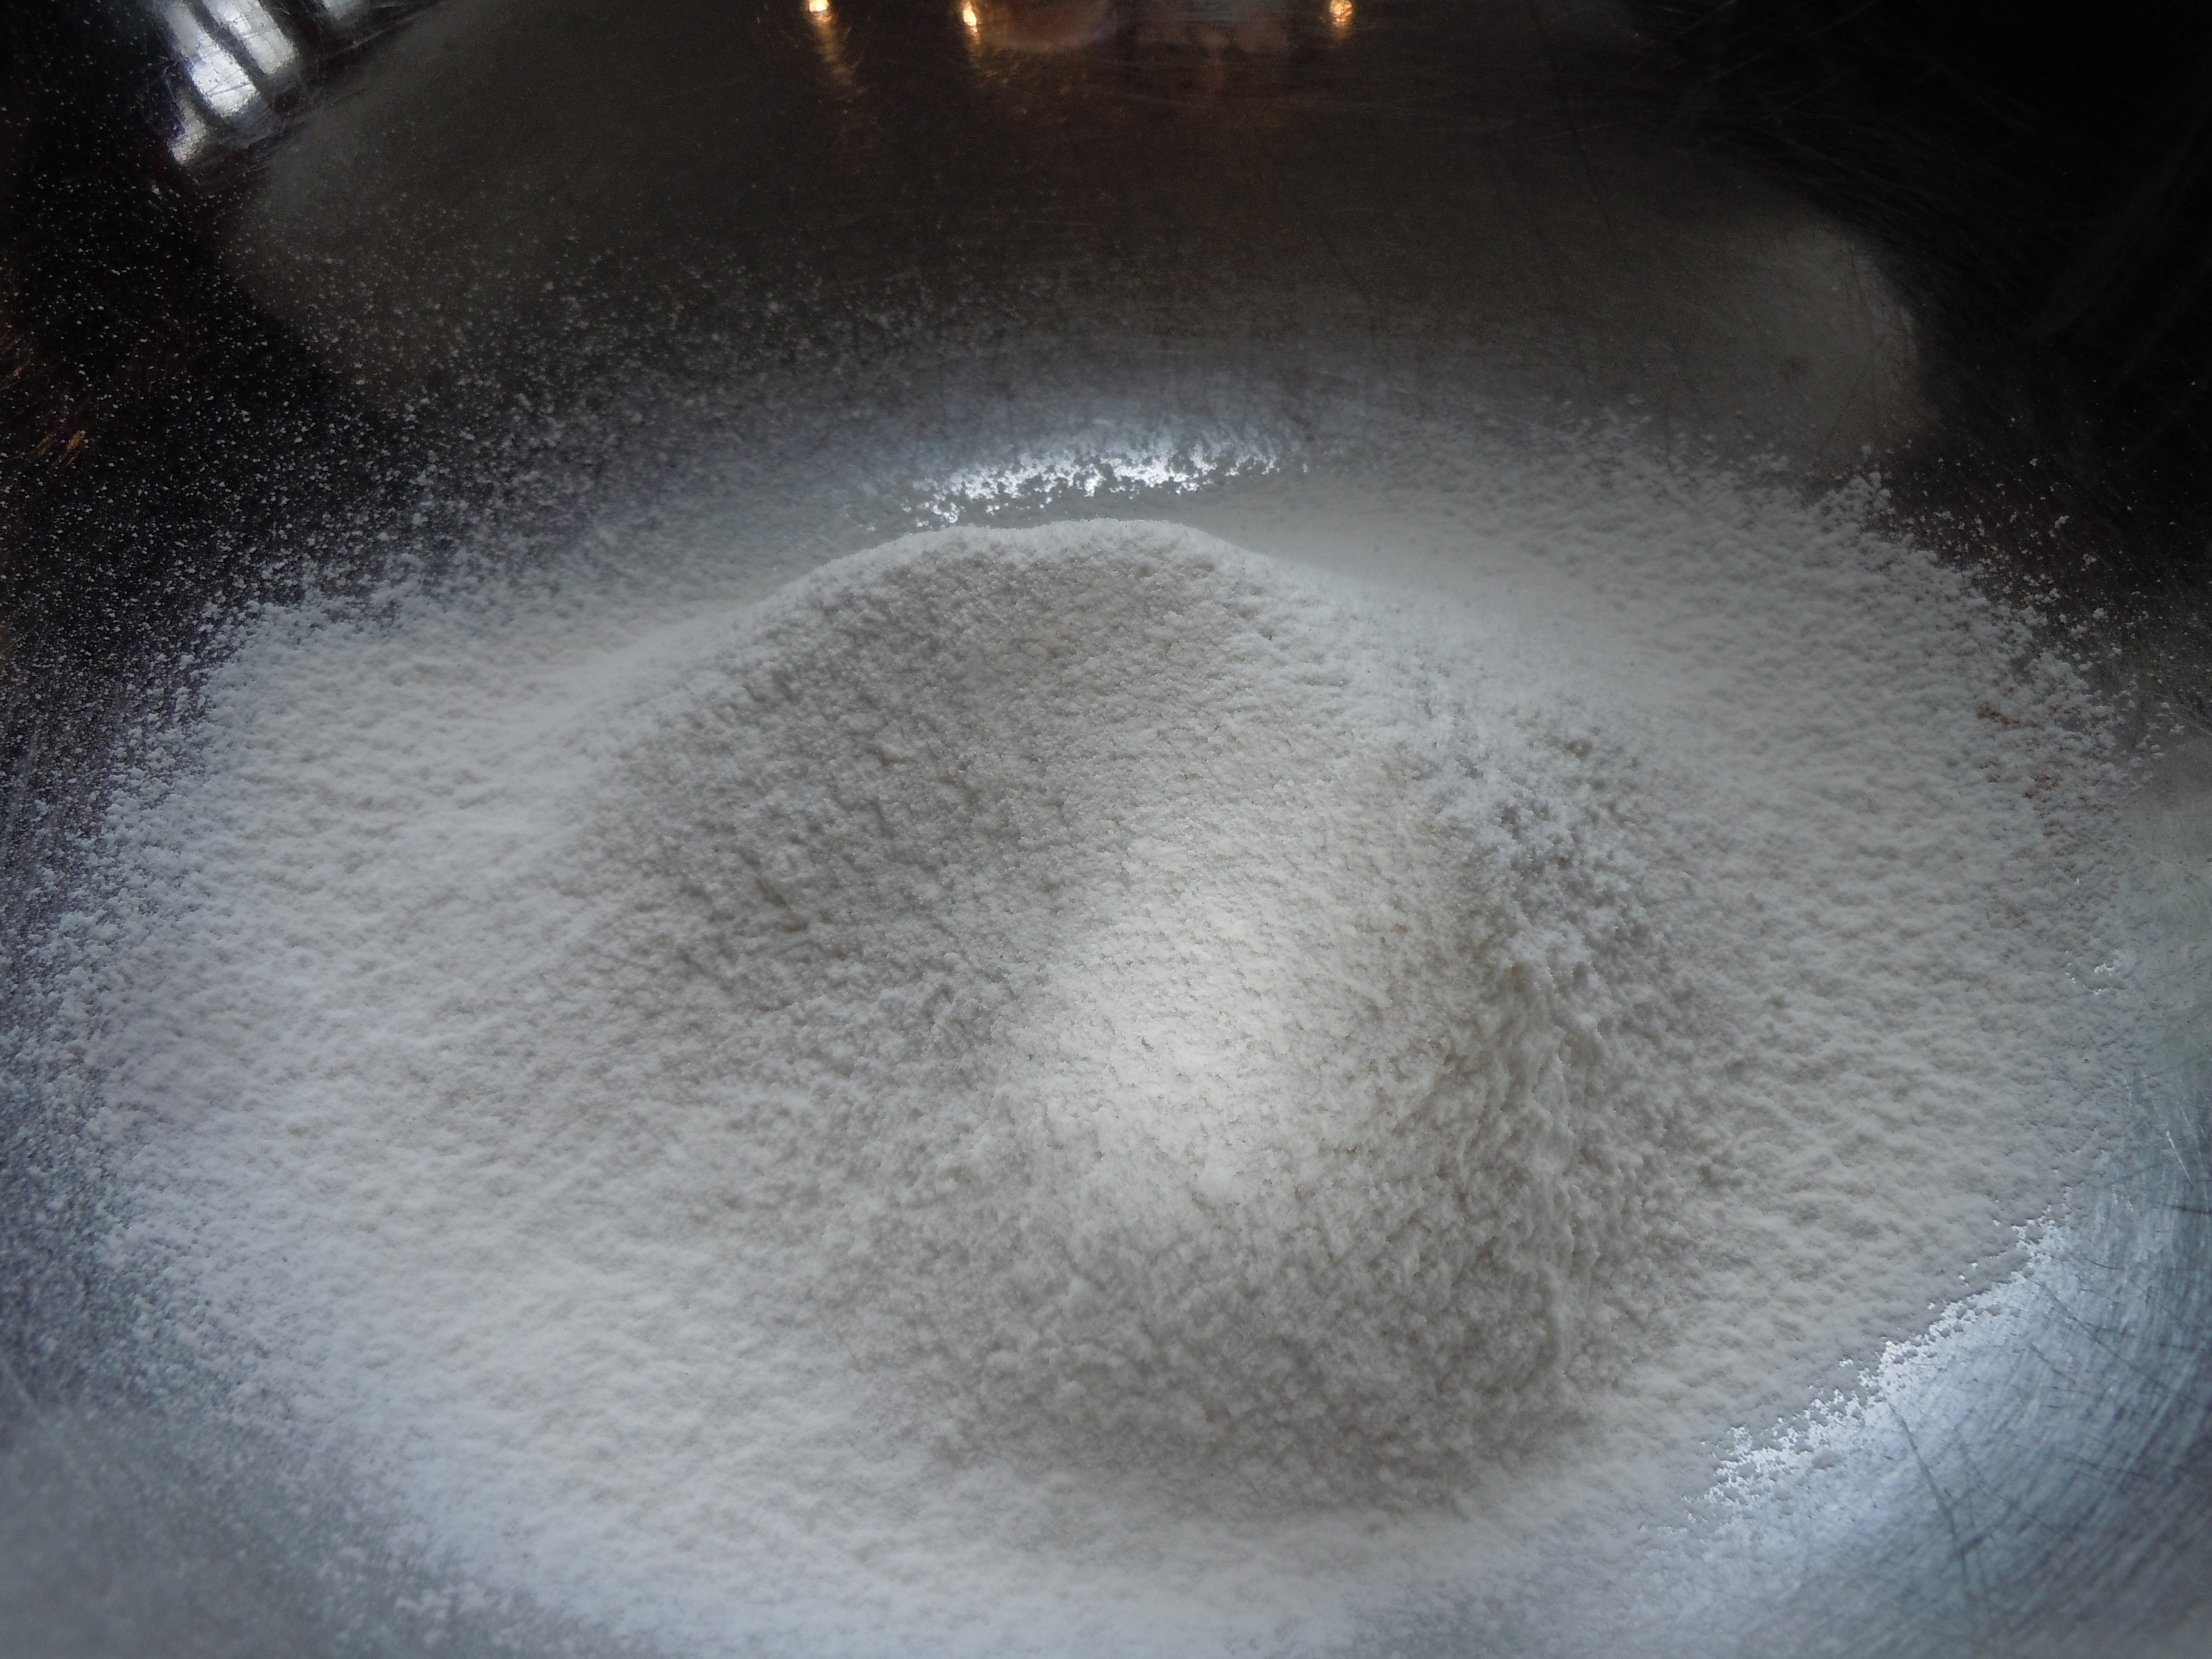
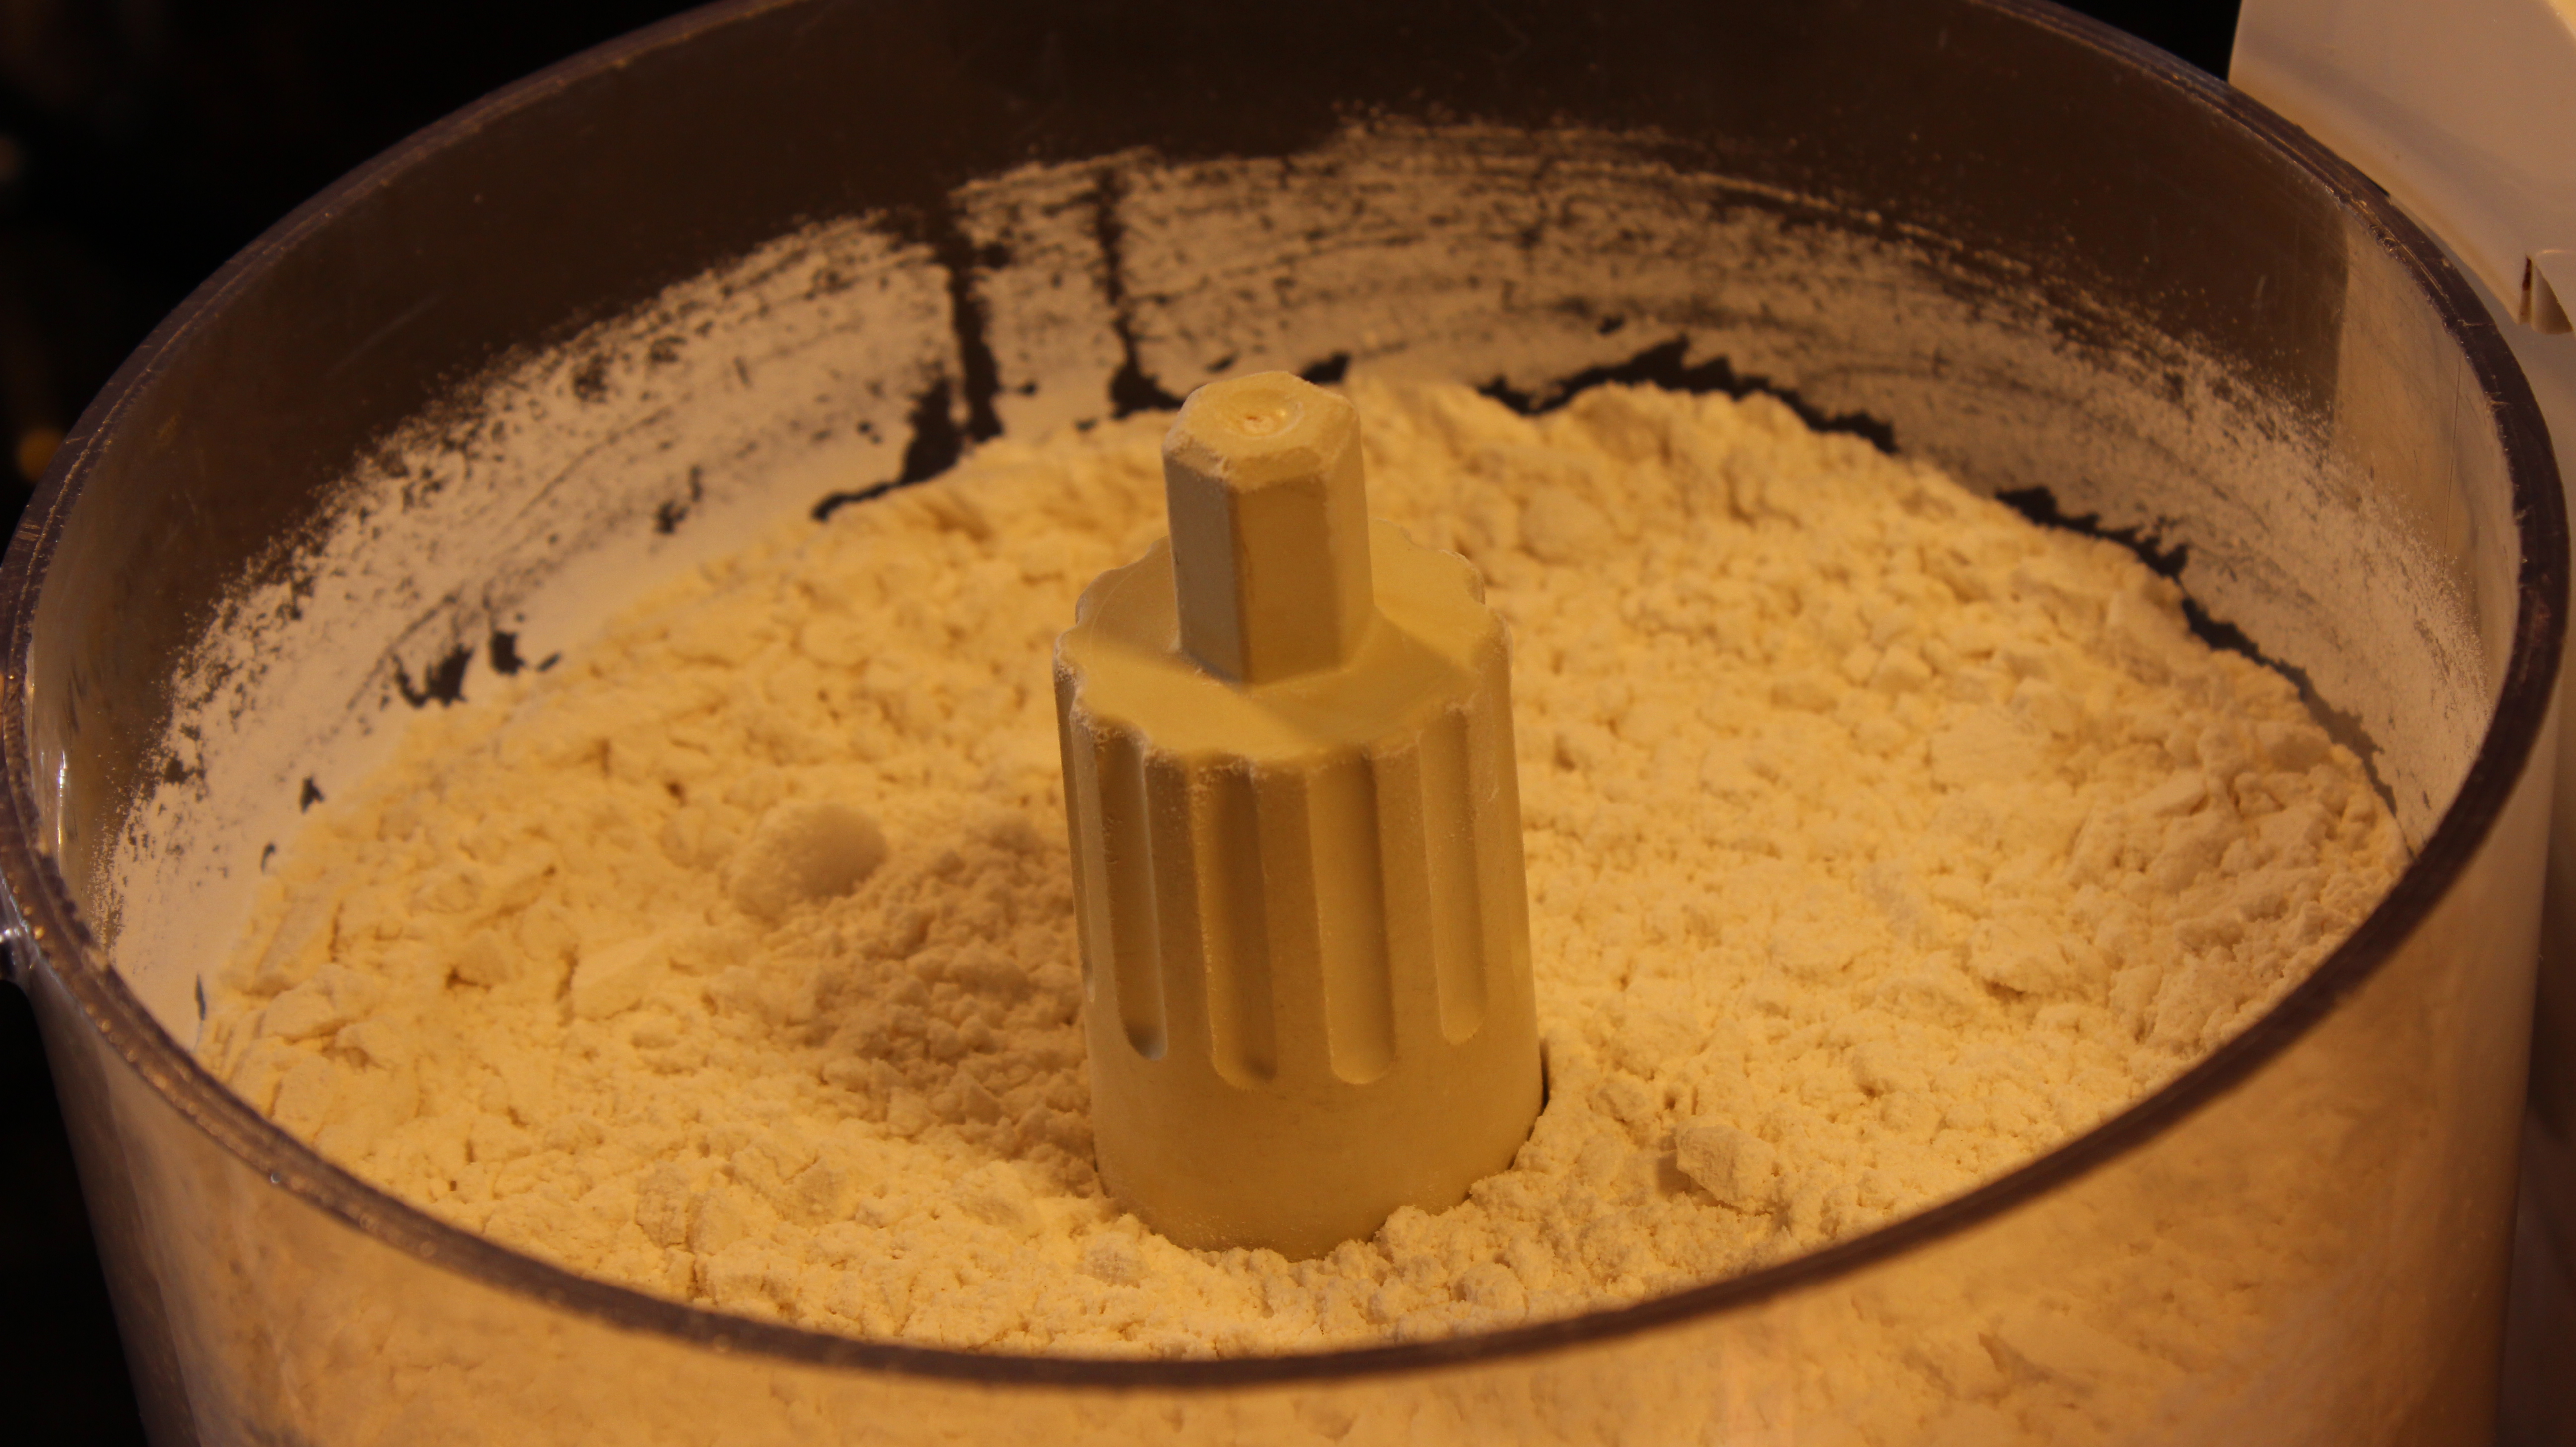
- 4 1/4 cup all purpose flour
Directions for the Dough:
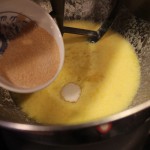
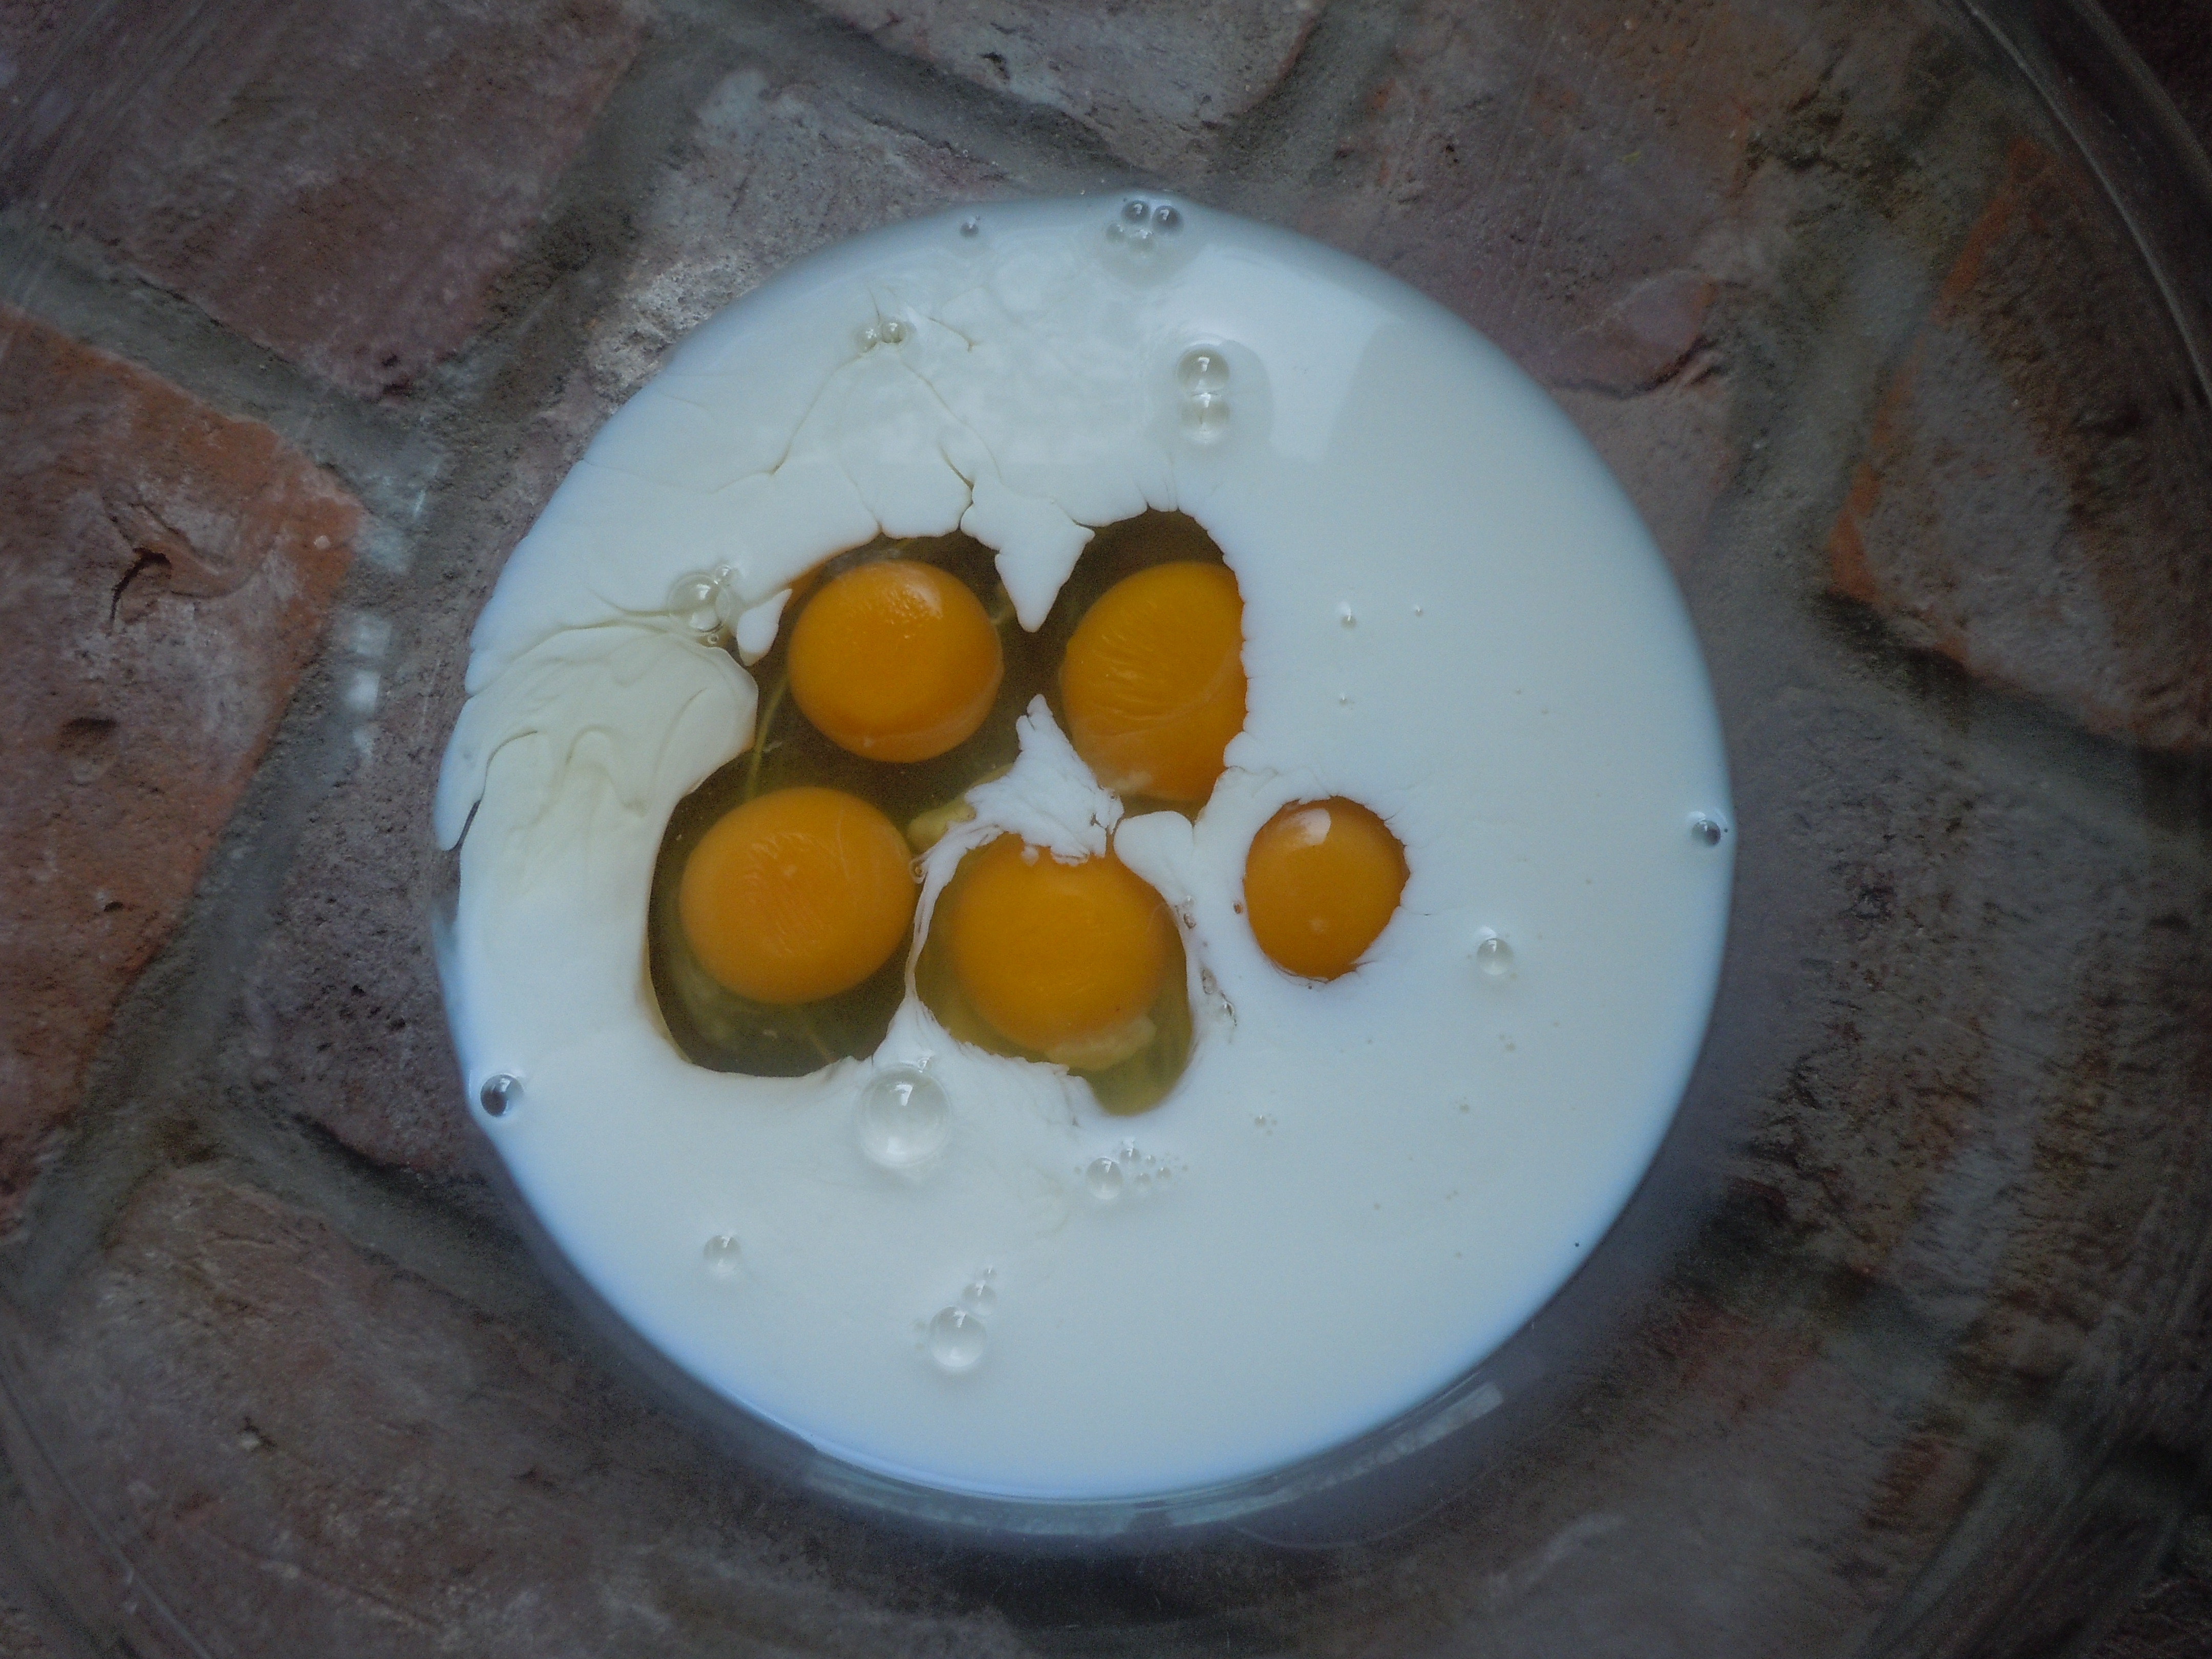
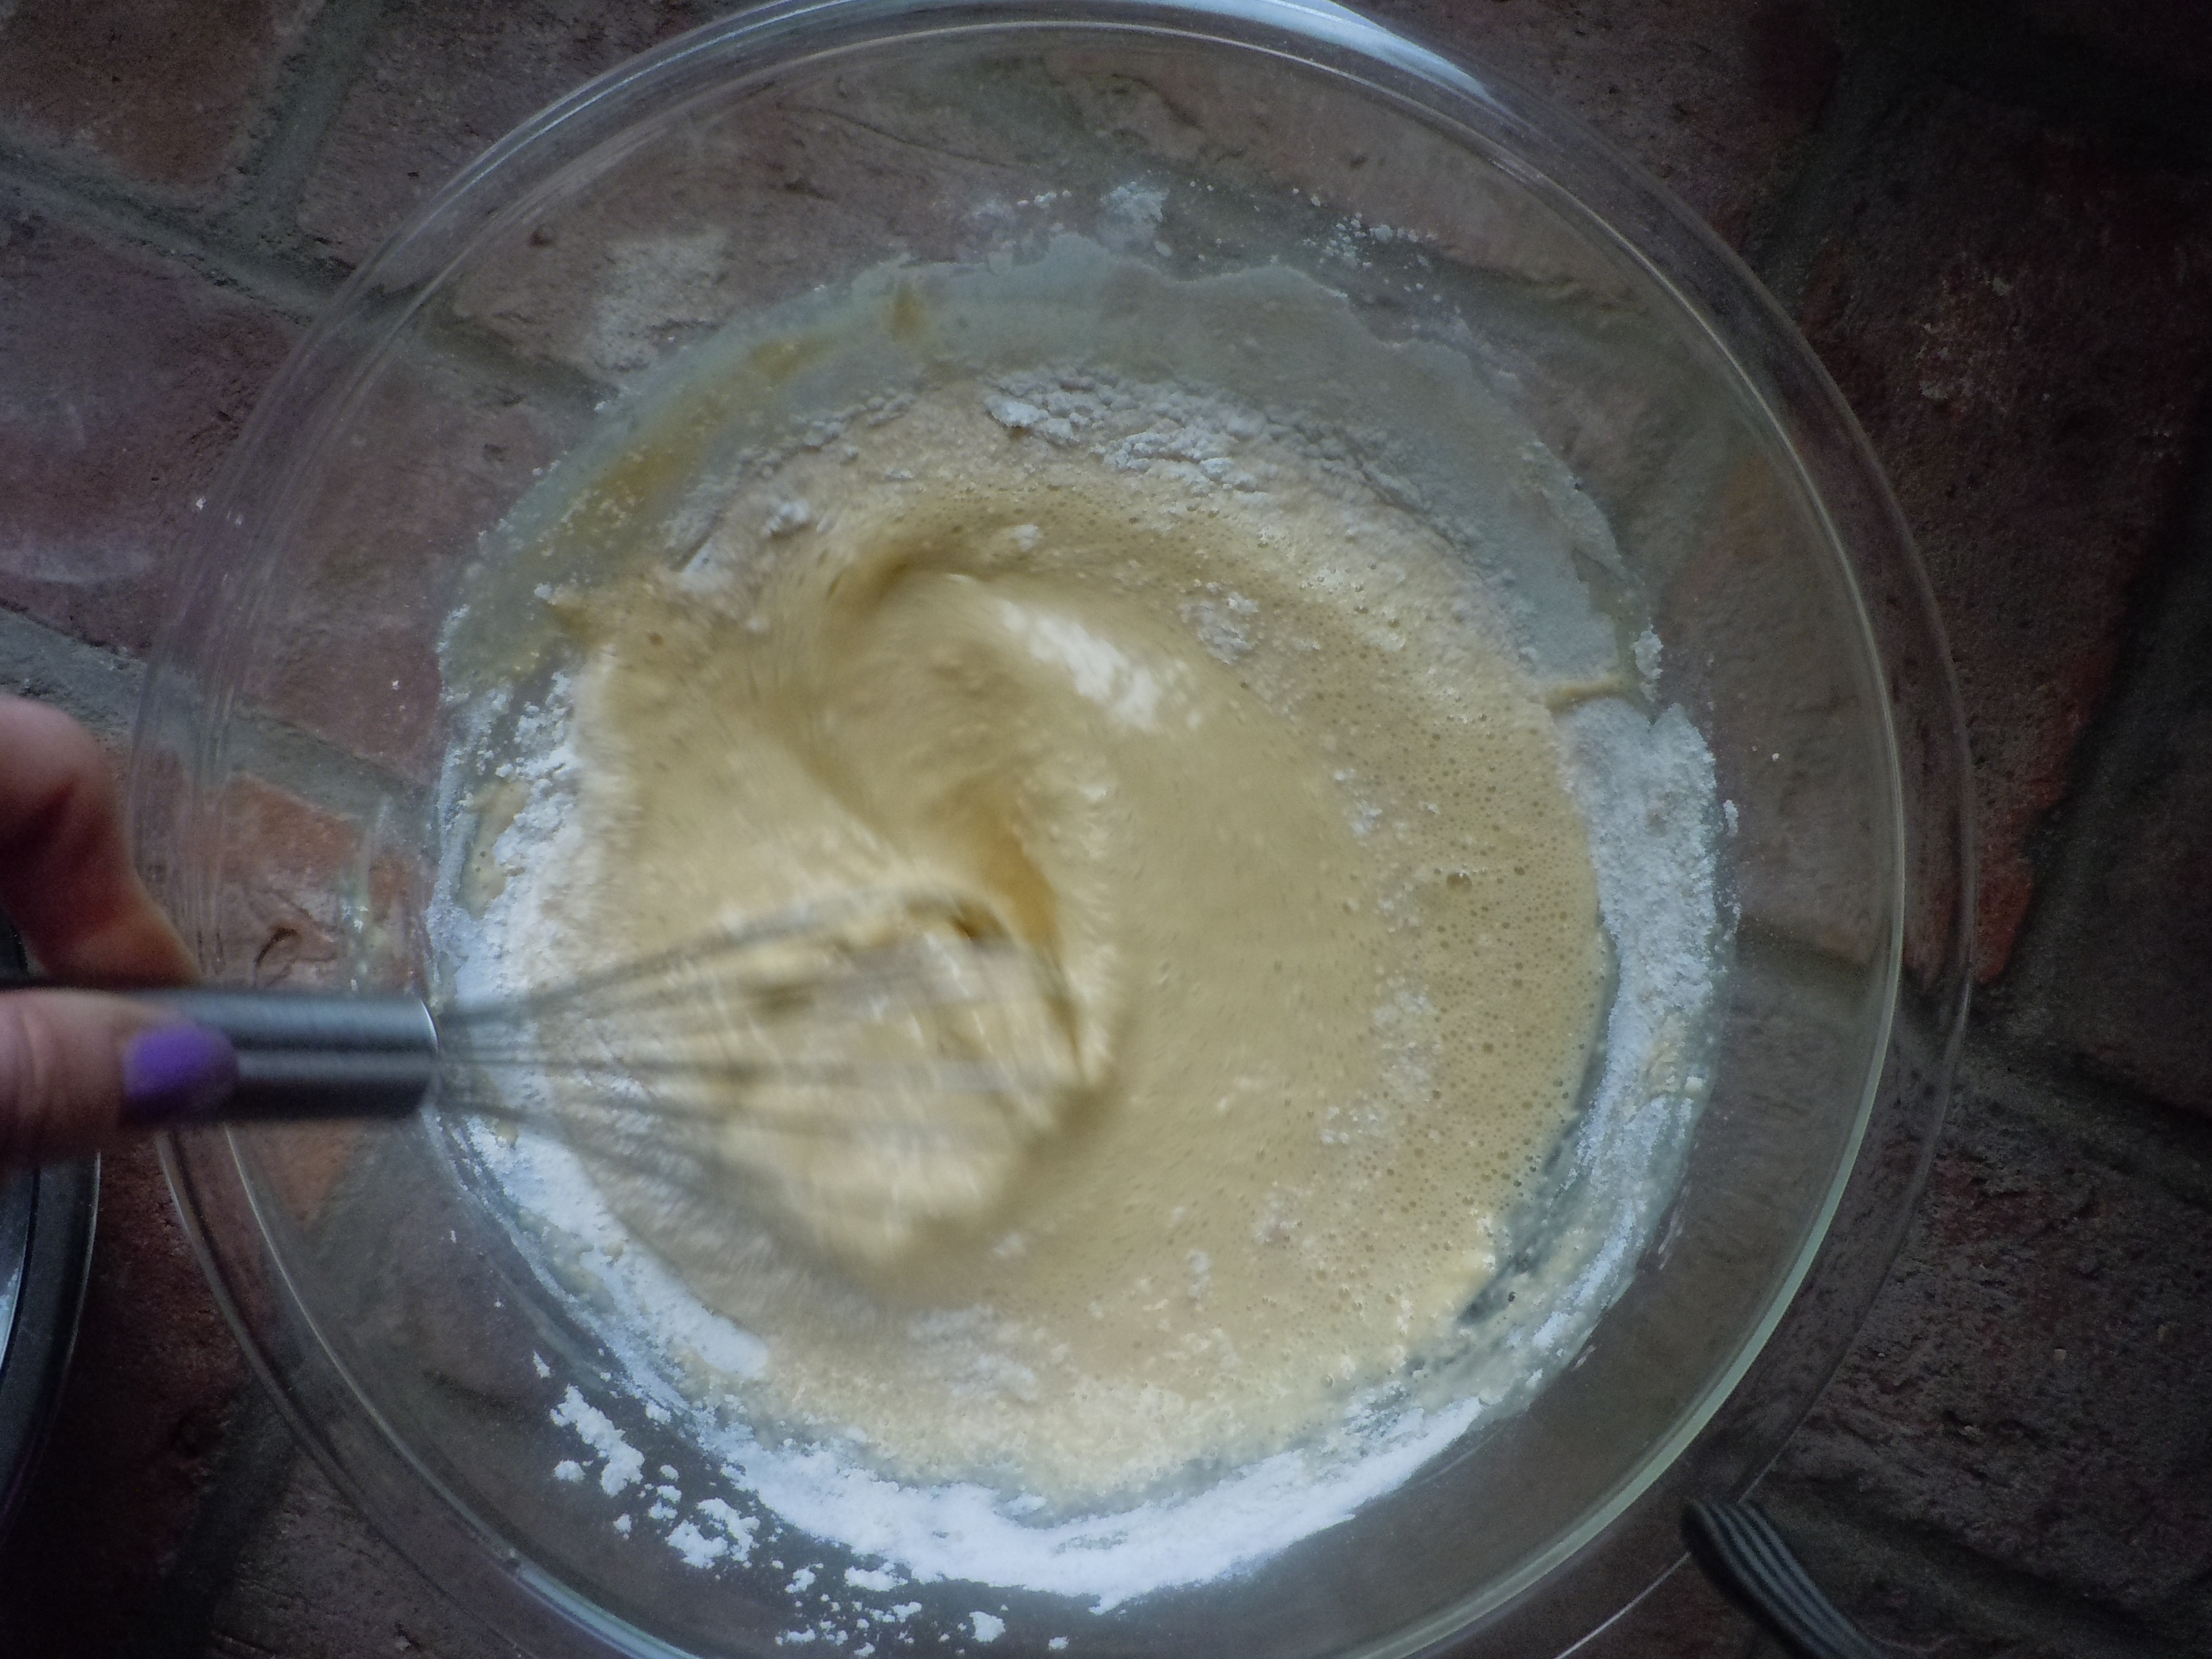
- Crack eggs into a bowl and whisk gently with a fork
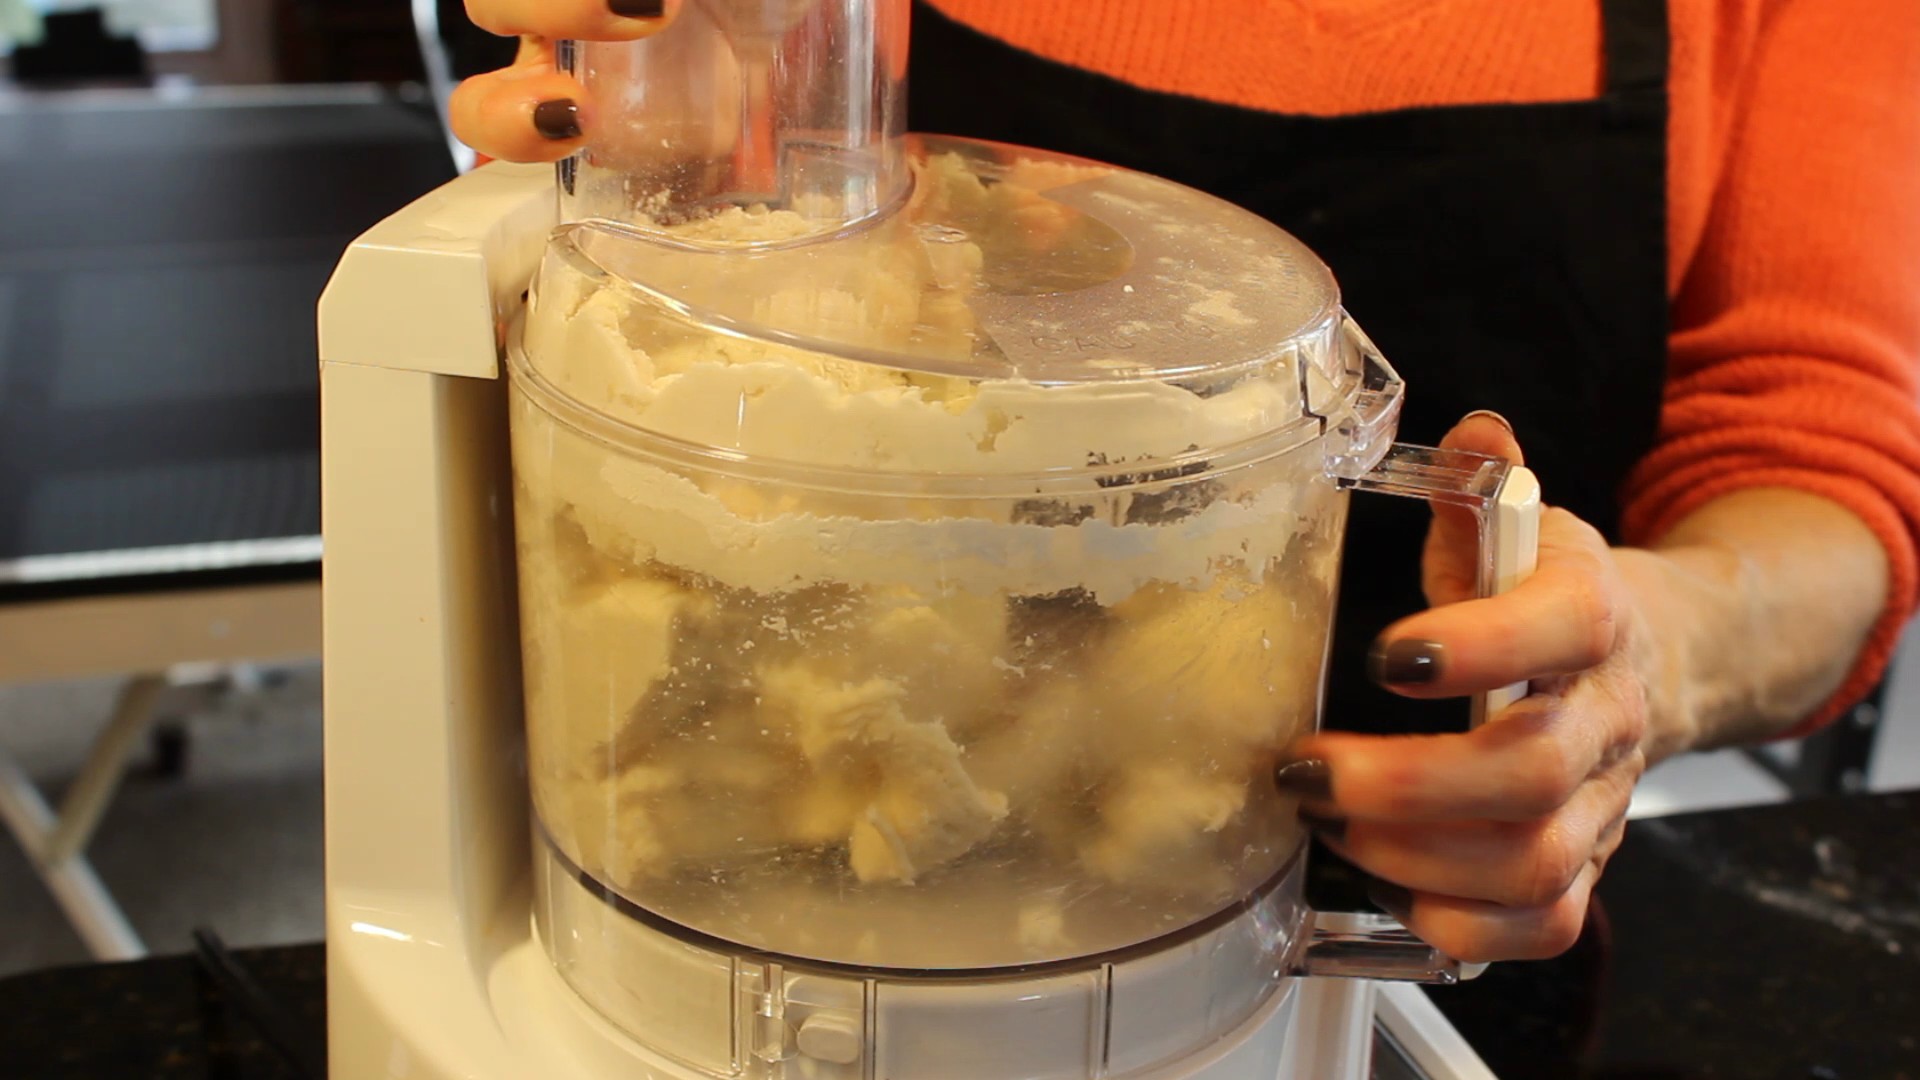
- With paddle attachment add the eggs to a Kitchen Aid mixer and begin to mix
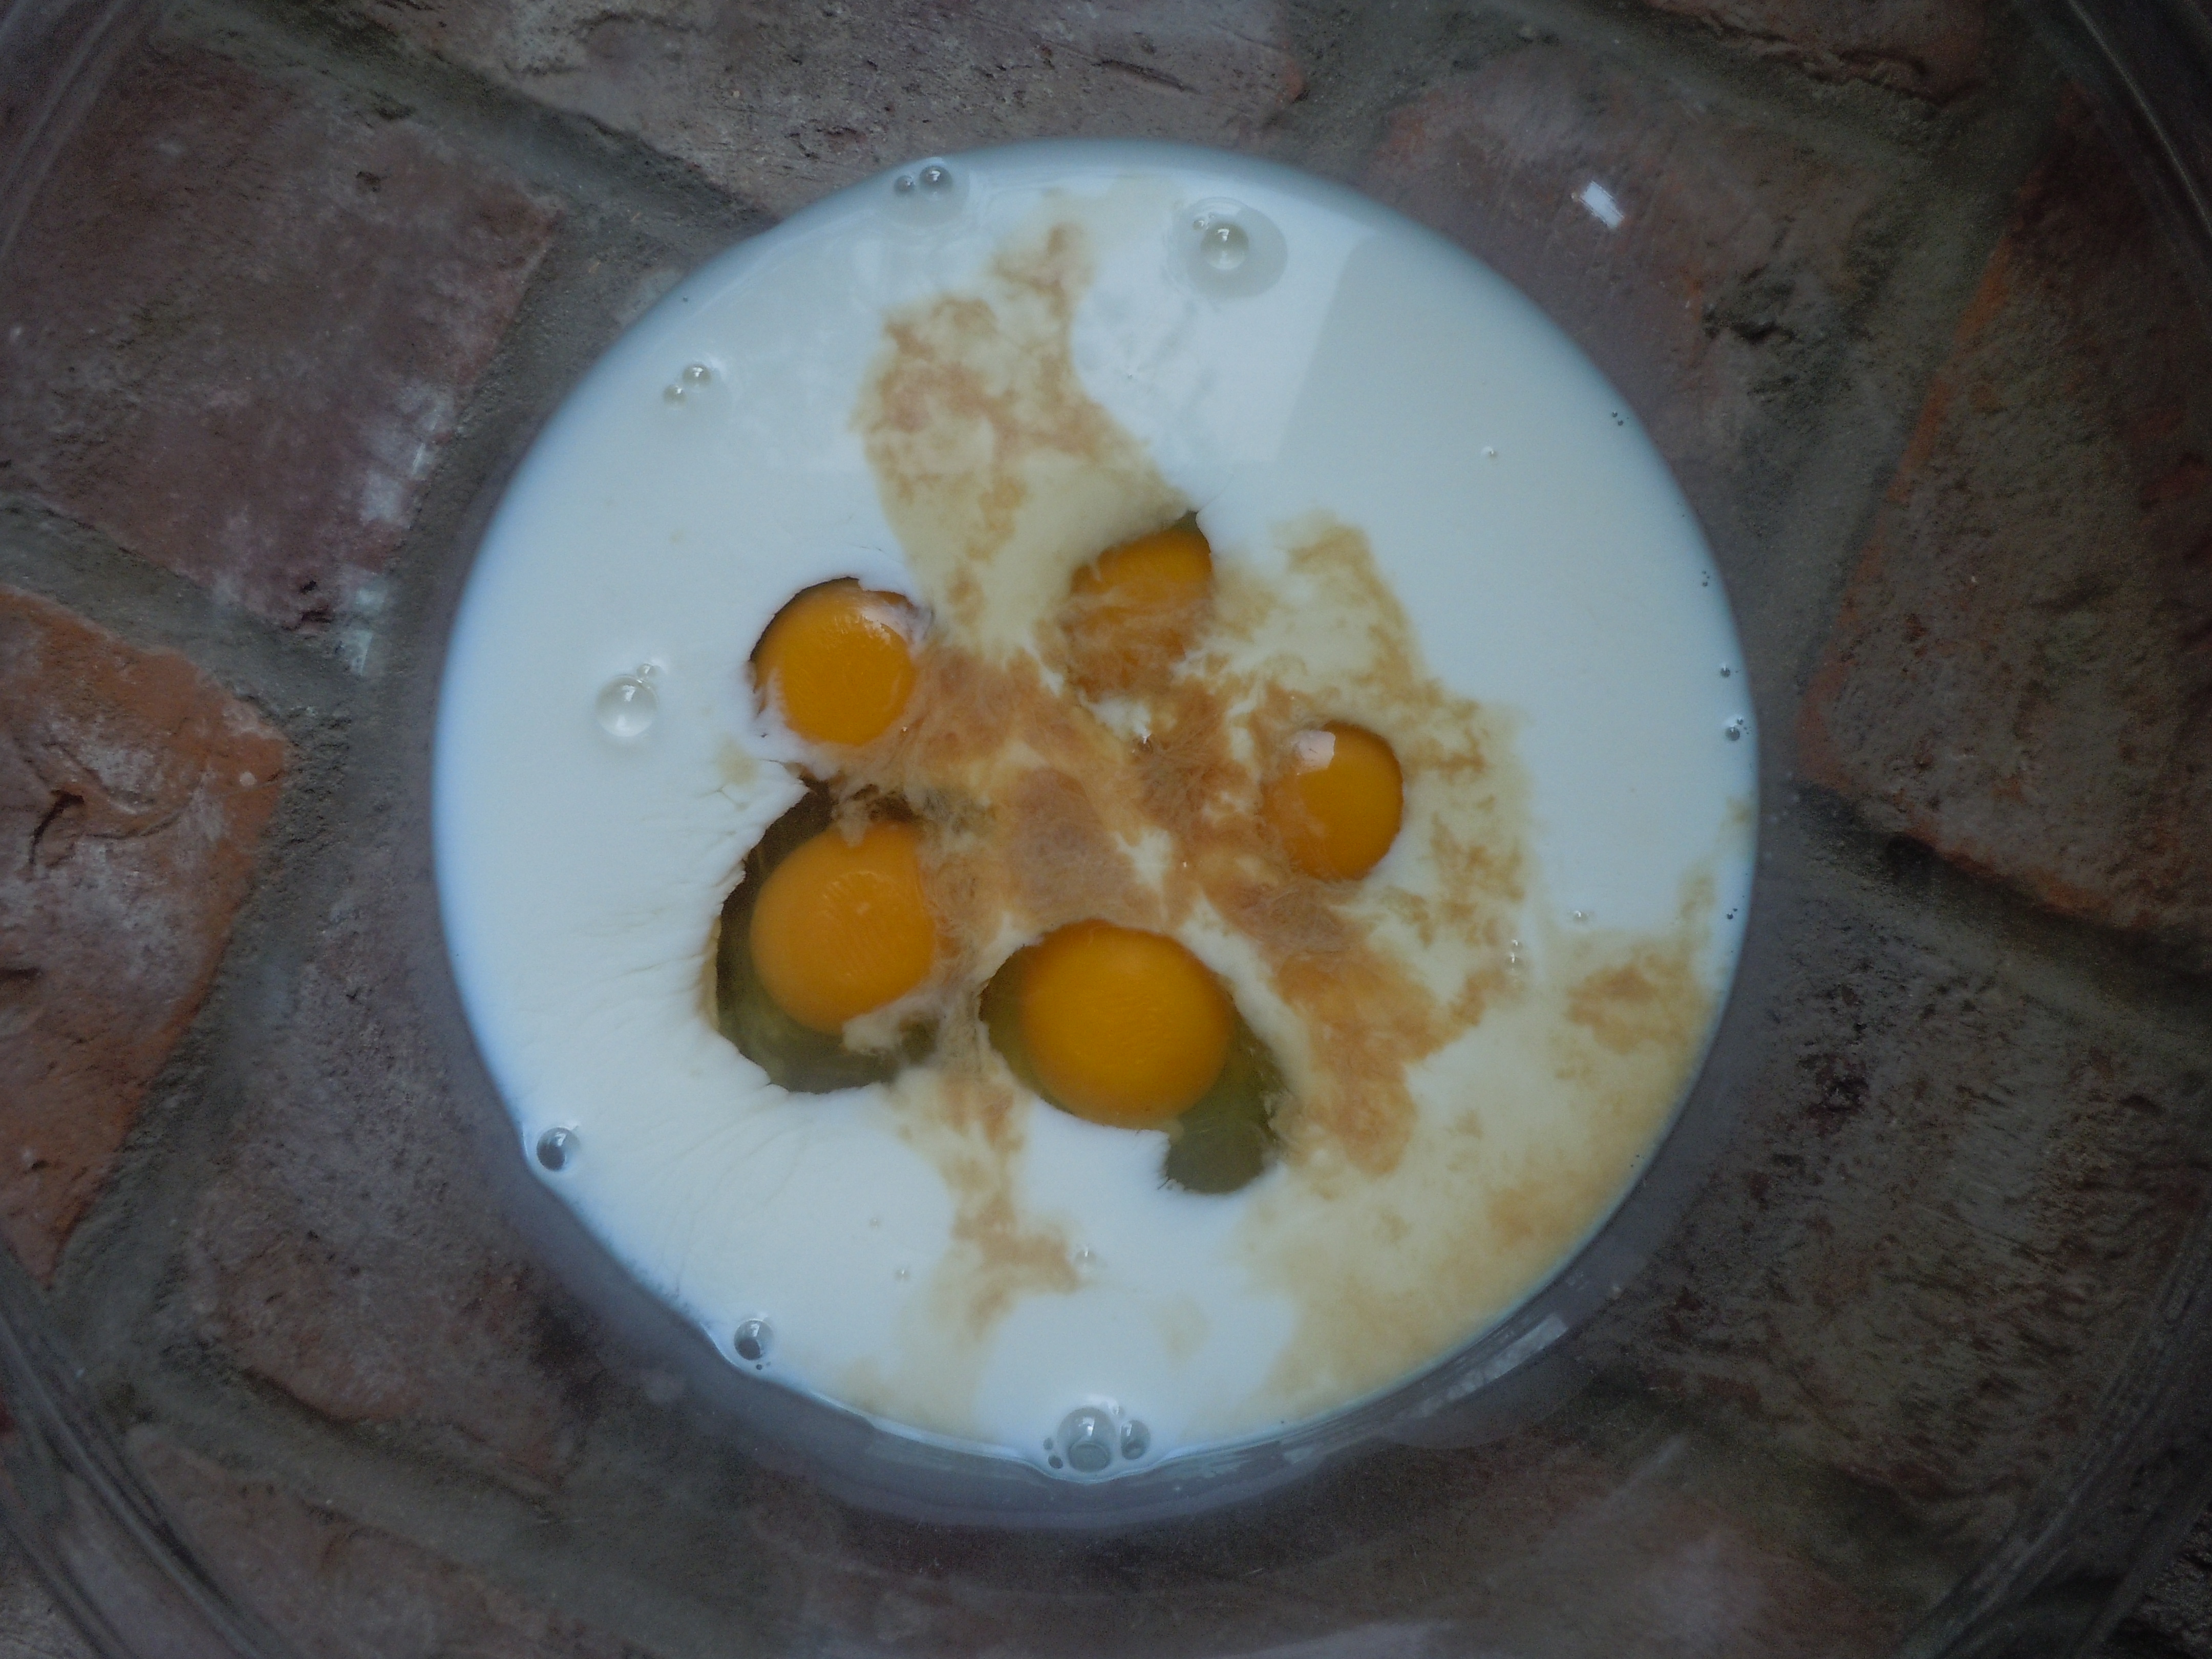
- Add in the buttermilk and mix to combine
- Then add in the yeast and sugar
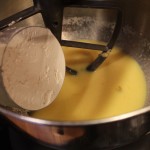
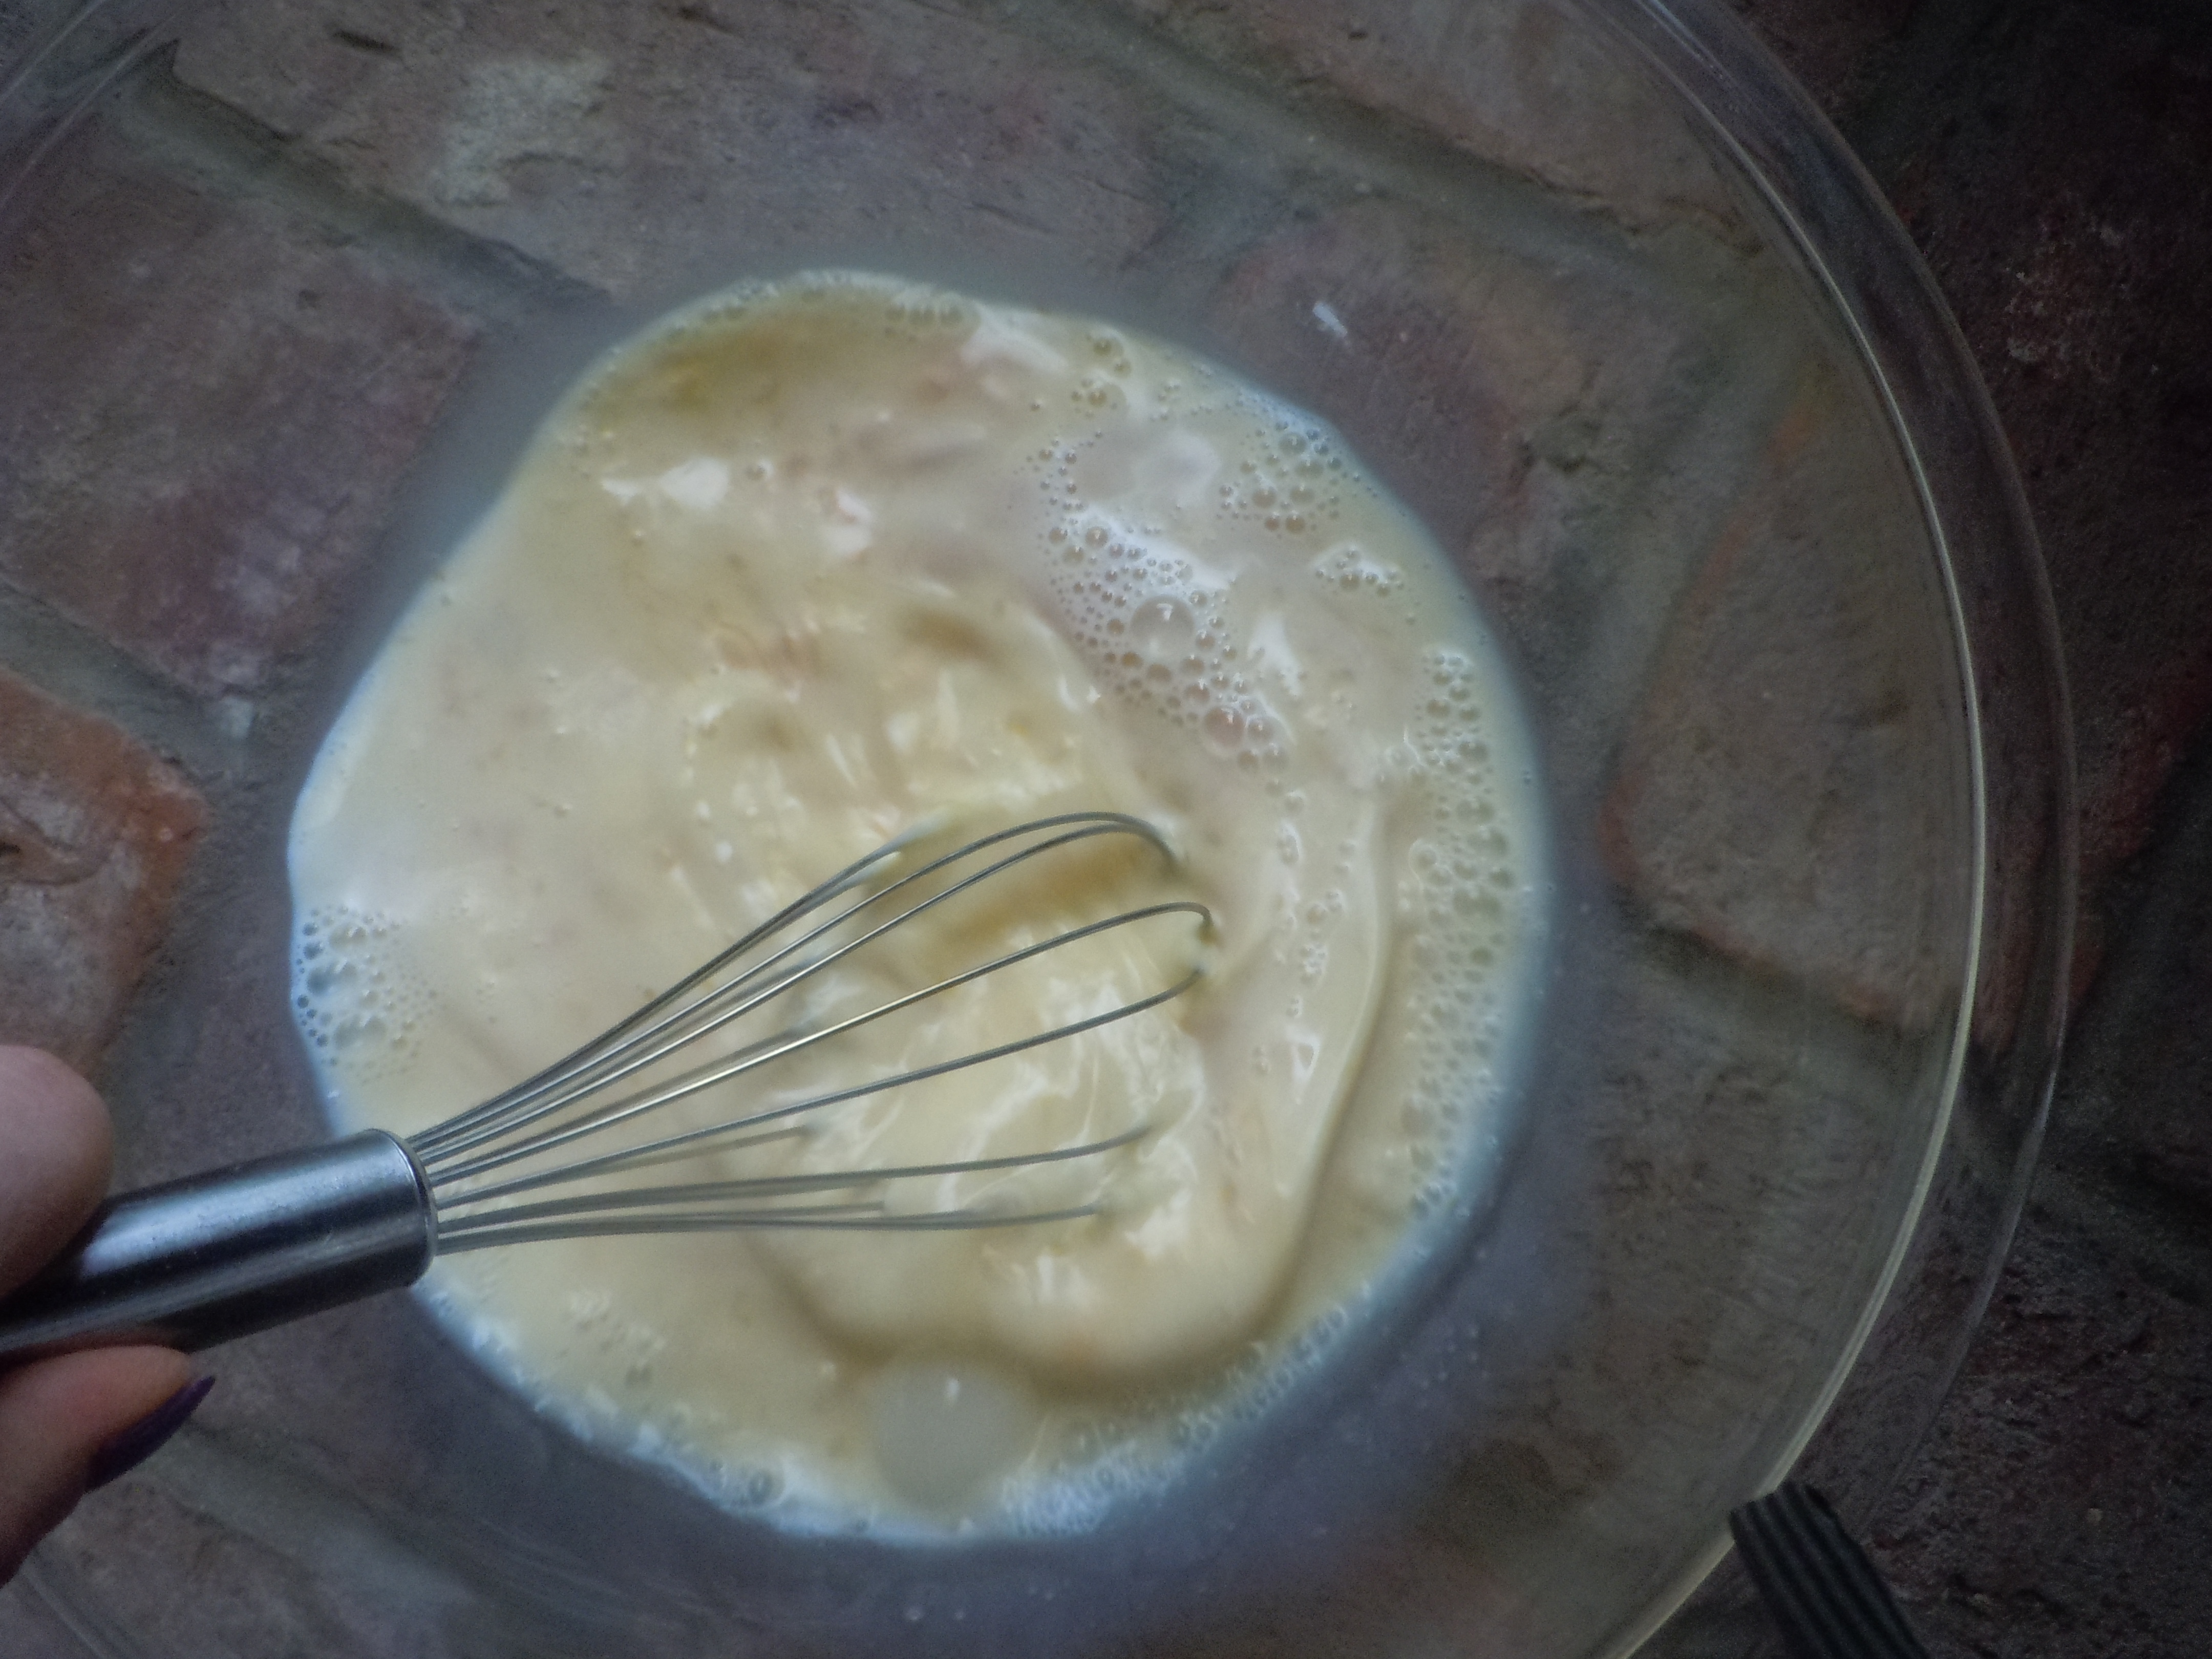
- Mix in 2 cups of flour, butter and salt to combine
- Switch the paddle attachment to kneading hook
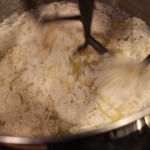
- Add in last 2 cups of flour and knead for 5 minutes
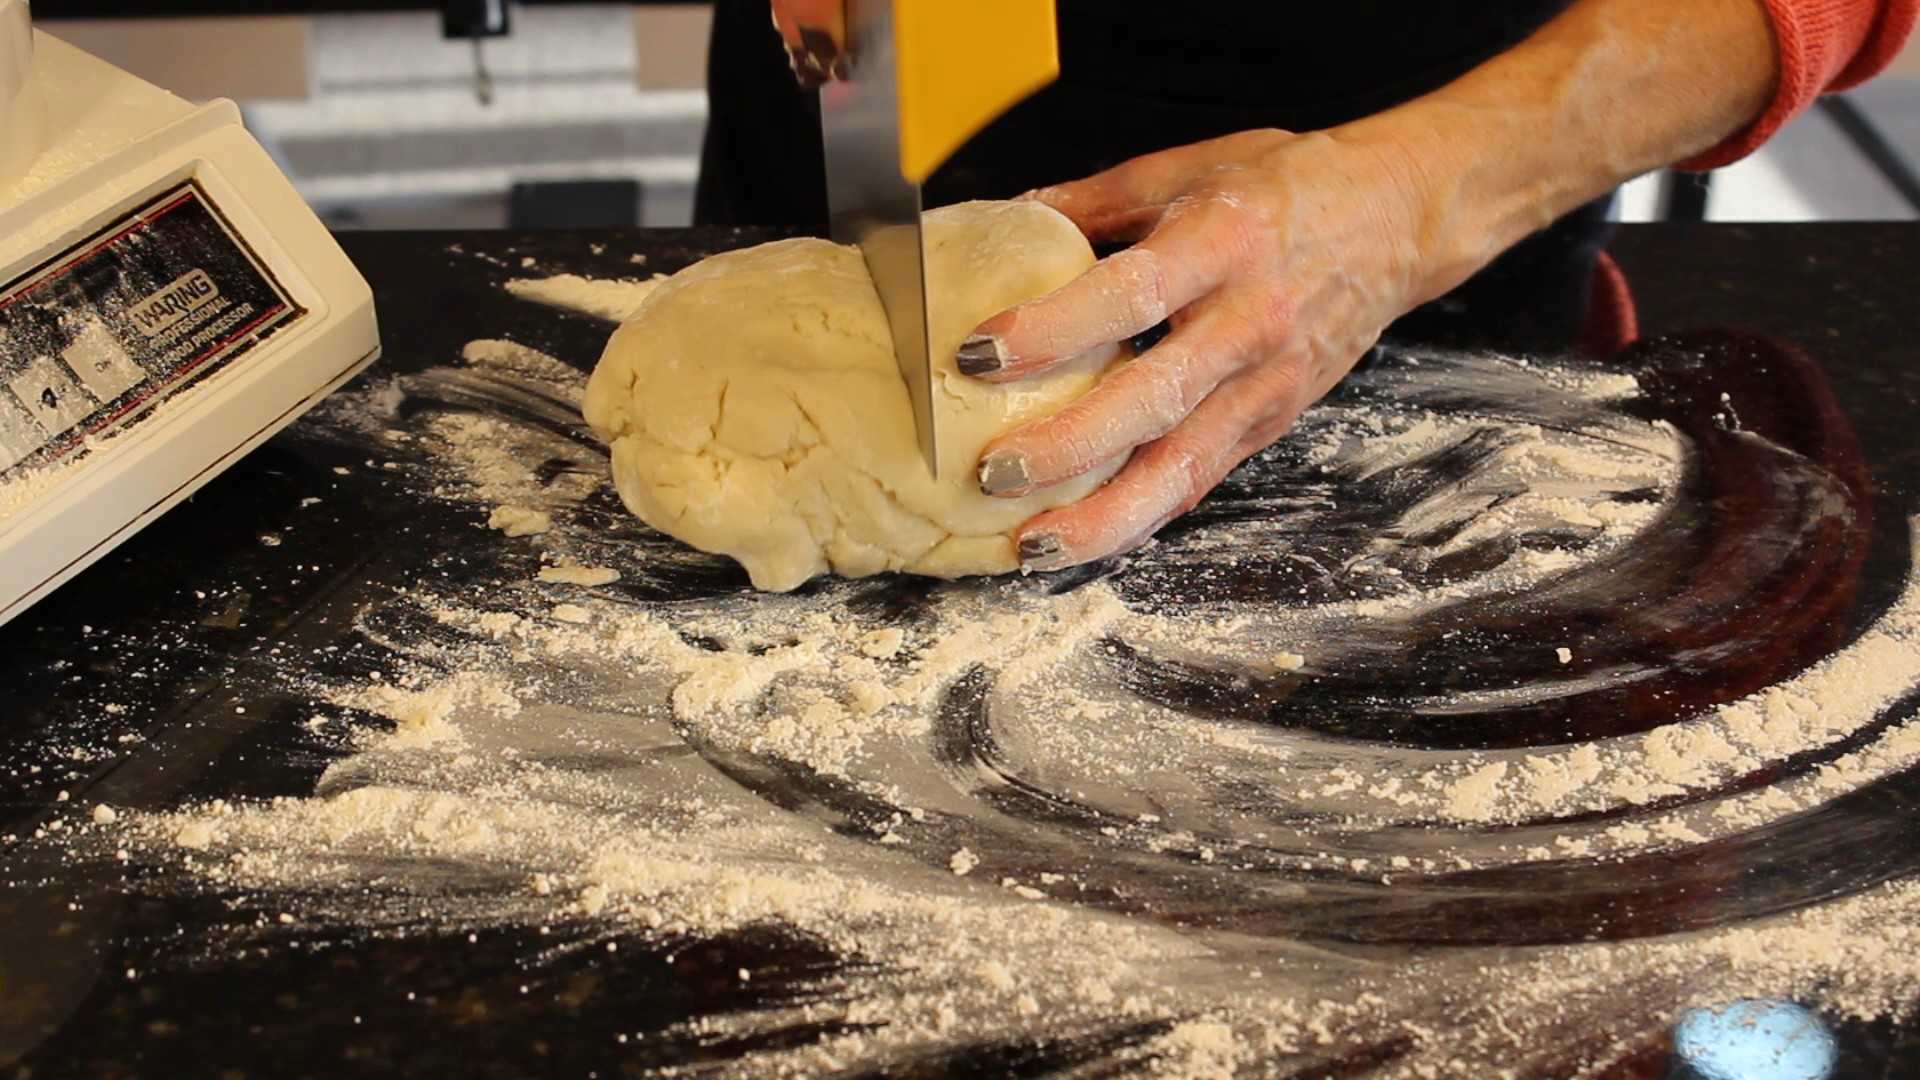
- Turn out the dough onto a lightly floured counter
- Briefly knead to form a dough ball – 1 minute
- Spray a large glass bowl with Pam or similar
- Place the ball of dough into the greased bowl, spray the top of the dough and cover with plastic wrap
- Put in a warm place if available until it doubles – 2 1/2 hours
- While the dough is rising make your glaze
- Turn out risen dough onto a lightly floured counter
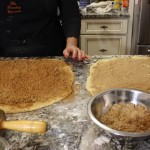
- Begin to roll out dough into a lg rectangle with a rolling pin – approx 20″ x 15″ size
- Sprinkle 1 3/4 cup of dk. brown sugar all over the rolled out dough leaving 1″ border around the edges
- Spread sugar with your fingers for an even coating
- Sprinkle the cinnamon over that – it may seem like a lot but it won’t be once you roll up the dough and bake it
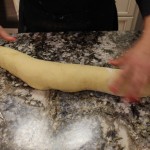
- Begin to roll up the long edge of the dough keep a tight roll all the way
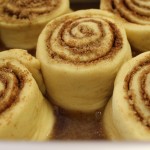
- Lay rolled up dough with seem side down and begin to slice into rolls
- Slice the dough roll with a serrated knife right down the middle, then slice each of the sides into 2 more equal patrs, then those into 2 to make a total of 8 equal – 2″ rounds
- Place the rounds onto the pan or pans with 1/4″ glaze on the bottom and let proof for 45 minutes (no need to cover with saran)
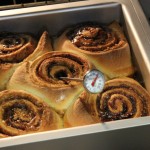
- After proofing I take a spoon to scoop up the glaze on the bottom and pour over all the sticky bun rounds before baking
- Place into a 350º oven and bake for 20-25 minutes until a golden brown around the edges
- Take out the buns and let rest in the pan(s) for 10 minutes
- Run knife around the perimeters of the sticky buns
- I do not invert the pan as we did in the show, I just remove sticky buns to a platter and cover the tops with the cream cheese frosting while warm so it melts slightly to give a nice coating
- OPTIONAL: Sprinkle some with toasted pecans …enjoy 🙂

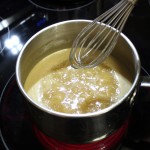
Ingredients for Glaze:
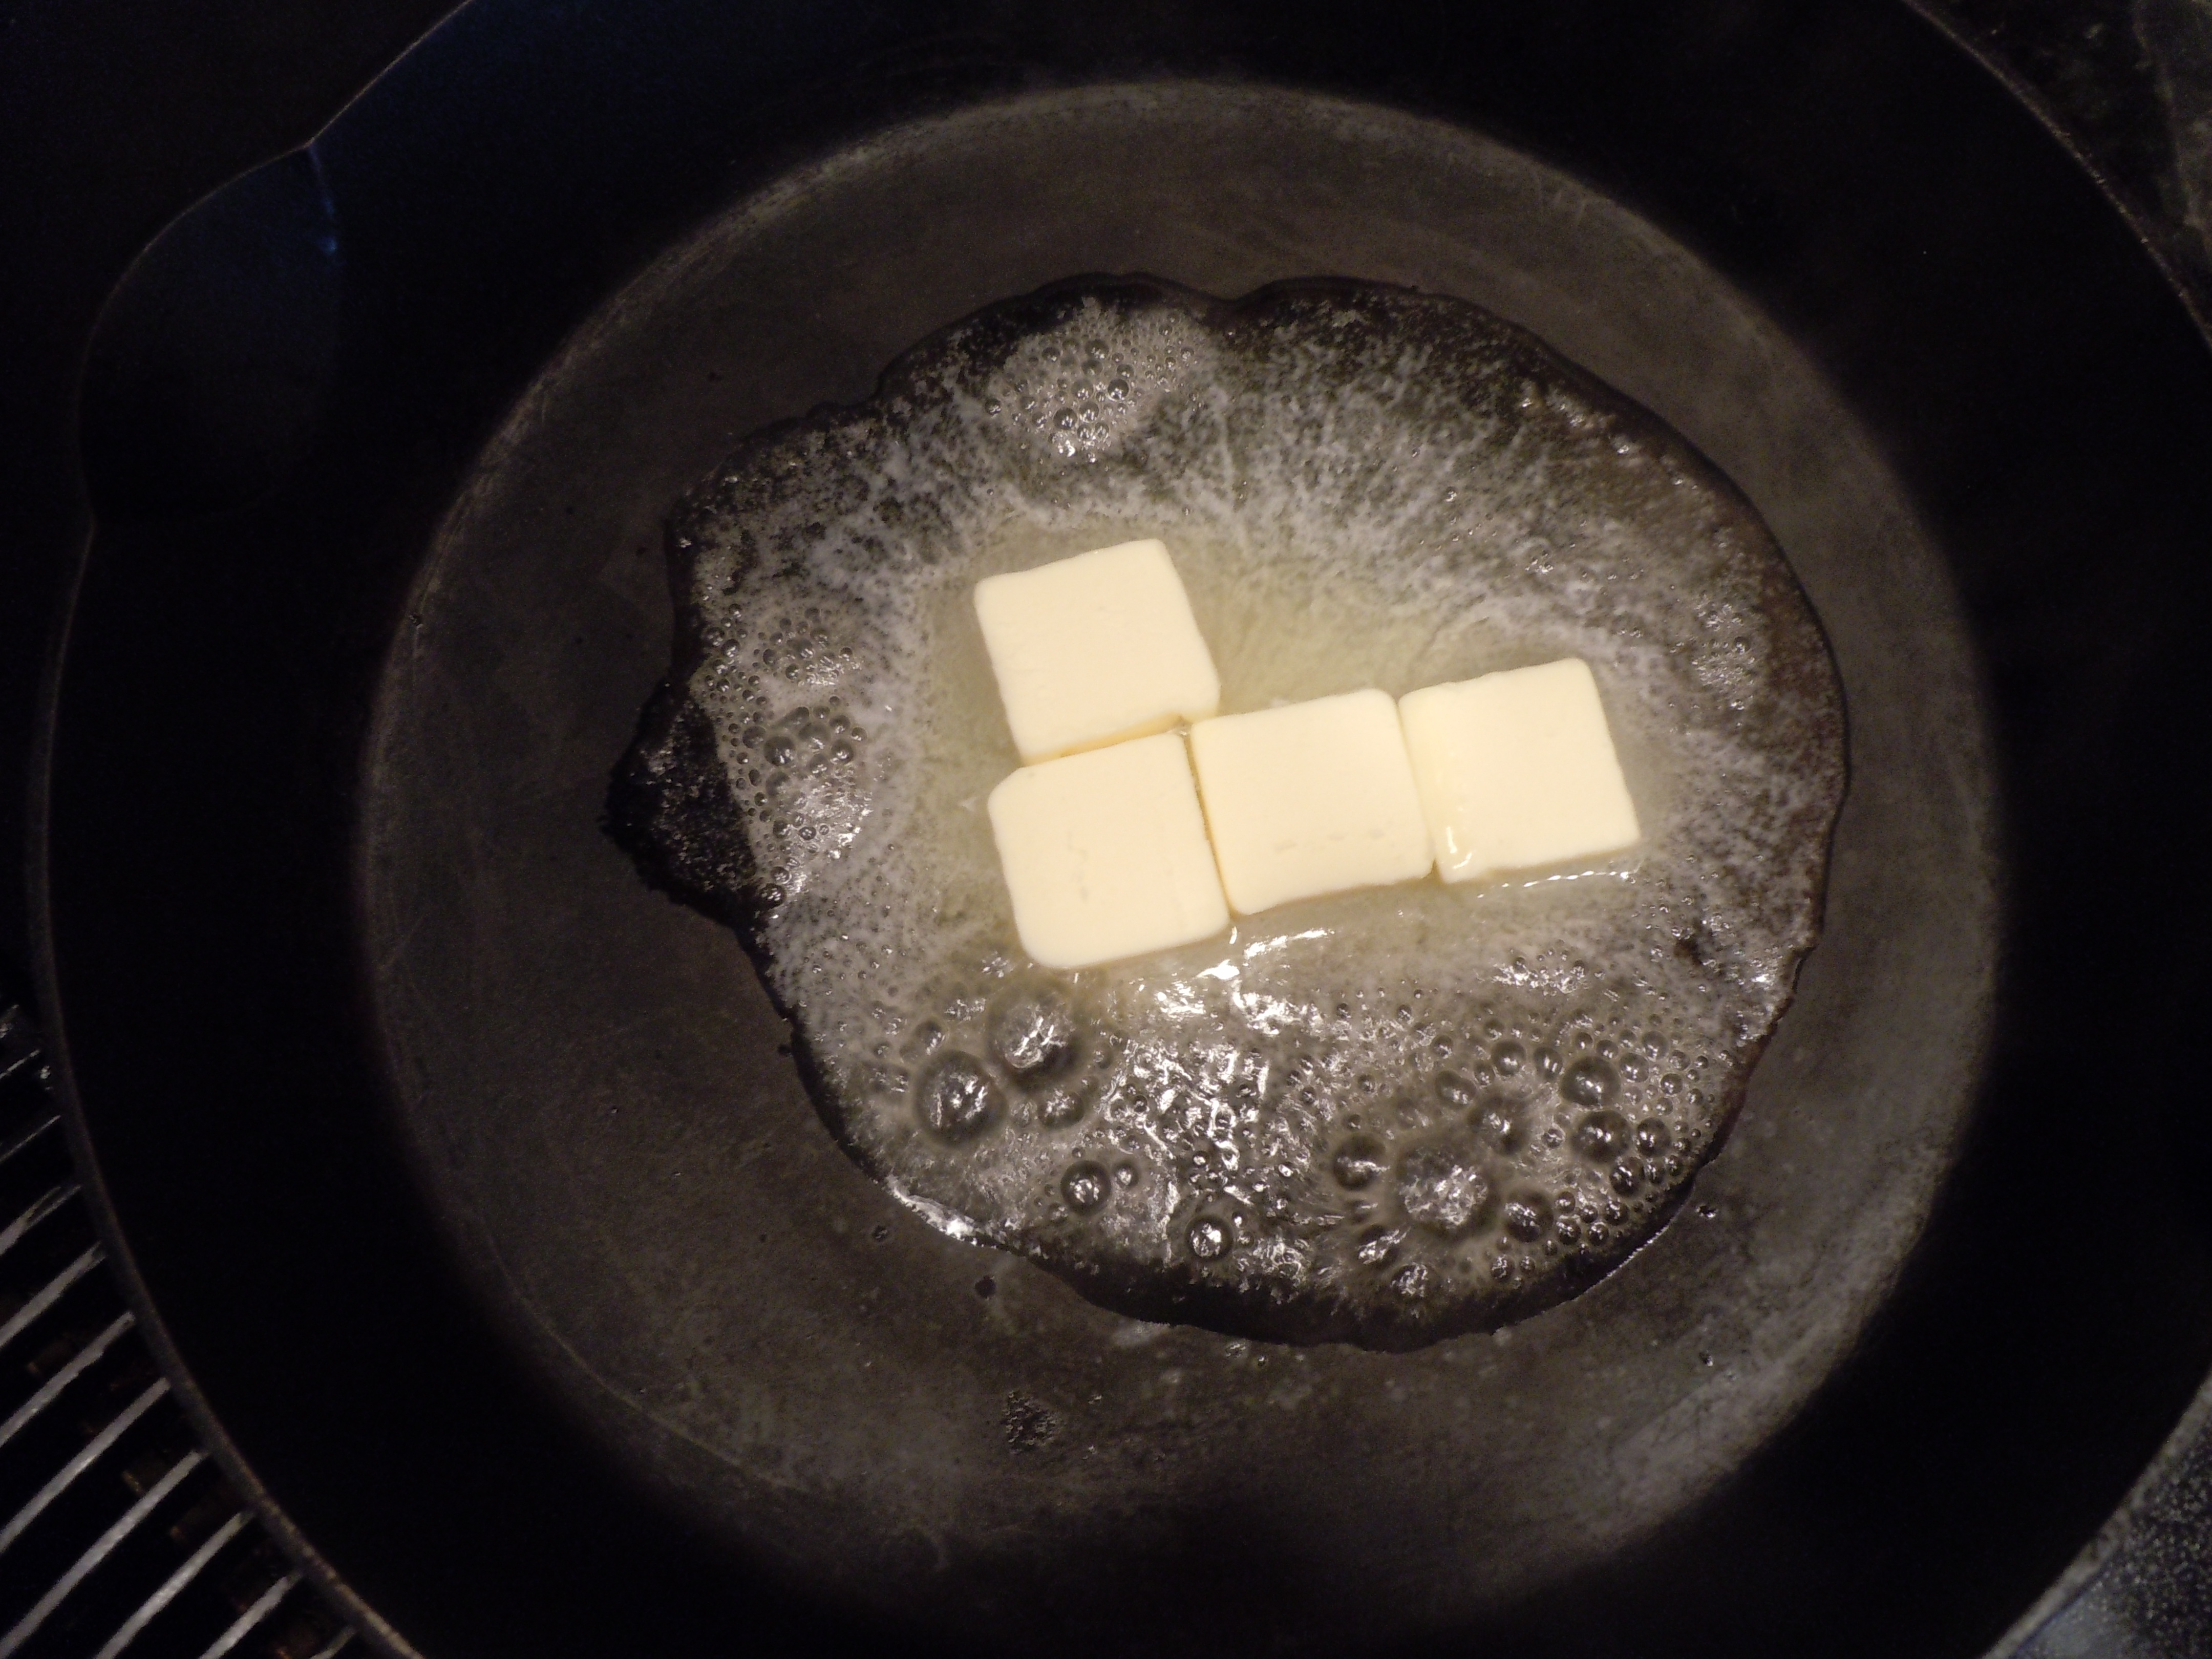
- 6 tbsp unsalted butter
- 3/4 cup light brown sugar
- 3/4 cup heavy cream
- 1/3 cup honey
- 1/4 teaspoon kosher salt
- OPTIONAL: 1 3/4 cups chopped toasted pecans – Toast pecan halves on a cookie tray in a 375º oven for 8 minutes until fragrant and lightly toasted
Directions for Glaze:
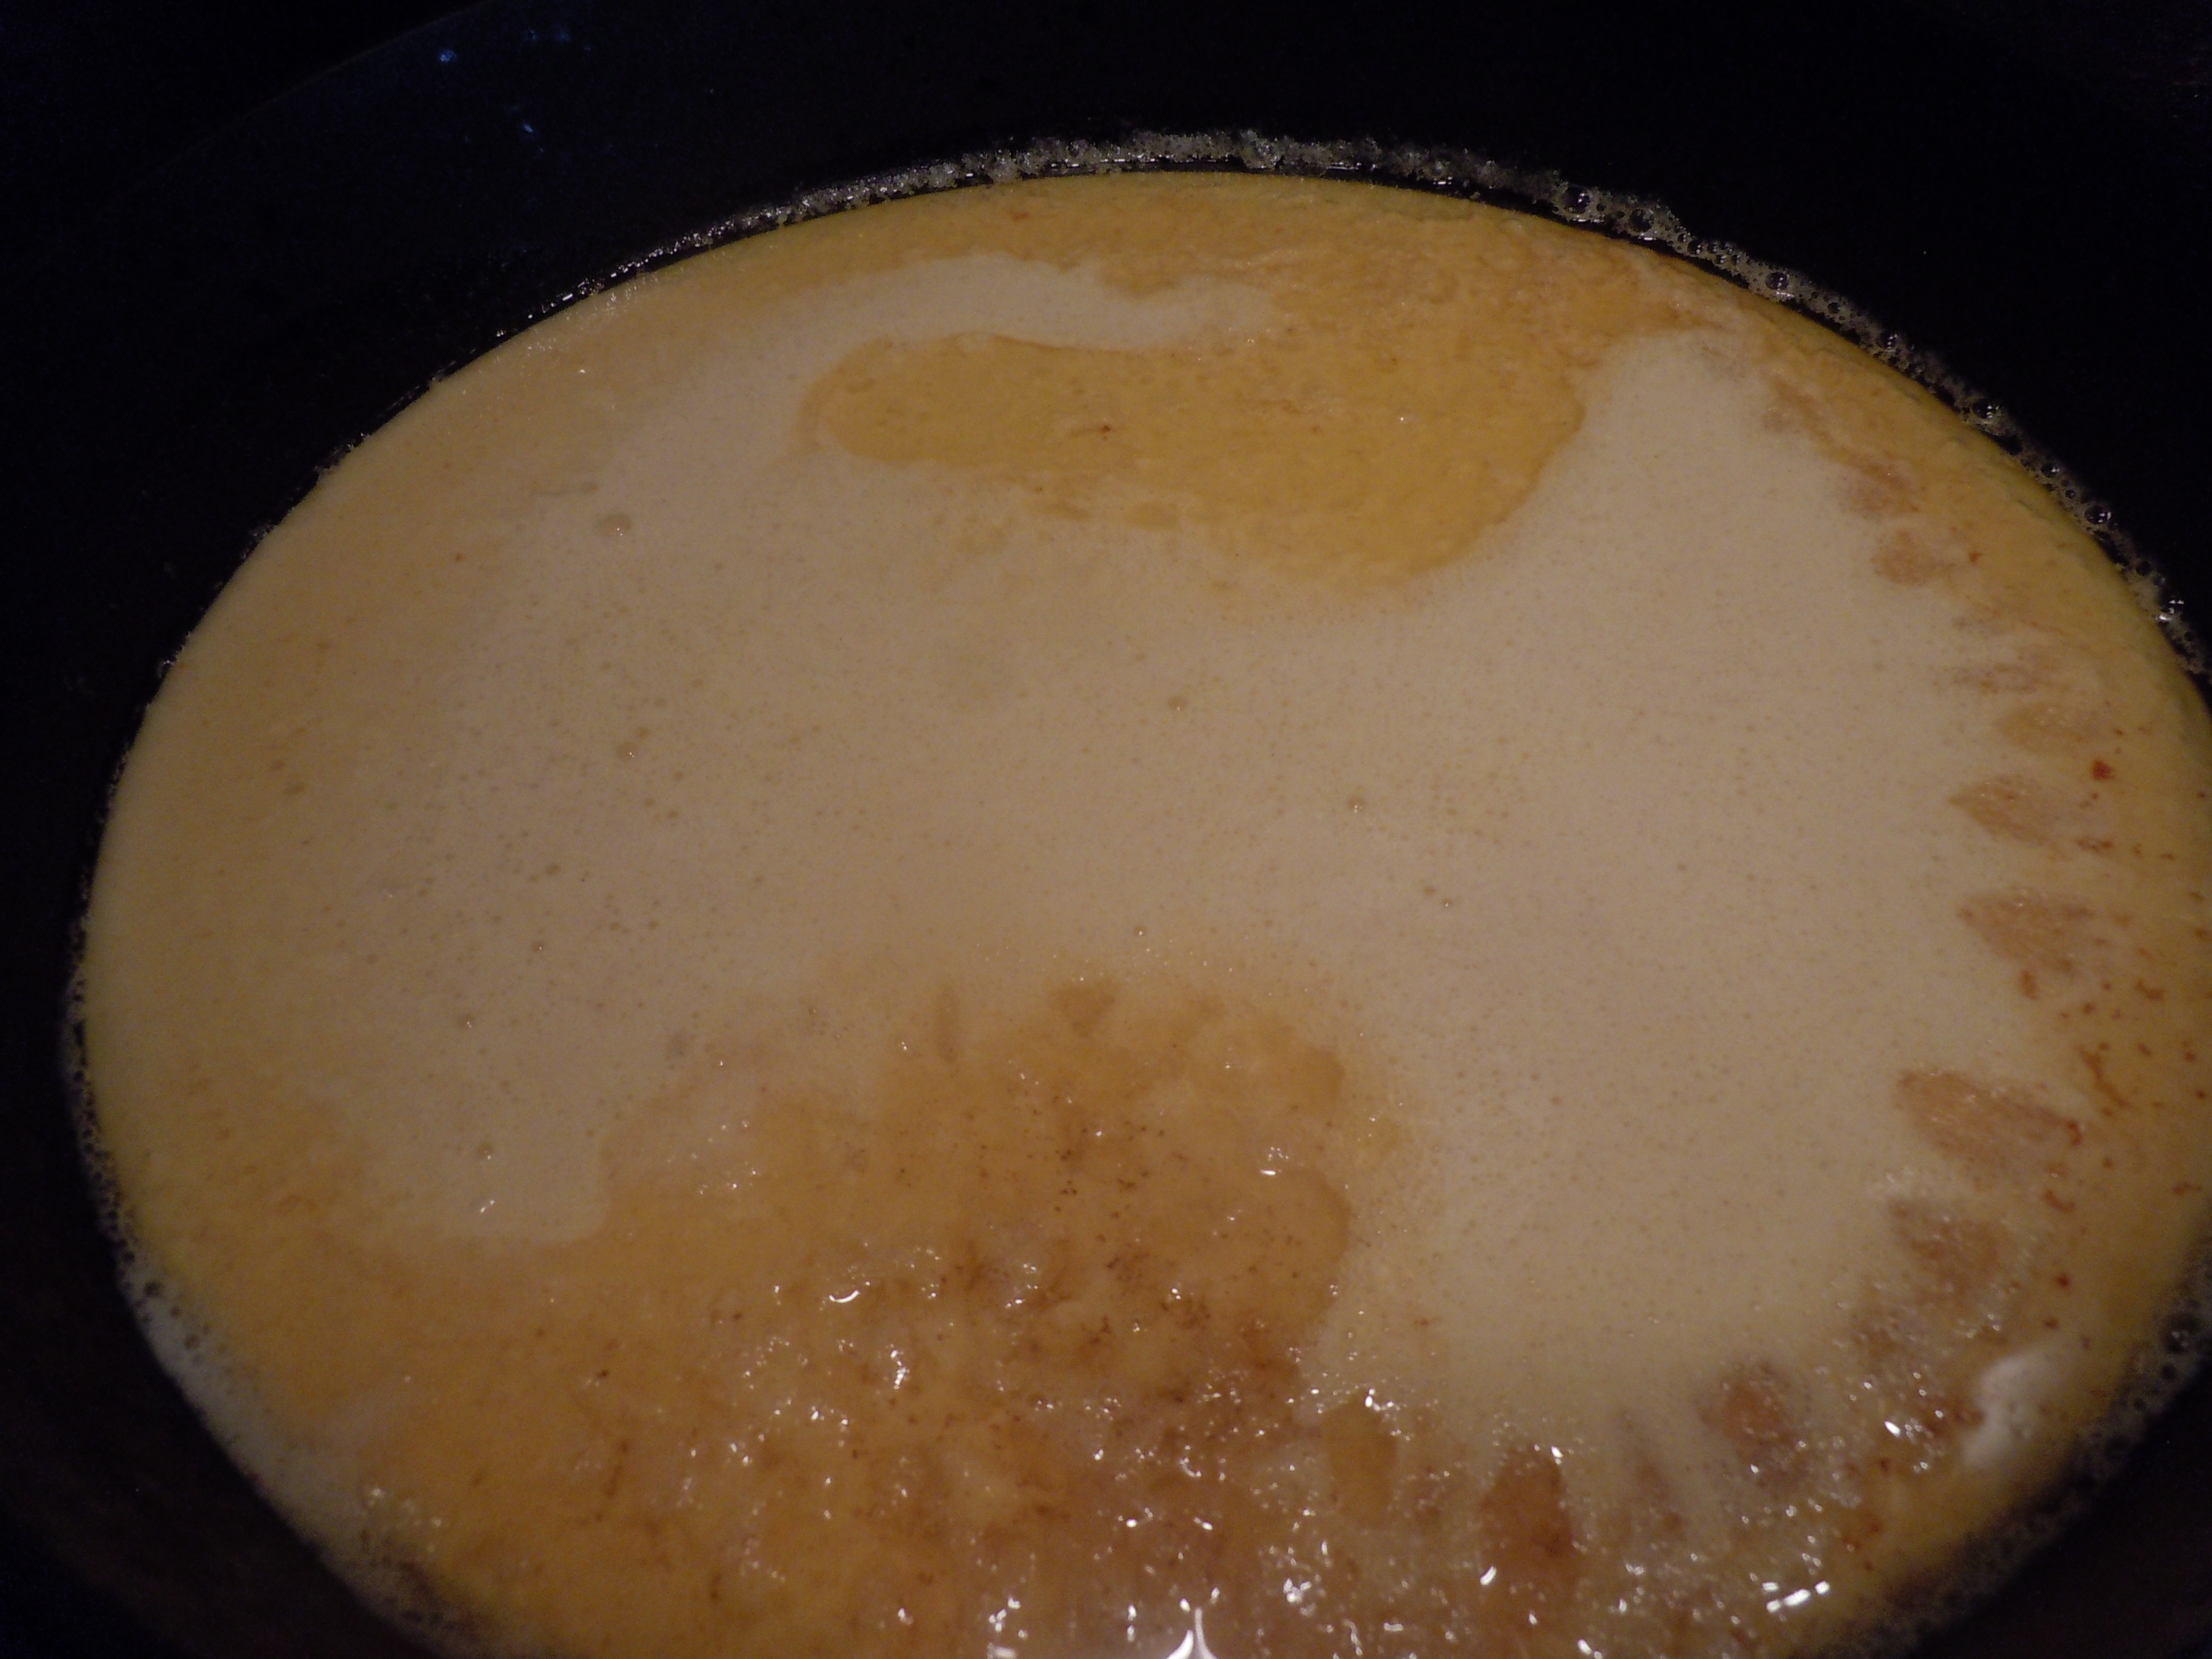
- Add all the ingredients into a medium sauce pan whisking to break up sugar on medium heat
- Bring to a boil and immediately turn down and simmer for 4 minutes, the sauce should NOT be in a rapid boil, should have a tiny bubbles
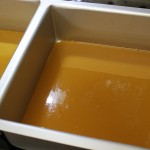
- Take off heat and pour 1/2 – 2/3’s of the glaze into the bottoms of your baking pans with 1/4″ coating
- Place your rolled and cut up sticky bun rolls on top of the glaze and let proof 45 minutes
- Then scoop some of the glaze on the bottom on top of the sticky bun rolls before baking
Ingredients for Filling in Rolls:
- 1/4 cup unsalted melted butter
- 1 1/2 cup (packed) dark brown sugar
- 1/4 cup ground cinnamon
- 1/4 tsp ground cloves
- 1/4 teaspoon kosher salt
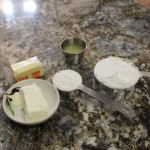
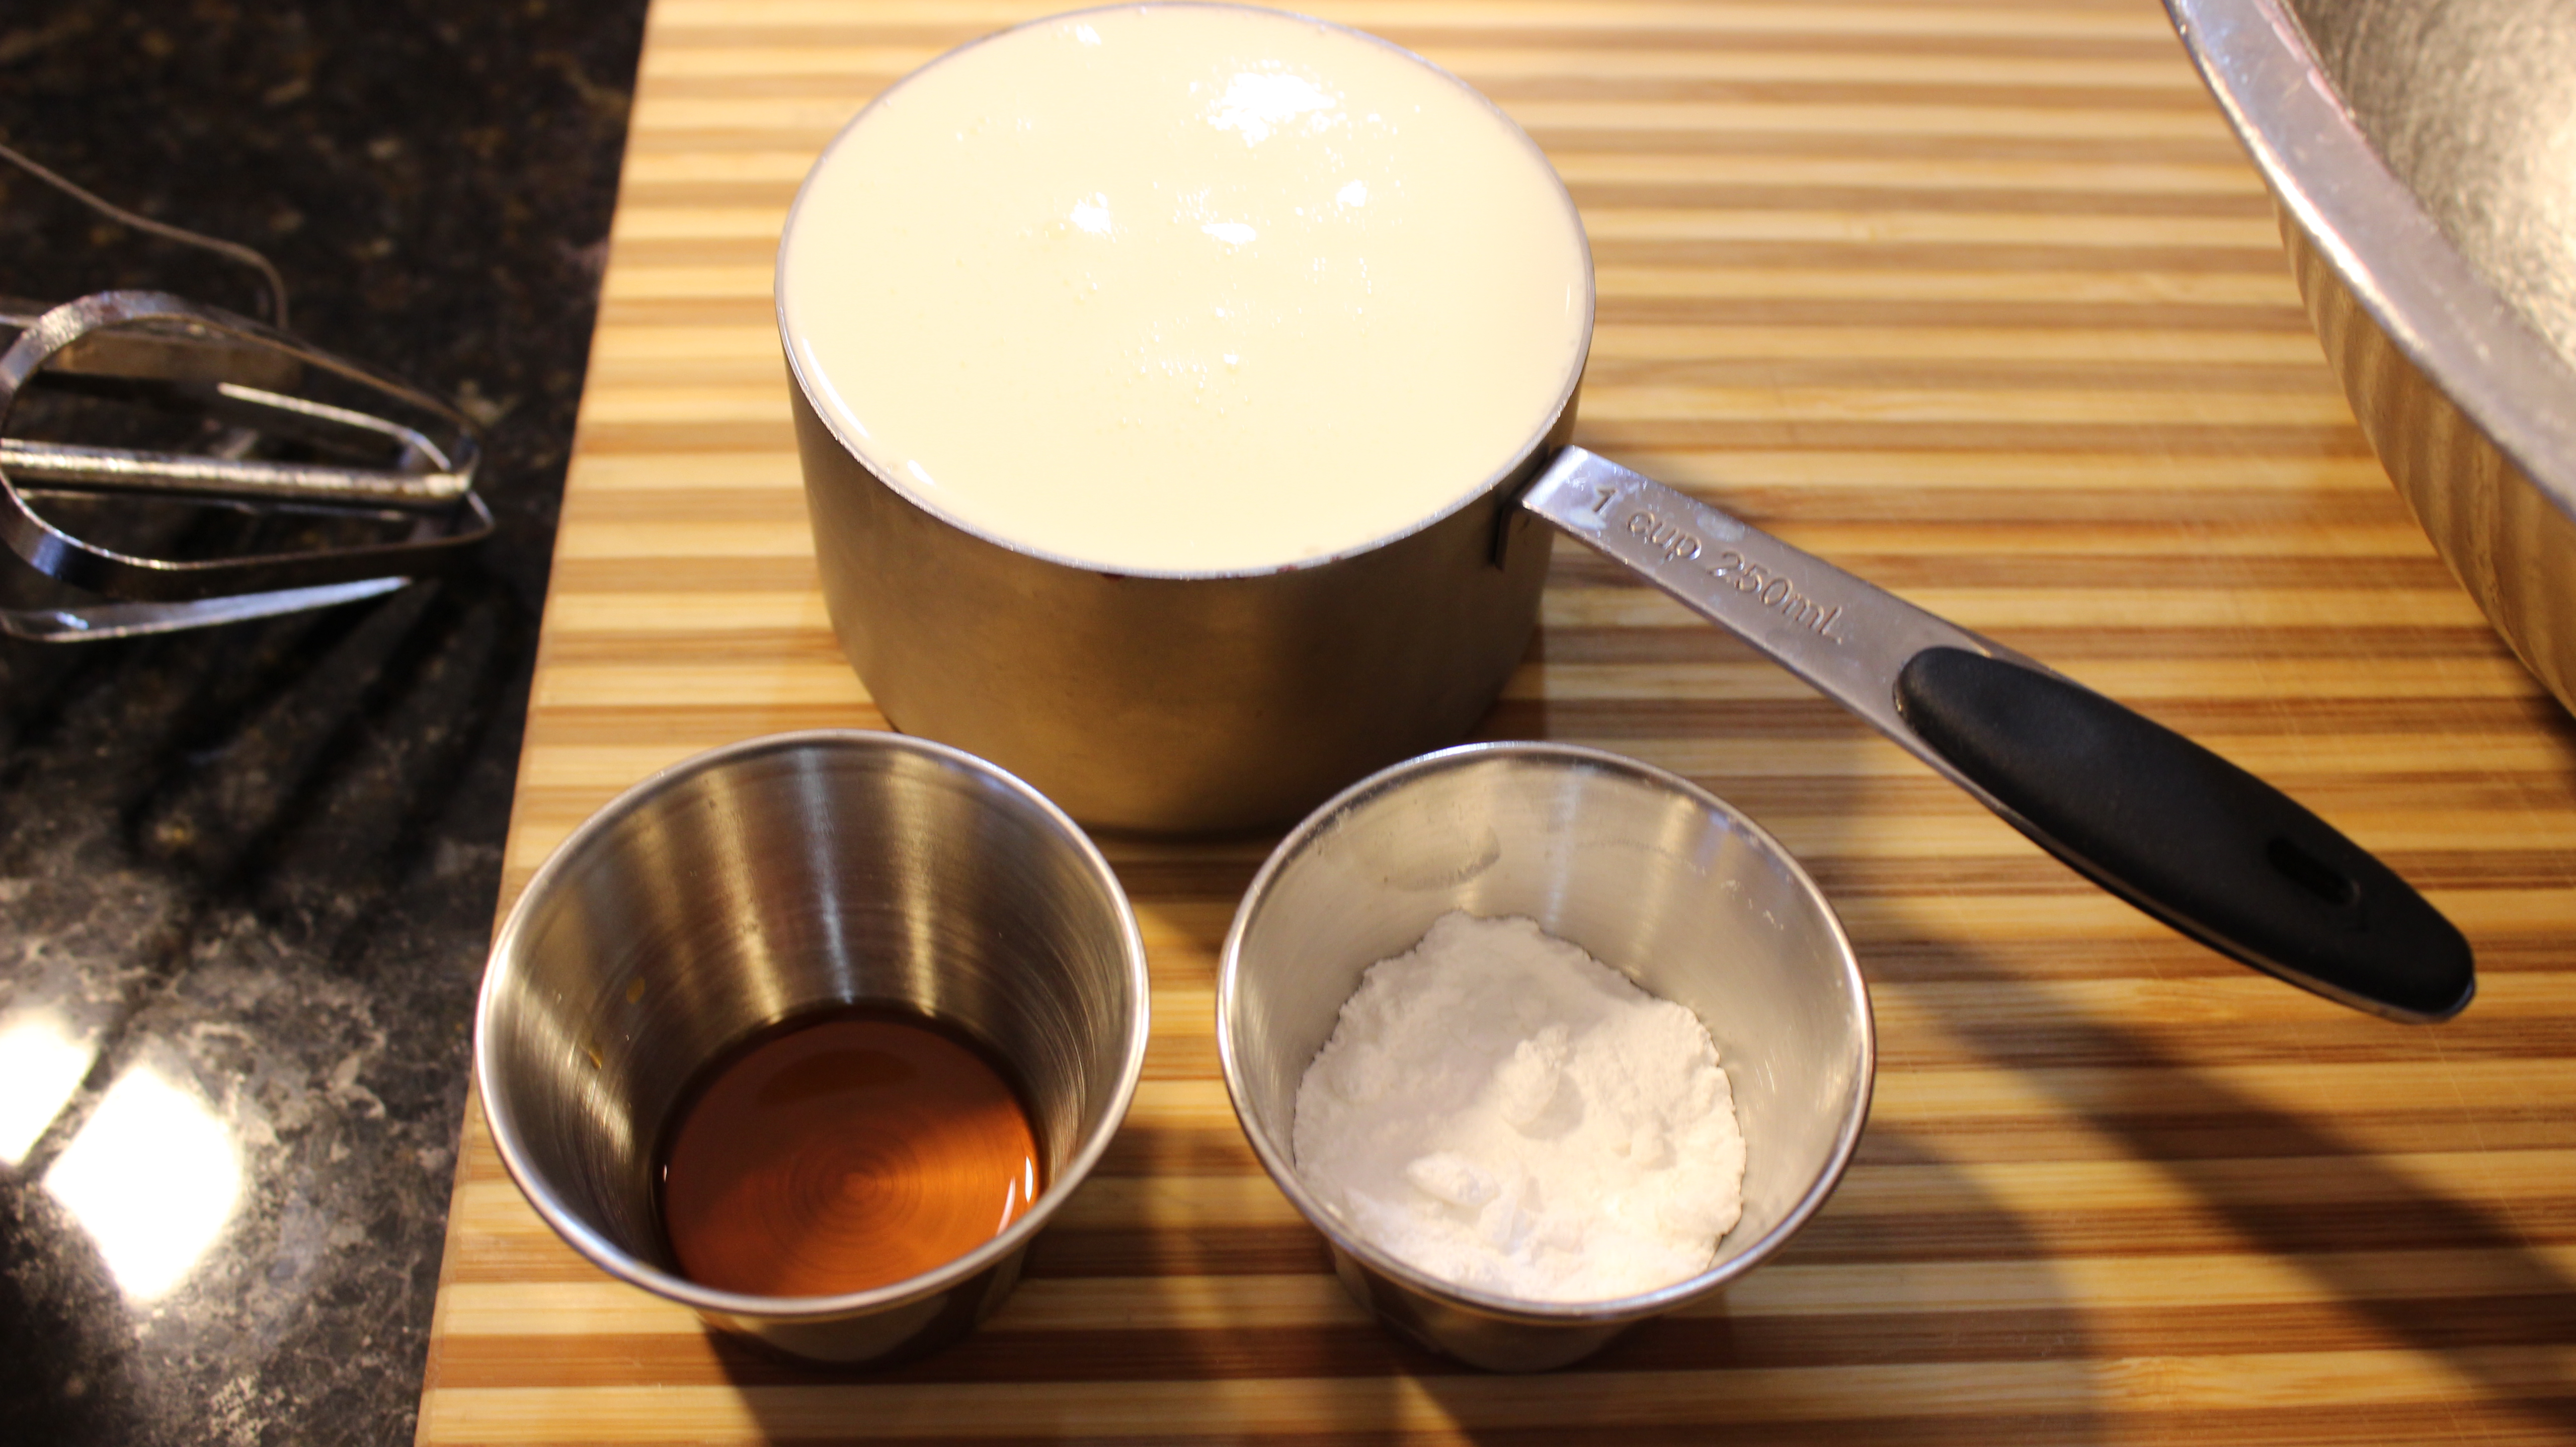
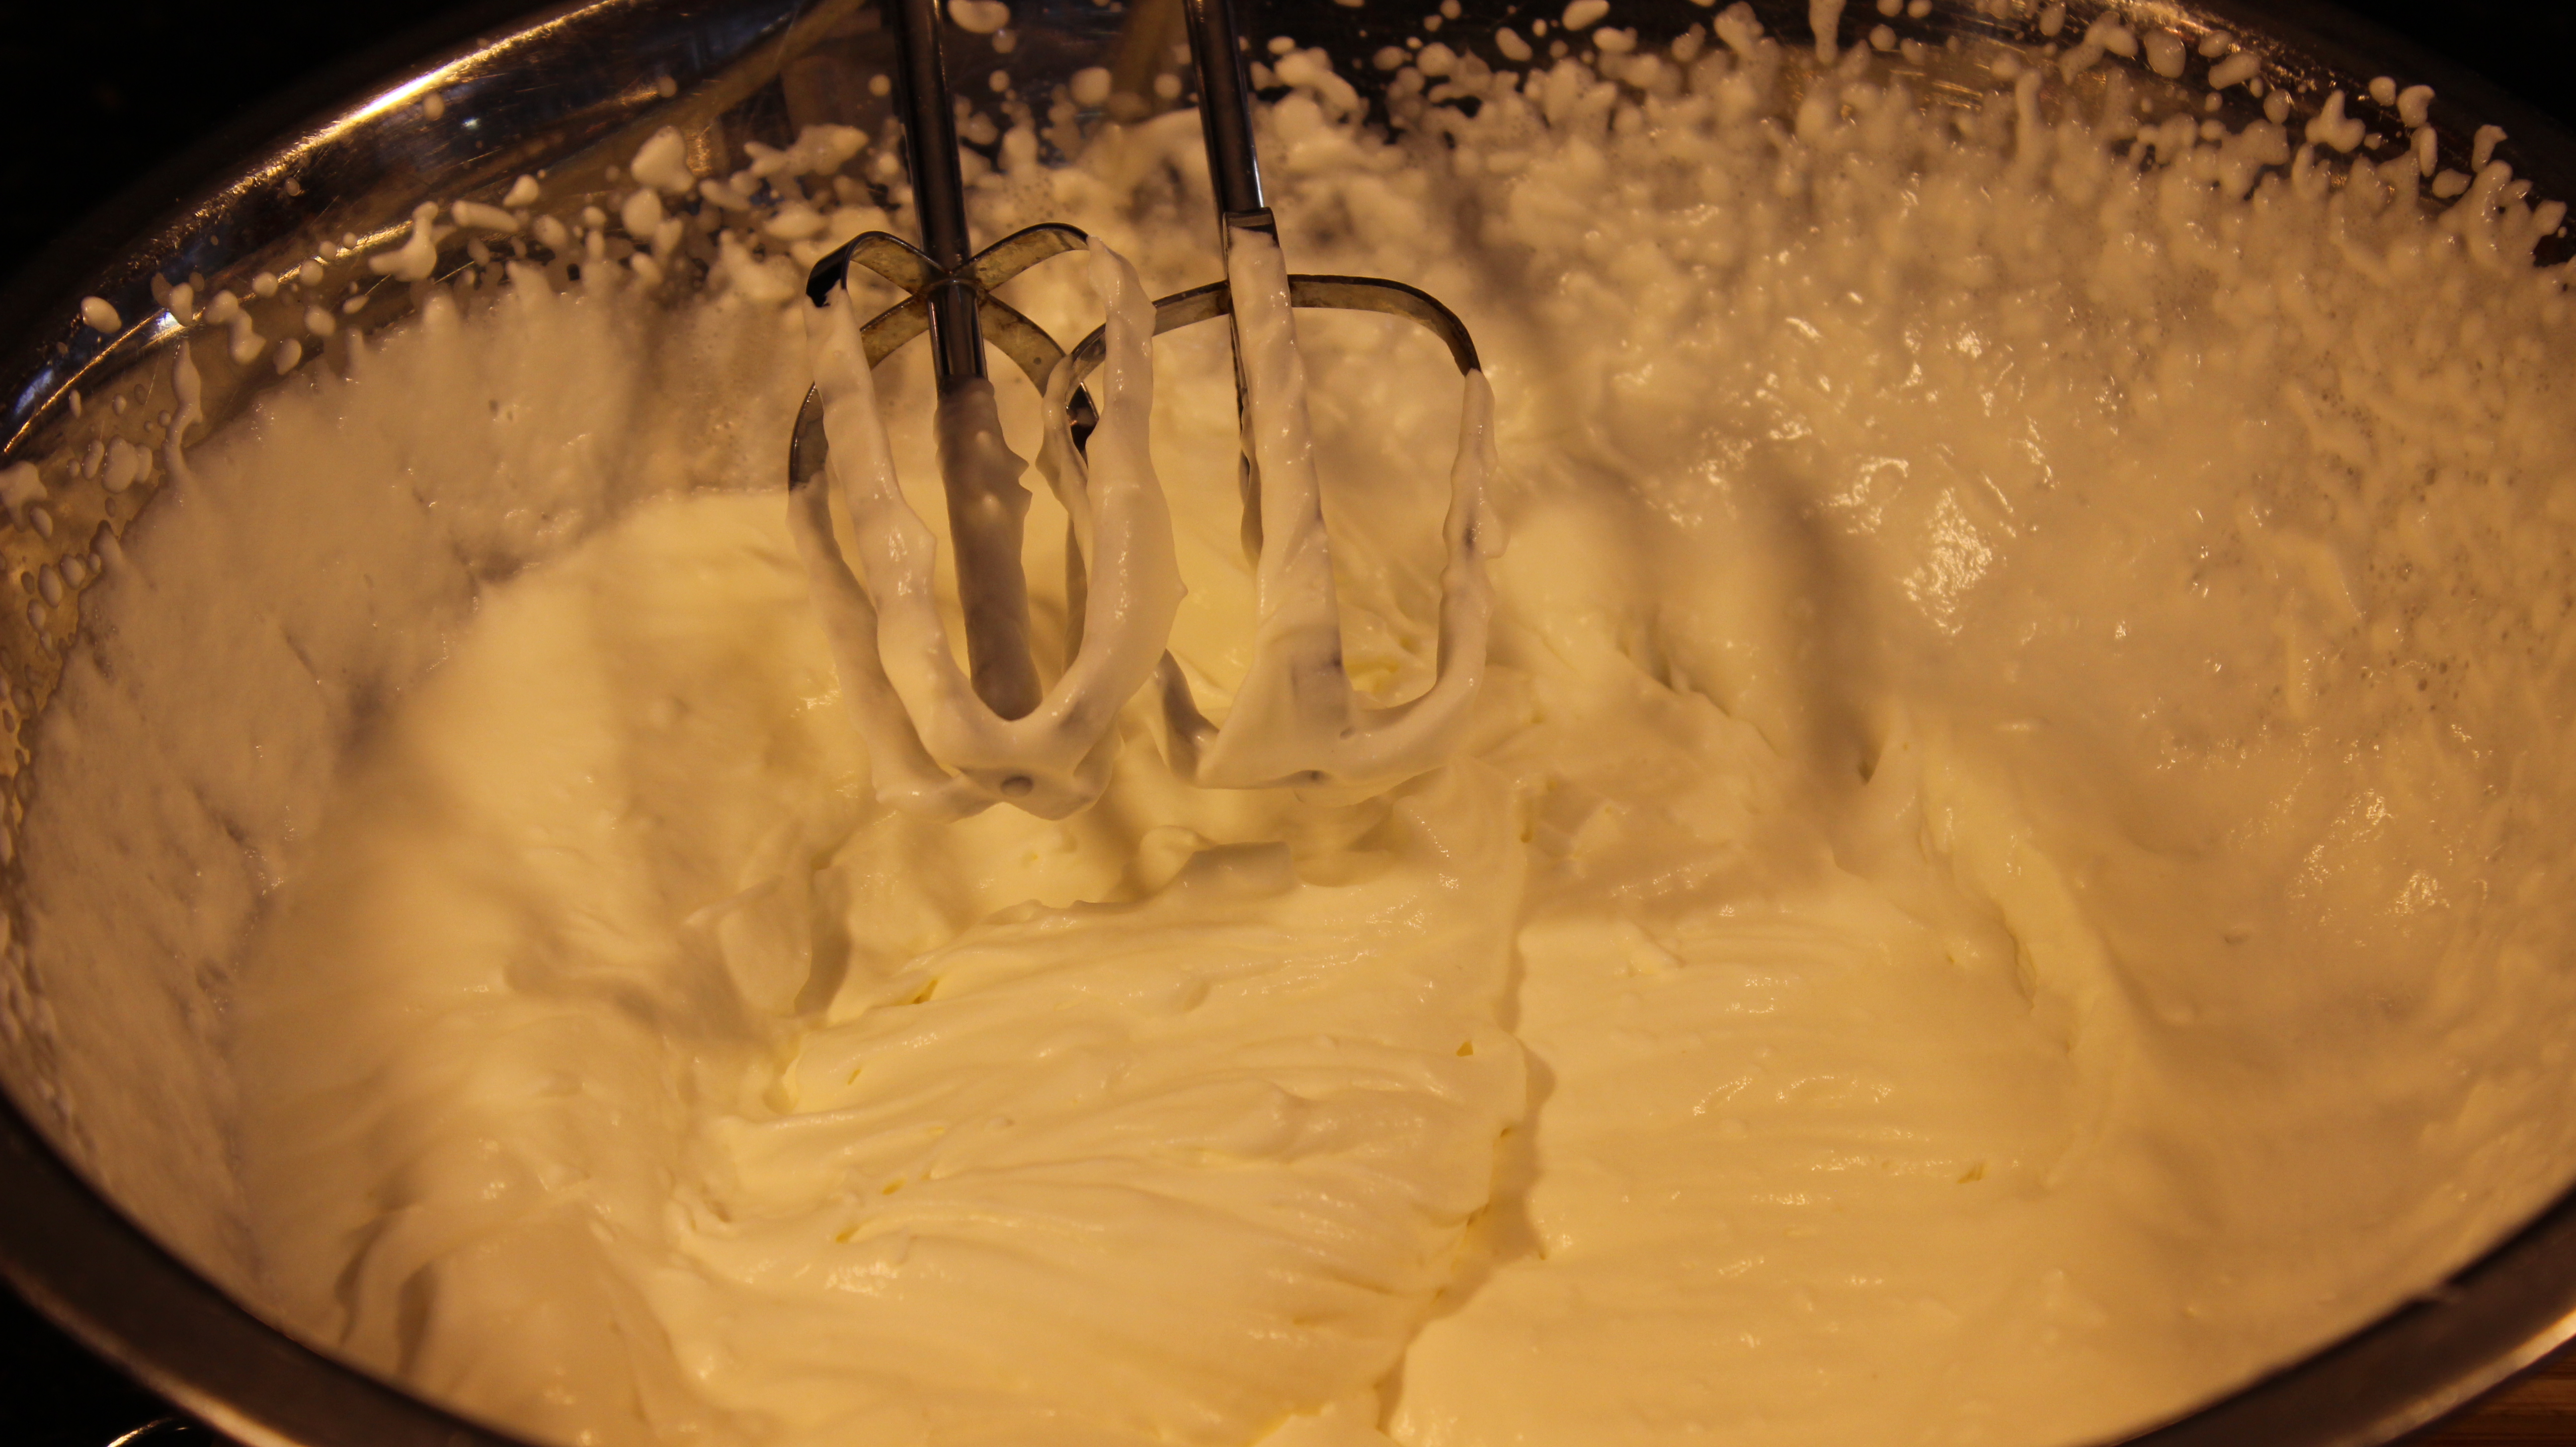
Ingredients for the Delicious Cream Cheese ICING:
- 2 oz. cream cheese – softened
- 4 tbsp unsalted butter – softened
- 1 1/2 cups confectioners sugar
- 1 tbsp fresh lemon juice OR pineapple juice
- 1 tbsp light Karo Syrup
- 1/2 teaspoon vanilla extract
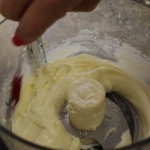
Directions for this Delicious Cream Cheese Icing:
- Put butter and cream cheese into the foo processor and pulse to combine
- Add in the rest of the ingredients and puree until smooth
- You can then warm this a little to drizzle over the sticky cinnamon buns or smear with an offset spatula or knife


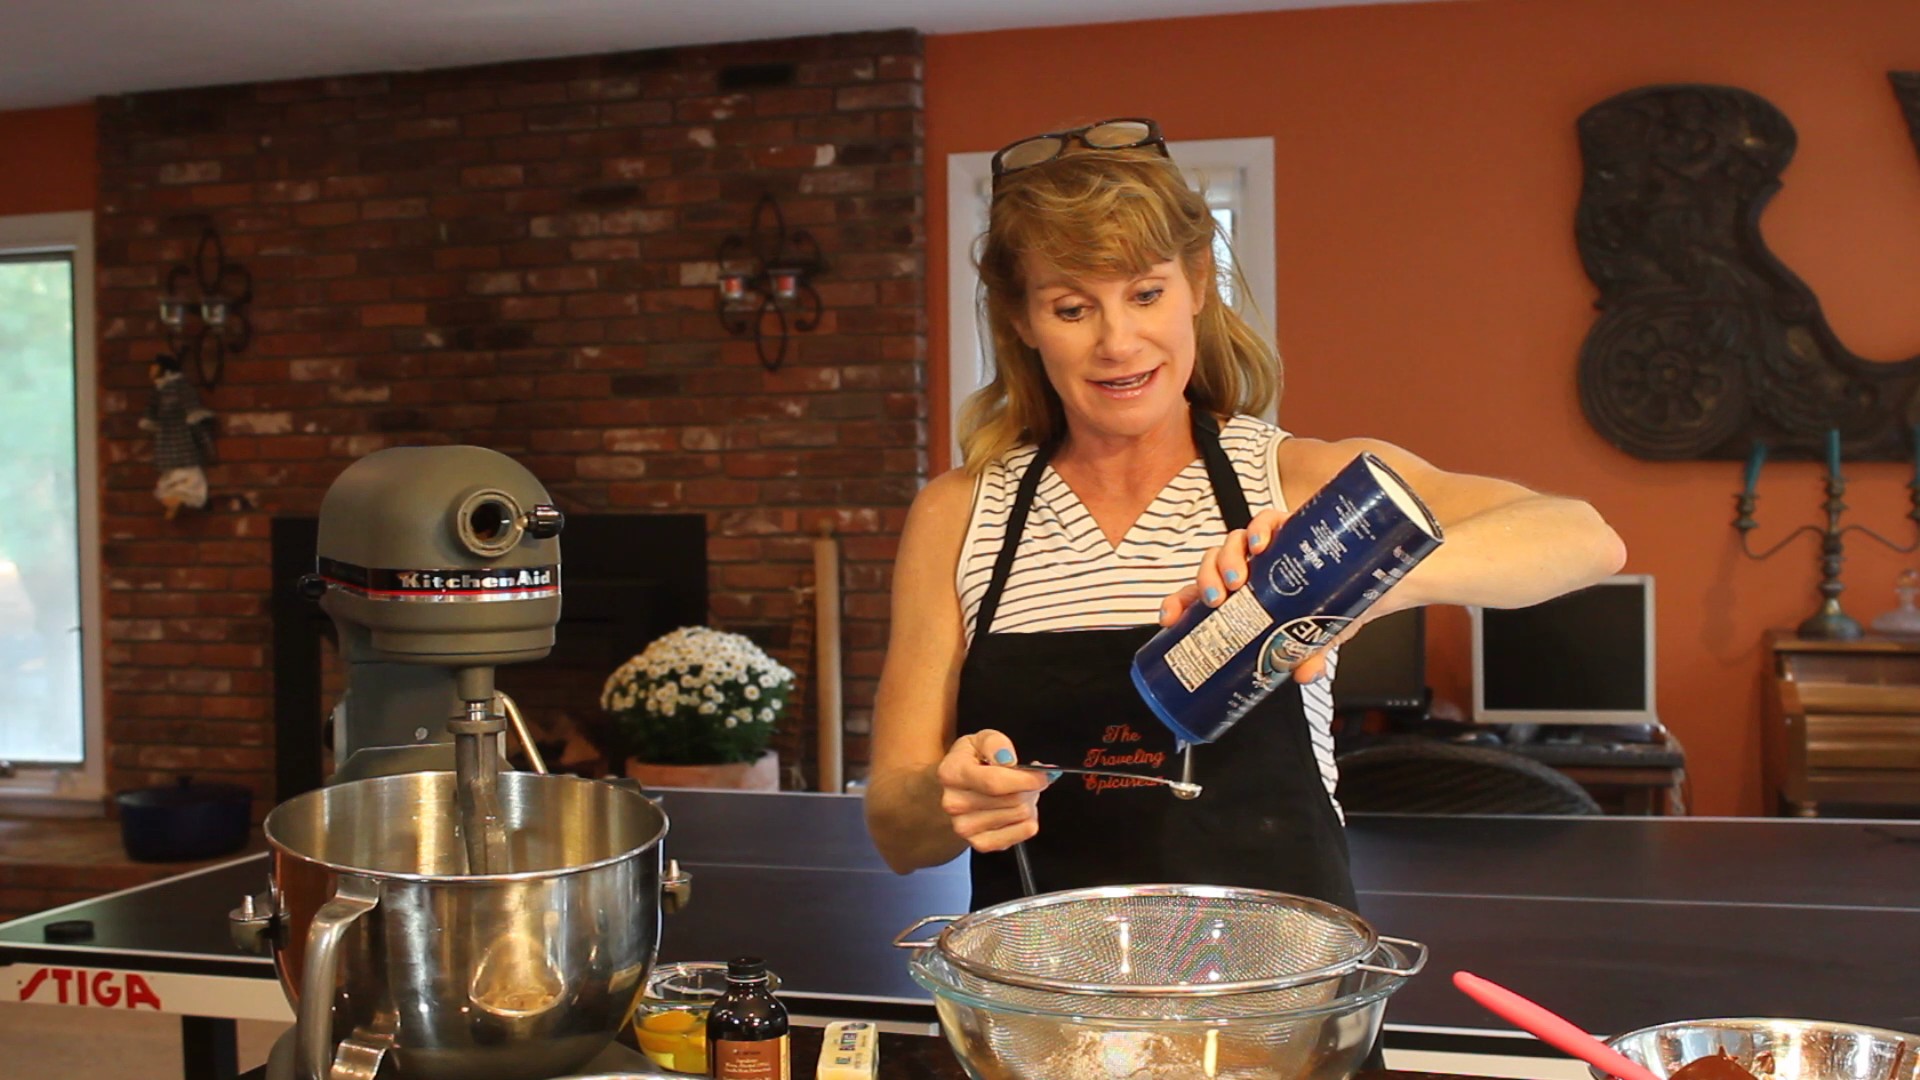
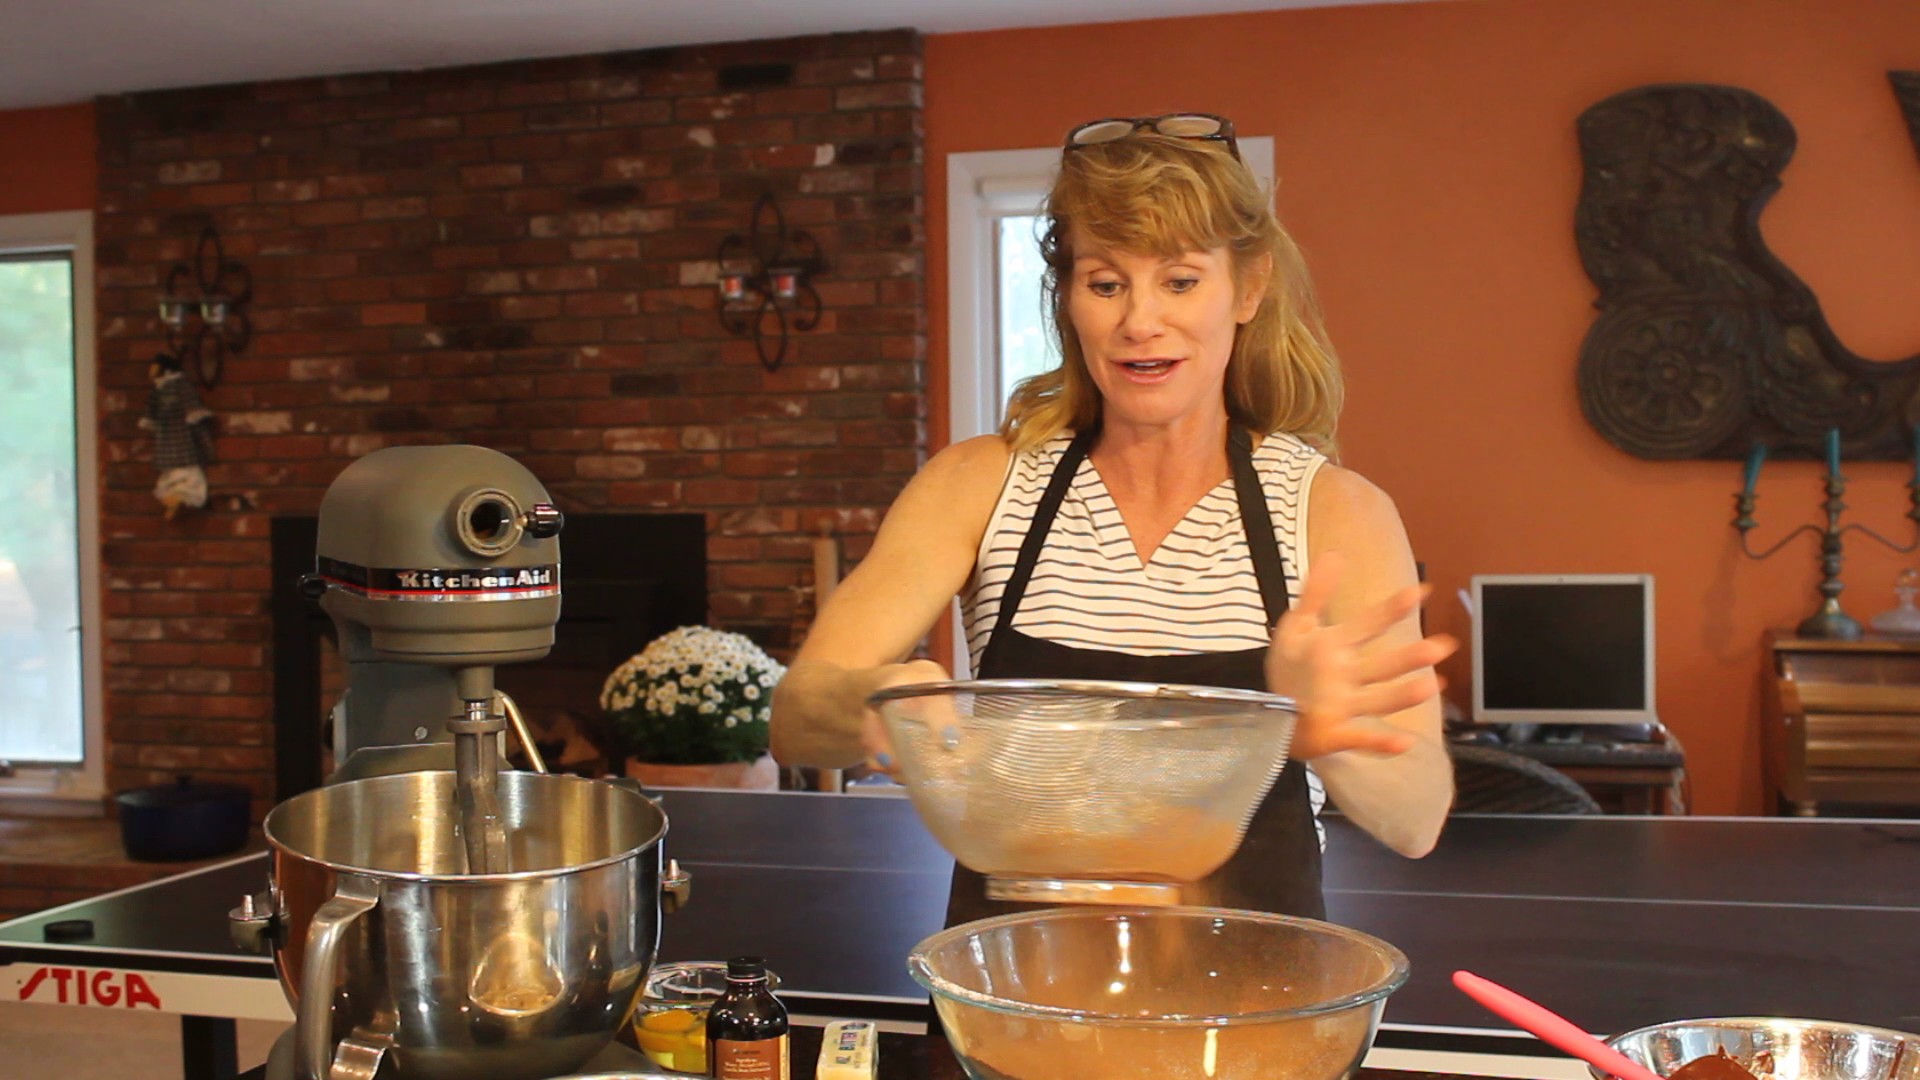
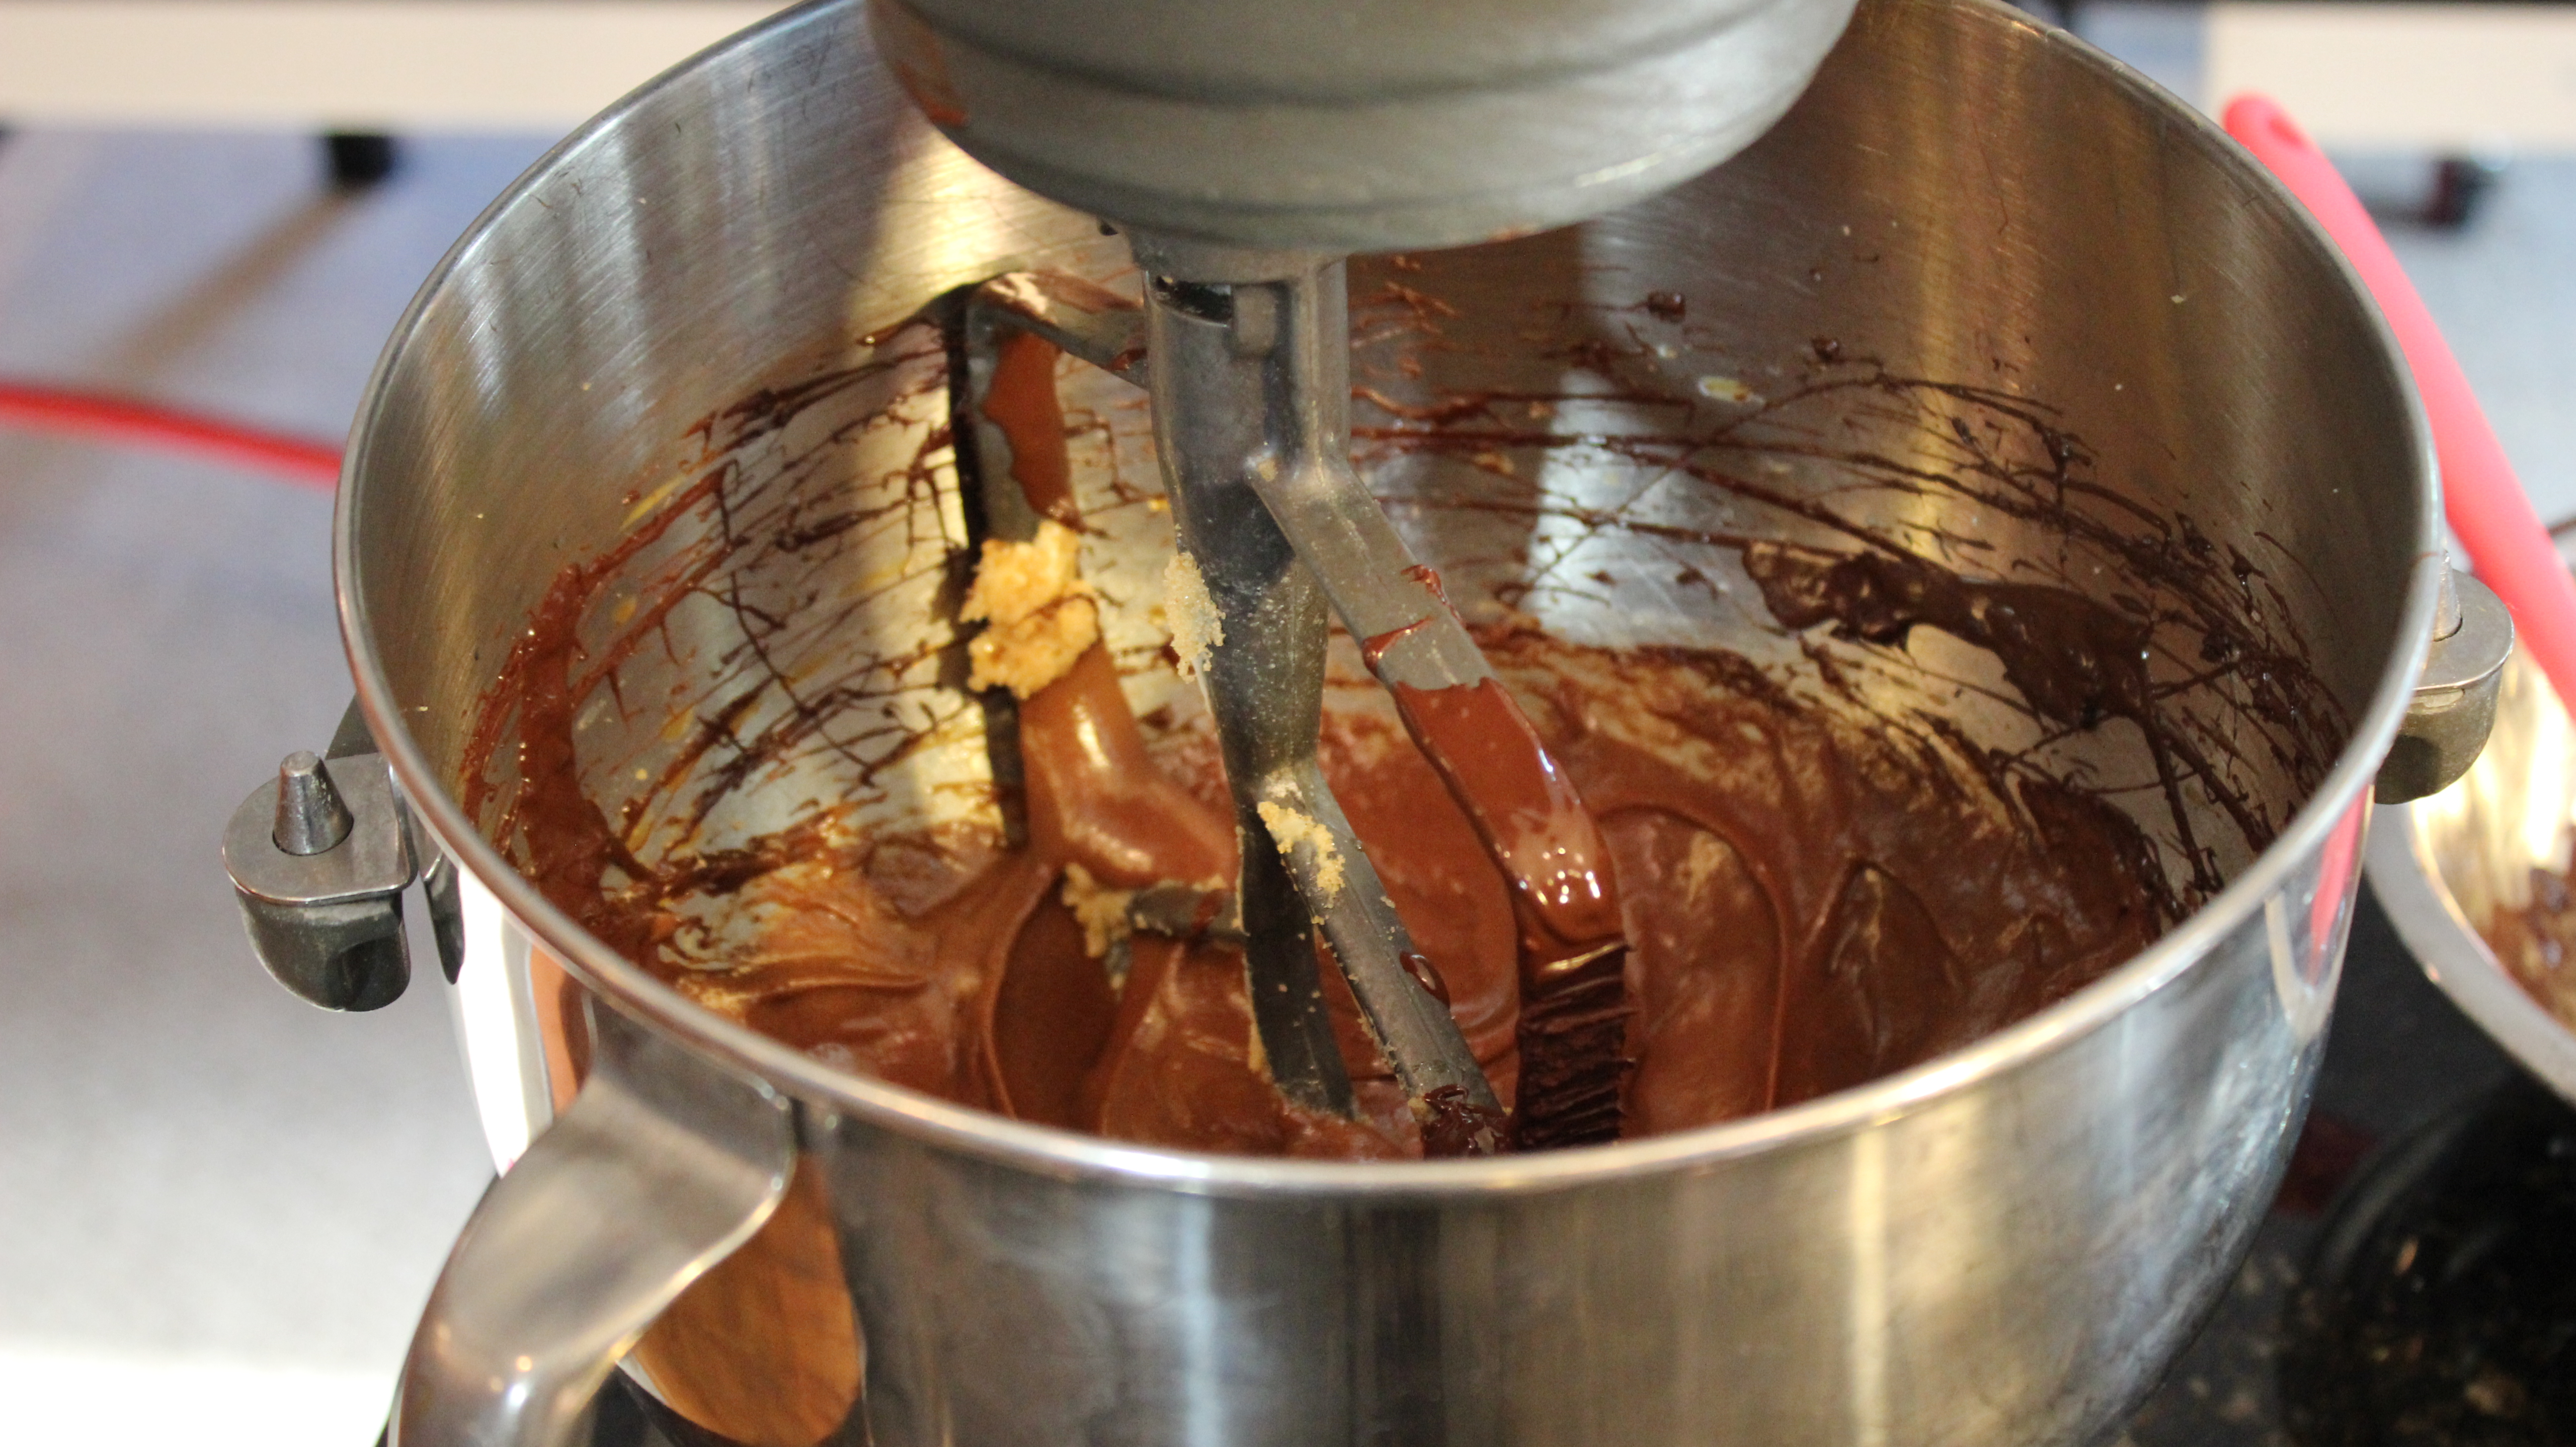
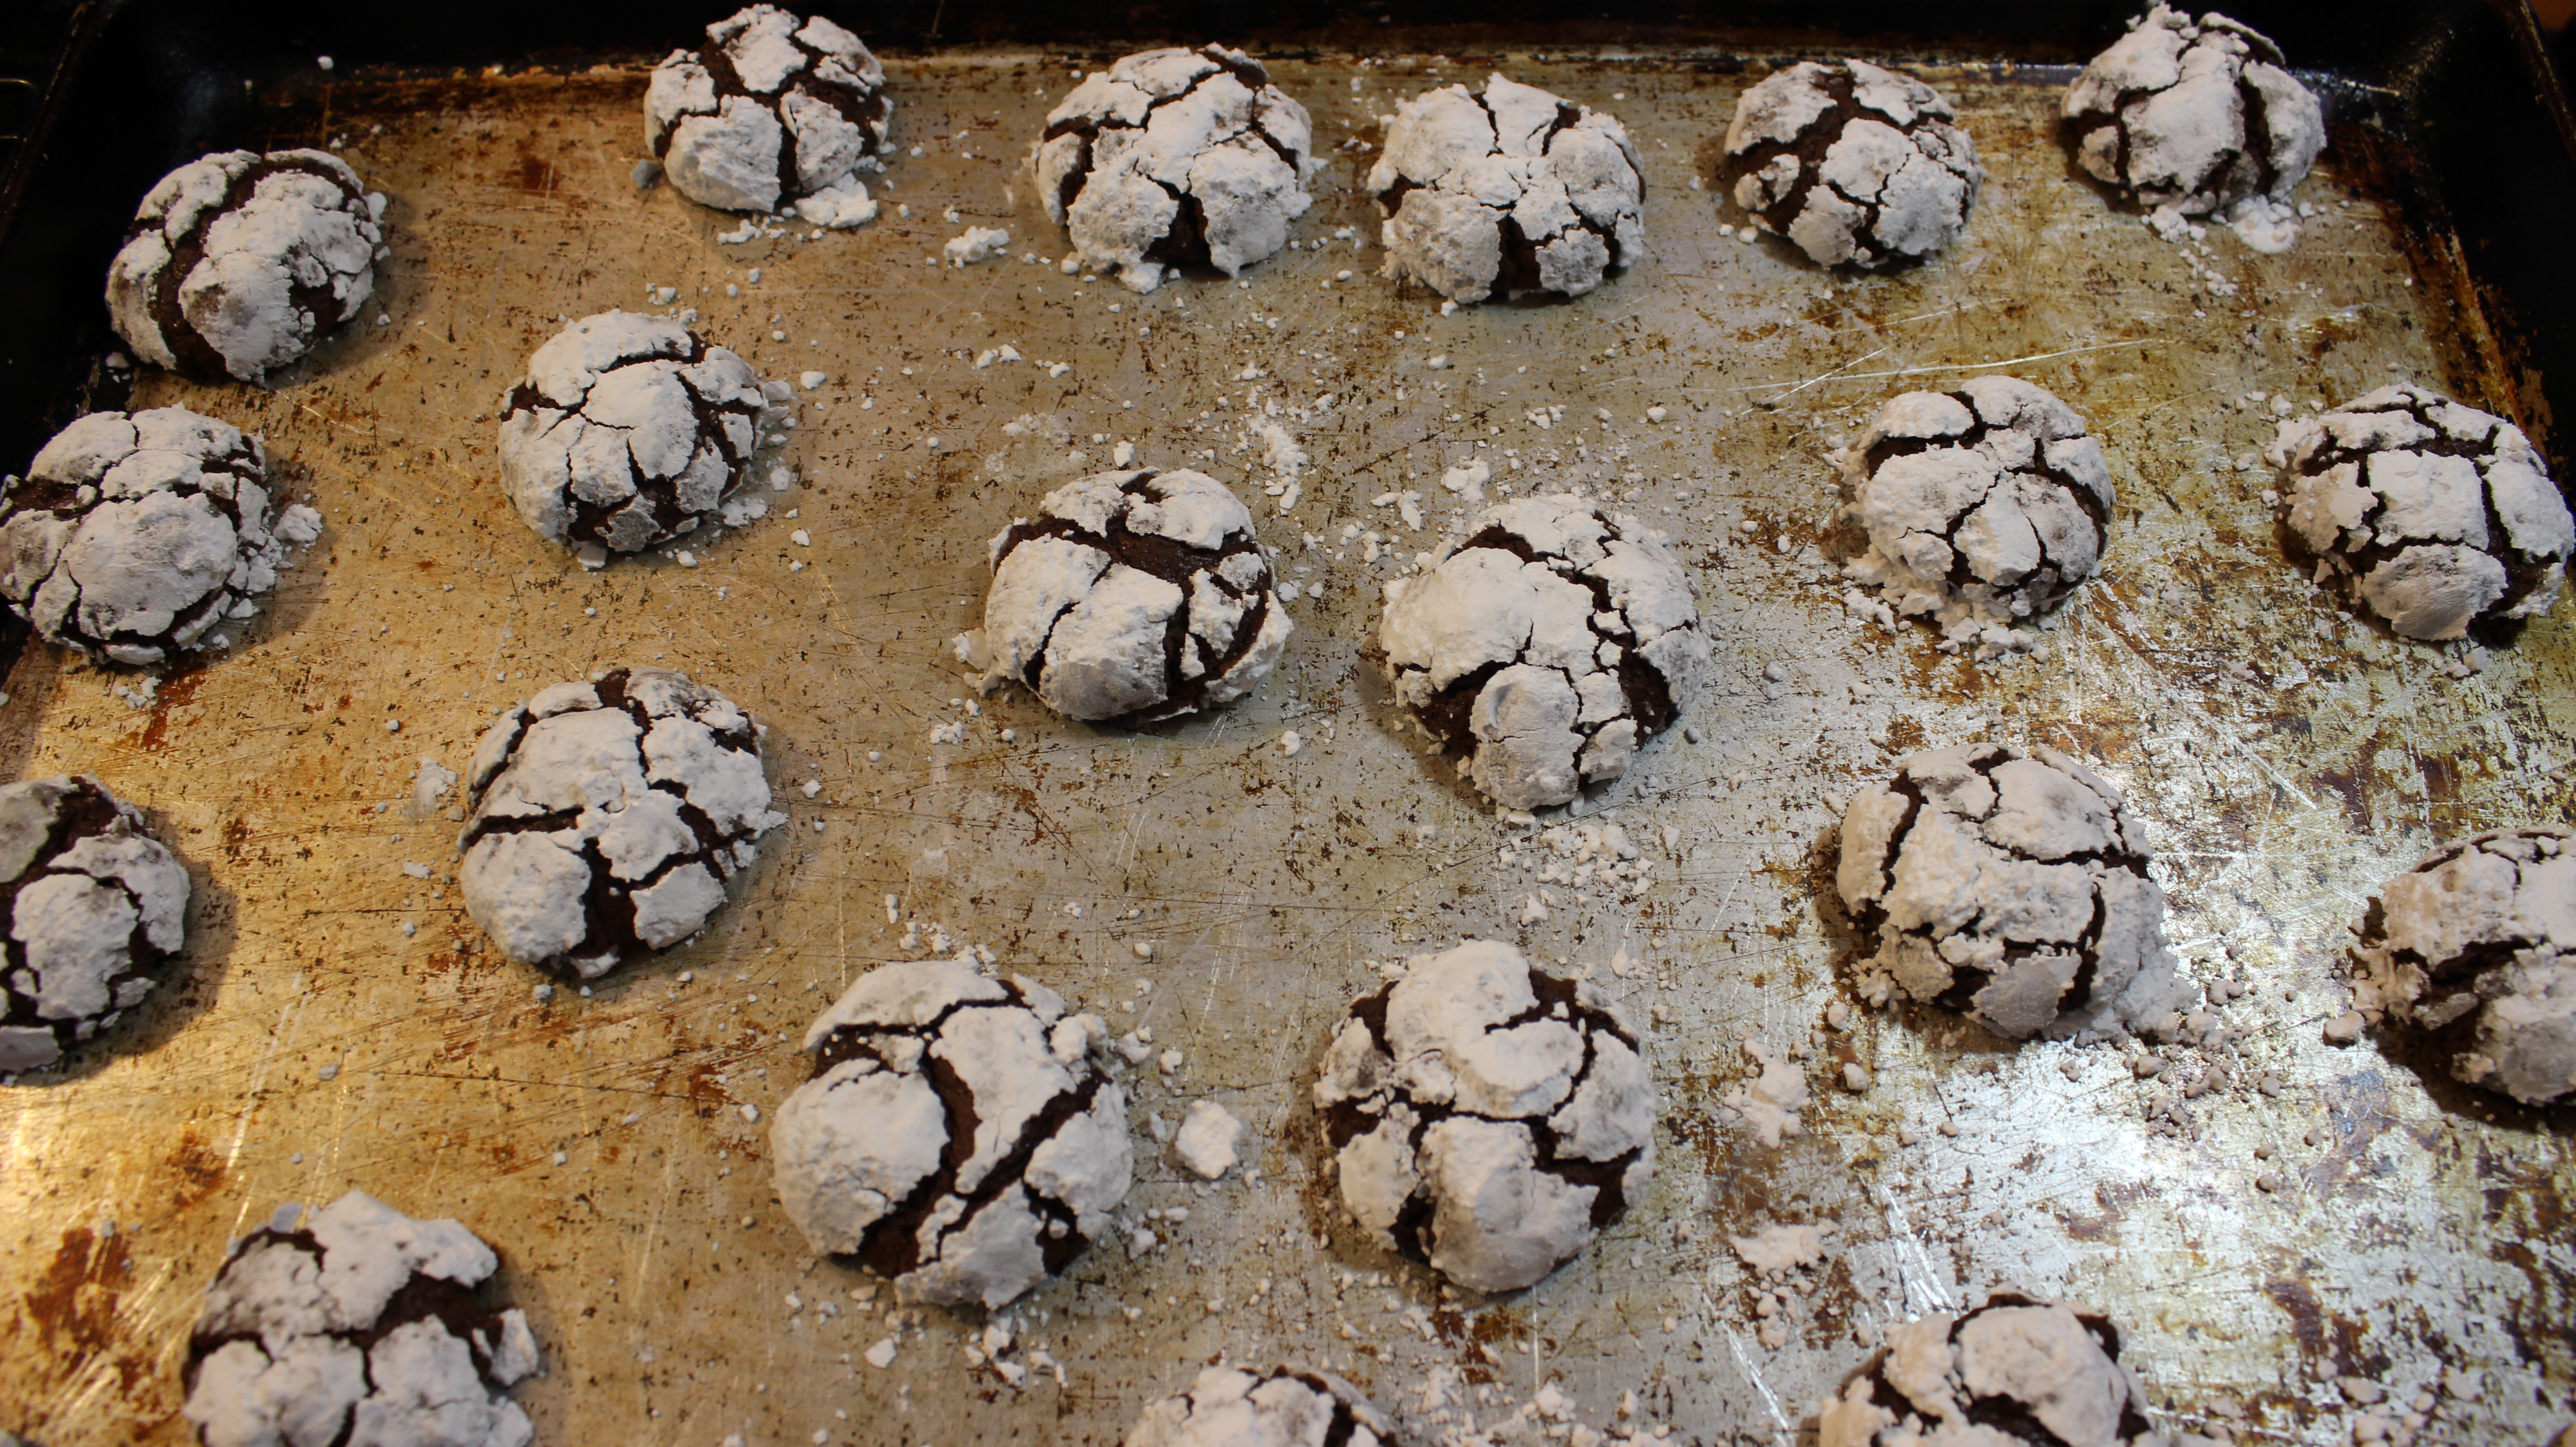
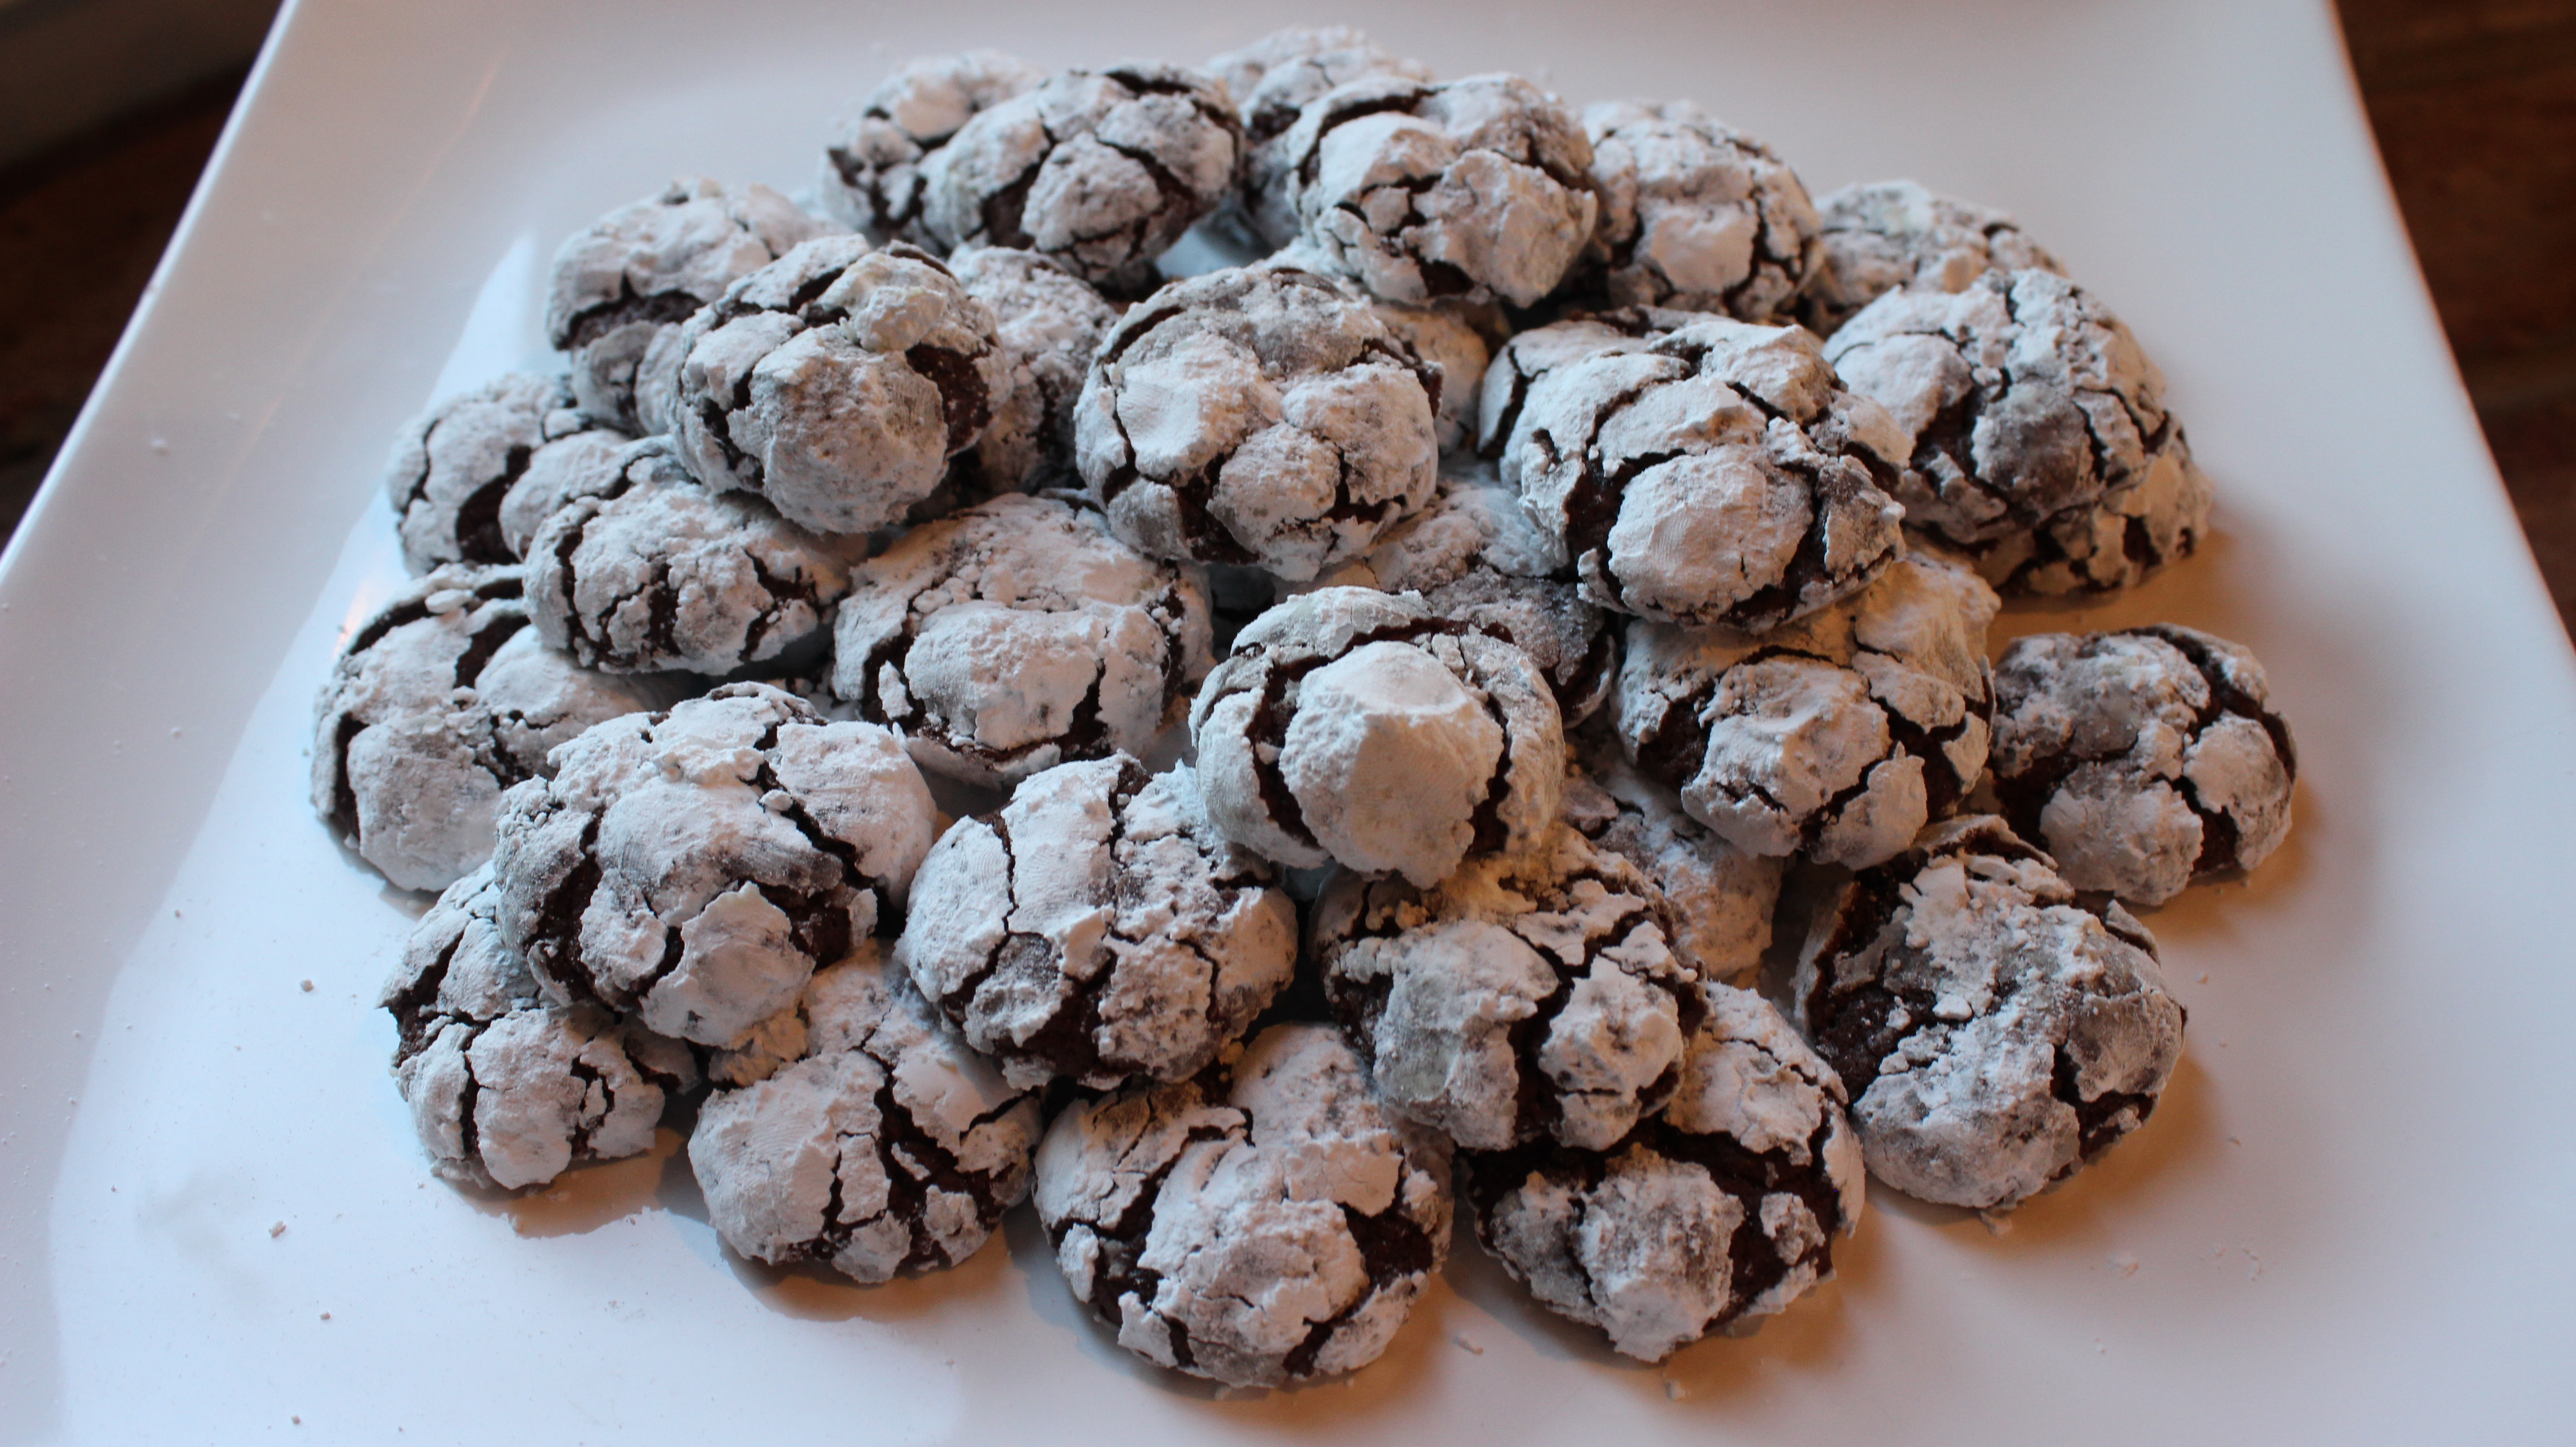
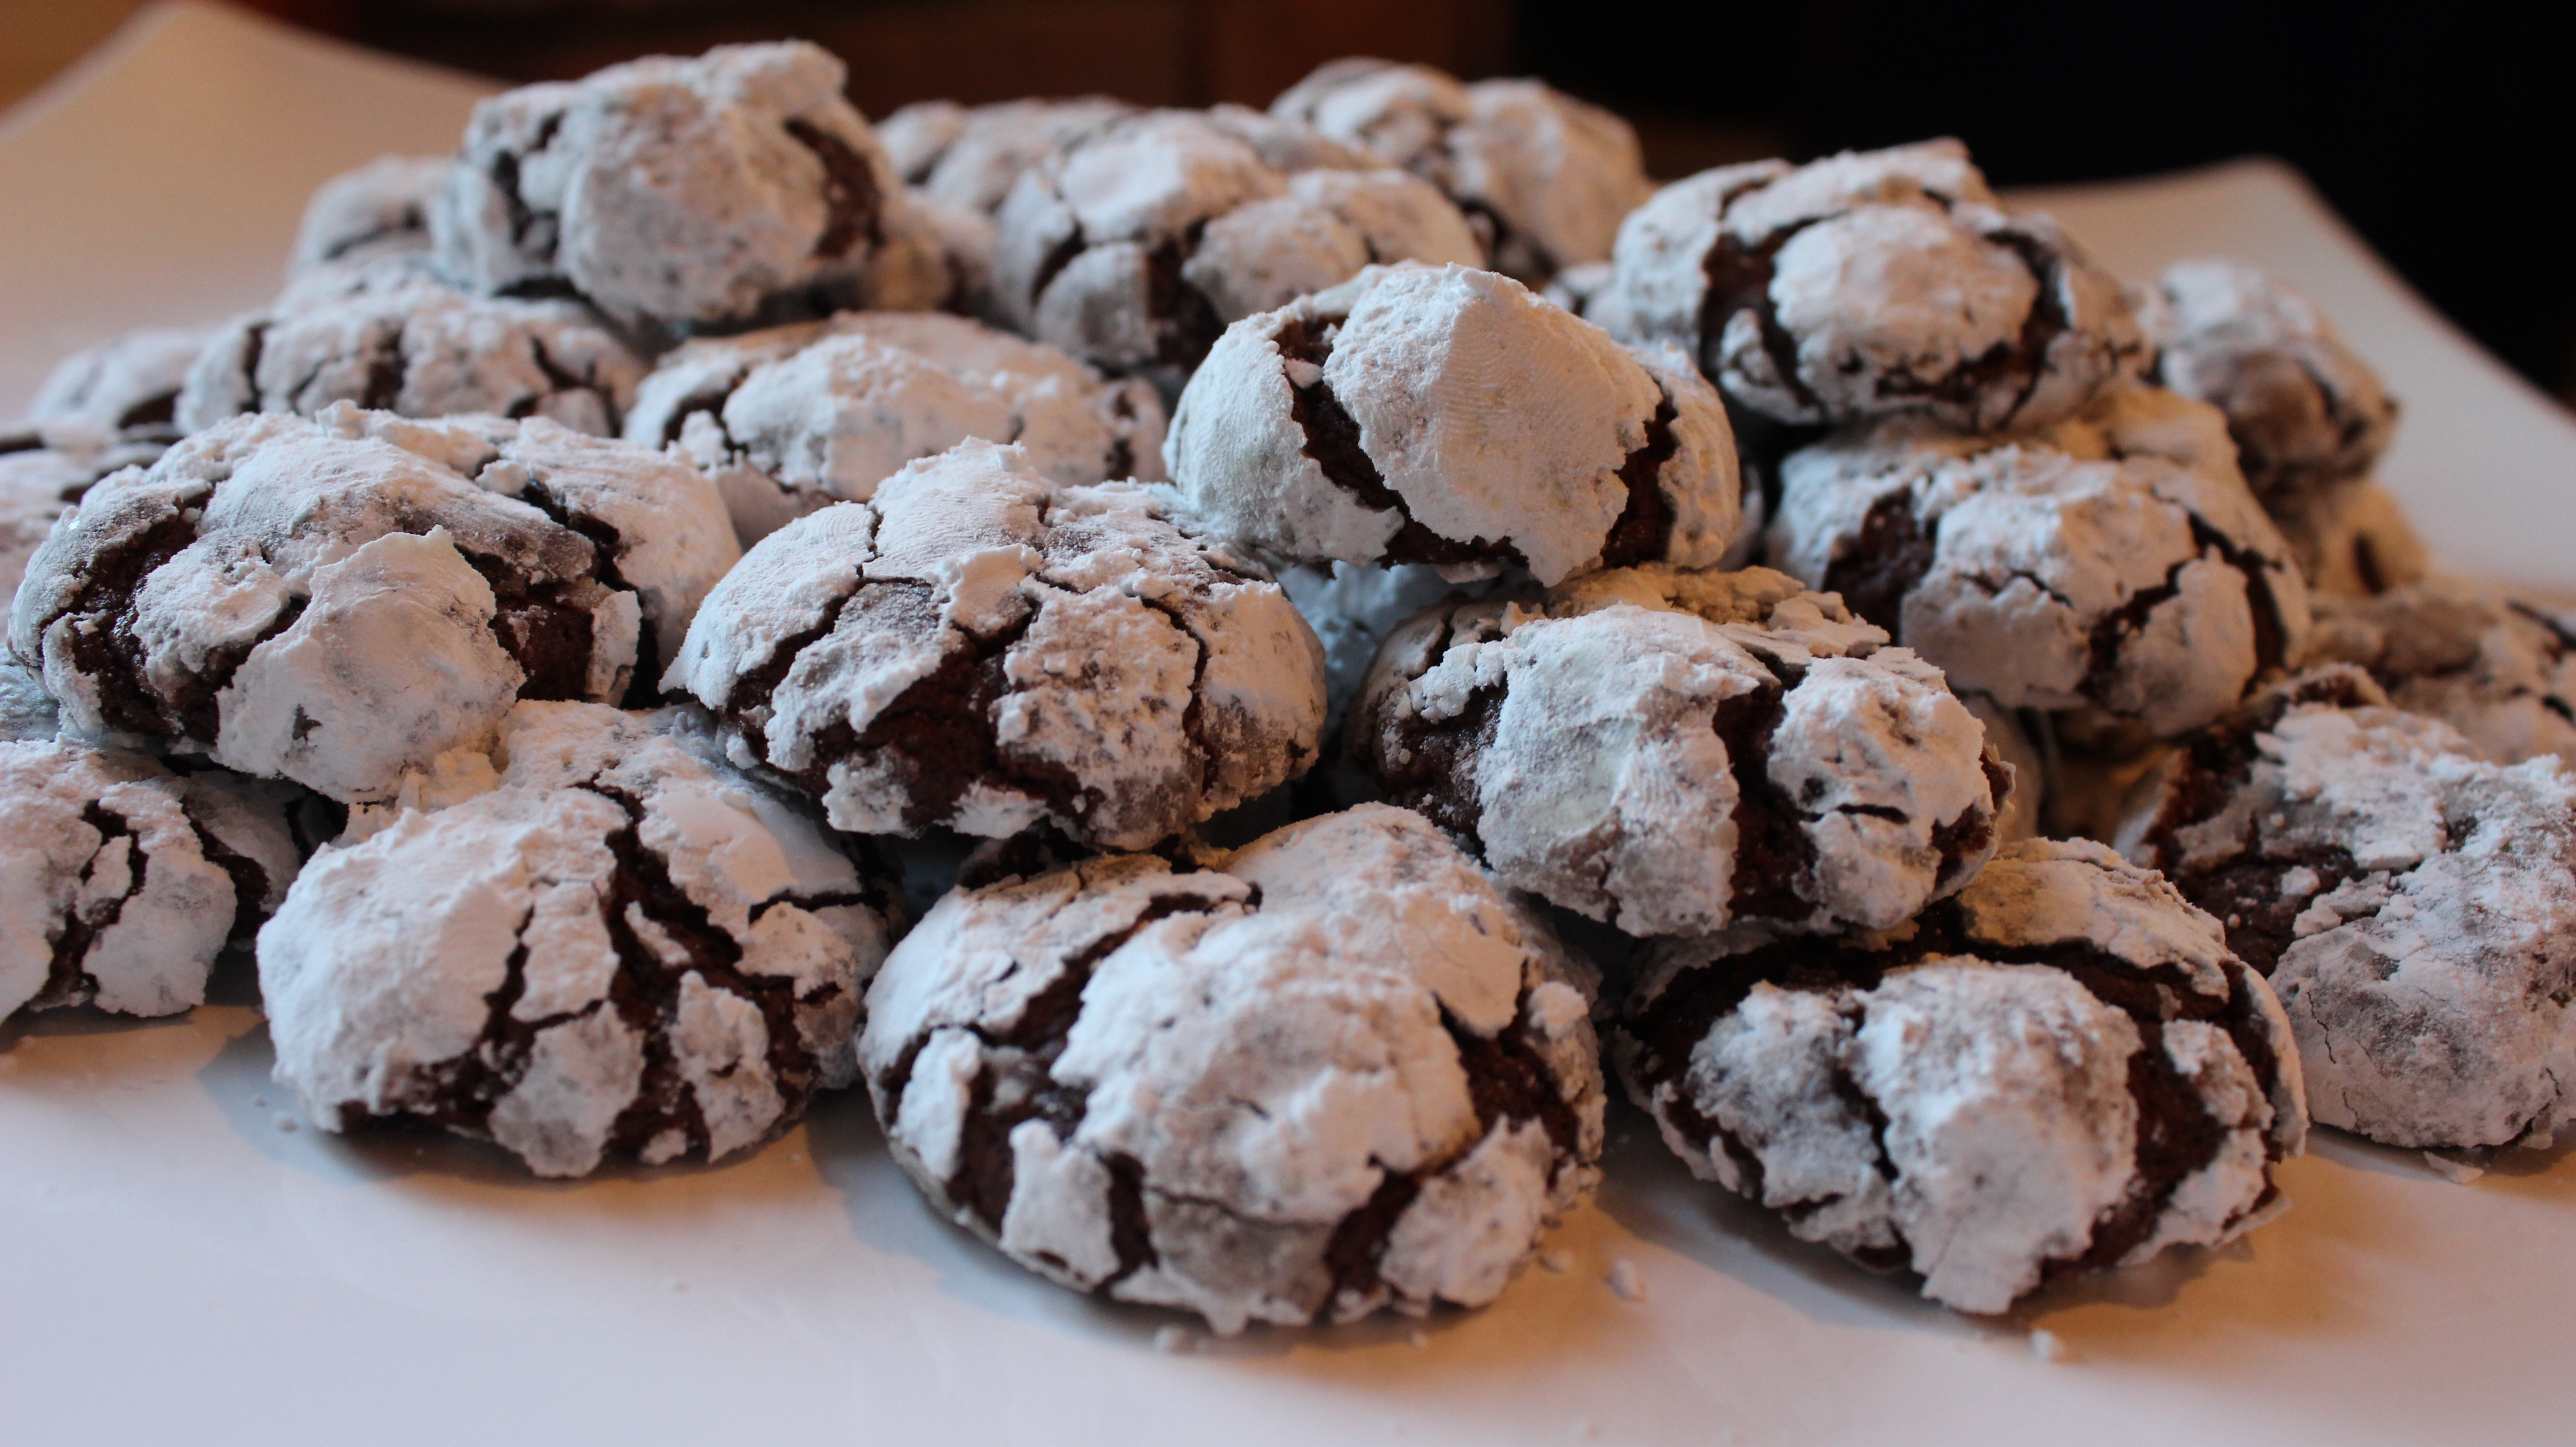
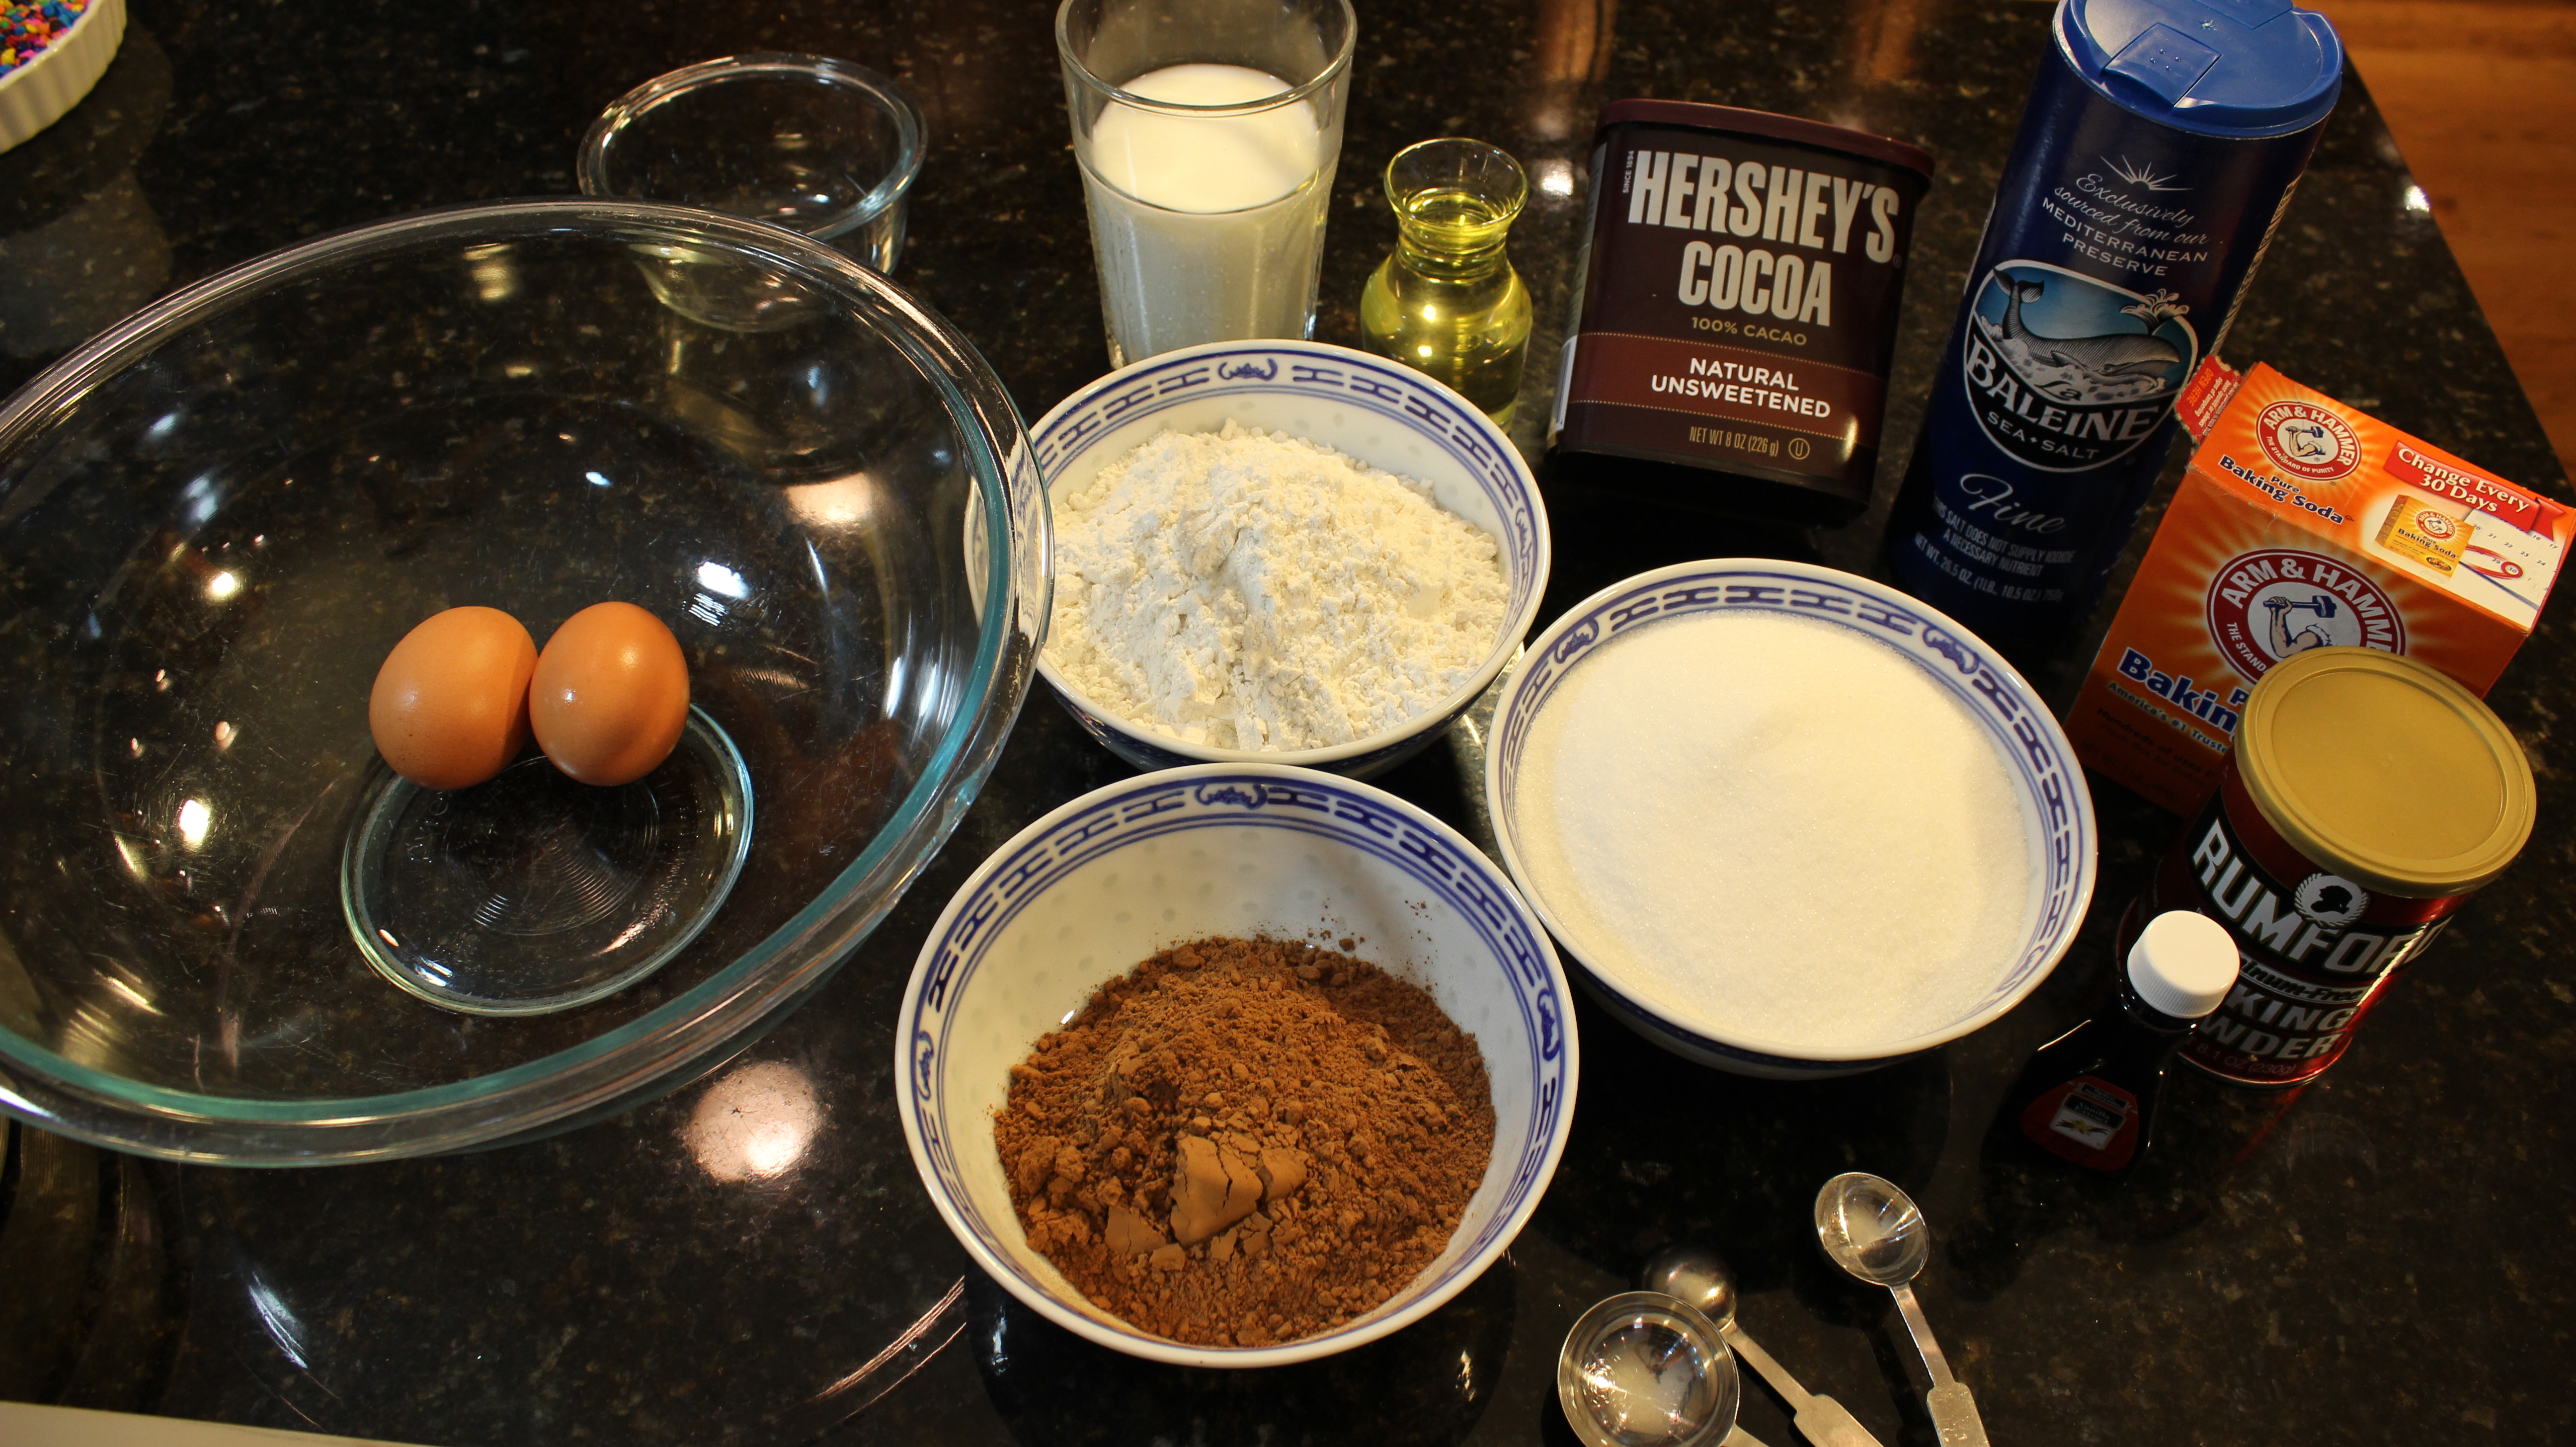
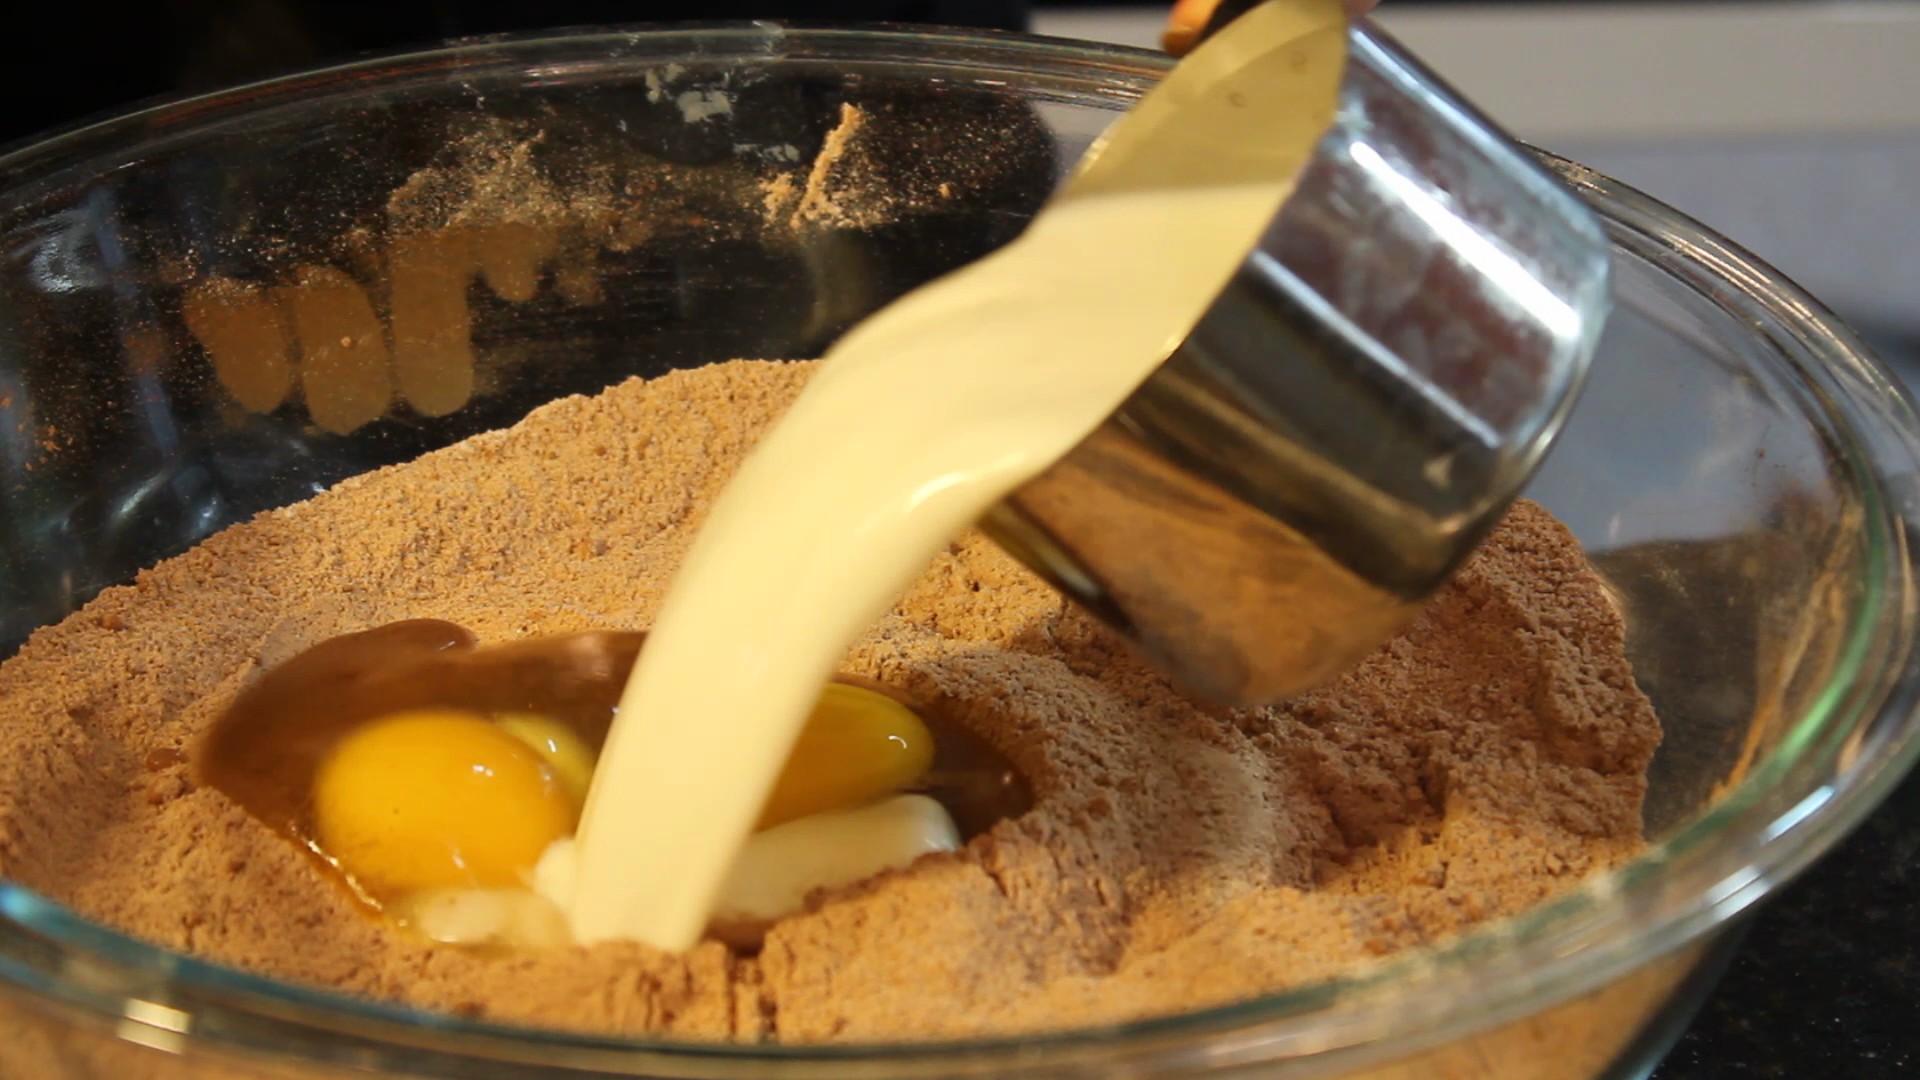
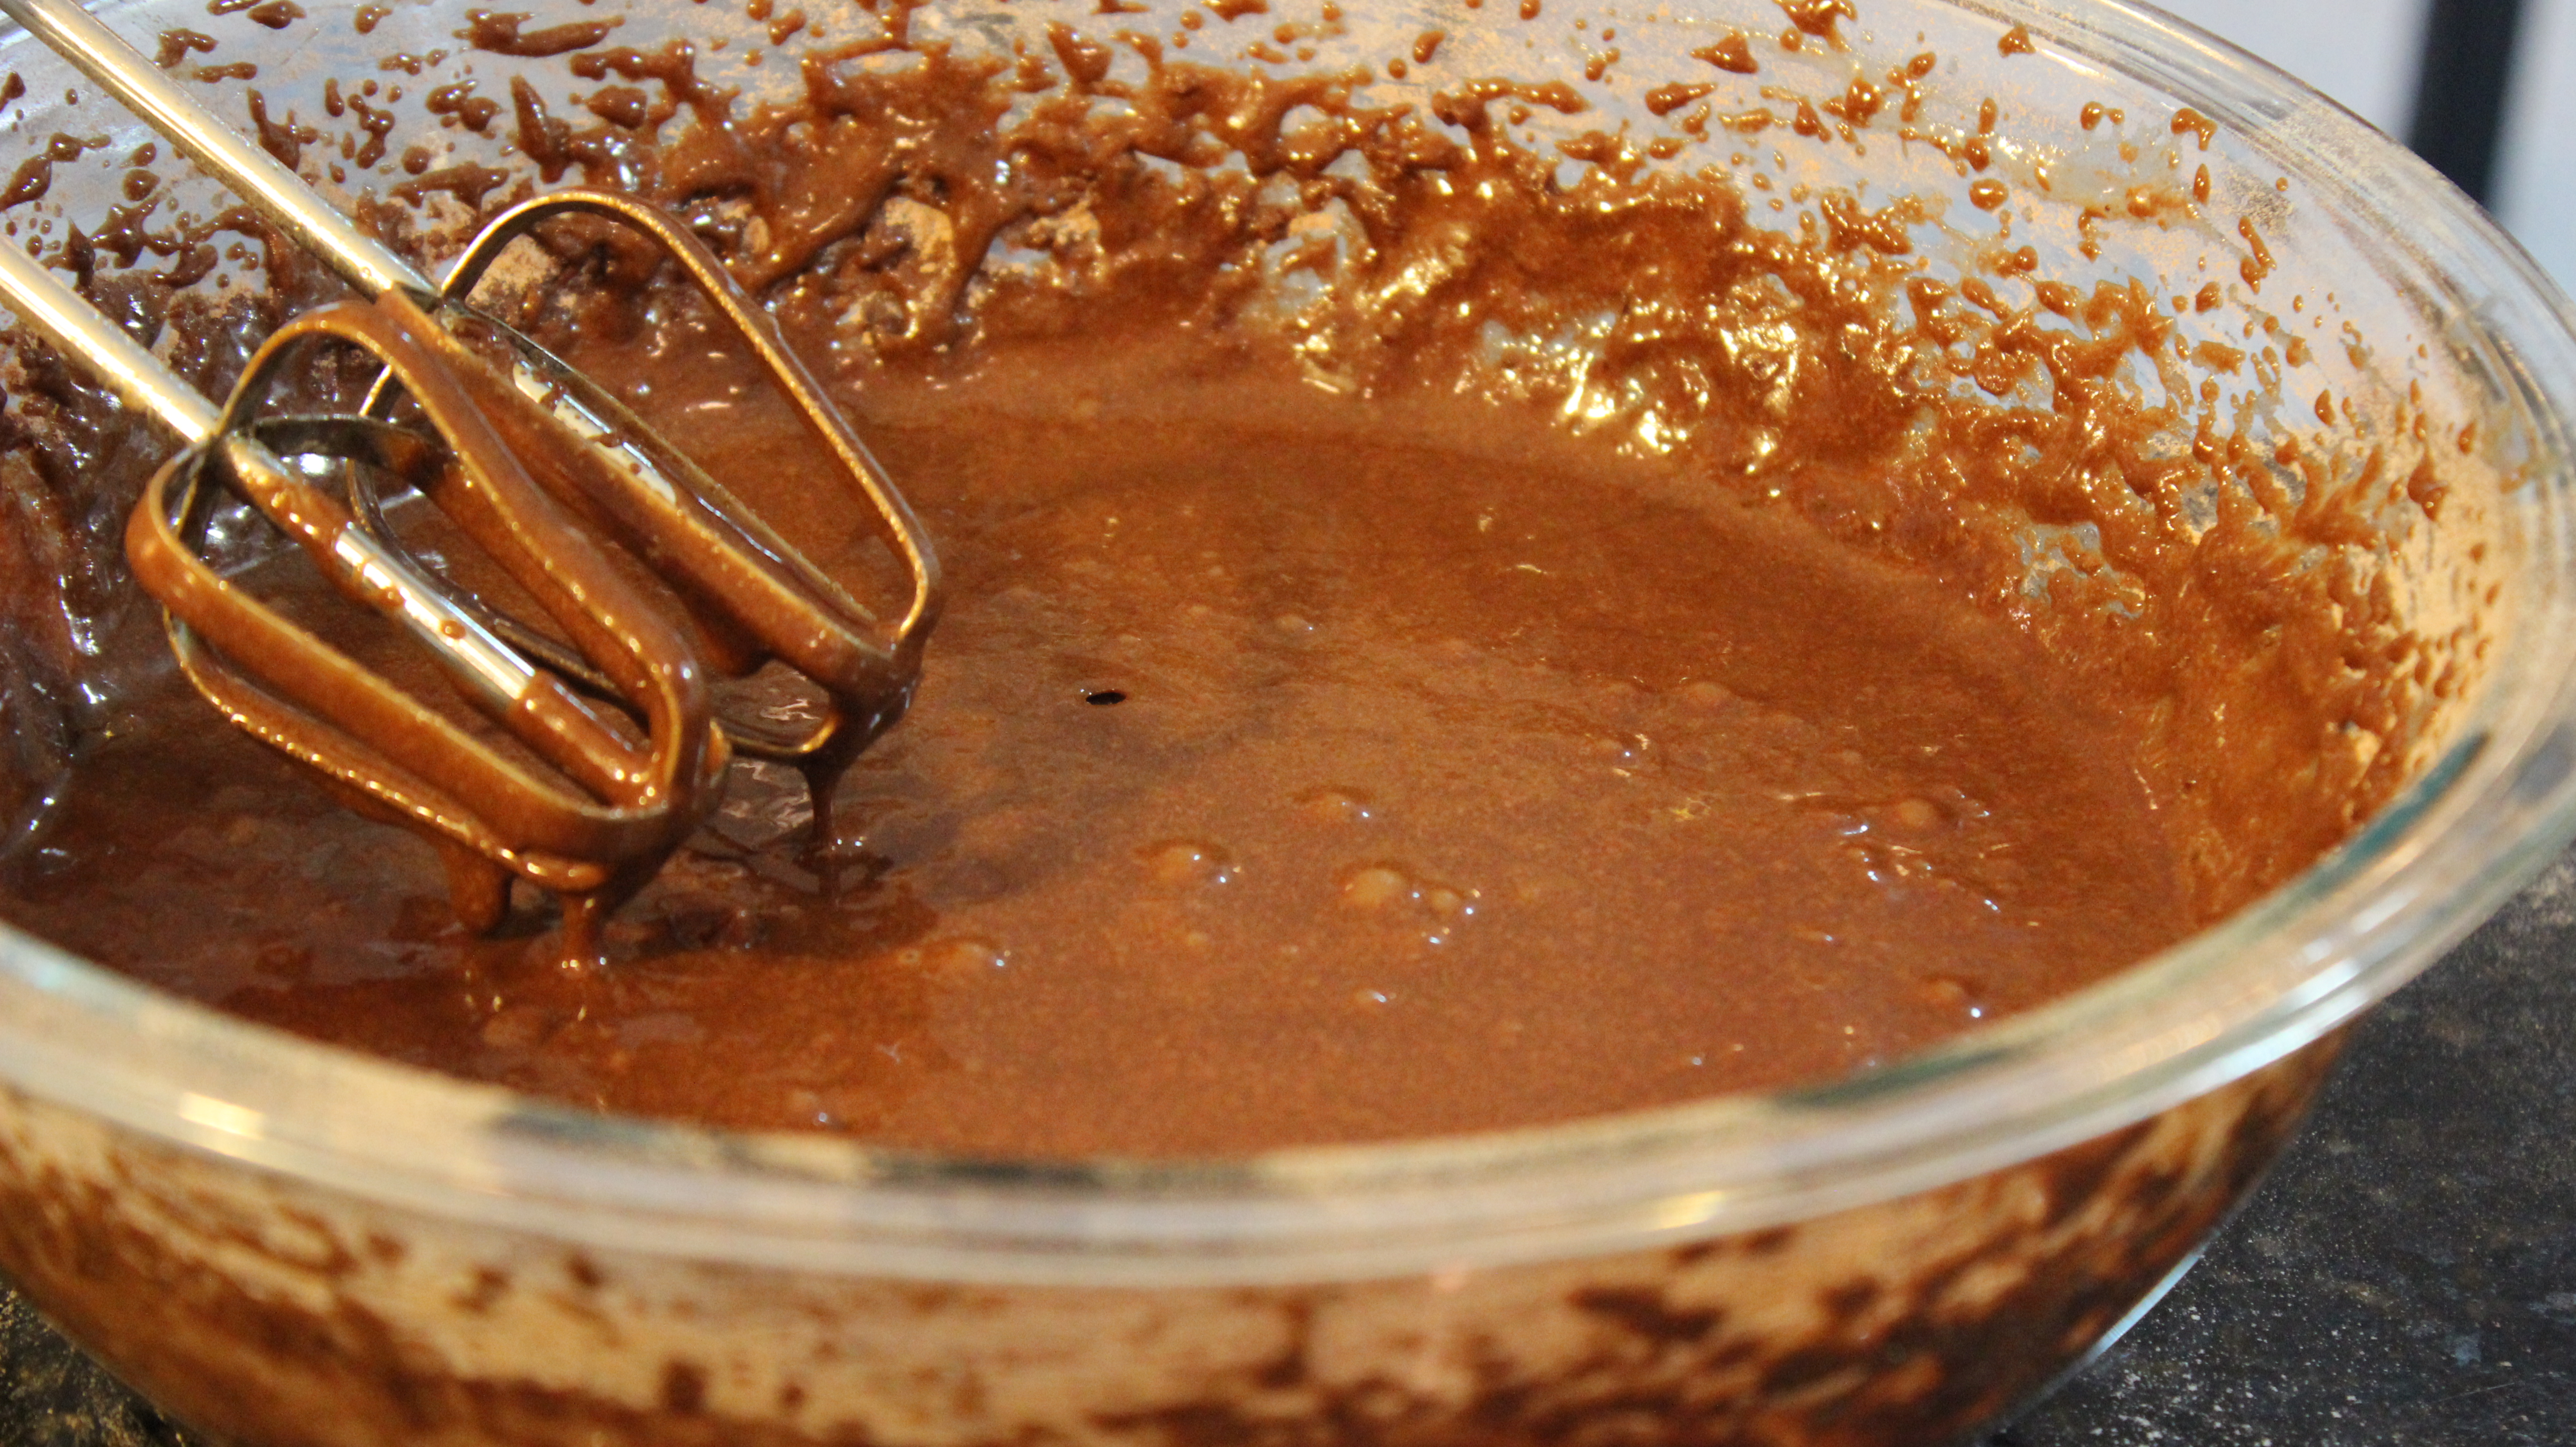
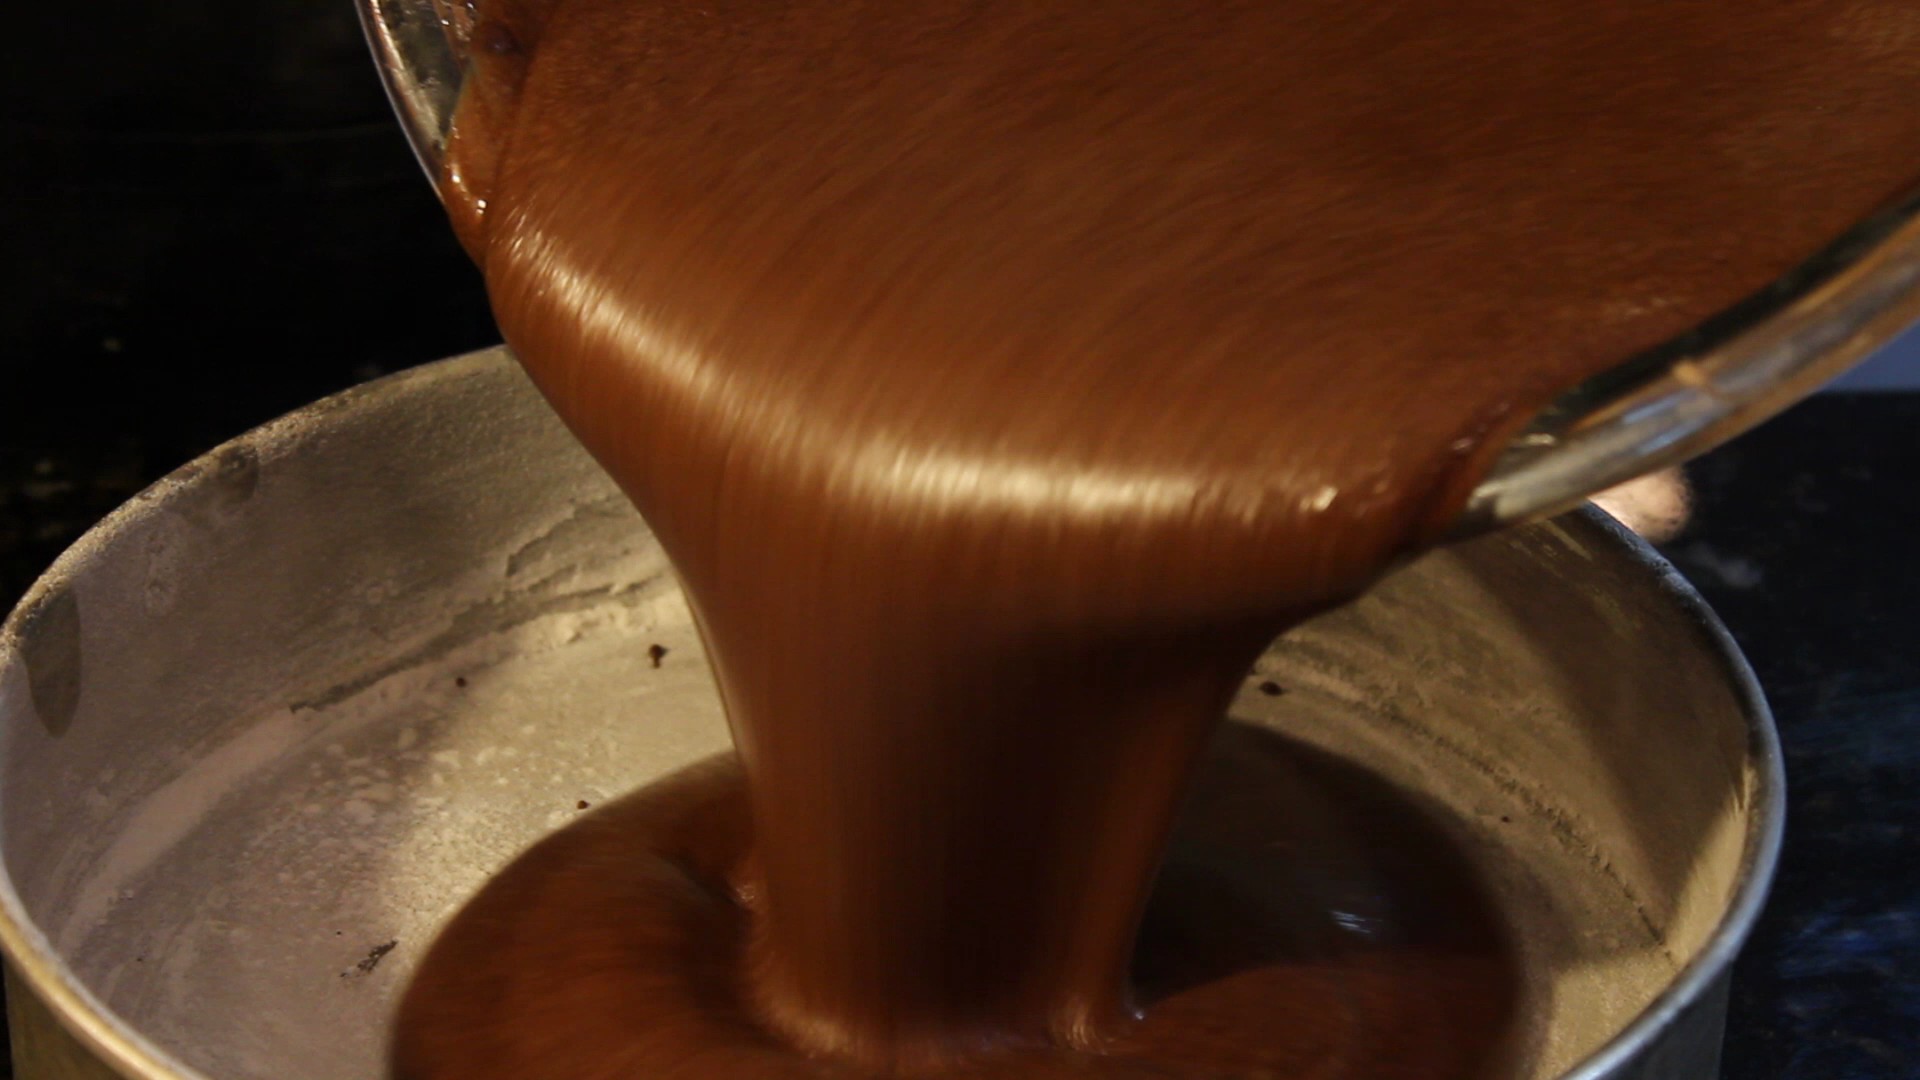
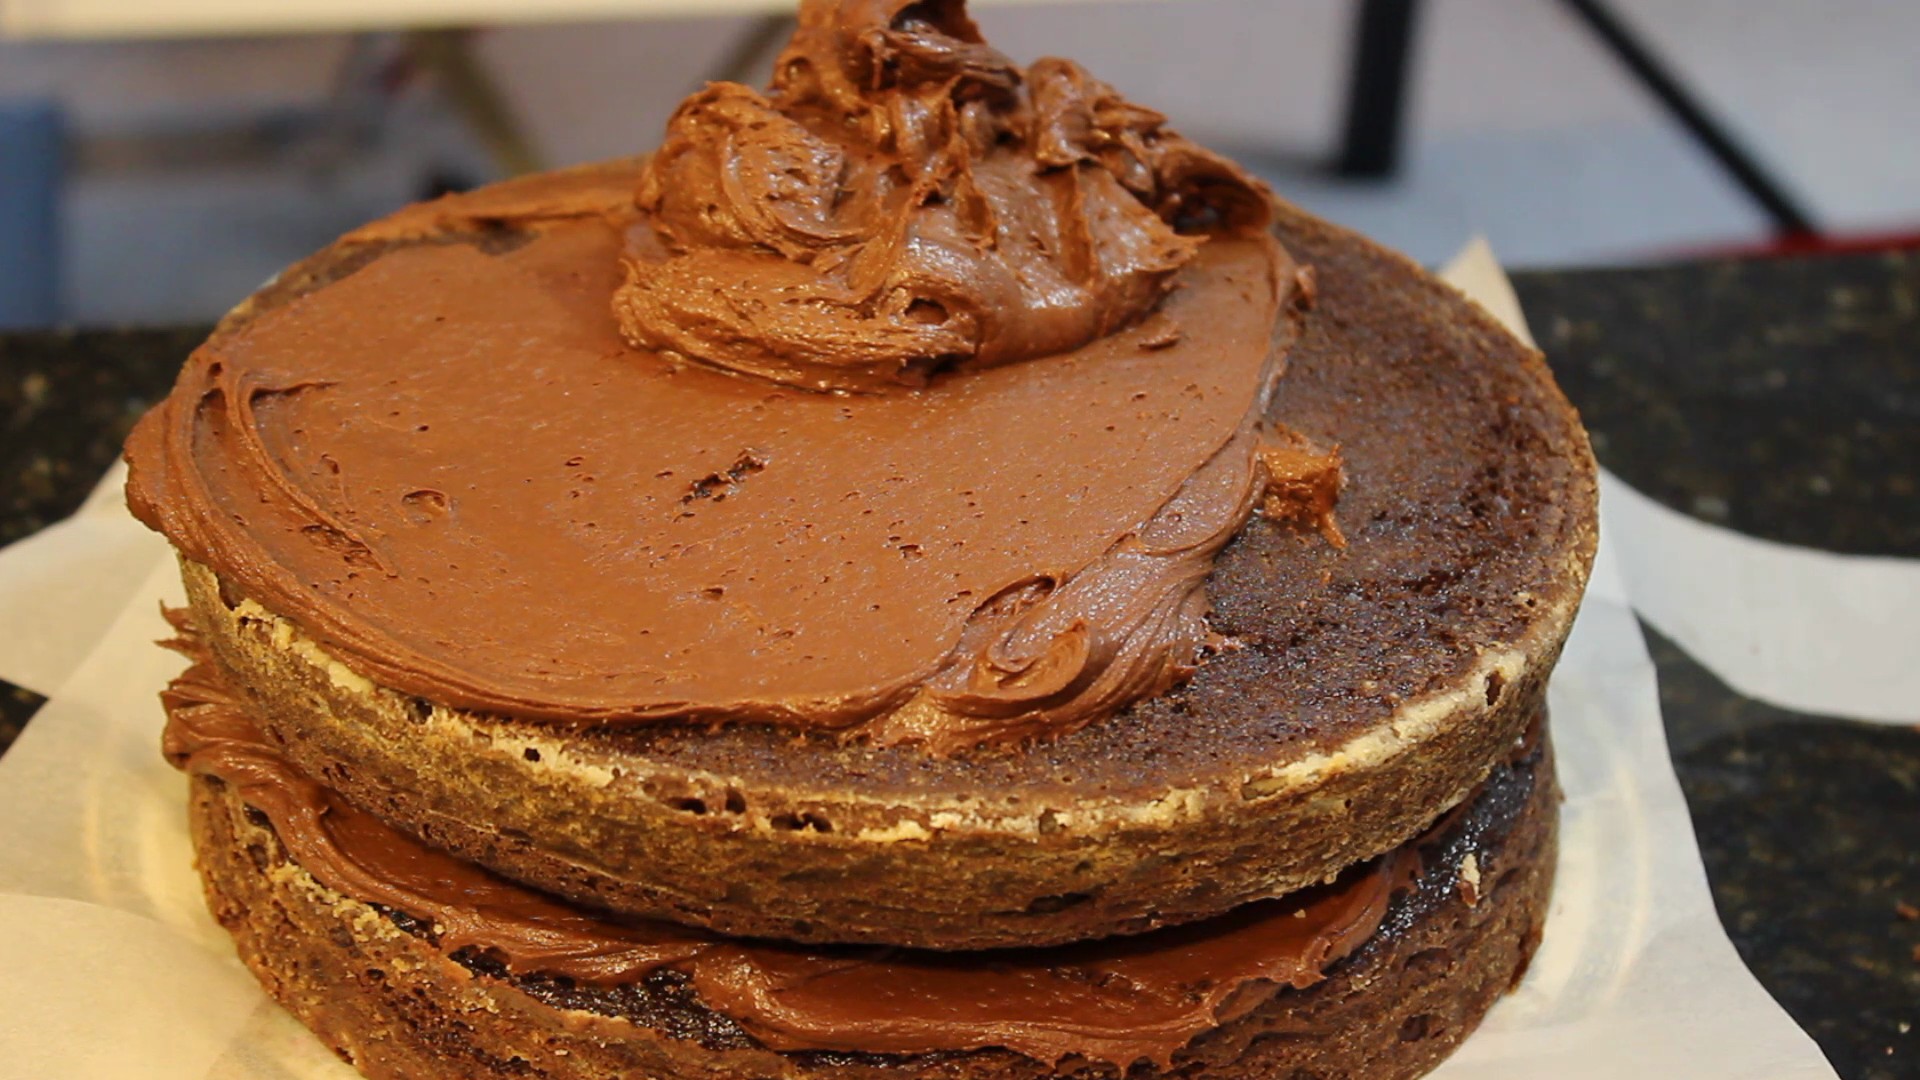
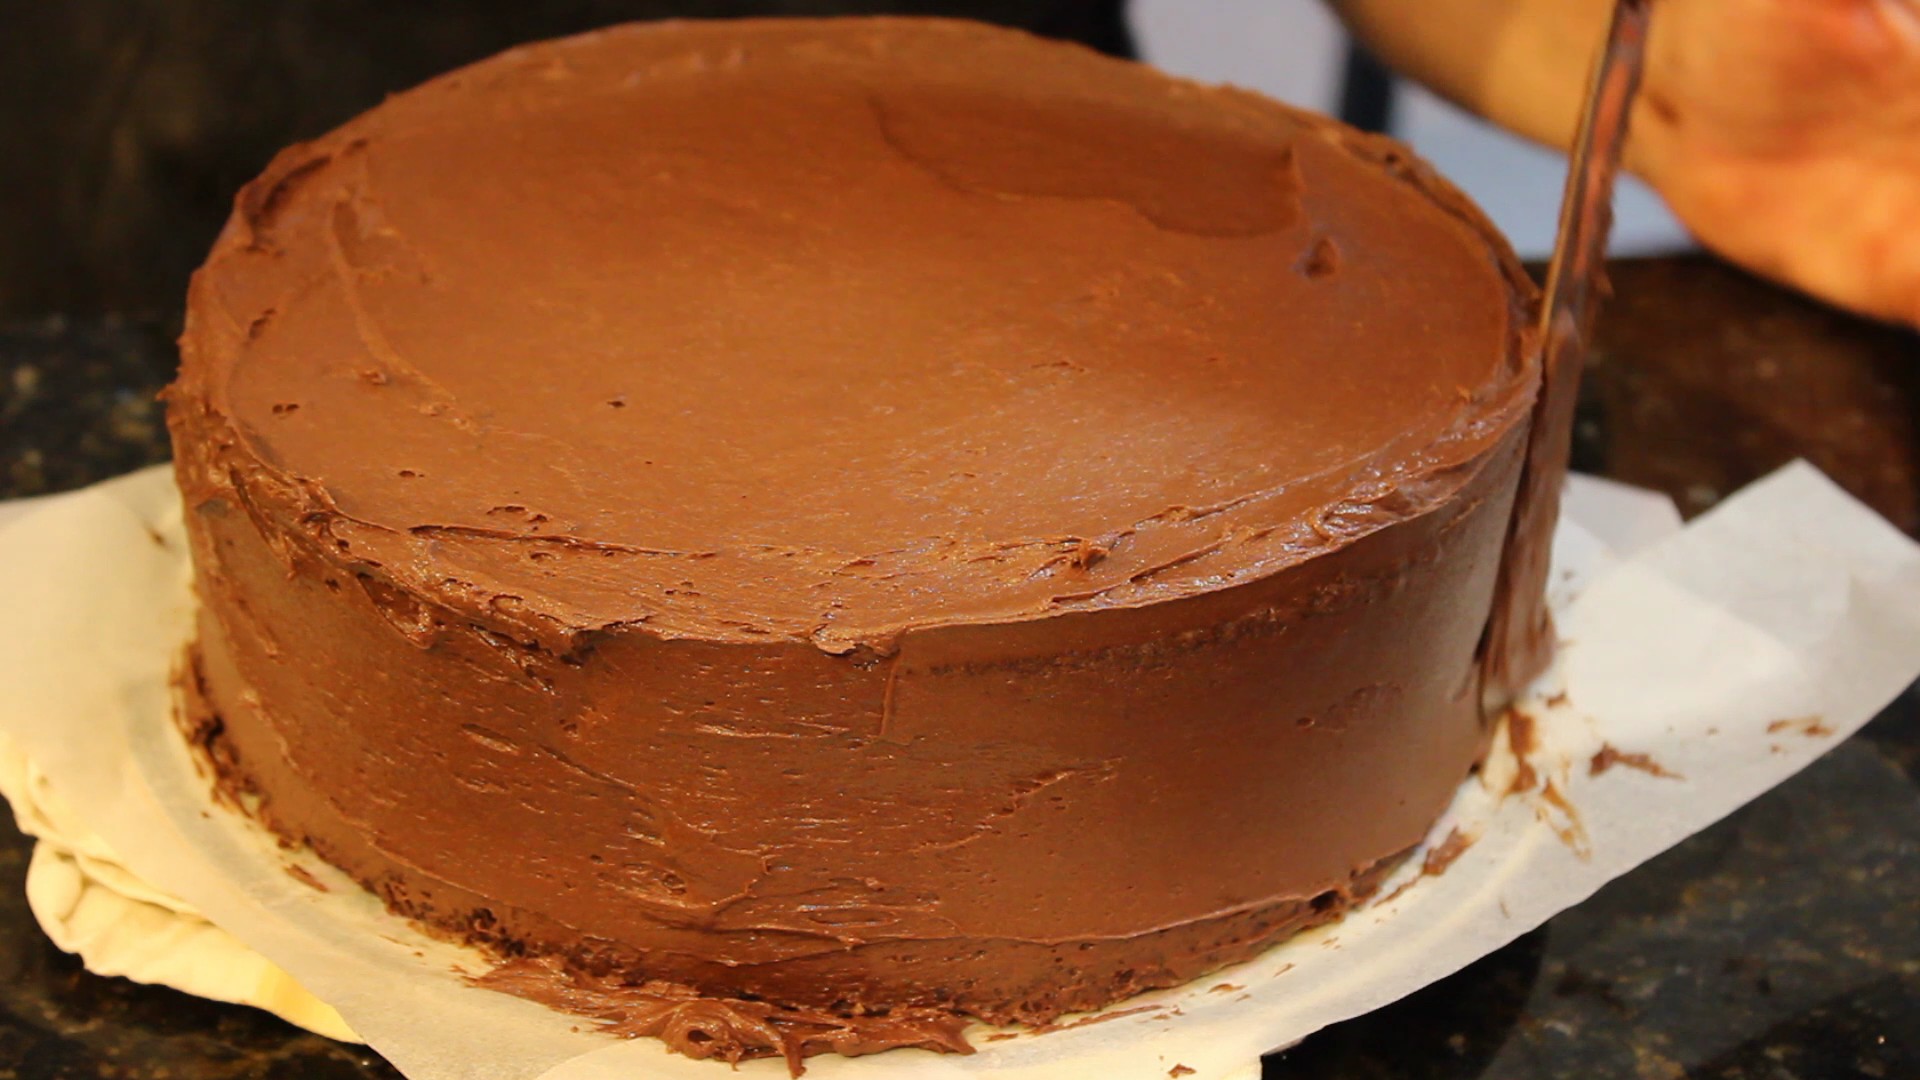
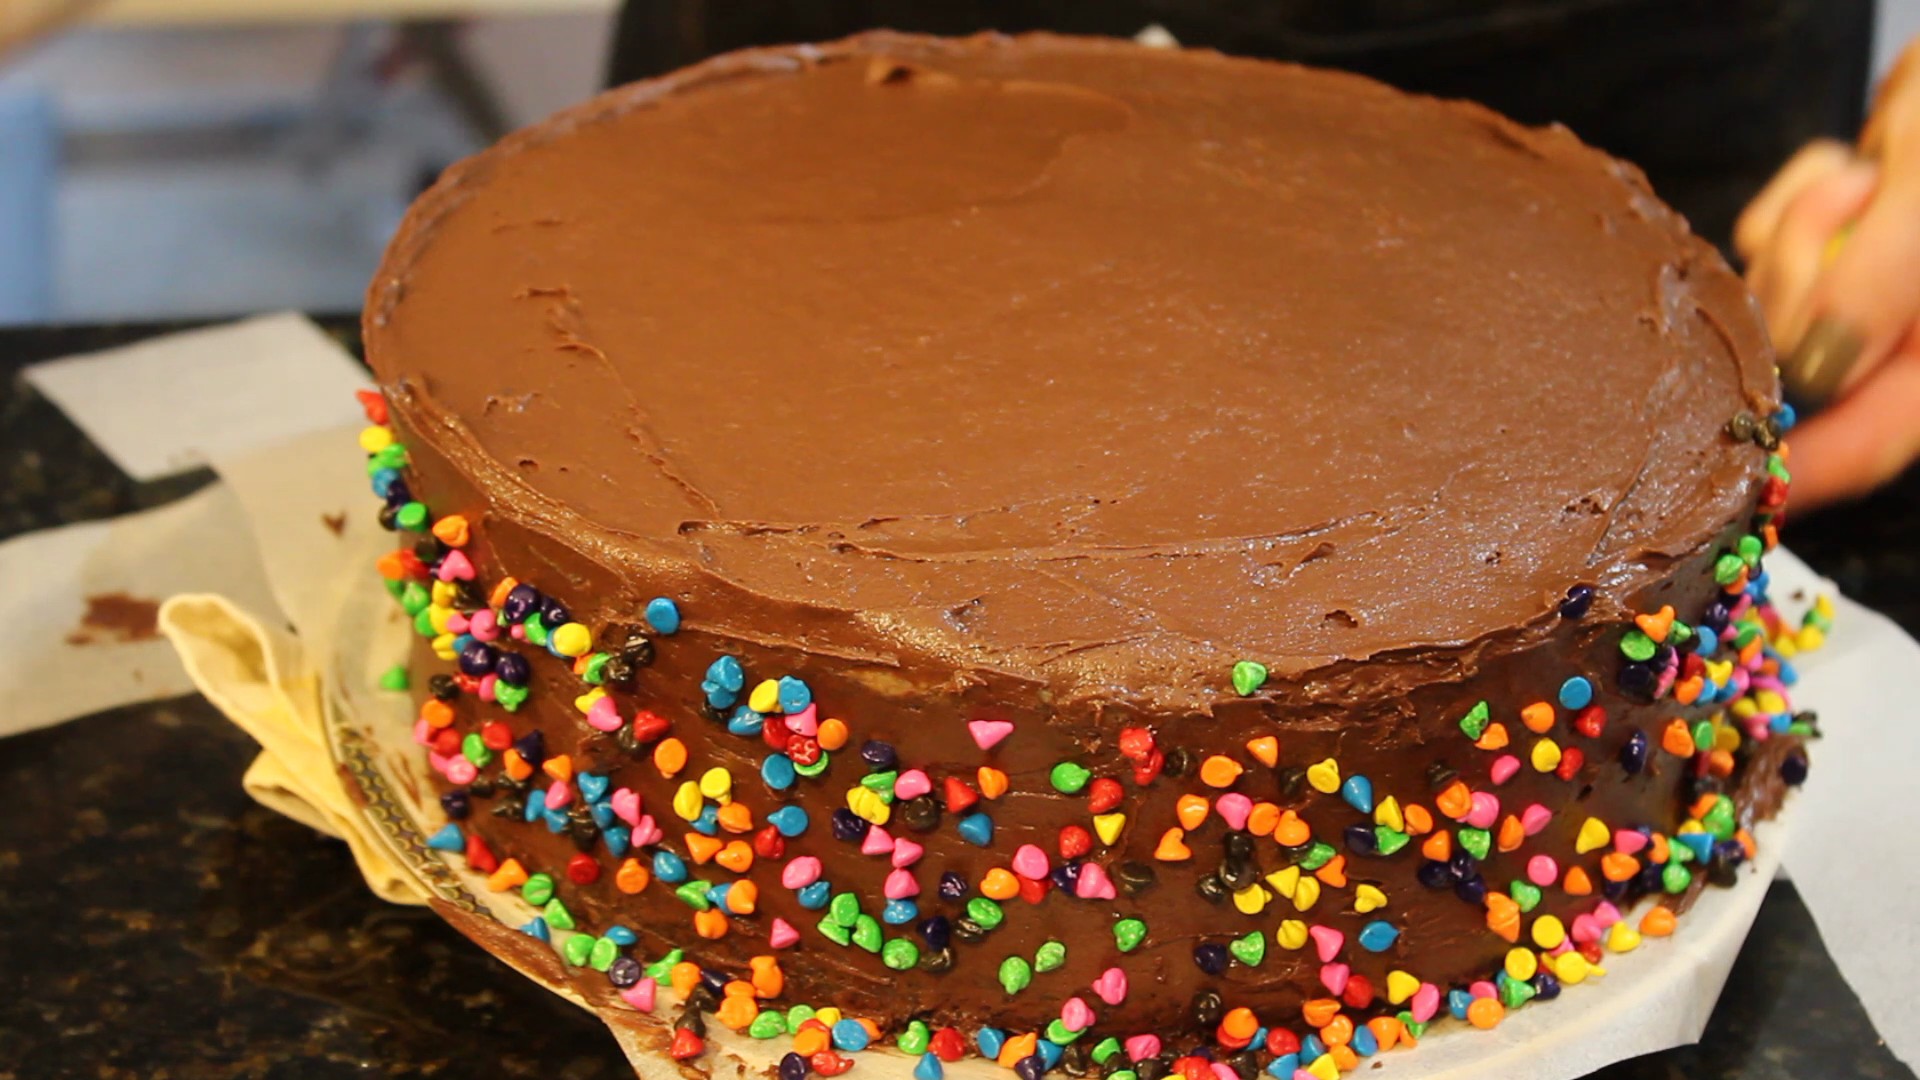
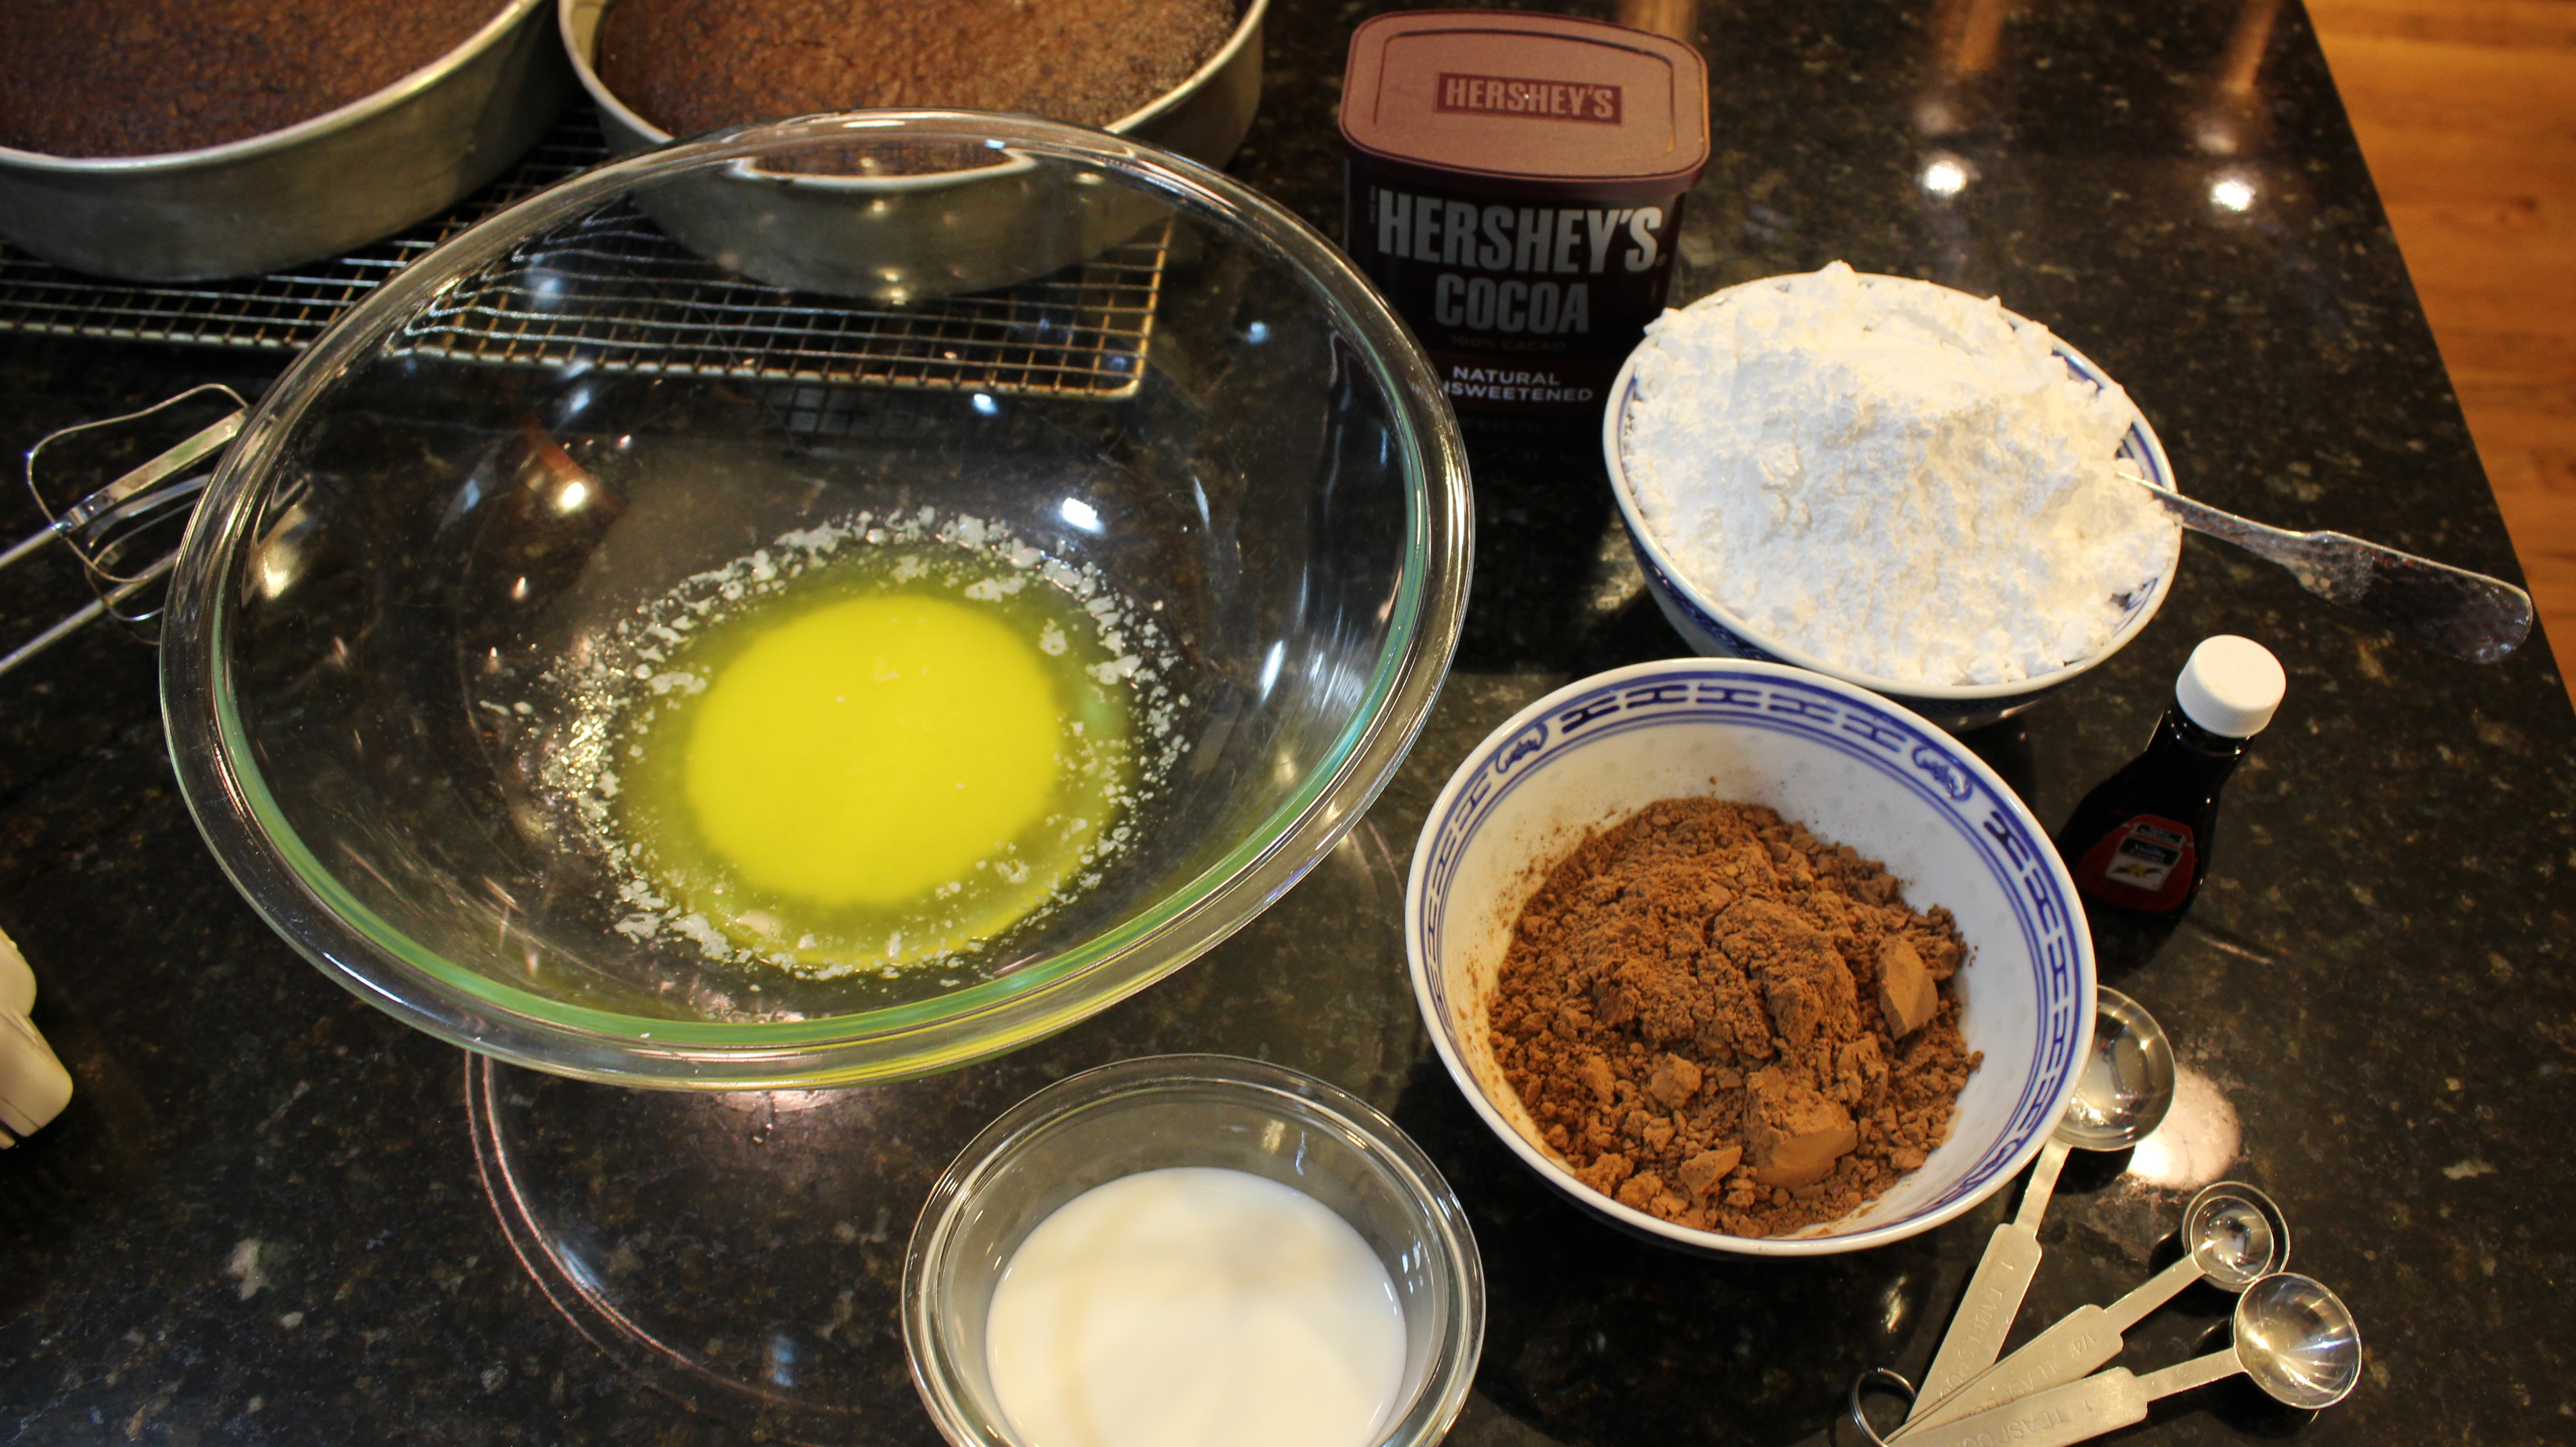
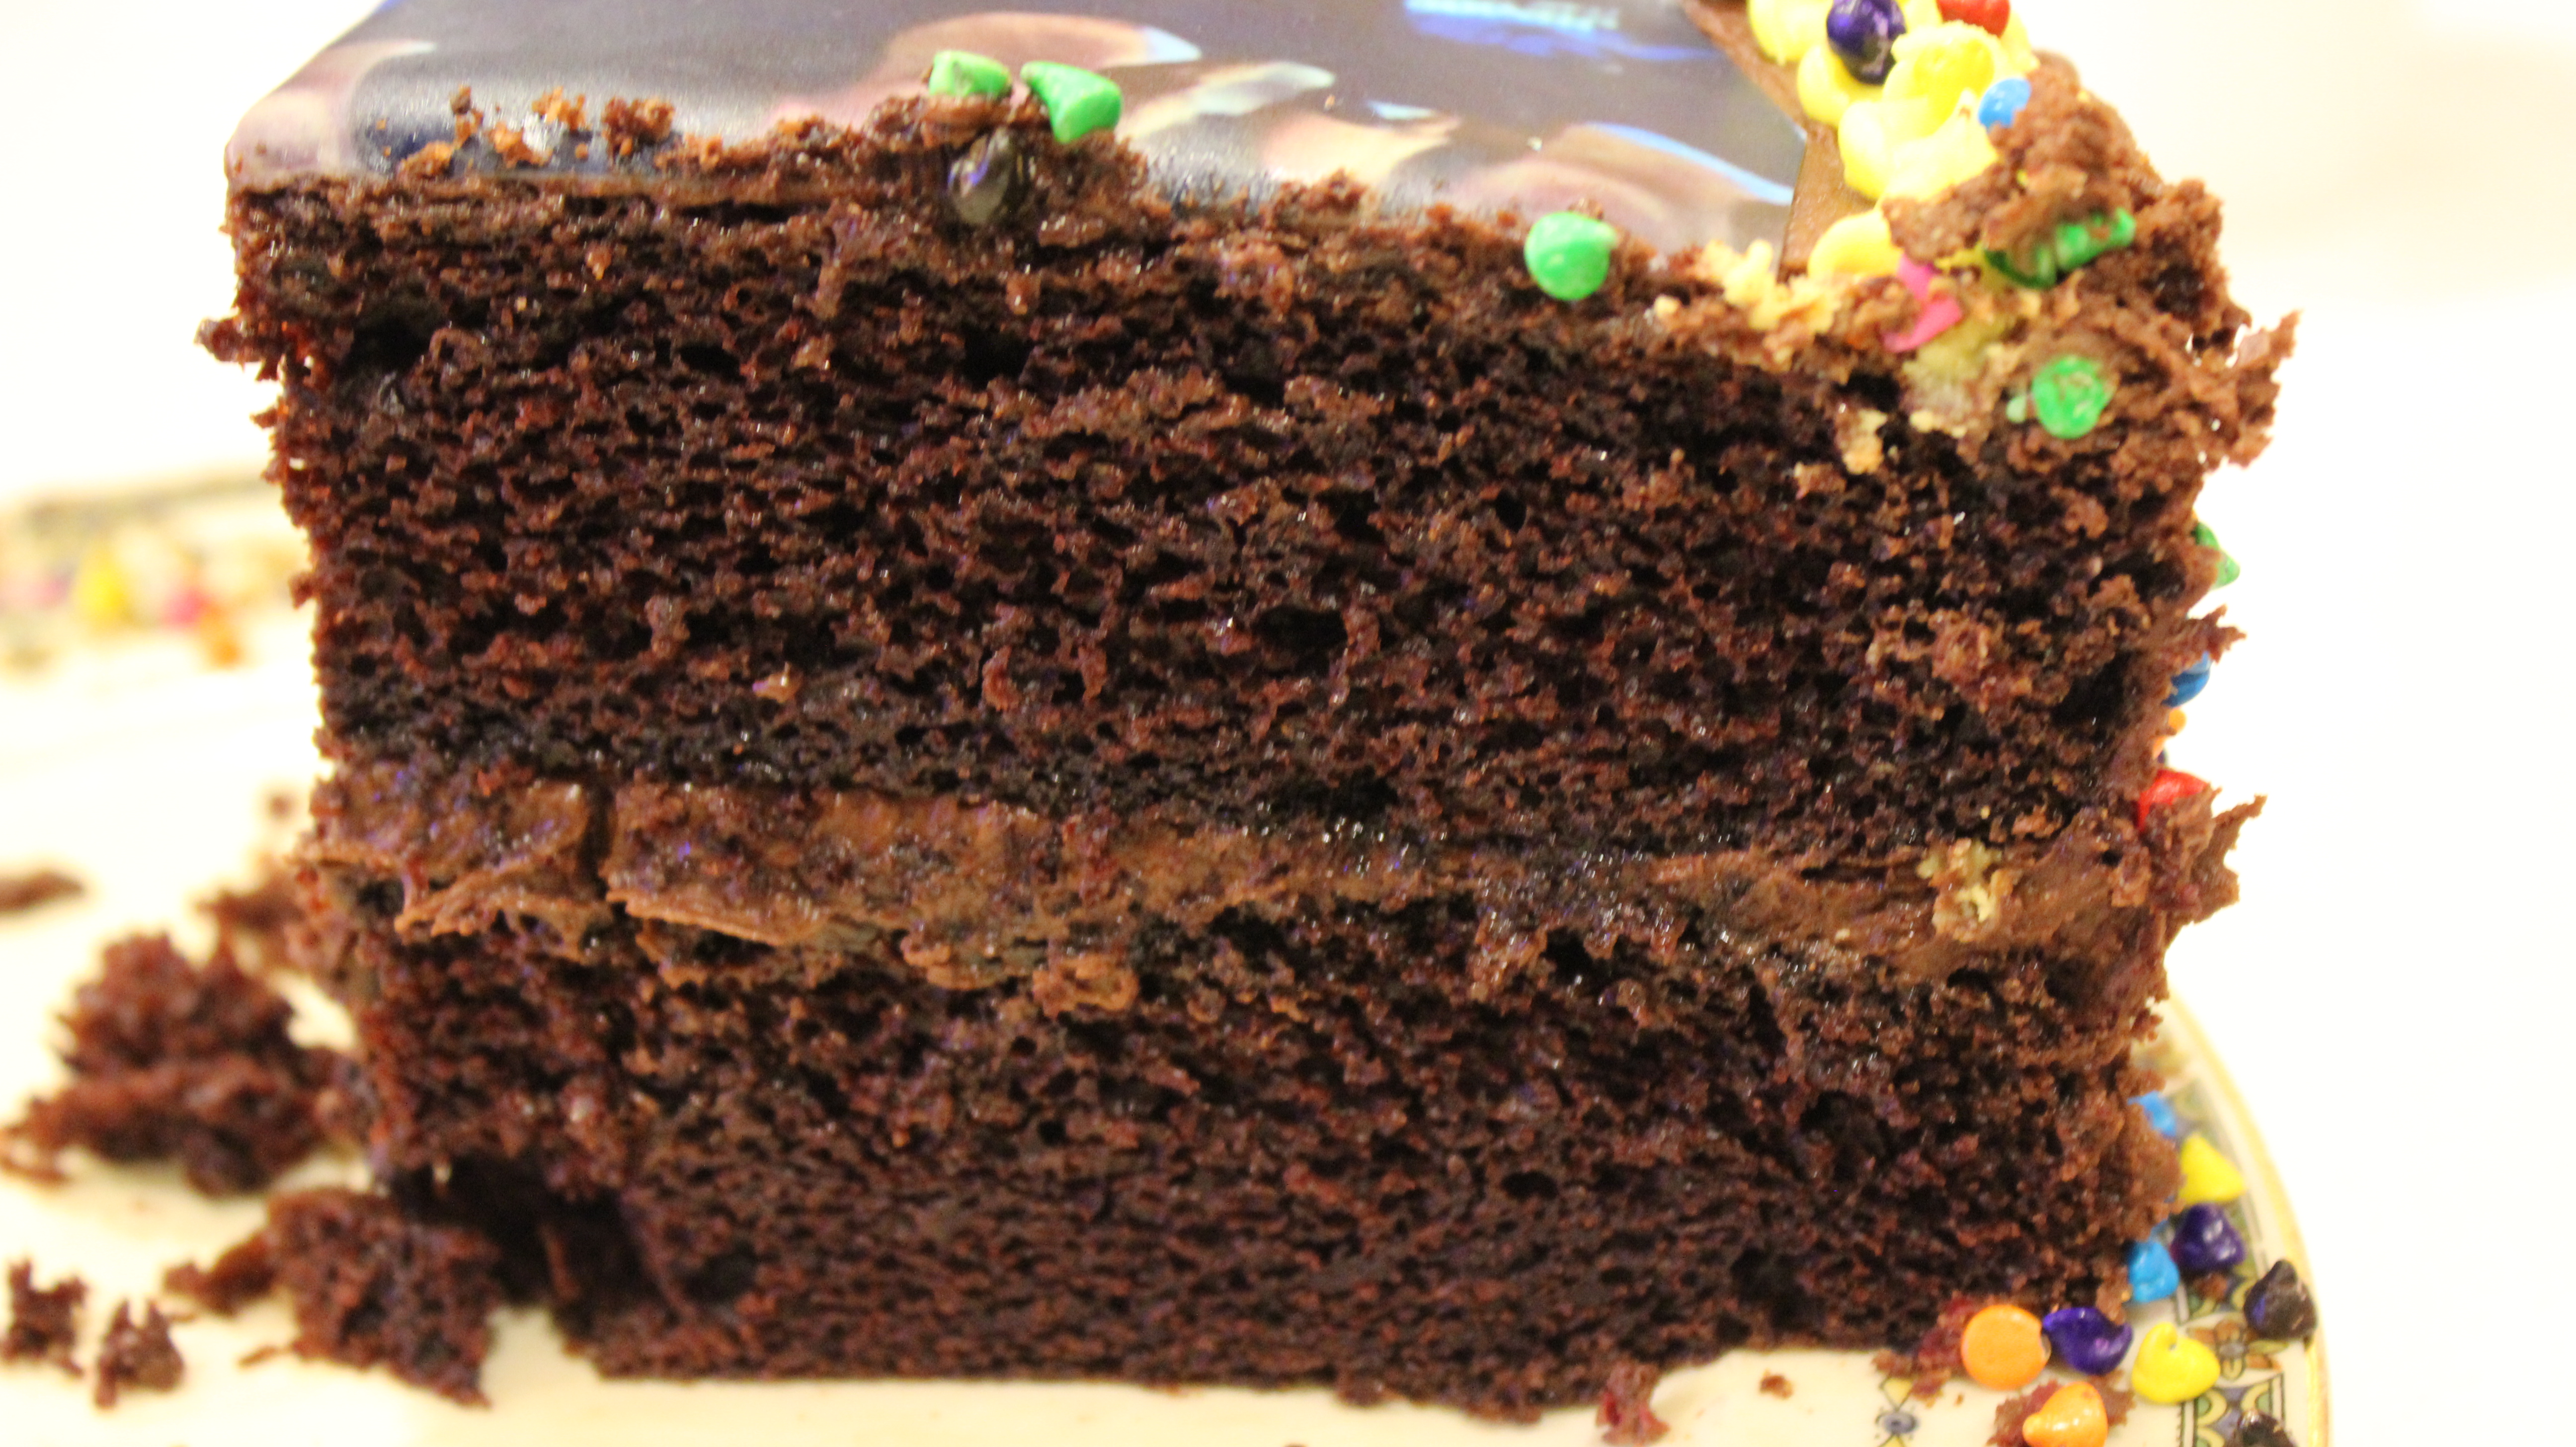
 The name “perfectly chocolate chocolate cake” pretty much sums it up right there although you won’t know how easy it is to make this homemade gourmet chocolaty cake until you give it a go! This incredible cake and frosting made from Hershey’s Cocoa Powder I have been making for almost 20 years now! Once you see how easy it is to make these moist and chocolaty homemade cakes you’ll never go back to the box again! Besides on my blog you can find these recipe’s right on the back of the Hershey’s Cocoa canister.

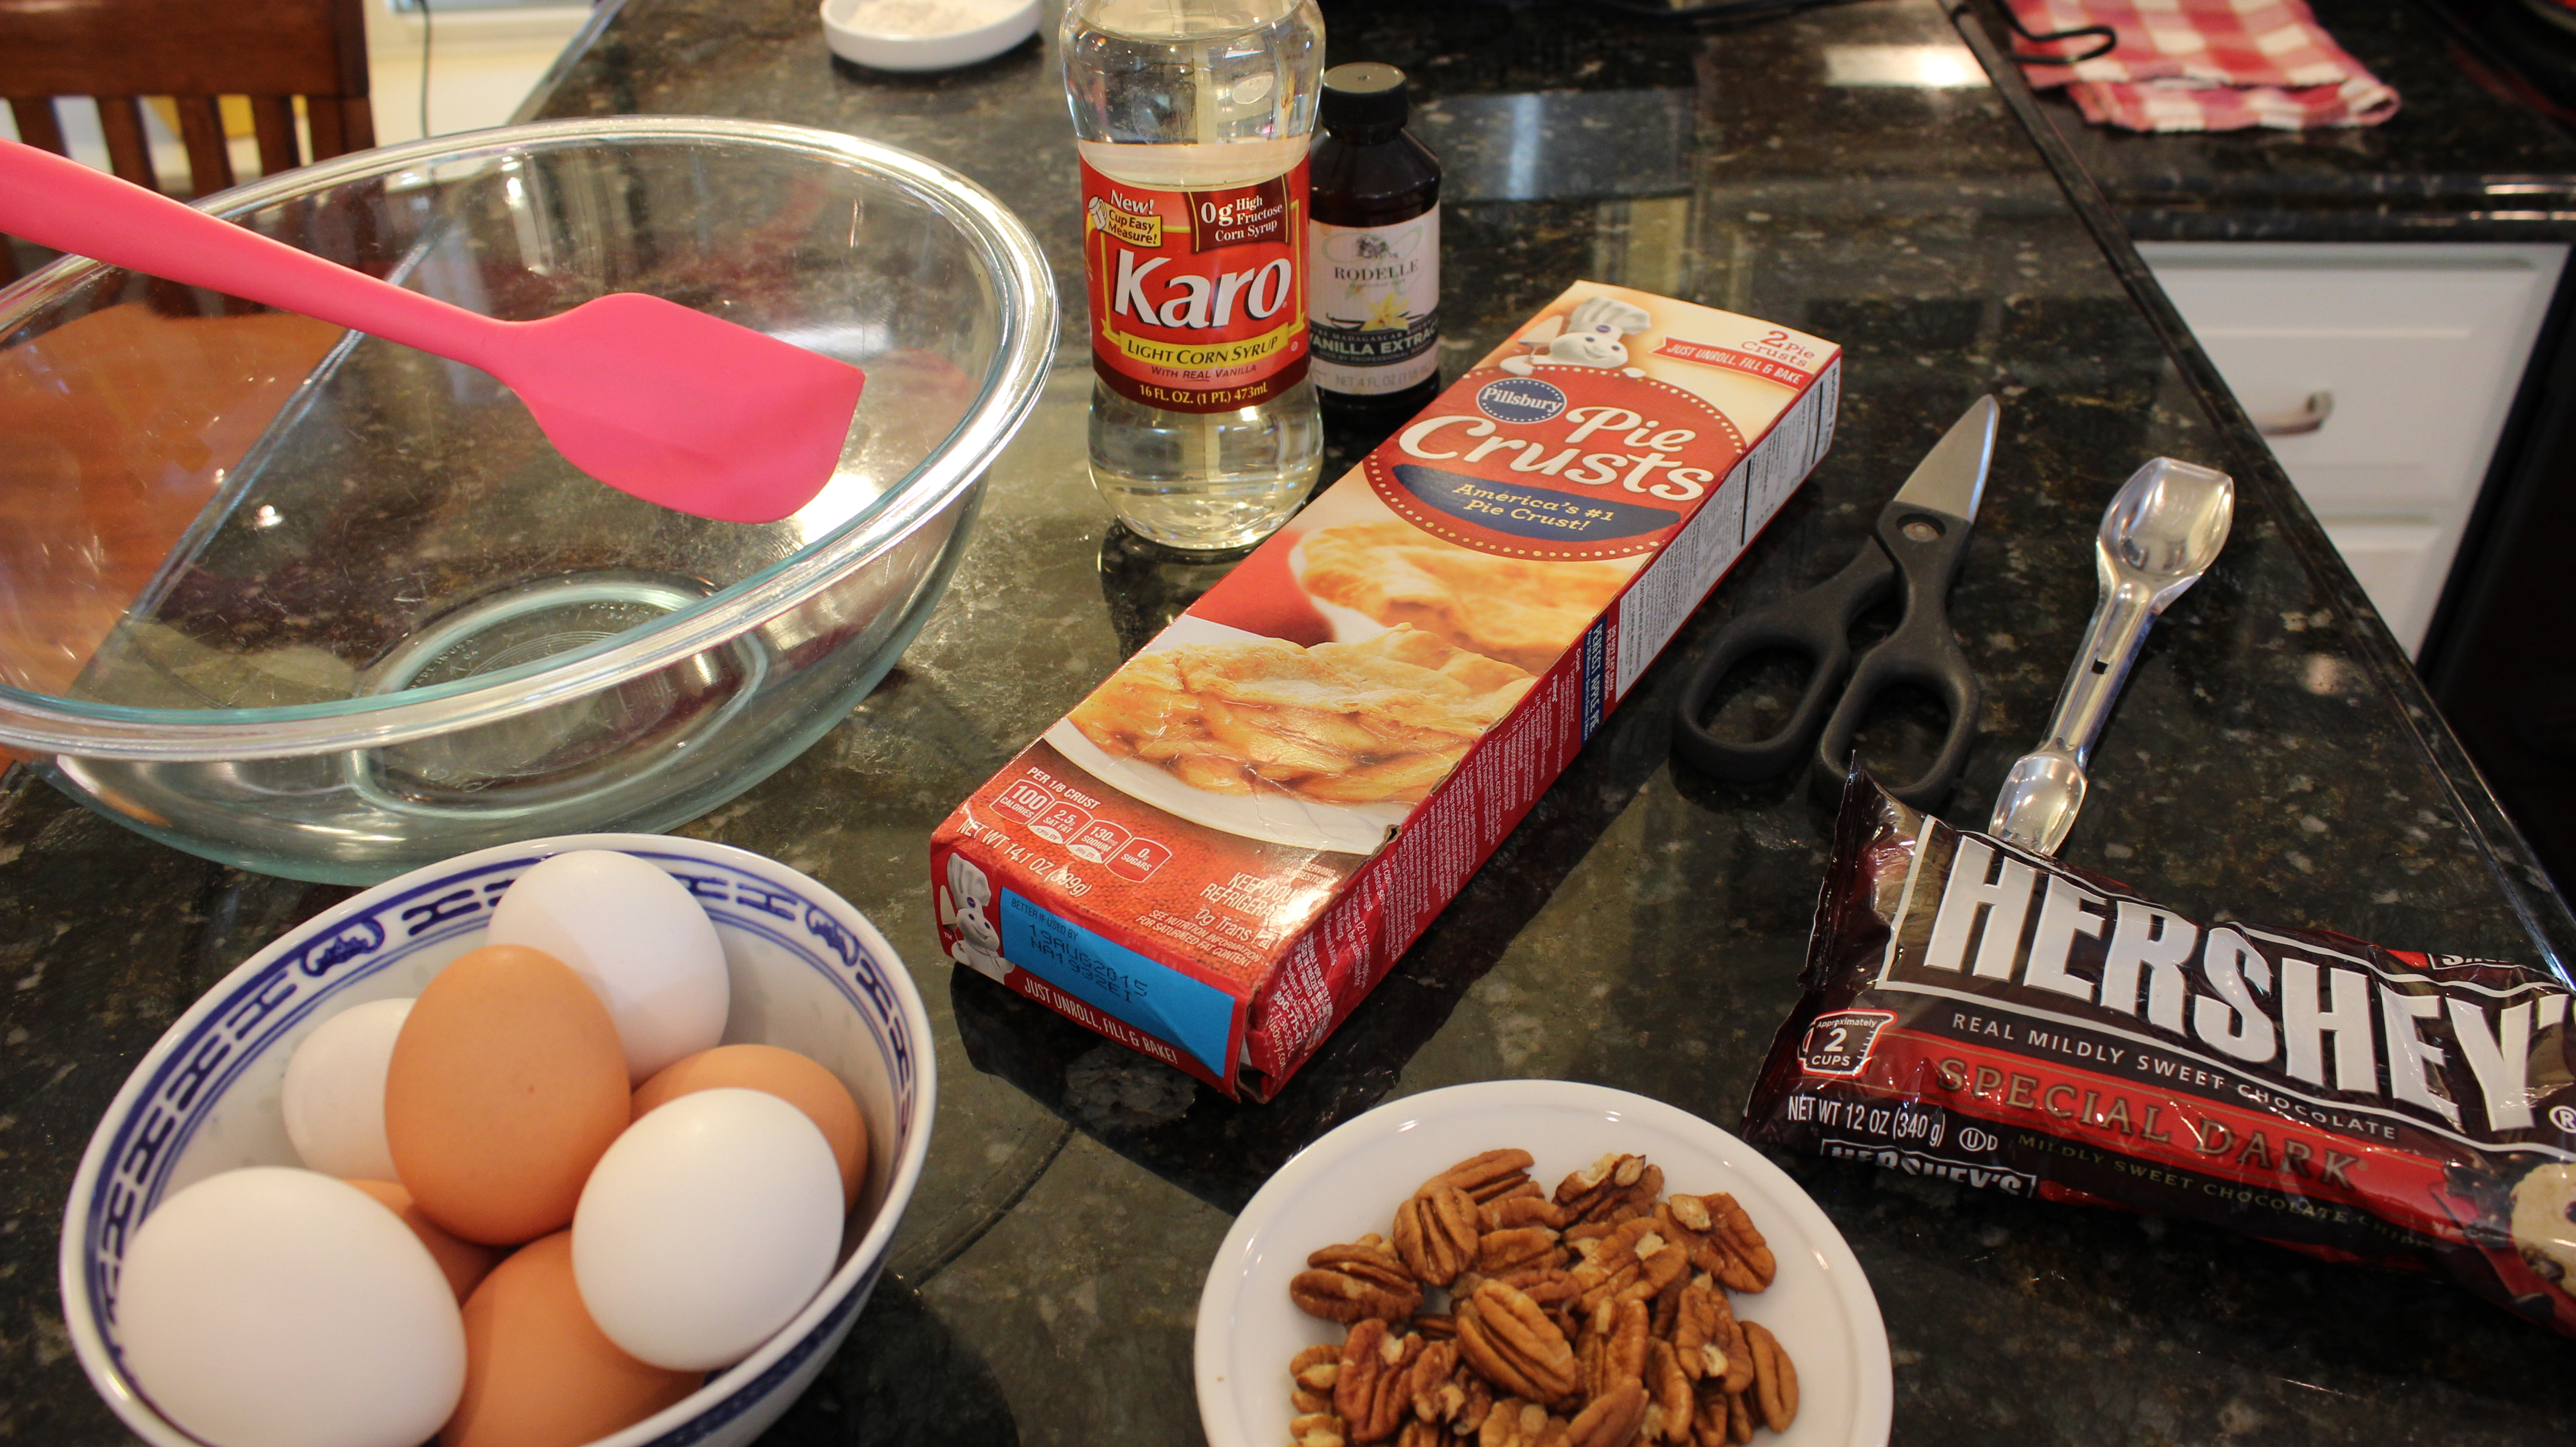
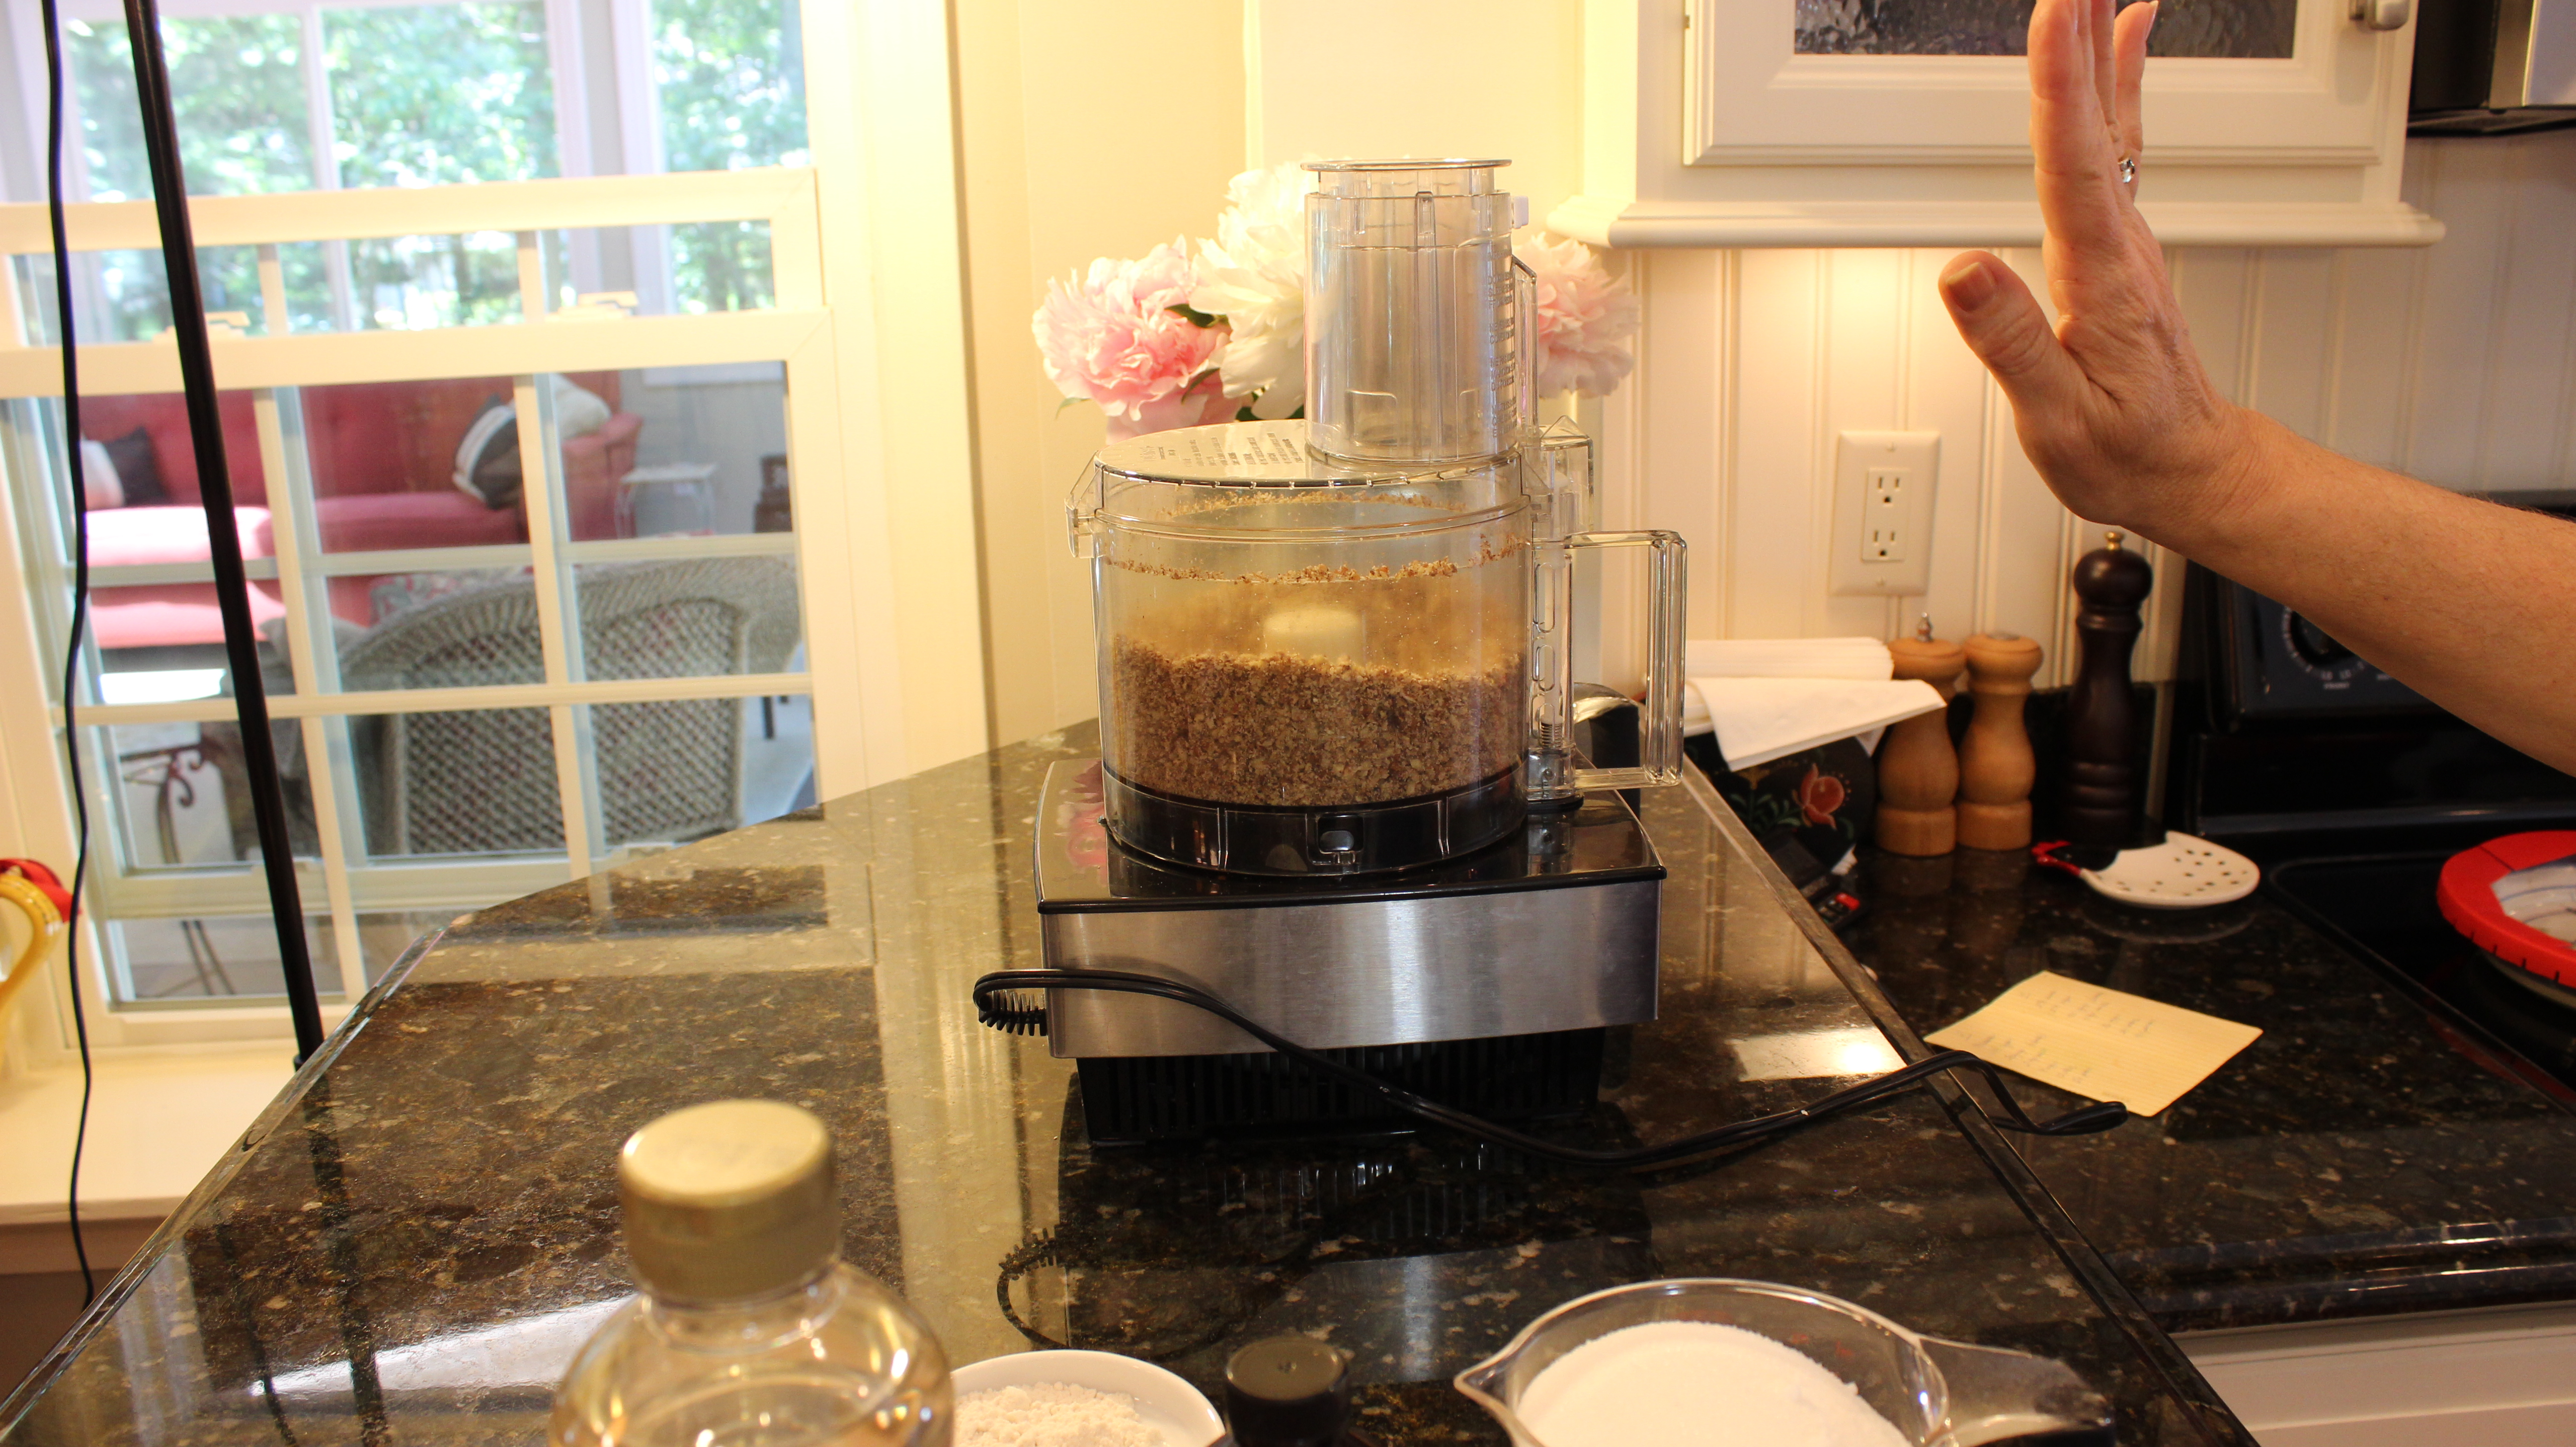
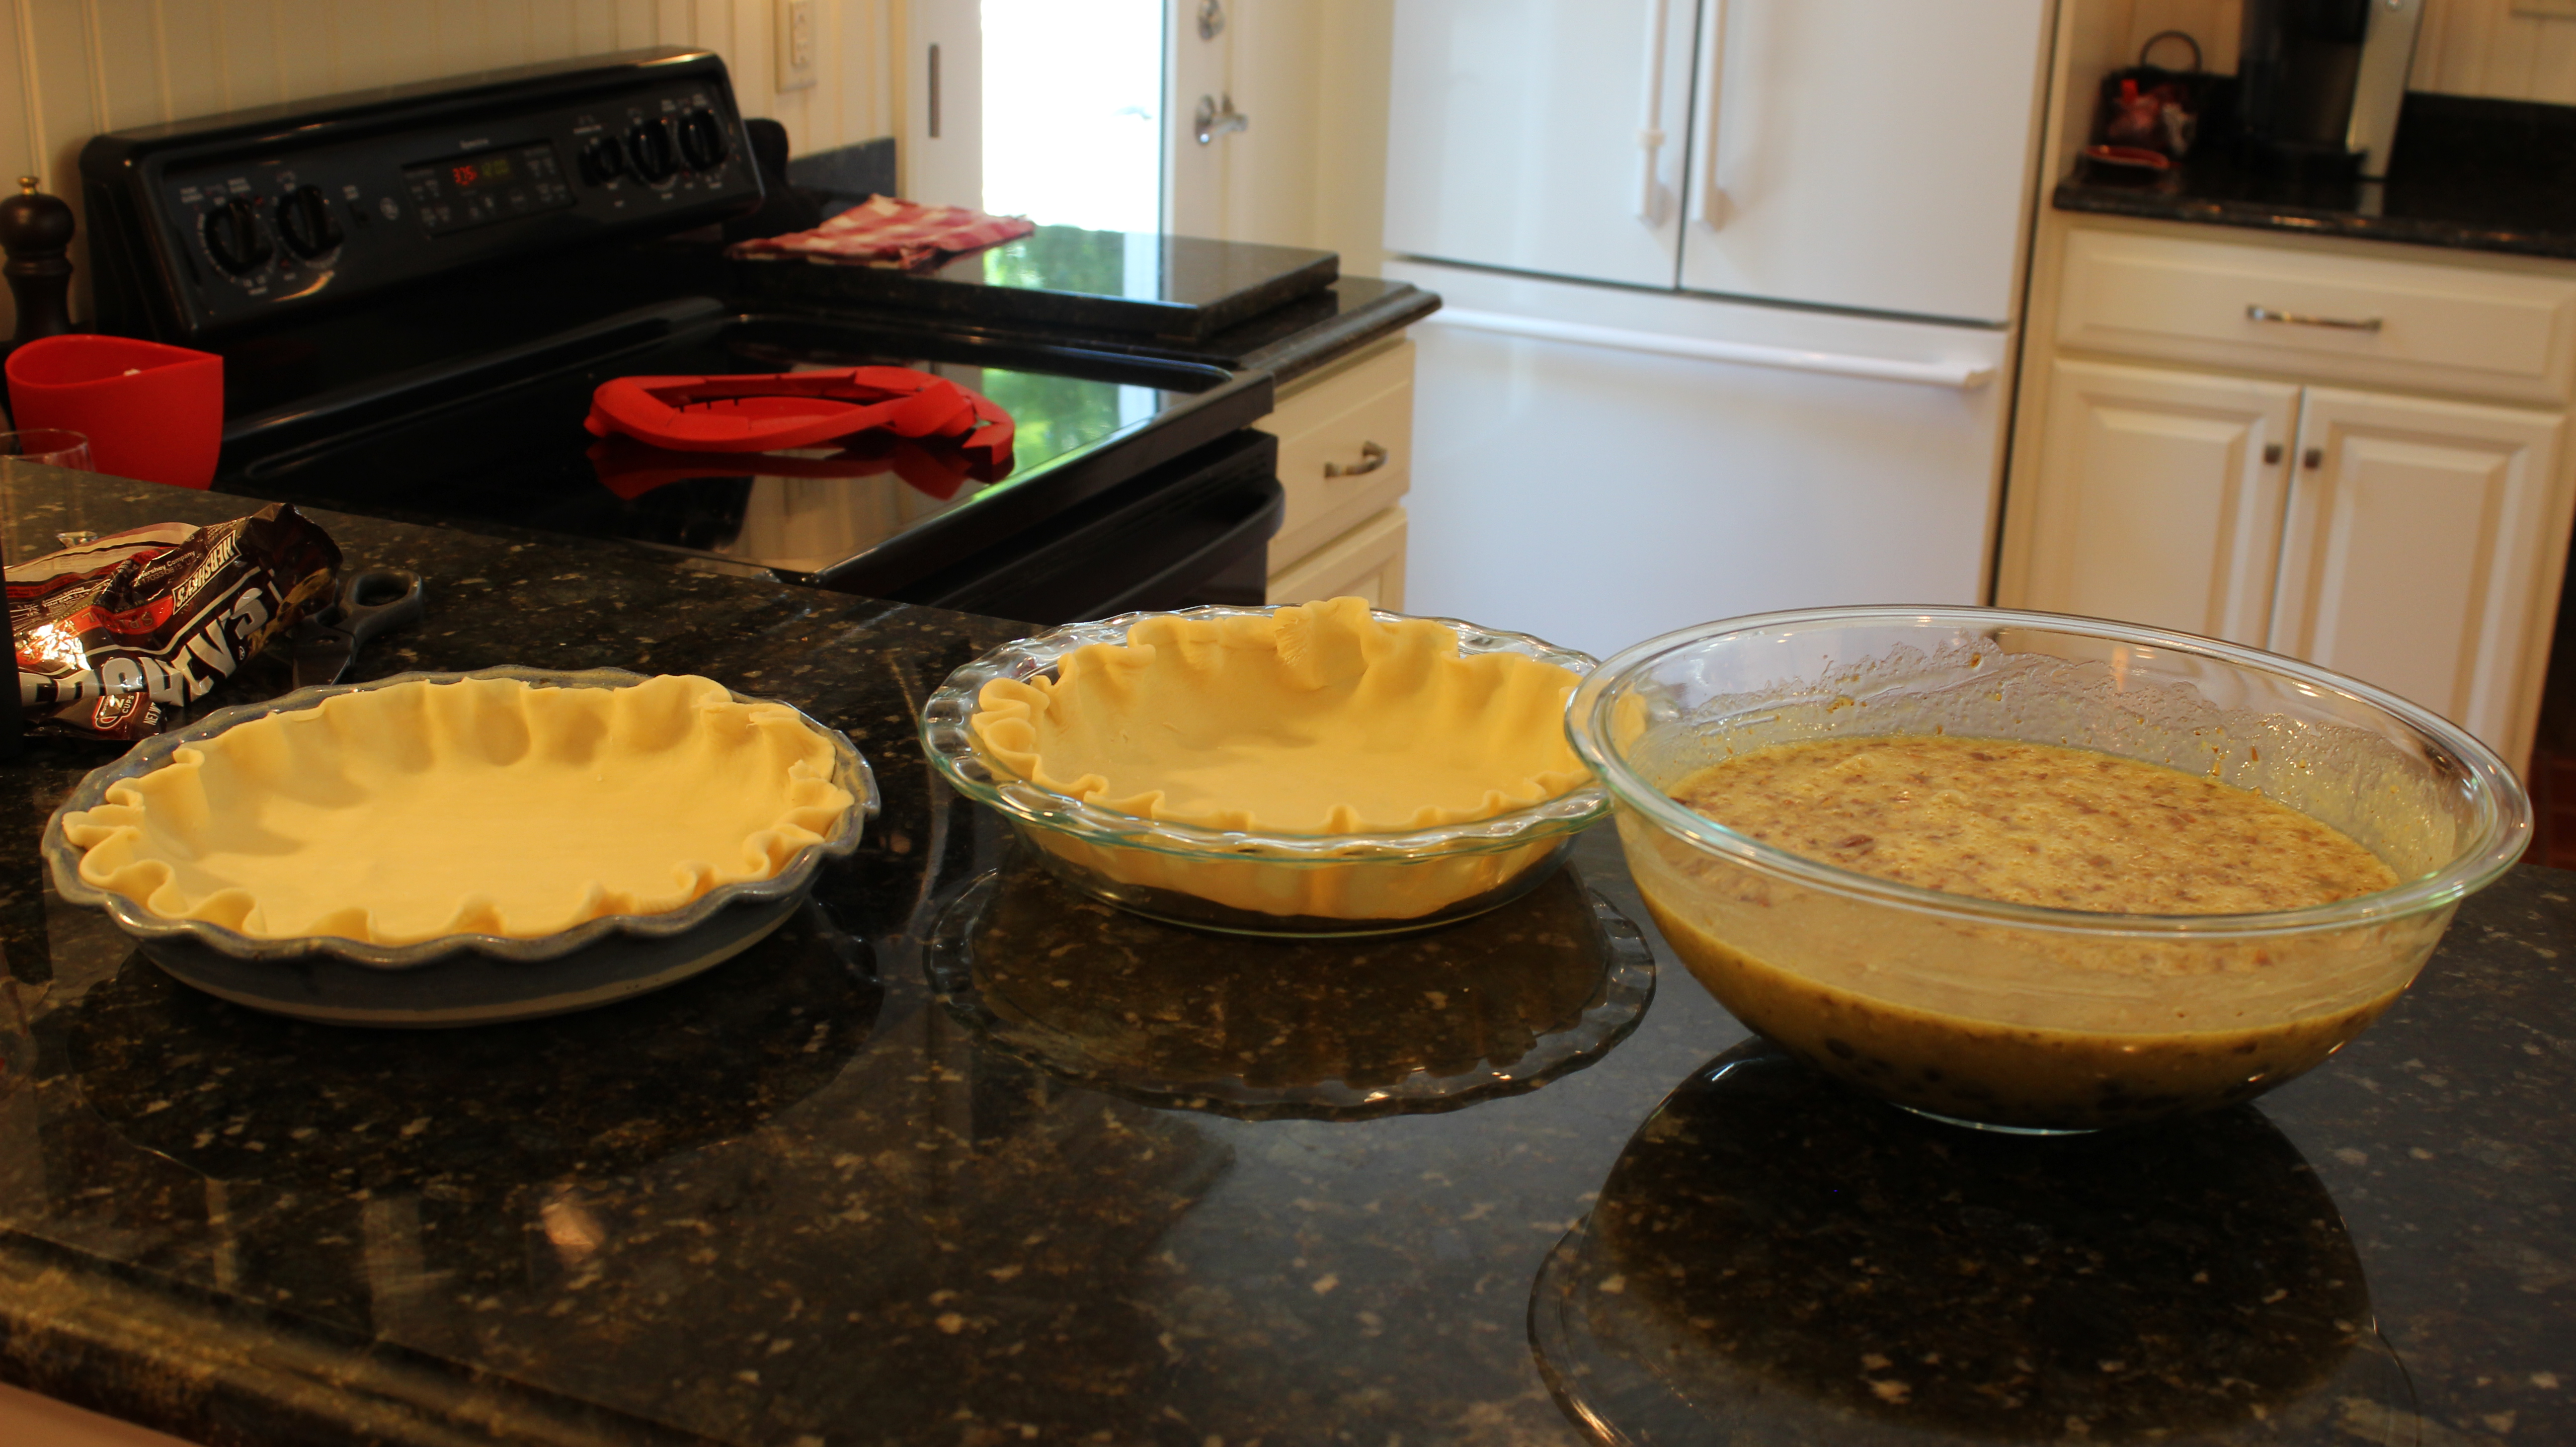
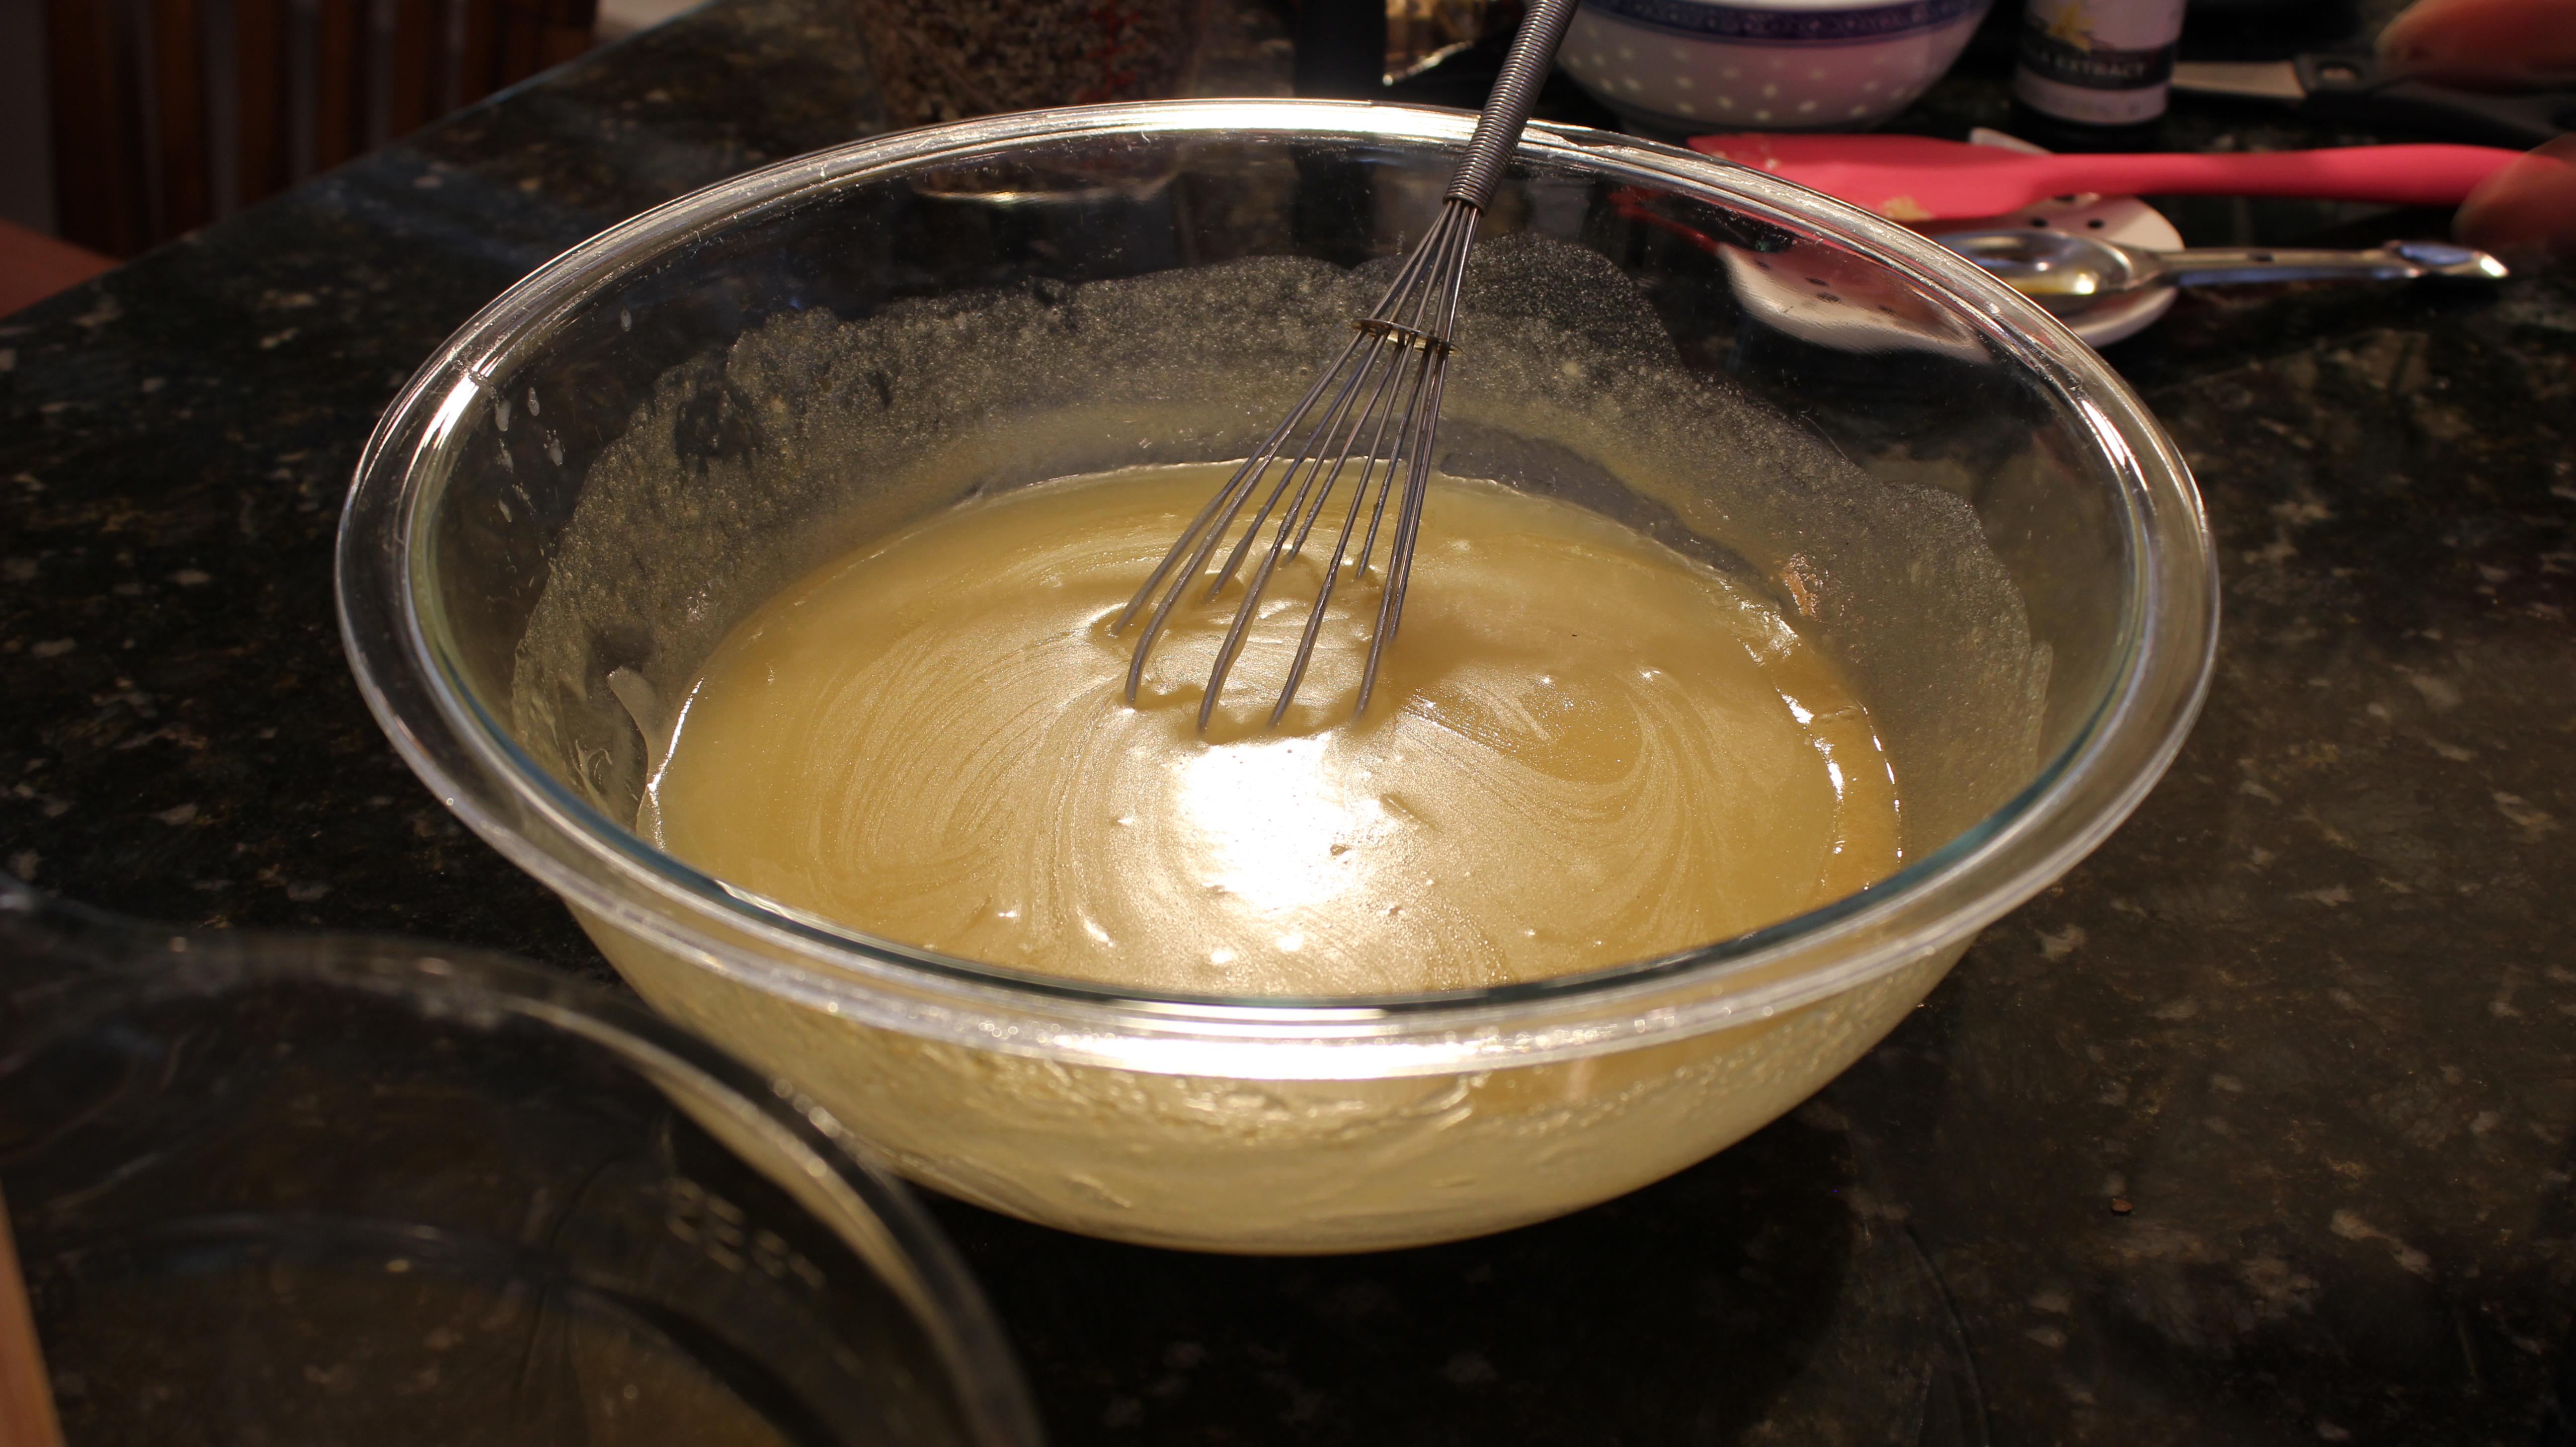
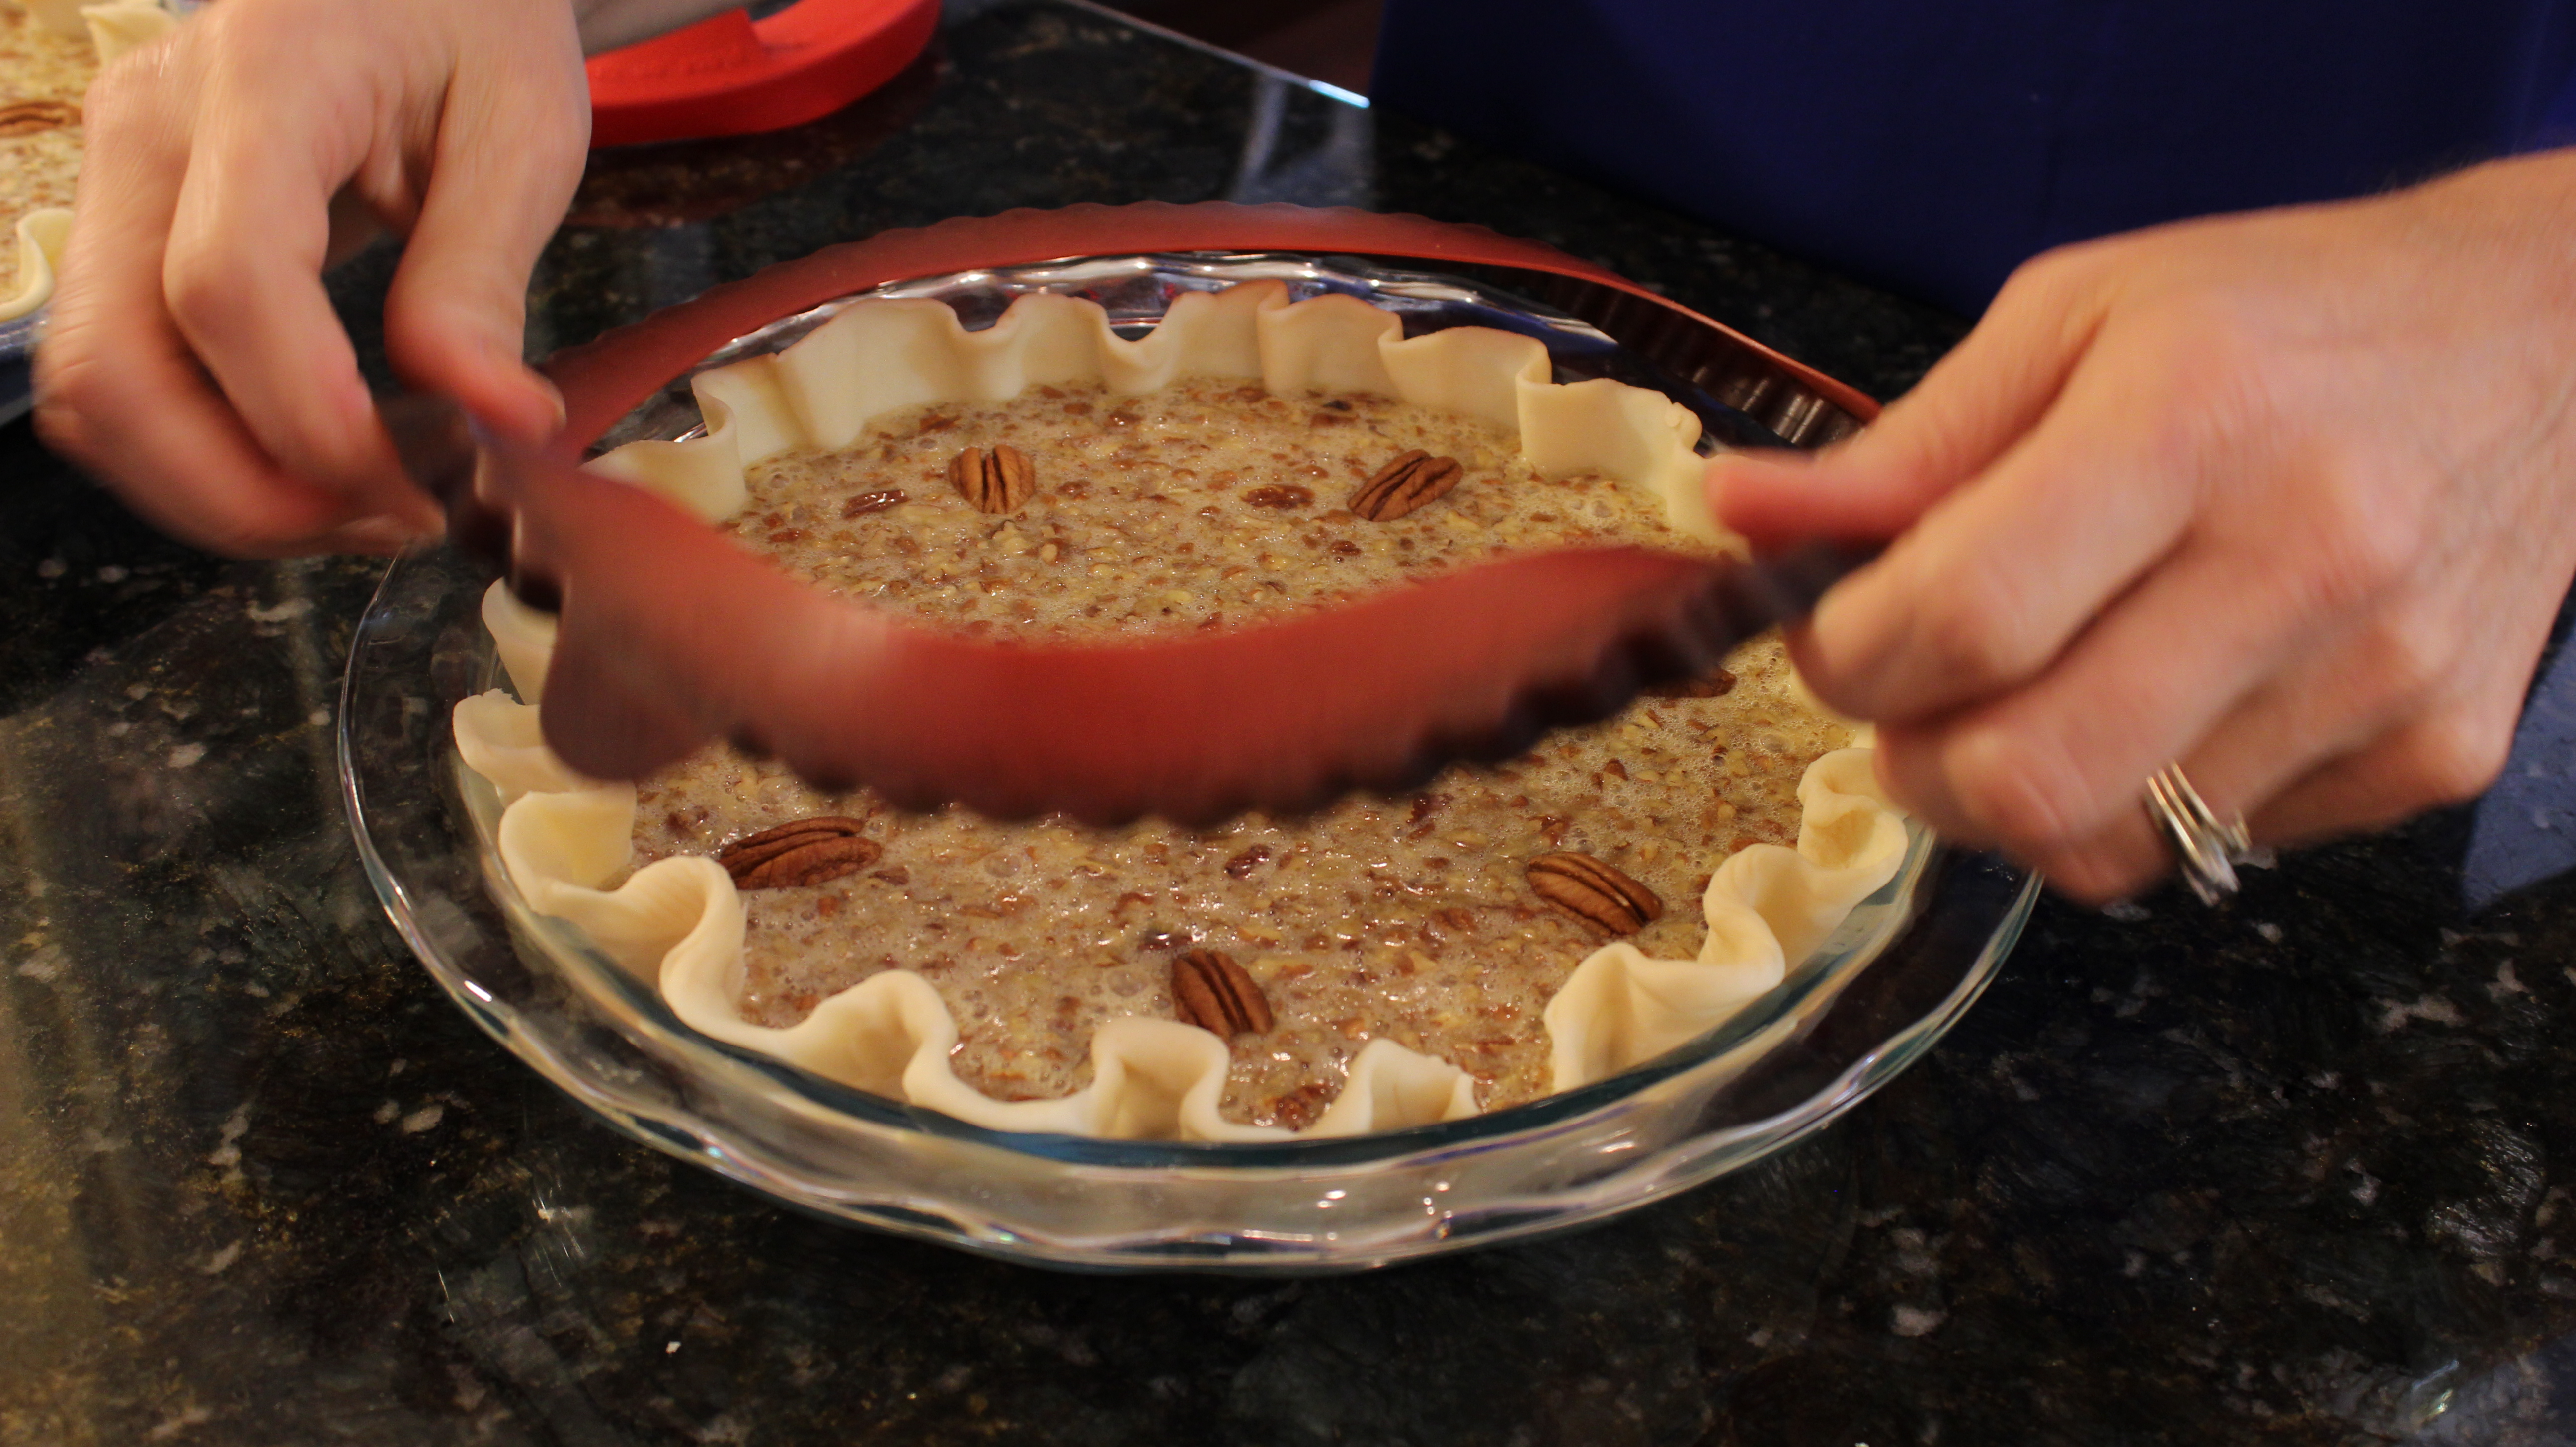
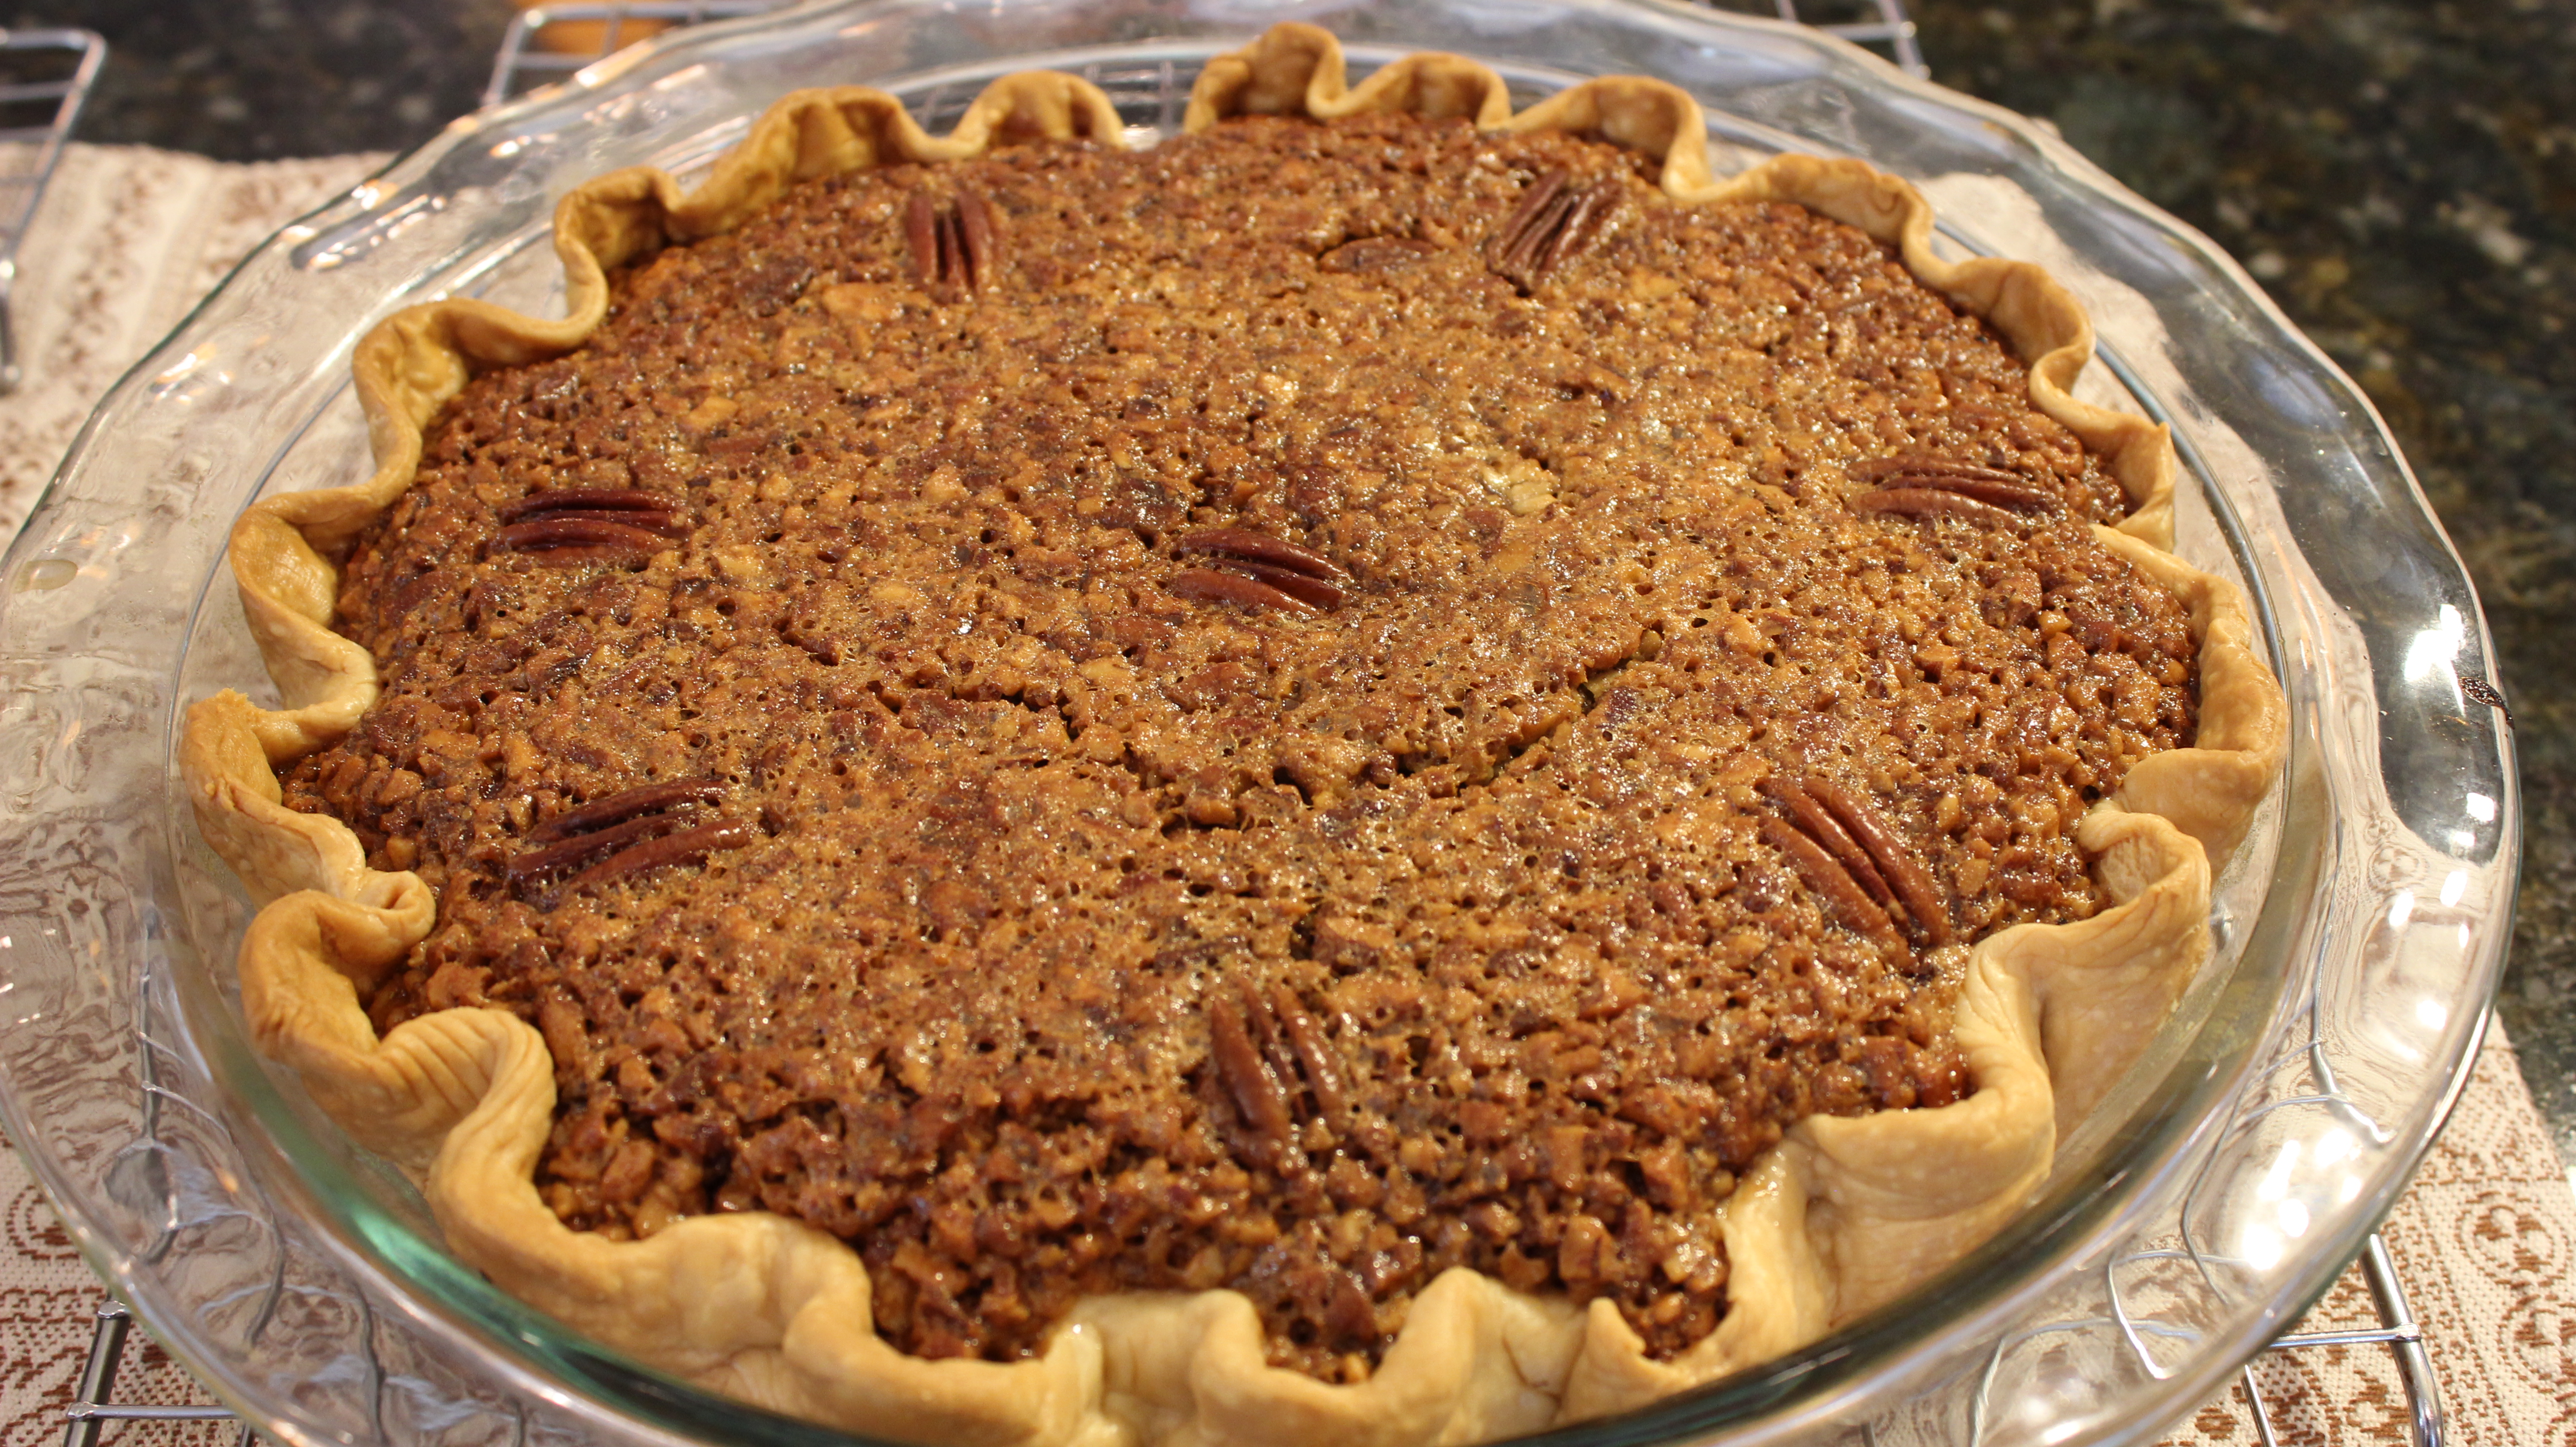
 Barbara’s homemade chocolate pecan pie is like nothing you’ve had before. Not only do you get that gooey texture with a hint of nutty caramel because it’s a pecan pie but a chocolaty finish slides right on in and makes you say wow! Gooey, nutty, caramel, chocolate …need I say MORE? In fact, it is plenty chocolaty so if you wanted to nibble on those “special dark” Hershey’s chocolate chips while you are making the pie feel free it wouldn’t make the pie any less delicious.
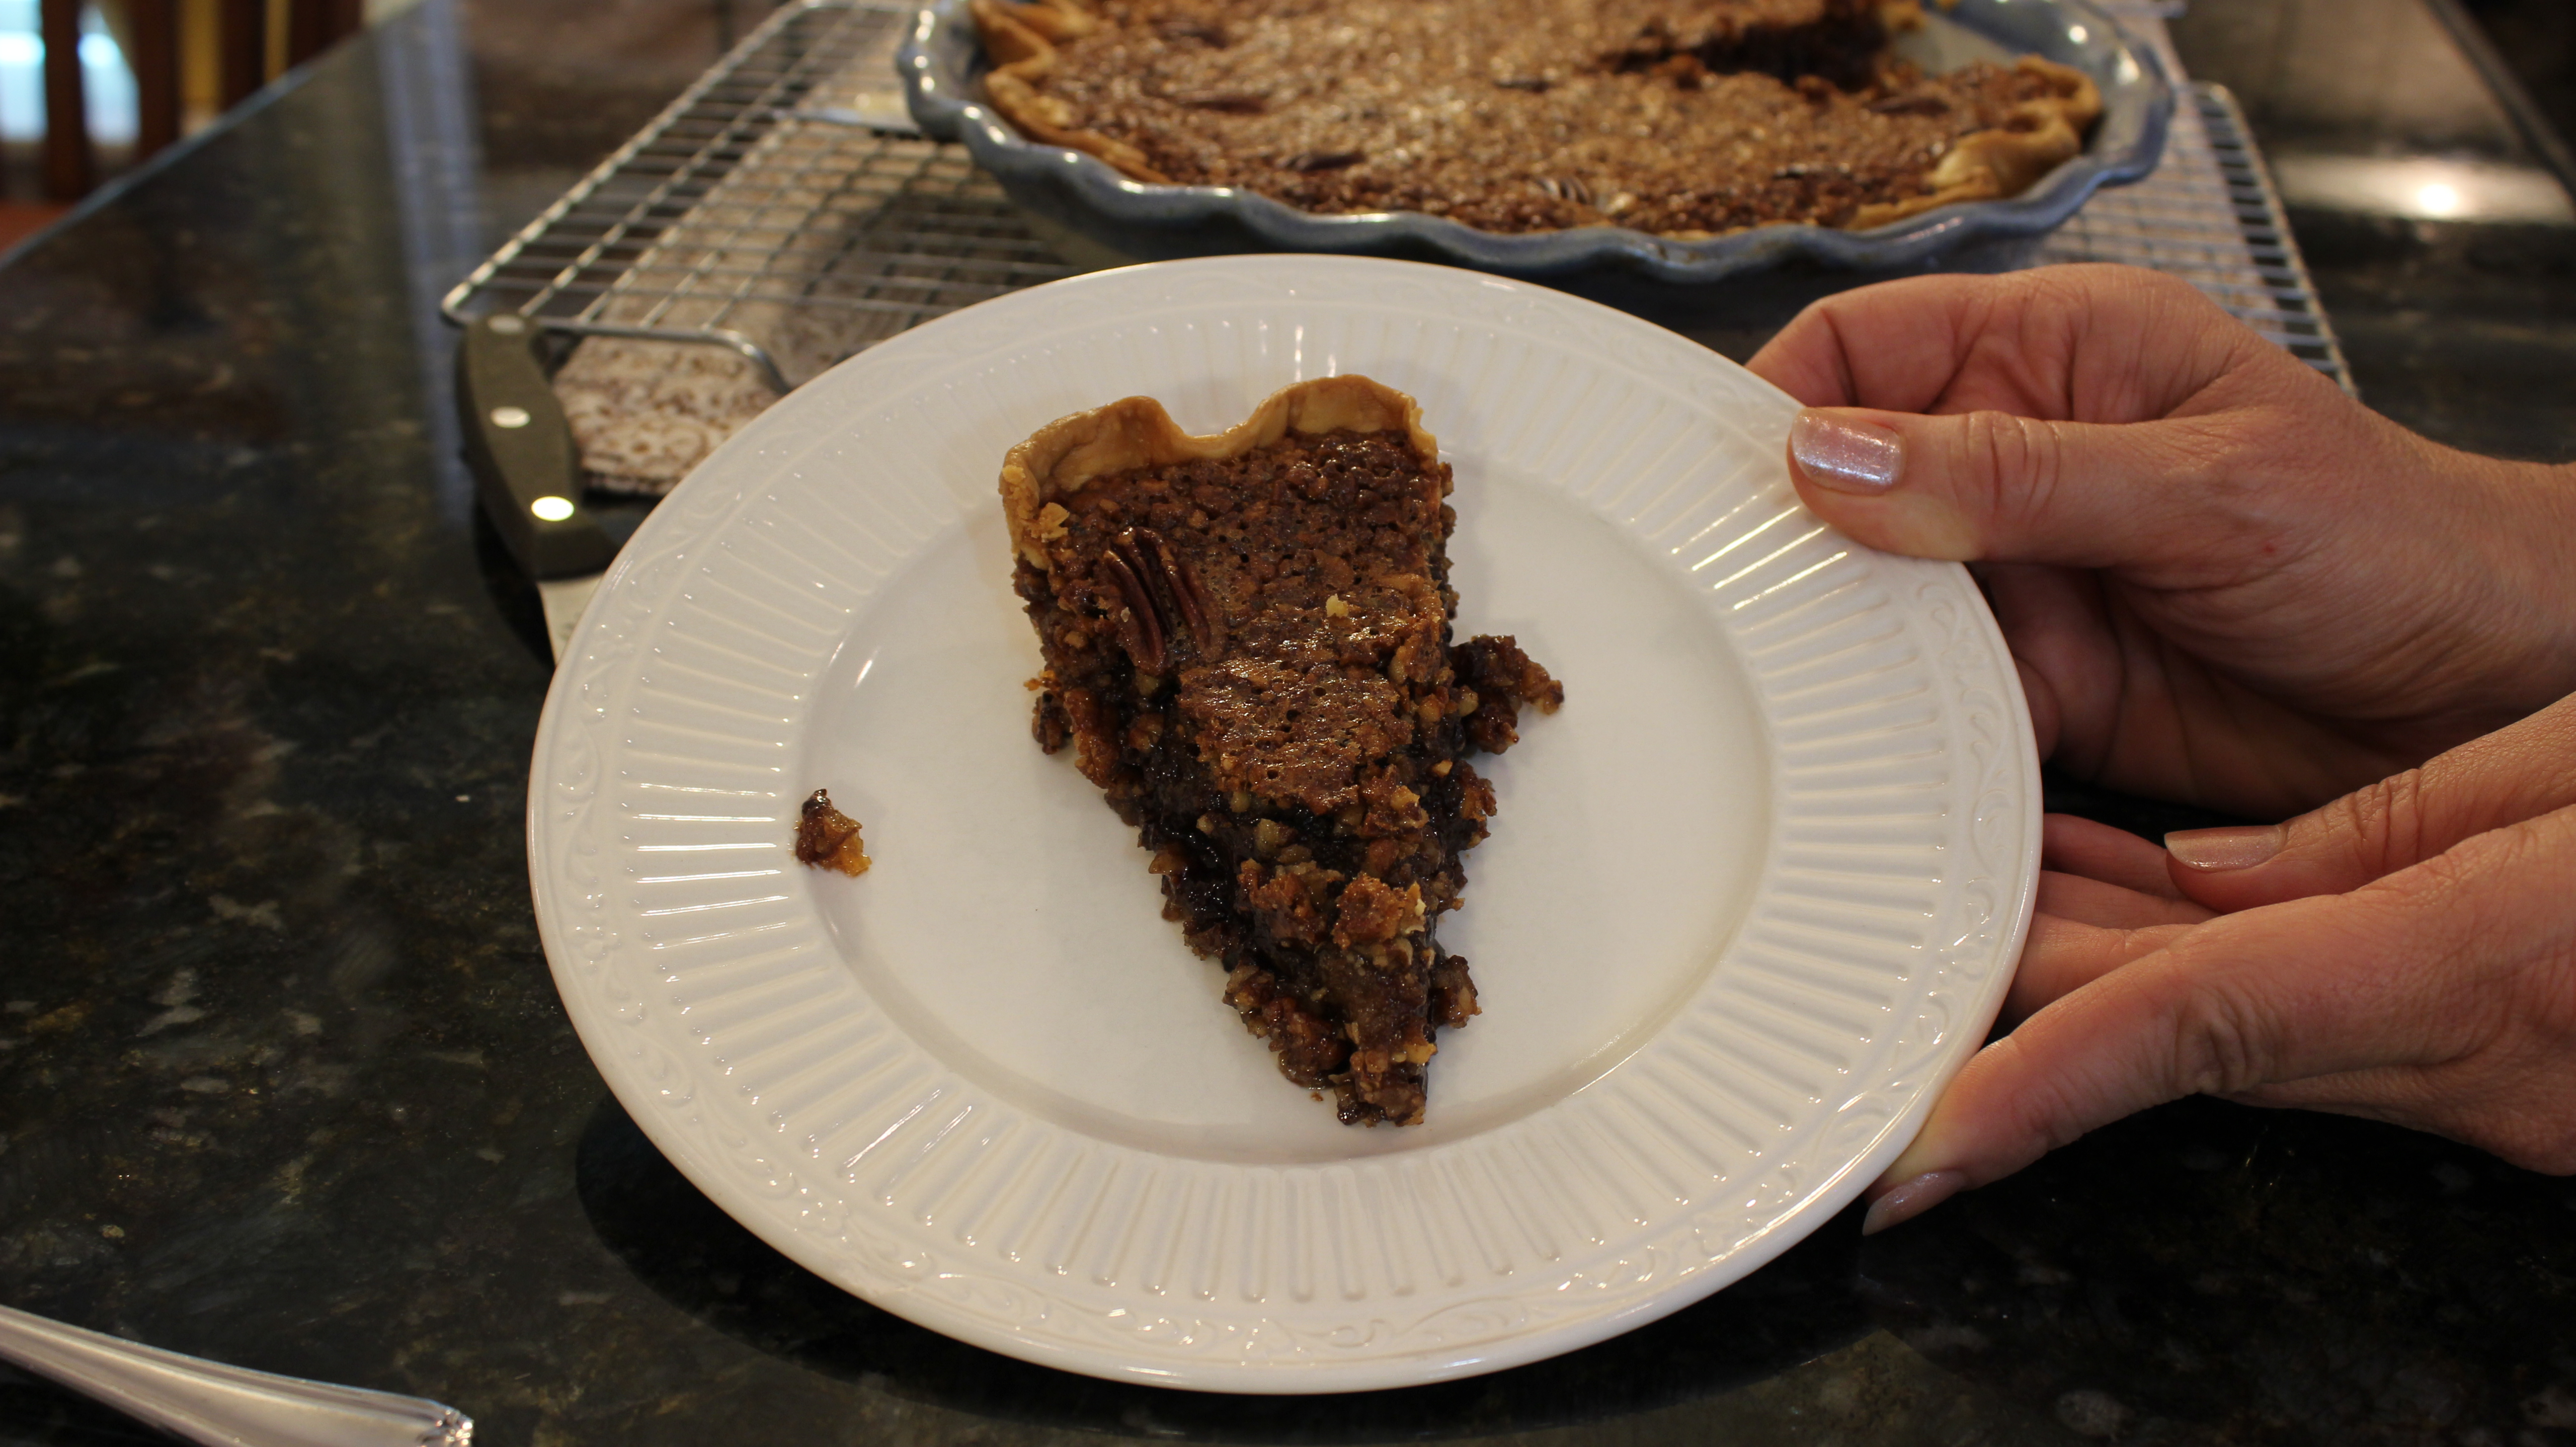
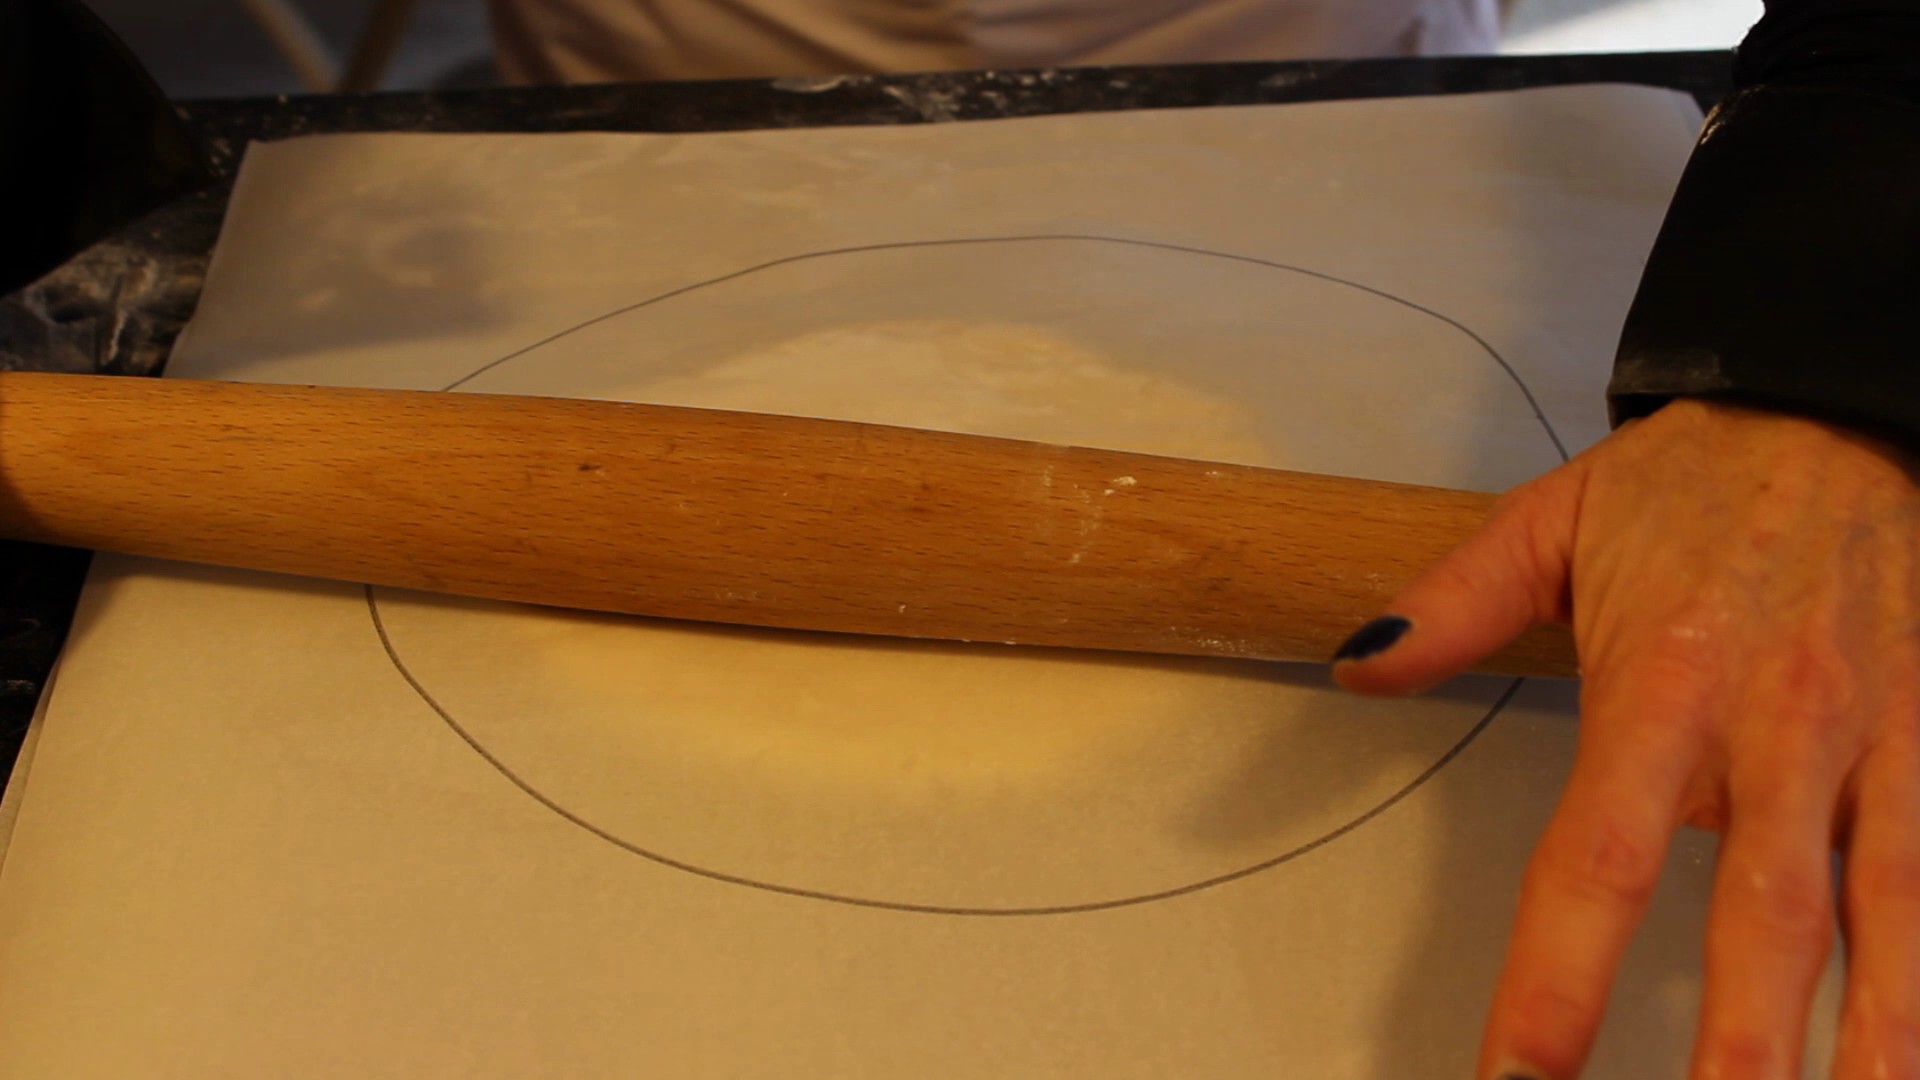
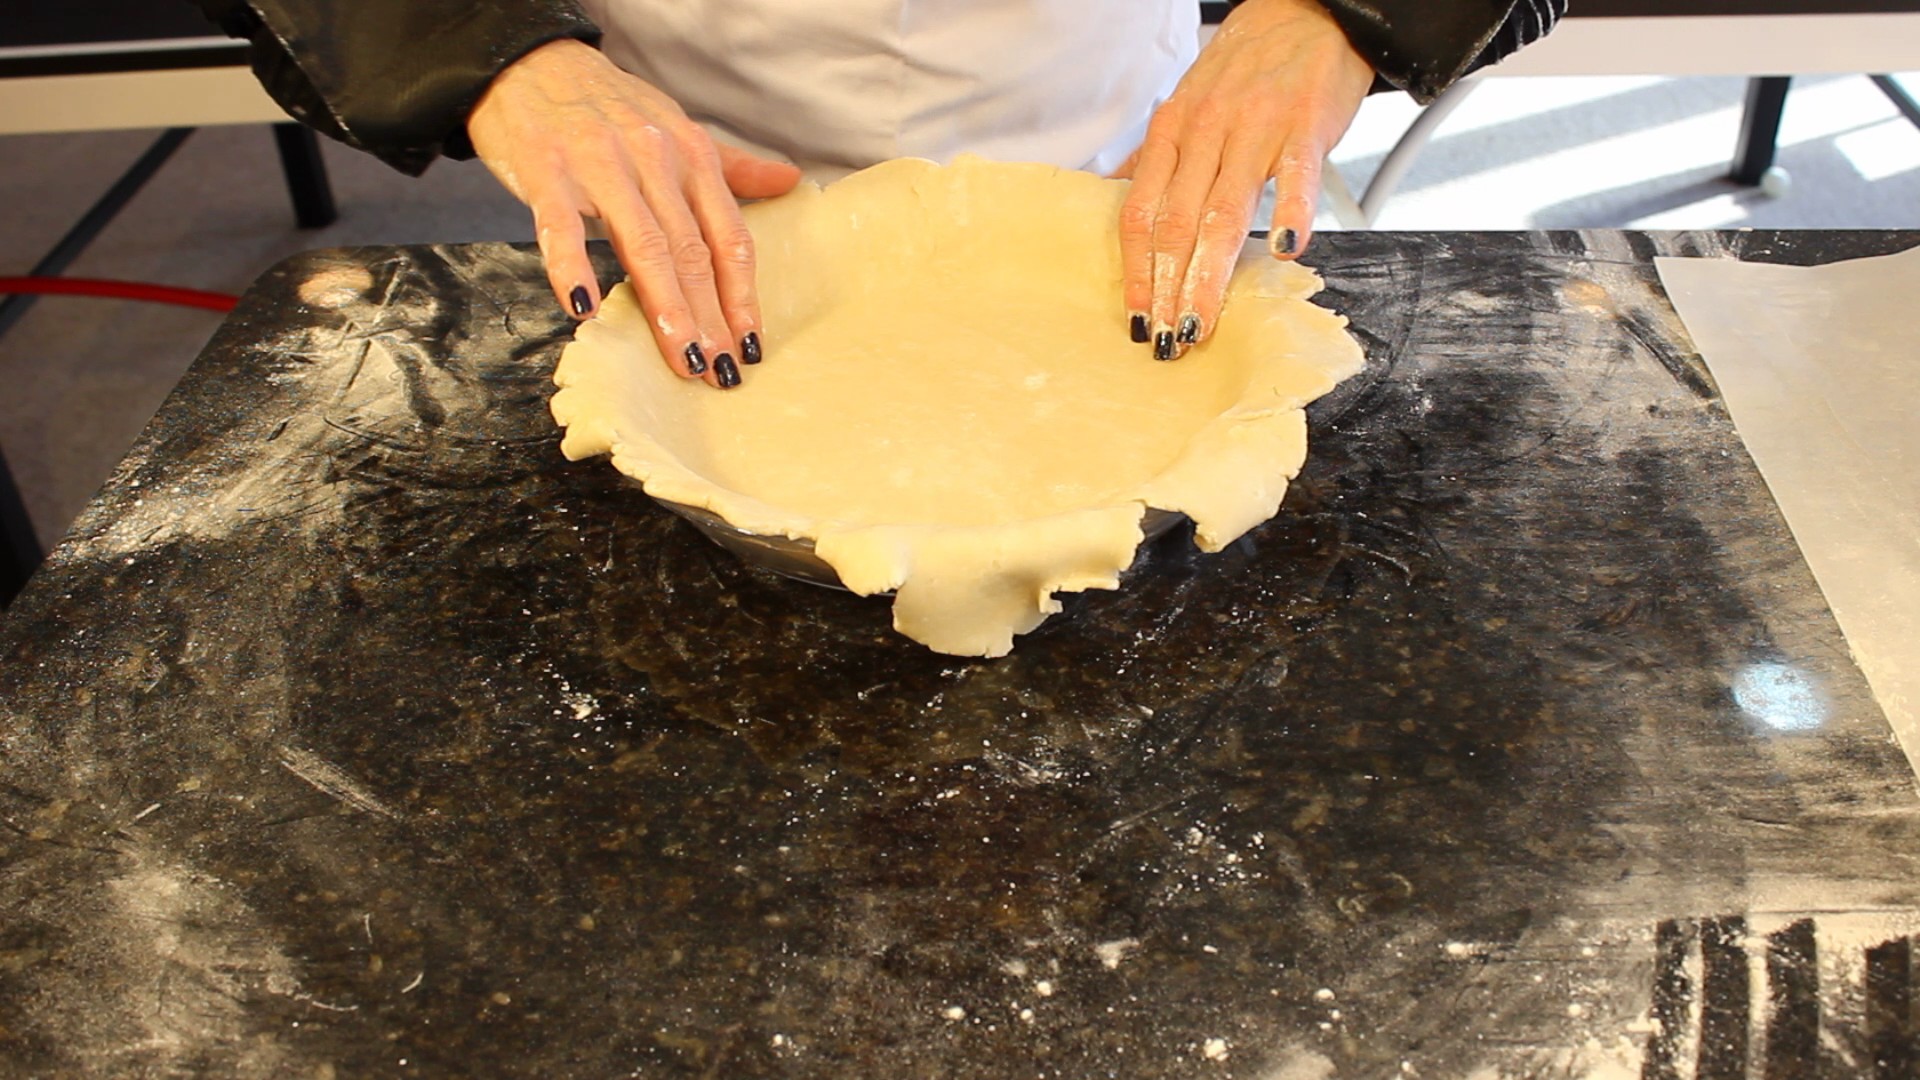
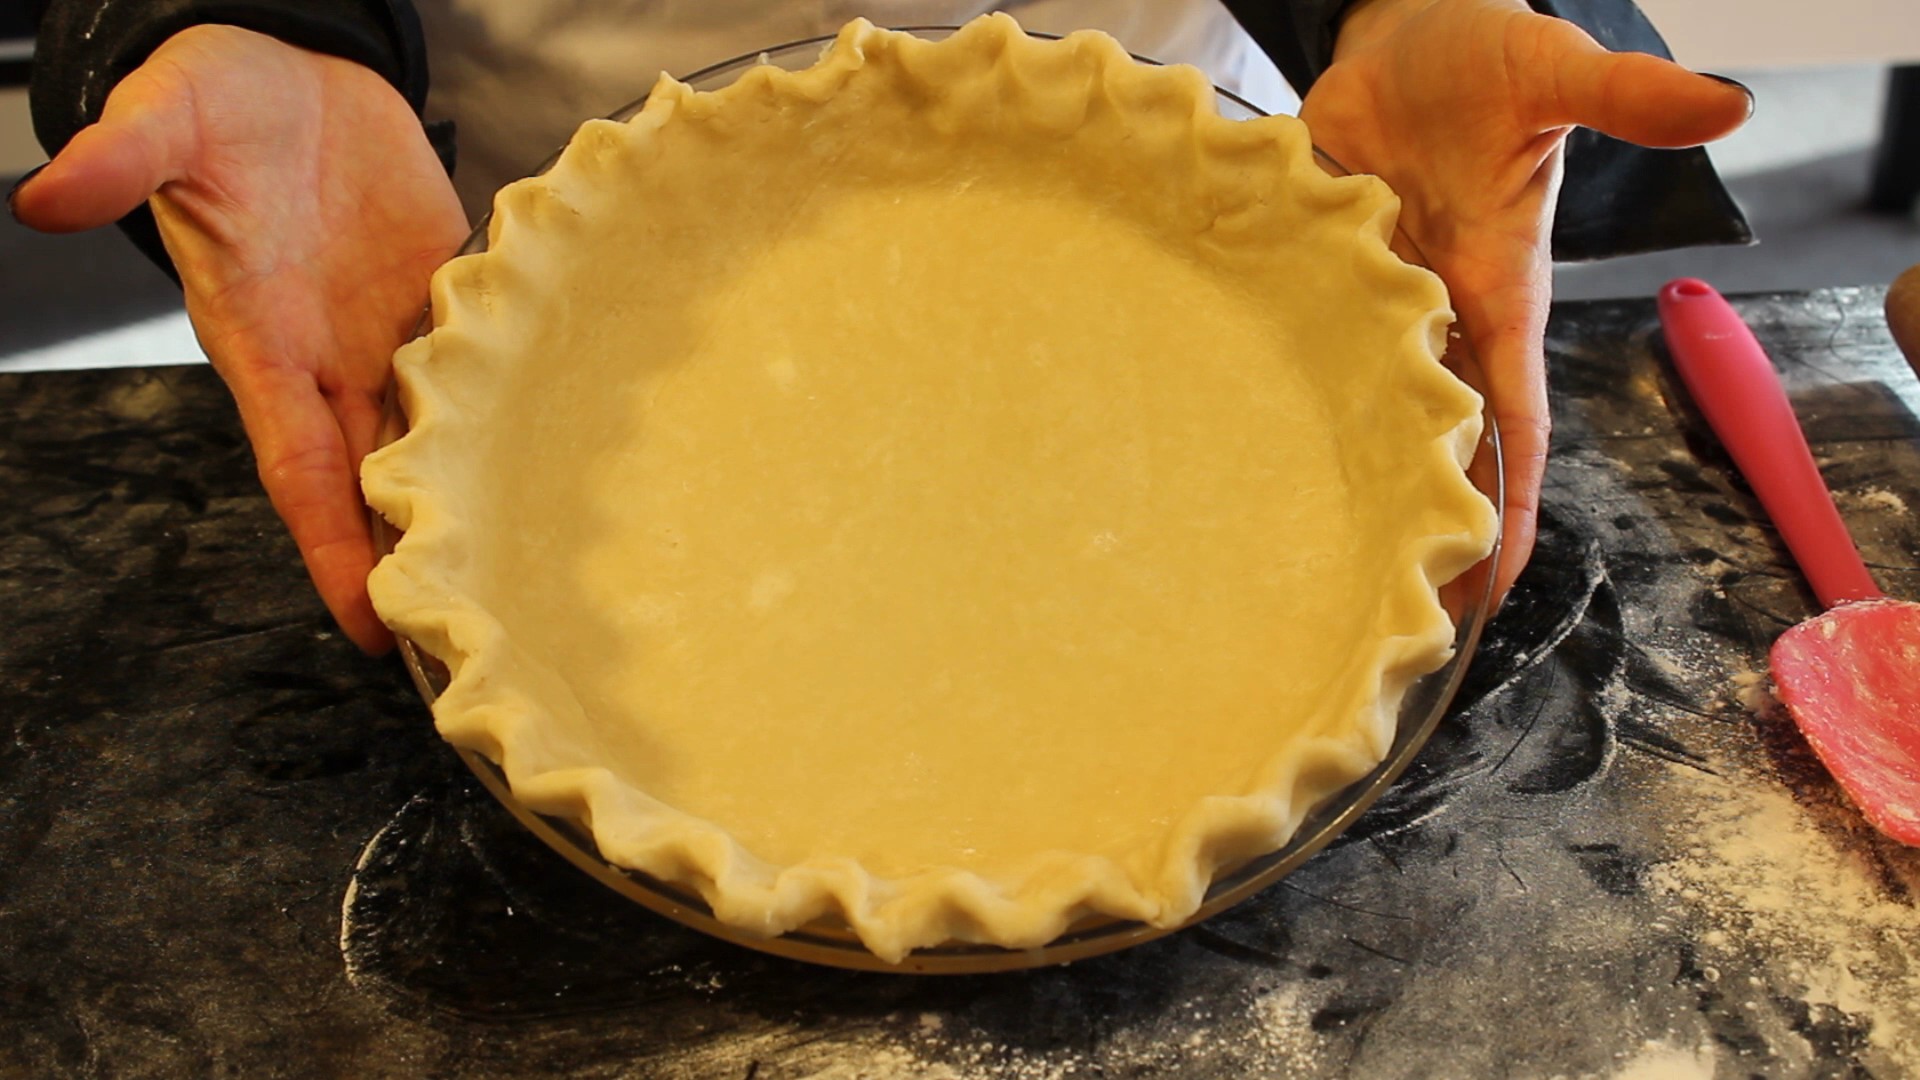
 This truly is a labor of love for Barbara and I’m very grateful to have become a part of this amazing tradition and see first hand how inspirational she is. You can see for yourself and hear some of the extremely funny stories that go along with Barbara’s pie making in my “Homemade Chocolate Pecan Pie Show” above. I hope you enjoy the show and now you too can make this
 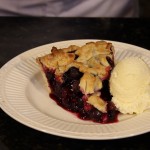 homemade chocolate pecan pie part of your family tradition. If you have the time and are only making a pie or two you can check out my